
 www.bmwccahawaii.com
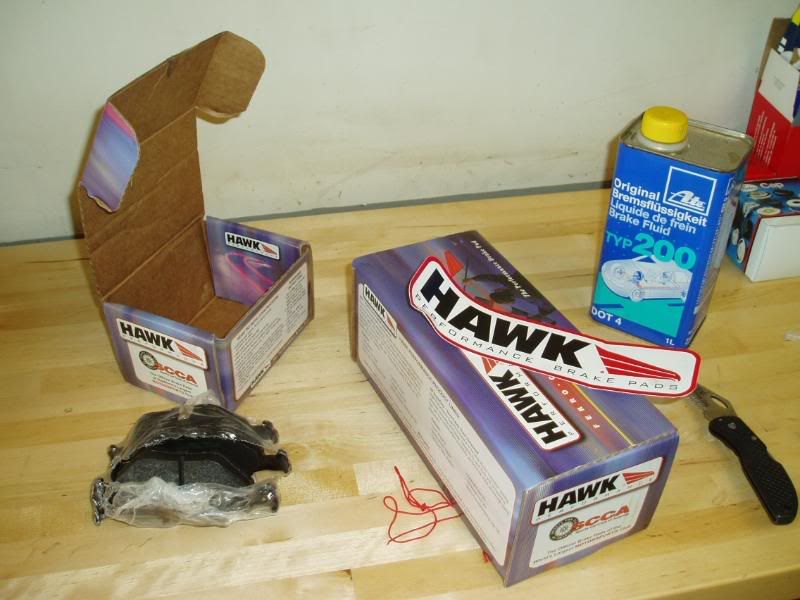
Follow this DIY at your own risk, I assume no responsibility for anyone messing up their brakes.
This is applicable to the E39 540i’s equipped with the sports suspension, but is probably the same for all E39s.
My brake warning light was on (a red light that says “brake”) and I was getting the “Check Brake Linings” message on the instrument panel display. When you get those warnings you should also make sure to replace the brake pad wear sensors on the left front and right rear brakes.
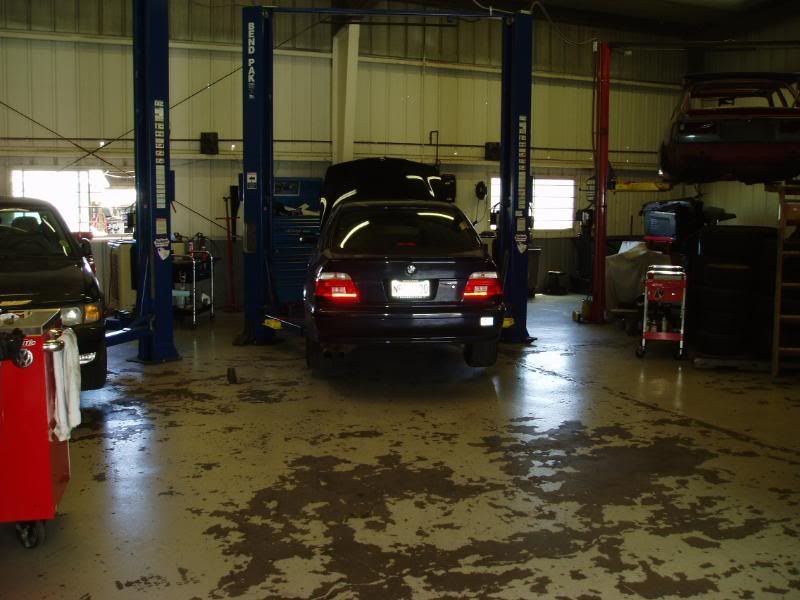
First things first, get the car up in the air and remove all of the wheels and make sure the parking brake is off. I use wheels studs to help with mounting and dismounting wheels, it makes things much easier.
You can see our E30 M3 race car in progress over there to the right side of the pics.
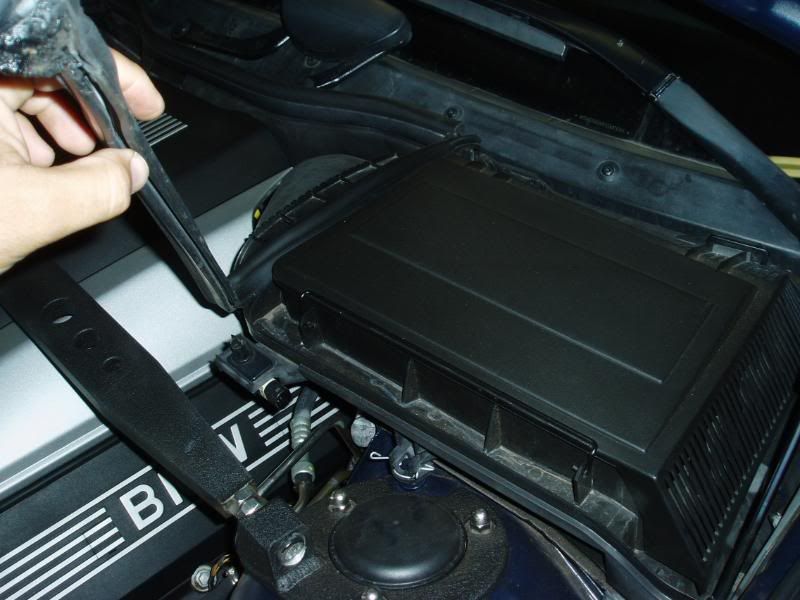
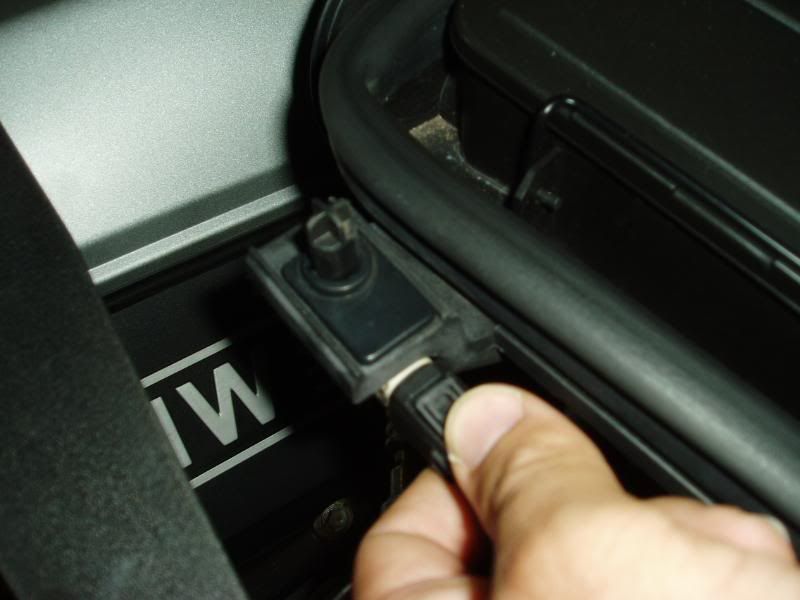
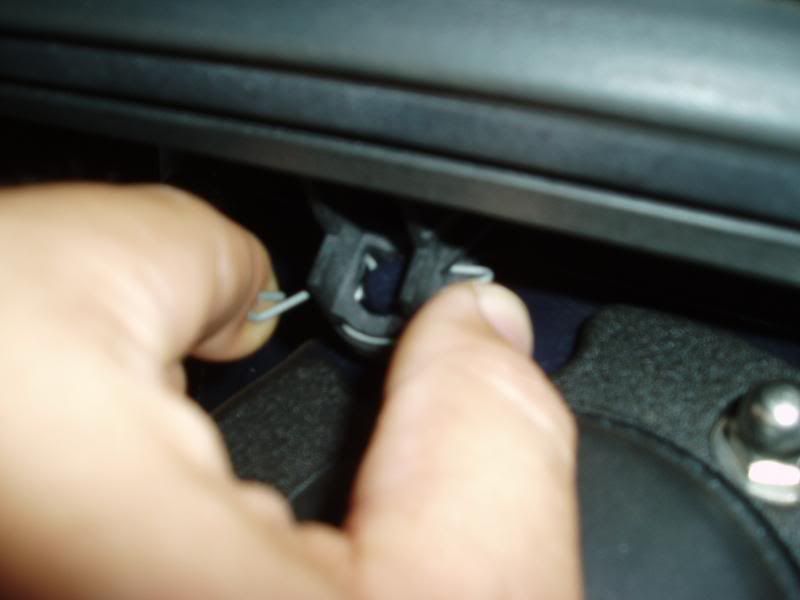
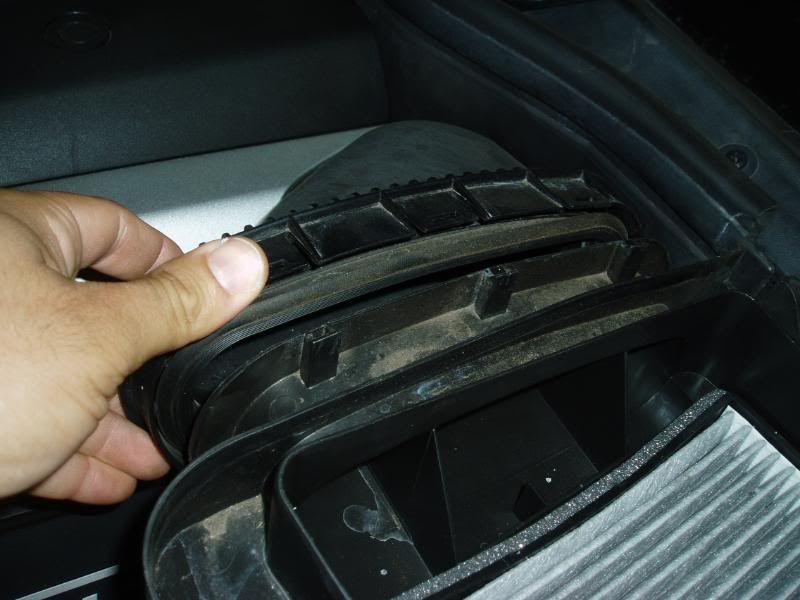
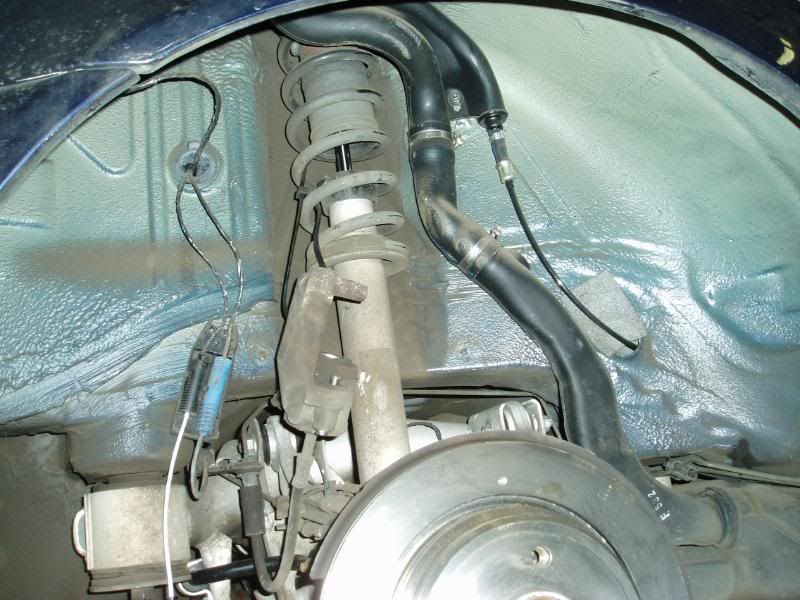
Remove the driver’s side cabin air filter cover.
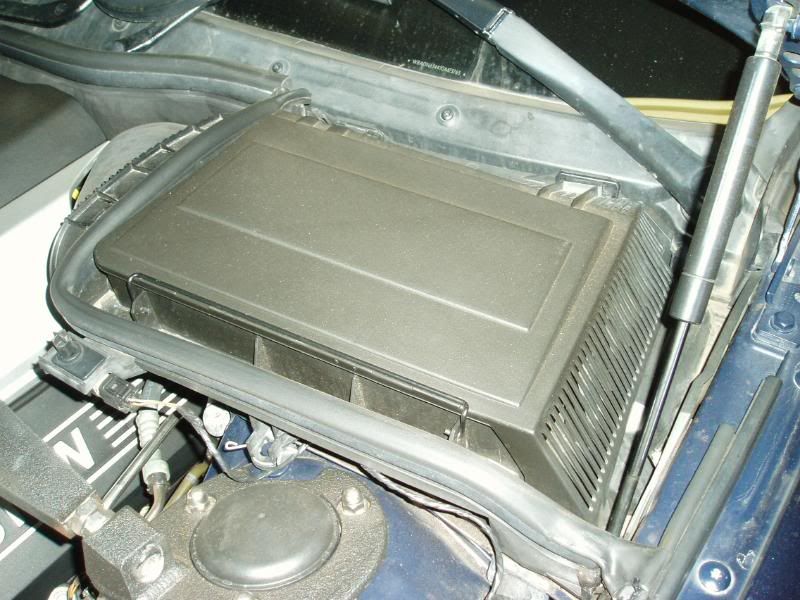
Detach the hood closure sensor connector and remove the cabin air filter housing.
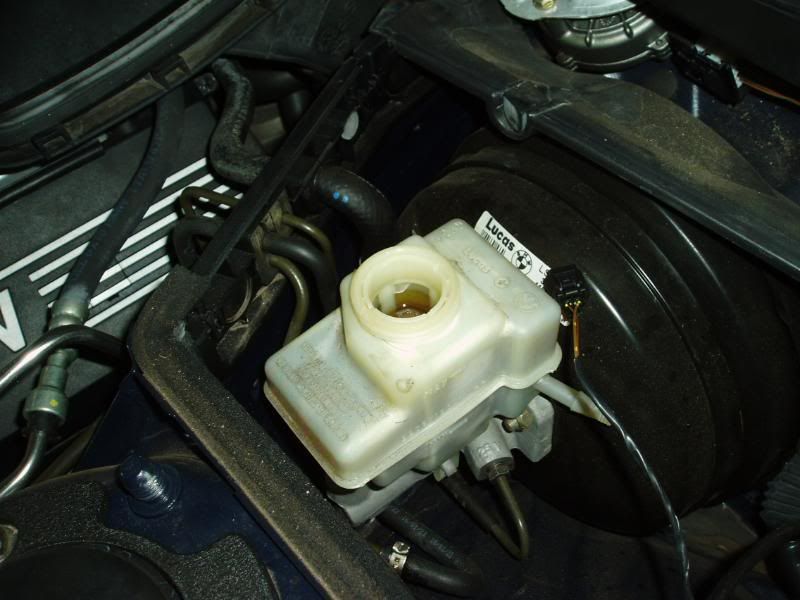
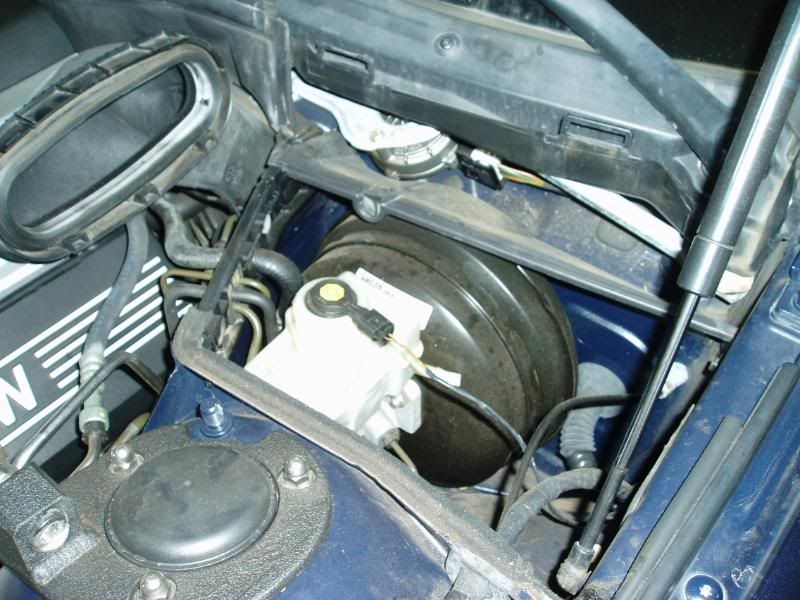
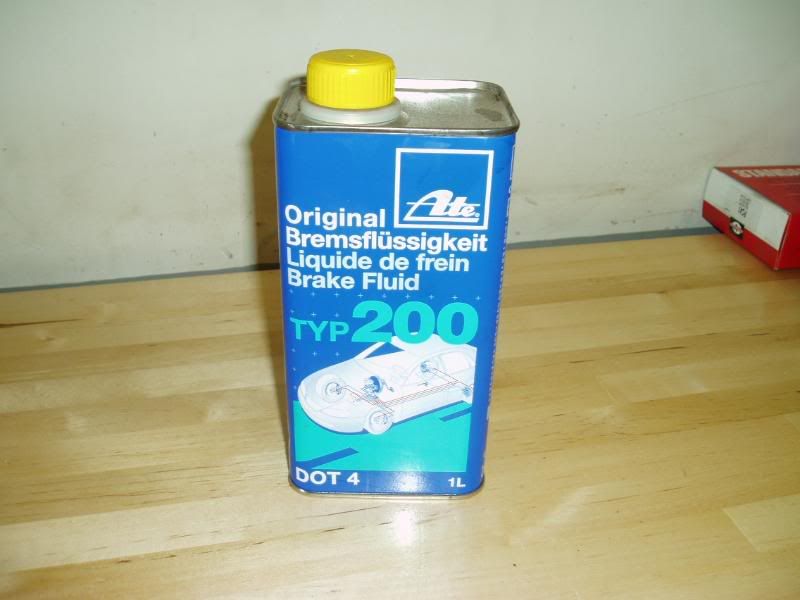
Remove the cap from the brake fluid reservoir and suck down the reservoir, slightly.
Nick
www.bmwccahawaii.com
Put some paper towels around the brake fluid reservoir. REMEMBER BRAKE FLUID WILL DESTROY YOUR PAINT SO IF YOU SPILL ANY MAKE SURE YOU CLEAN IT OFF ASAP!
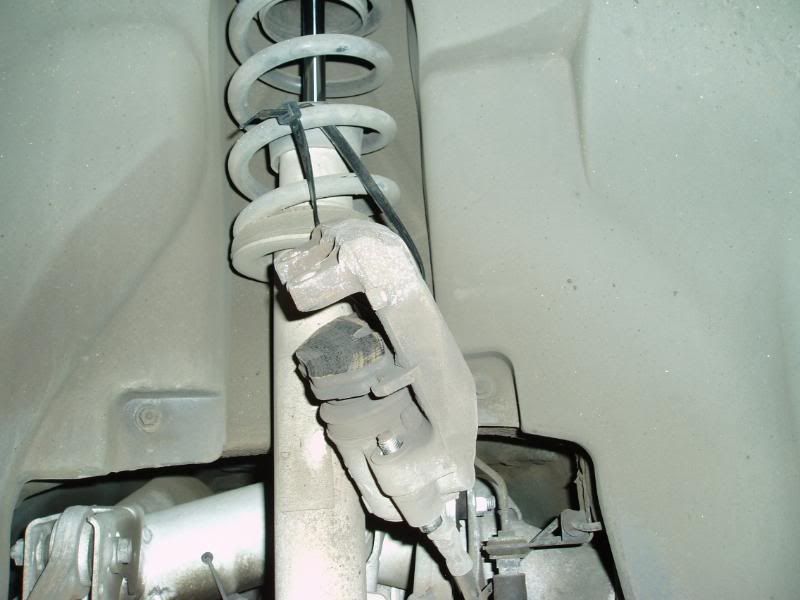
I start on the left rear wheel.
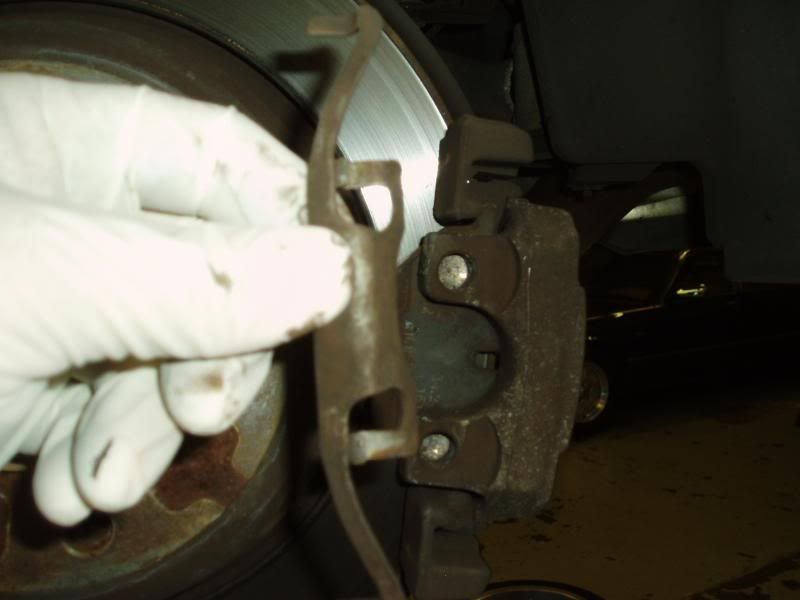
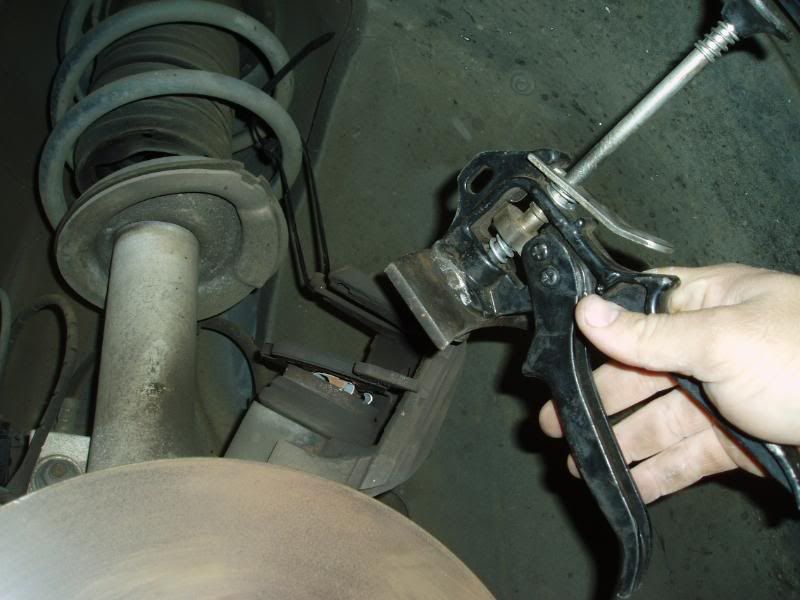
Remove the brake caliper rattle clip.
Remove the dust caps for the caliper screws.
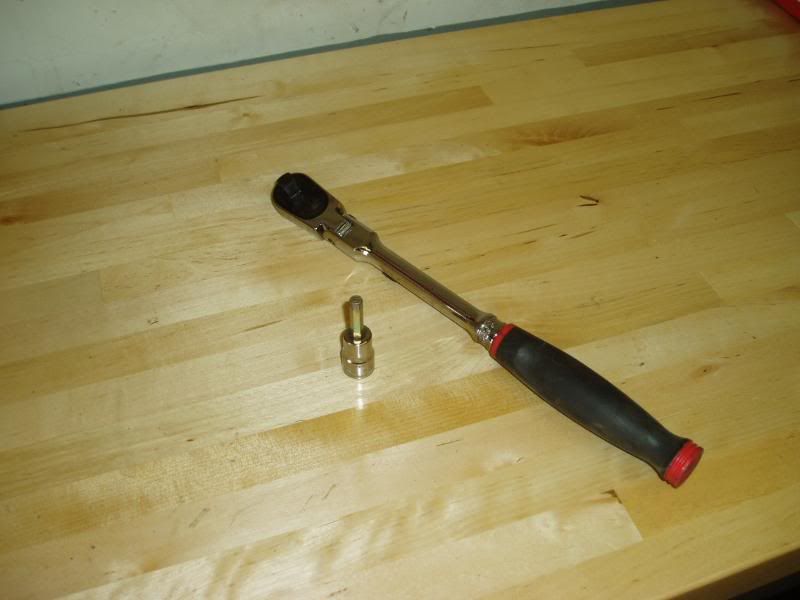
Un-screw the calipers with a 7mm Allen socket and zip tie them up to the spring, DO NOT LET THE CALIPER HANG FROM THE BRAKE HOSE!
Remove the caliper mounting bracket with a 16mm socket and ratchet.
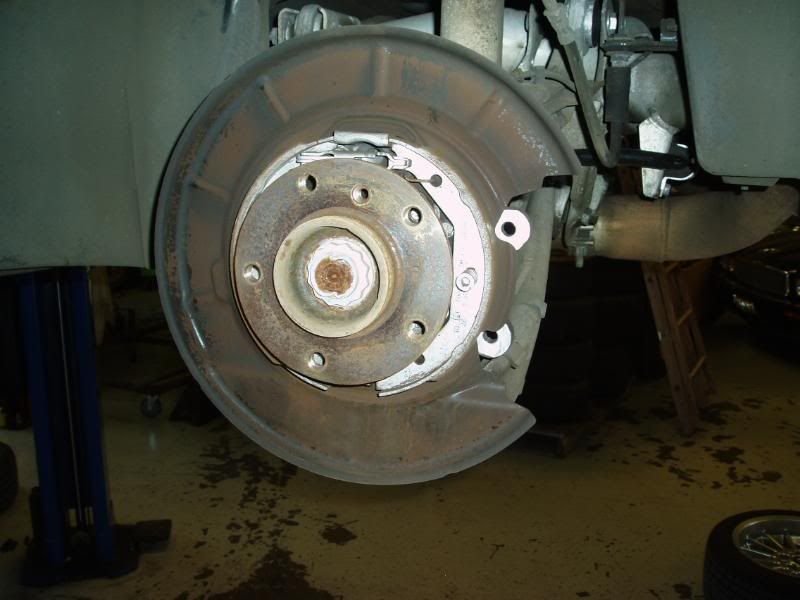
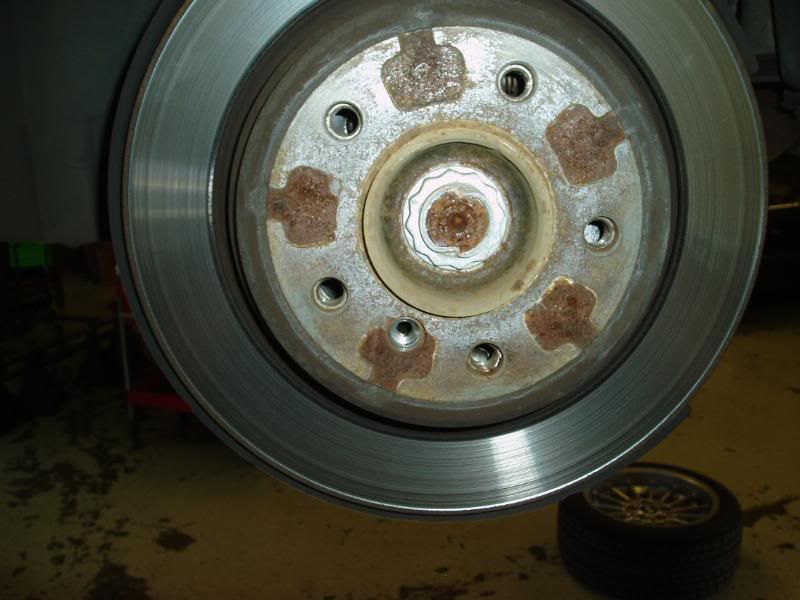
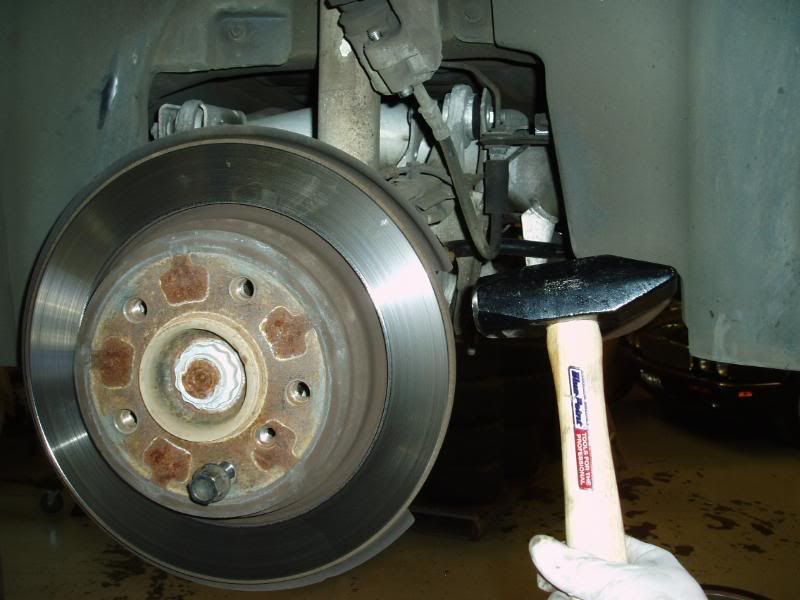
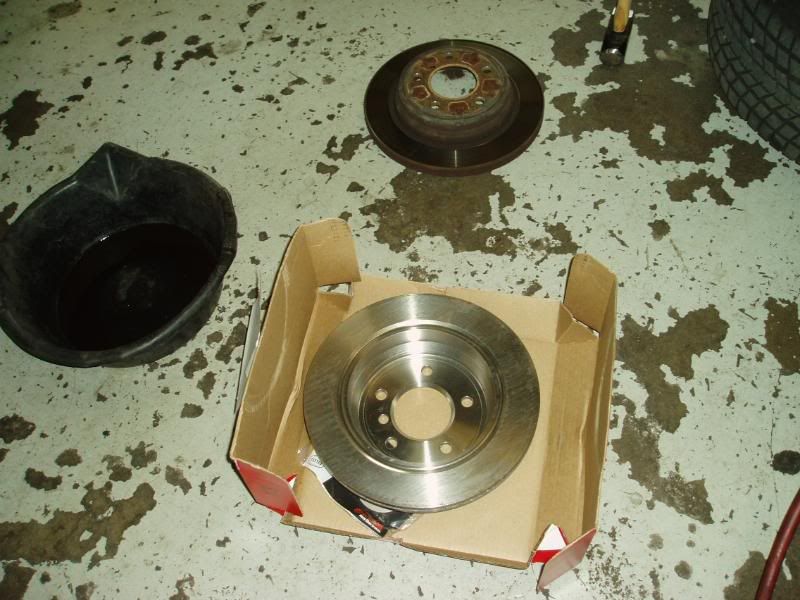
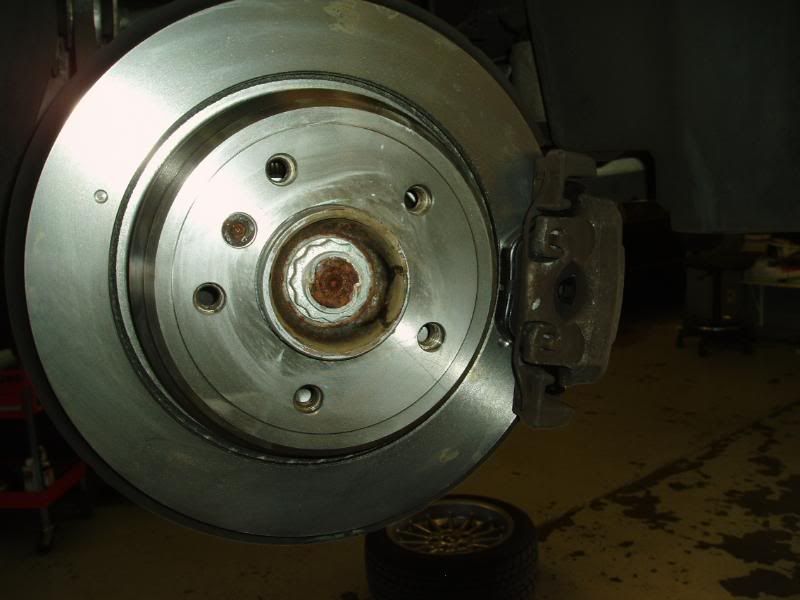
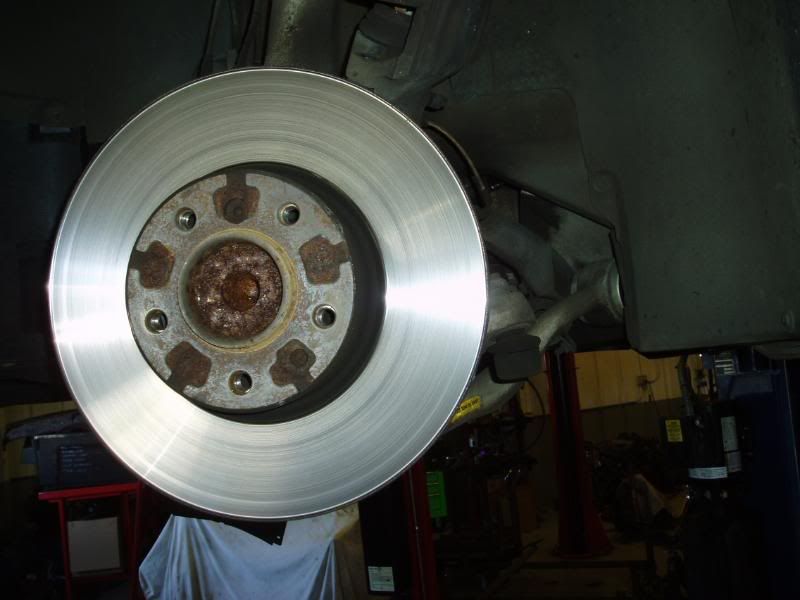
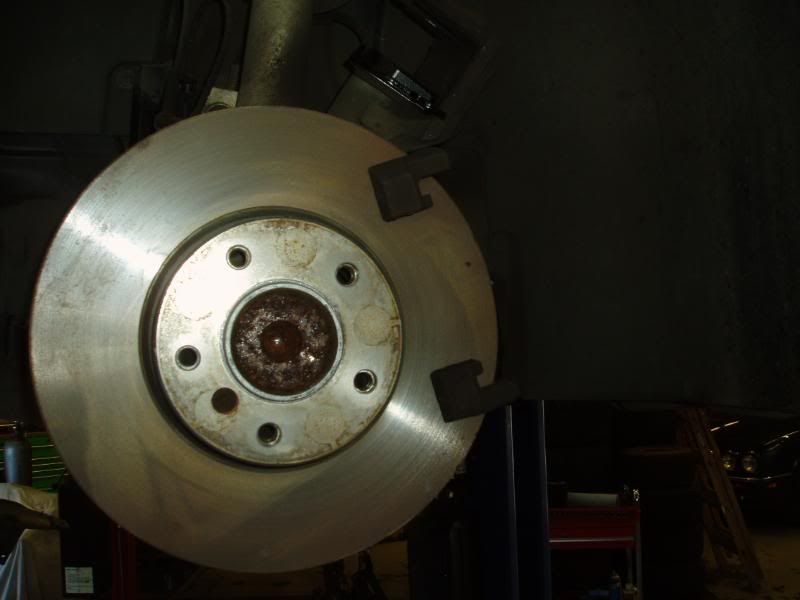
Unbolt the rotor retaining screw with a 6mm Allen socket. You may want to have some extras of these on hand as they tend to strip out when they are rusted. If you cannot remove the screw you can hit the back of the rotor with hammer to remove it. You may have to hit the rotor with a hammer anyways to get the rotor off as they often time rust to the hubs. Before you hit the rotor with the hammer install one of the lug bolts so that the rotor does not go flying across your shop.
Nick
www.bmwccahawaii.com
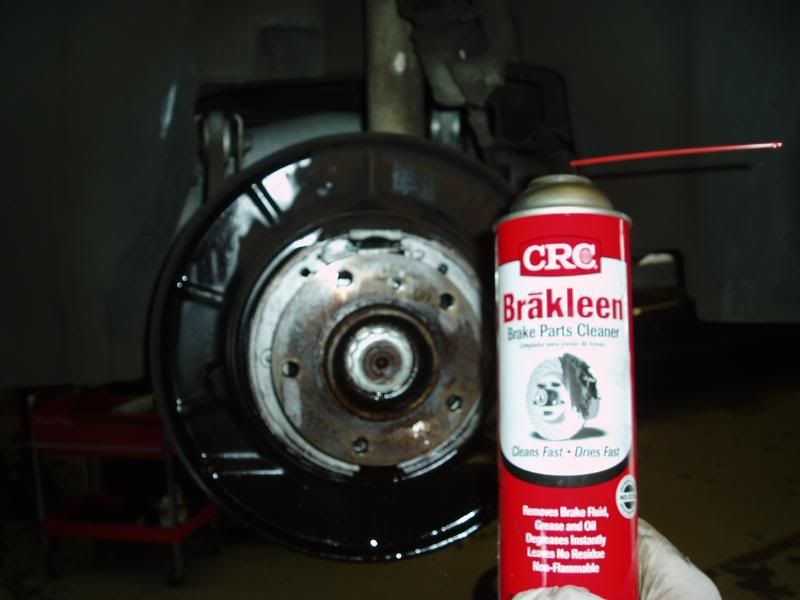
Now is the time to inspect your parking brake shoes and replace them if they are worn. Also clean down the parking brakes and all of their hardware with brake cleaner.
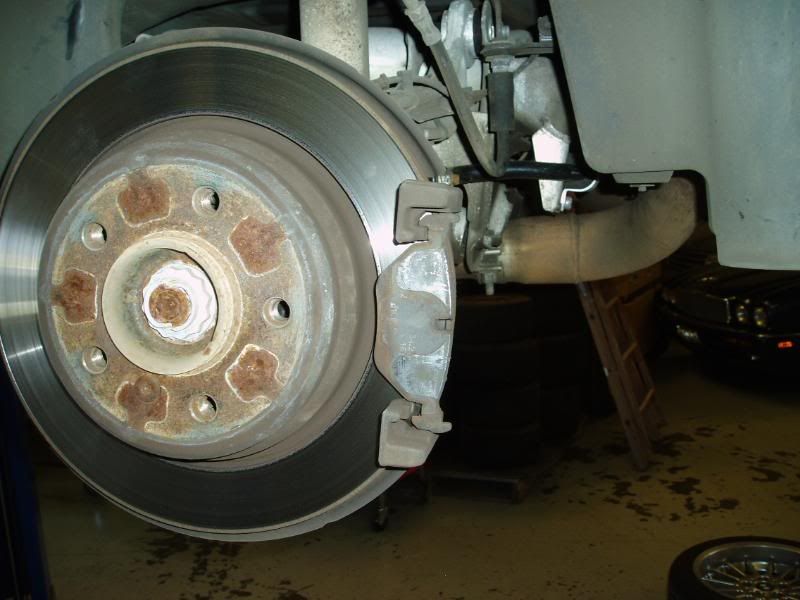
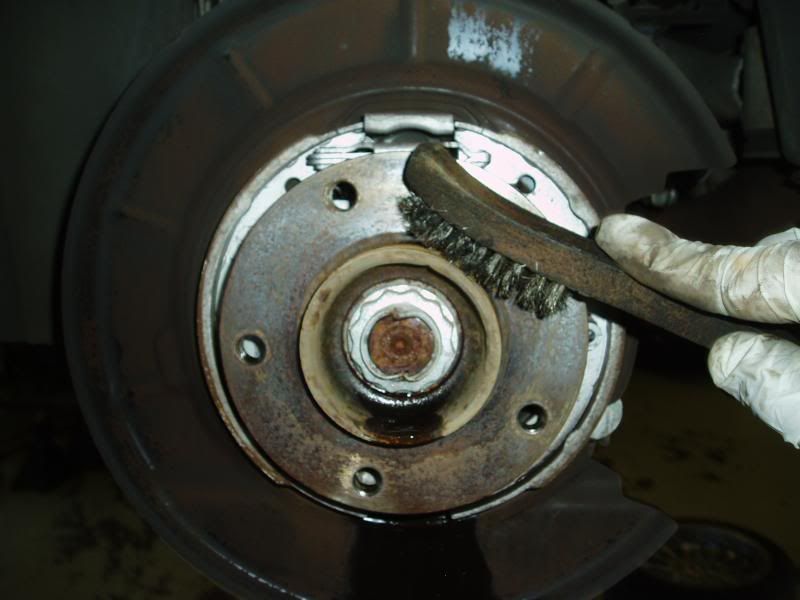
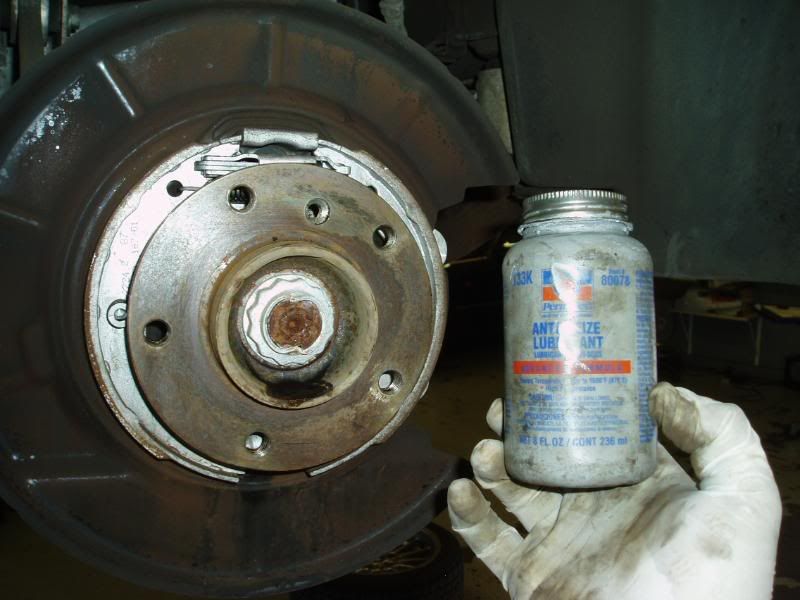
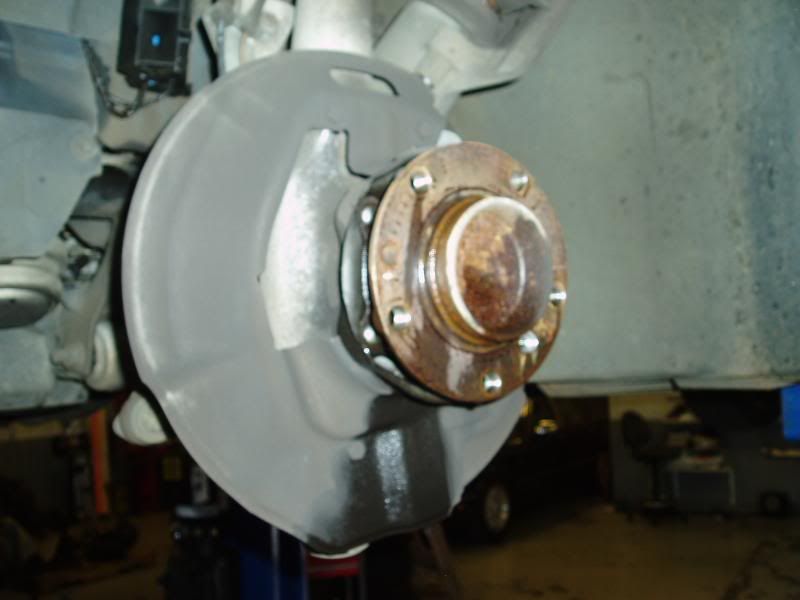
Once the rotor is off use a wire brush to clean the hub.
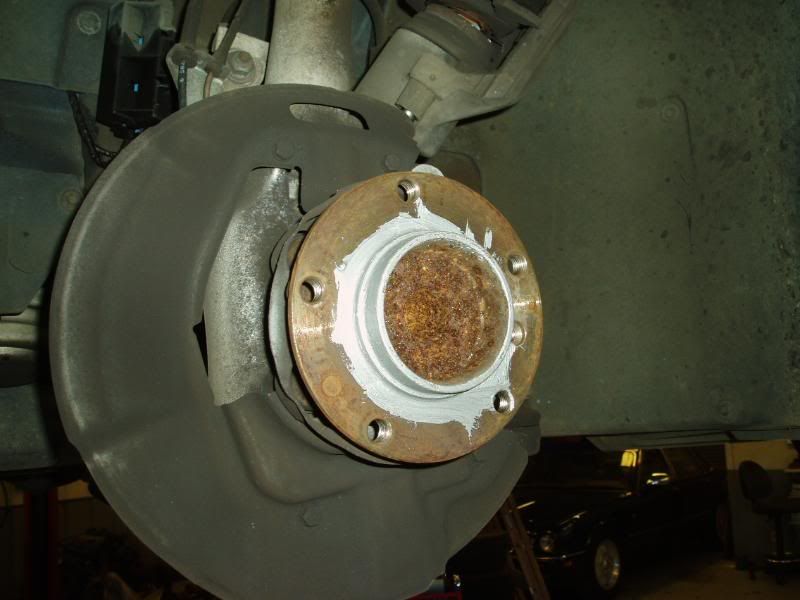
Put a generous helping of anti-seize on the hub so it will be easier to remove the rotors and wheels in the future.
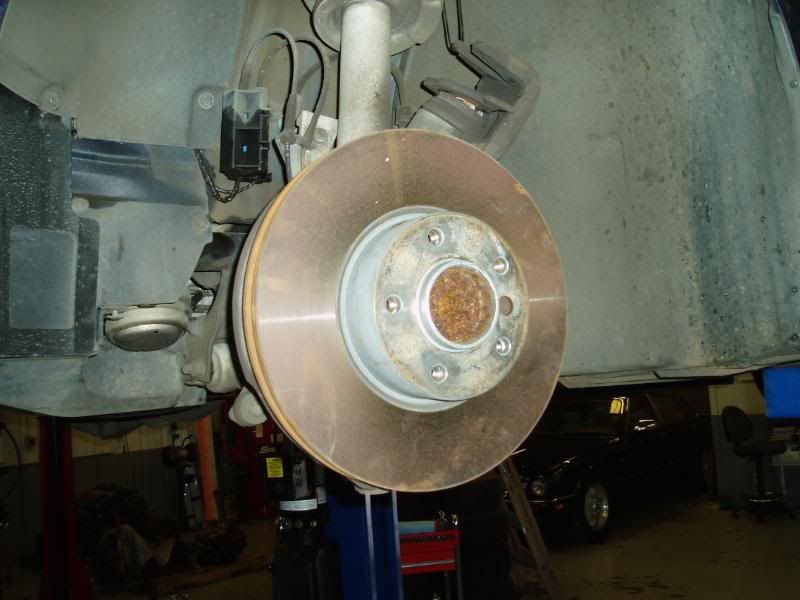
Clean the new rotor with brake cleaner.
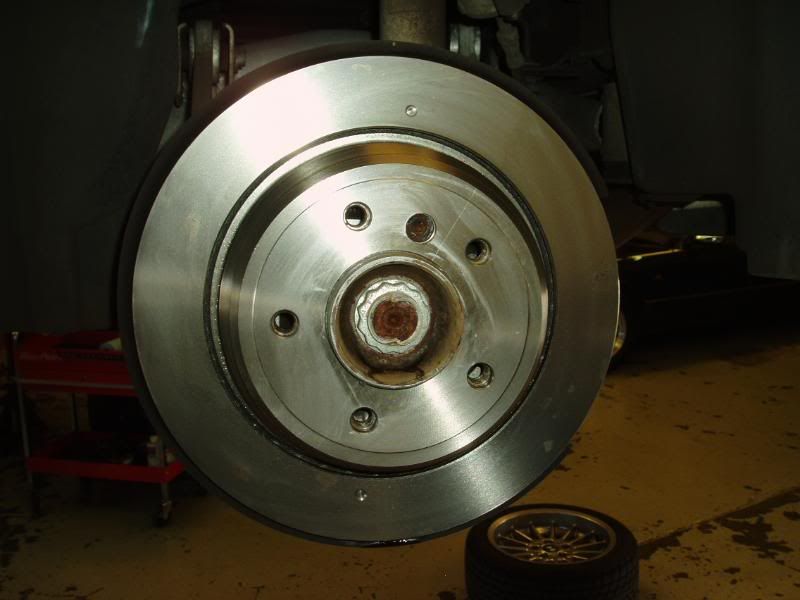
Install the rotor with the rotor retaining screw.
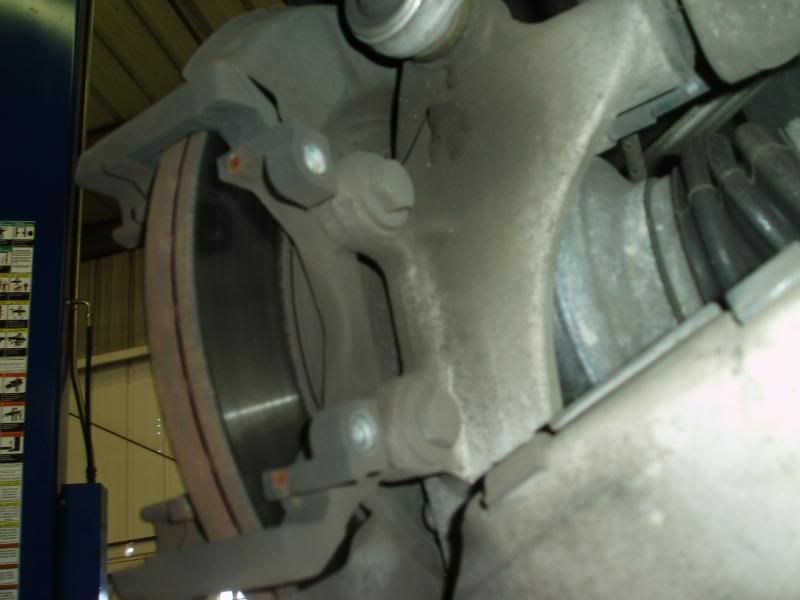
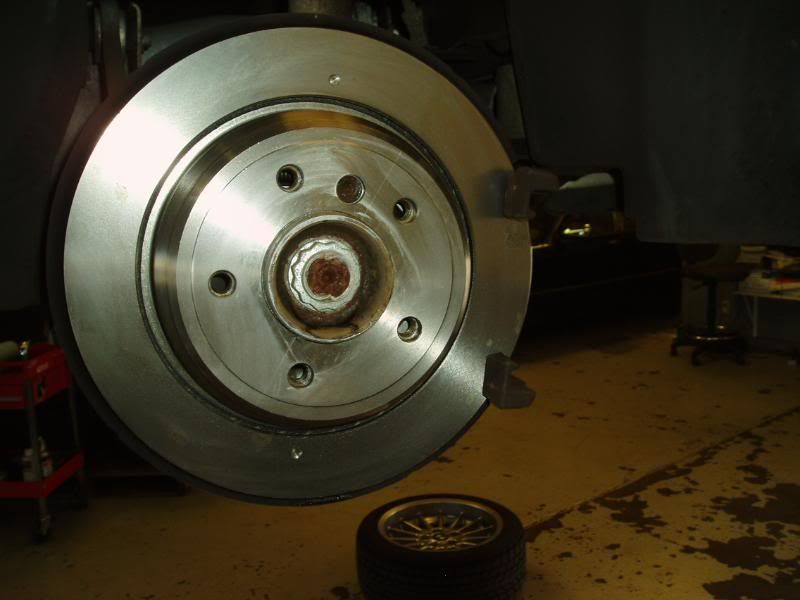
Remount the brake caliper mounting bracket.
Using a piston pusher (or a large C-clamp) and the old brake pad push the brake caliper piston back in. Remove the old brake pad and install the new pads.
Remount the brake caliper and re-install the dust caps after everything is tight.
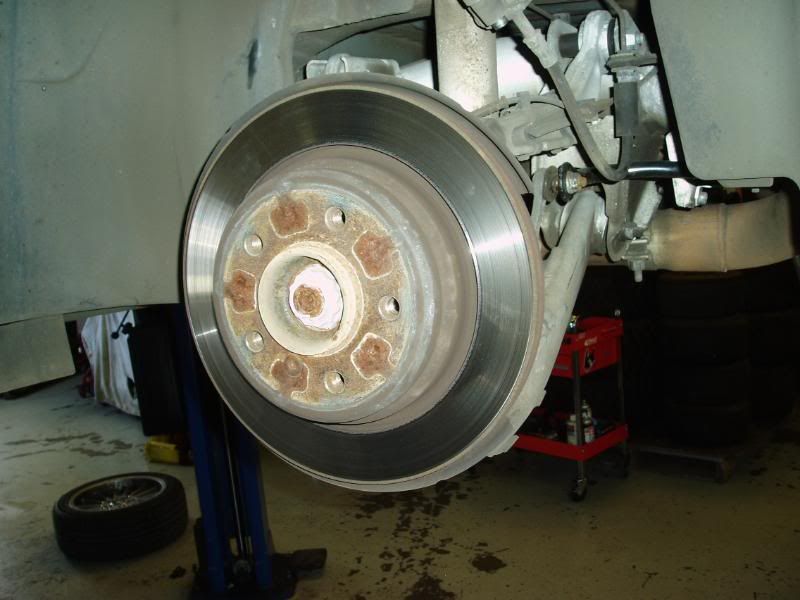
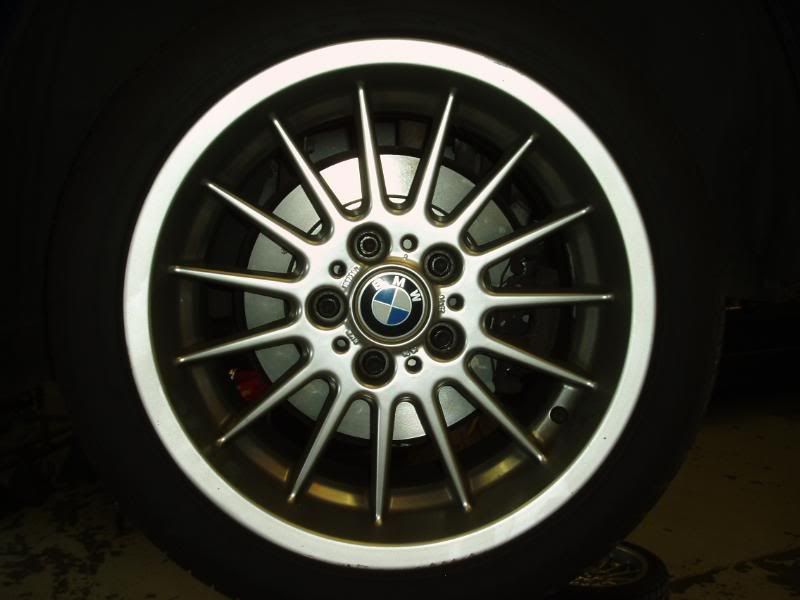
Remount the wheel and torque them down. Spin the wheel to make sure that the brakes are not dragging.
THIS IS ALSO A GOOD TIME TO CHECK THE AIR PRESSURE IN YOUR TIRES!
Nick
www.bmwccahawaii.com
You can now move on to the other side rear brake.
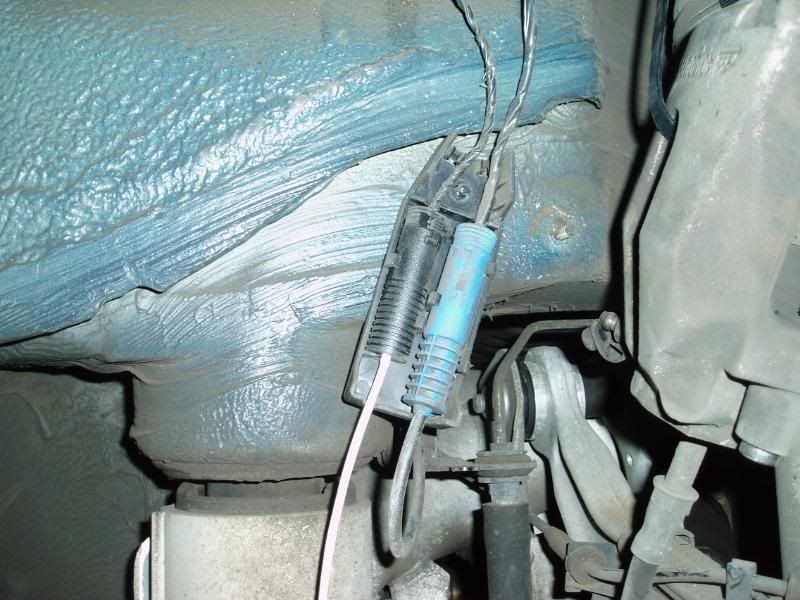
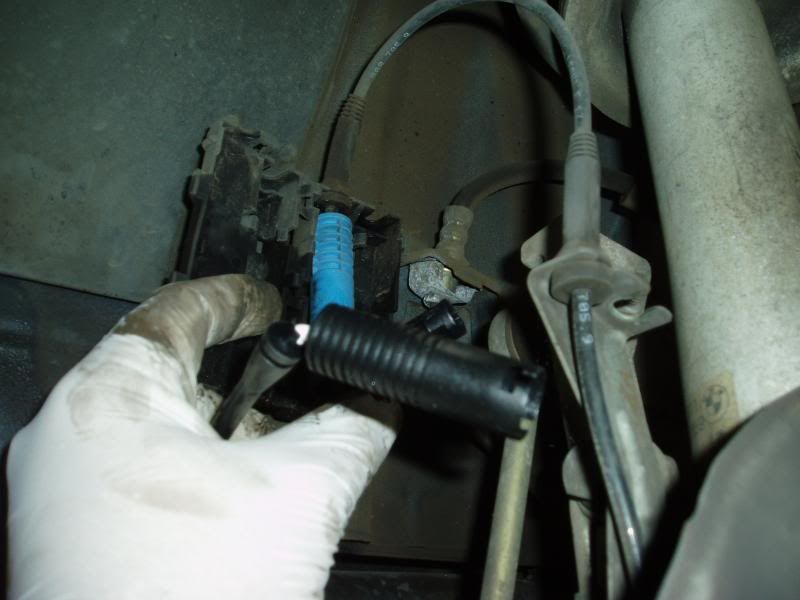
On the passenger side brake pad there is a brake pad wear sensor, this needs to be replaced with your brake warning light is on.
Unclip the sensor from the brake pad. Pull back on the fender liner and you will see where the sensor has a connector. Disconnect the sensor and reinstall the new sensor in its place. Be careful to run the sensor the same way as you don’t want it to get caught by the wheel.
On to the front, check the fluid level in the brake fluid reservoir; if it is close to the top make sure you suck some more out.
Once again remove the rattle clip.
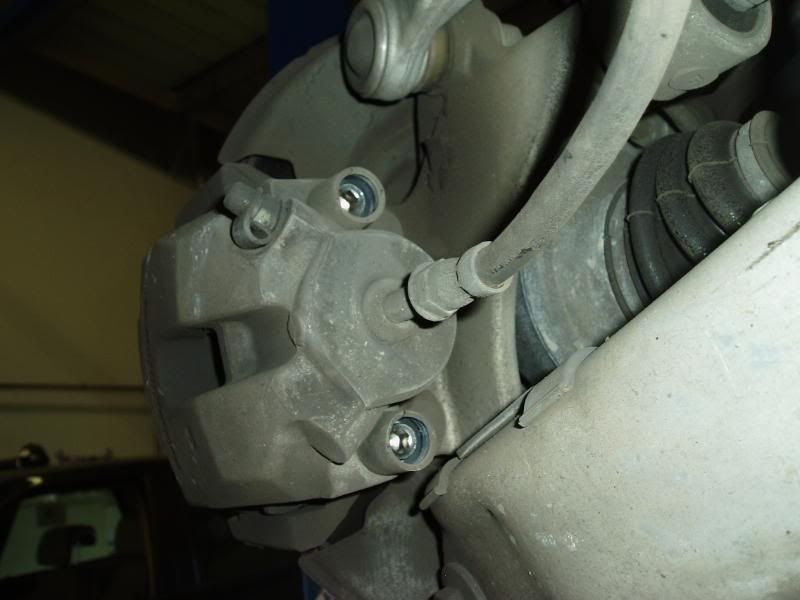
Remove the dust caps from the caliper and unbolt the caliper with a 7mm allen socket.
Hang the caliper from the spring with a large zip-tie.
Remove the caliper mounting bracket with a 18mm socket.
Unbolt the rotor retaining screw.
Clean the hub and coat it with anti-seize.
Clean the new rotor and install it with the retaining screw.
Remount the caliper mounting bracket.
Push back the caliper piston with the old pad and install the new pads.
Reinstall the caliper and don’t forget the dust caps.
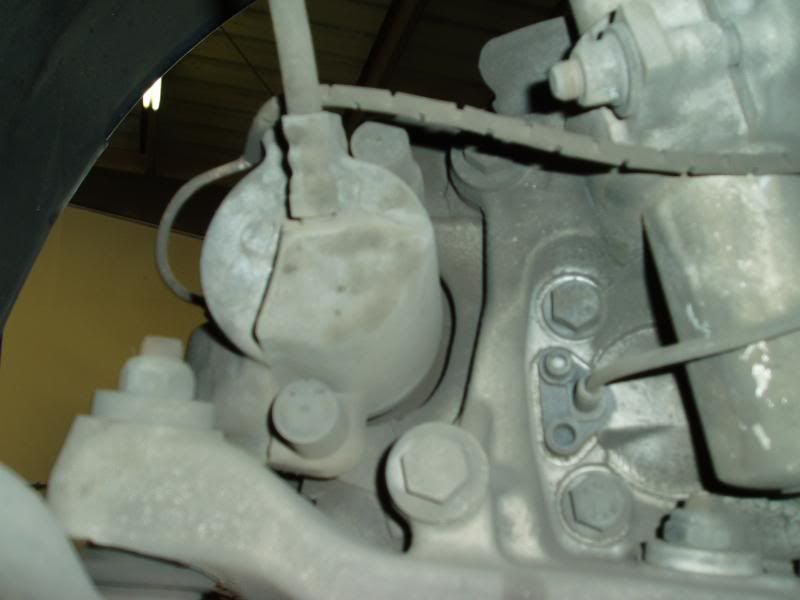
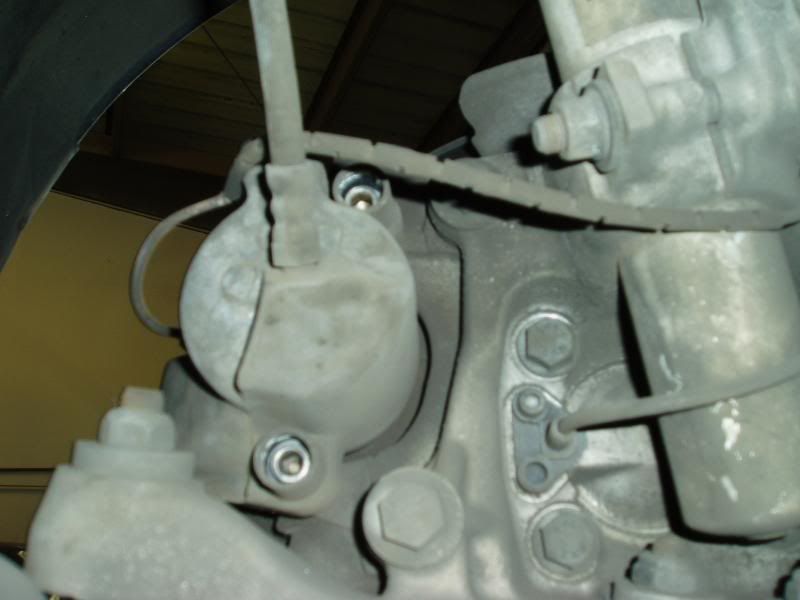
Install the new brake pad wear sensor. The connector is located behind a small plastic box on the side of the fender wall.
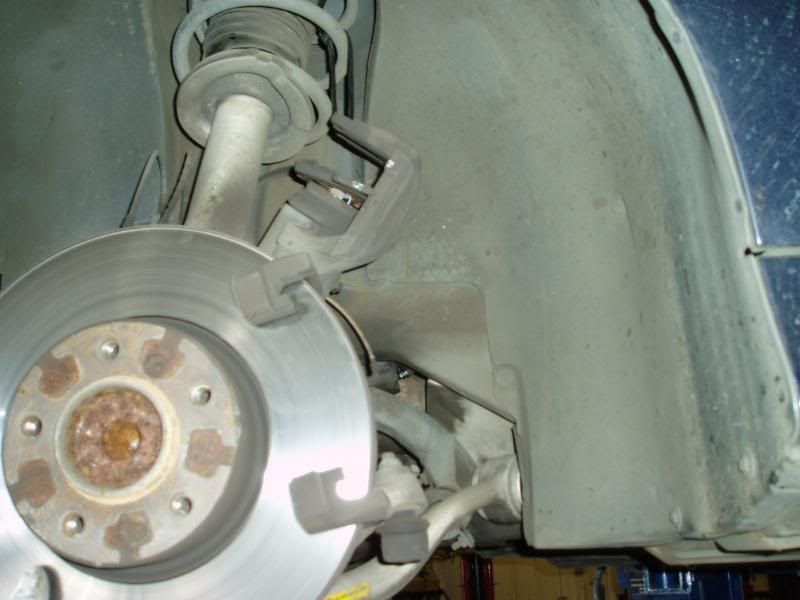
Reinstall the wheel and check your tire pressures.
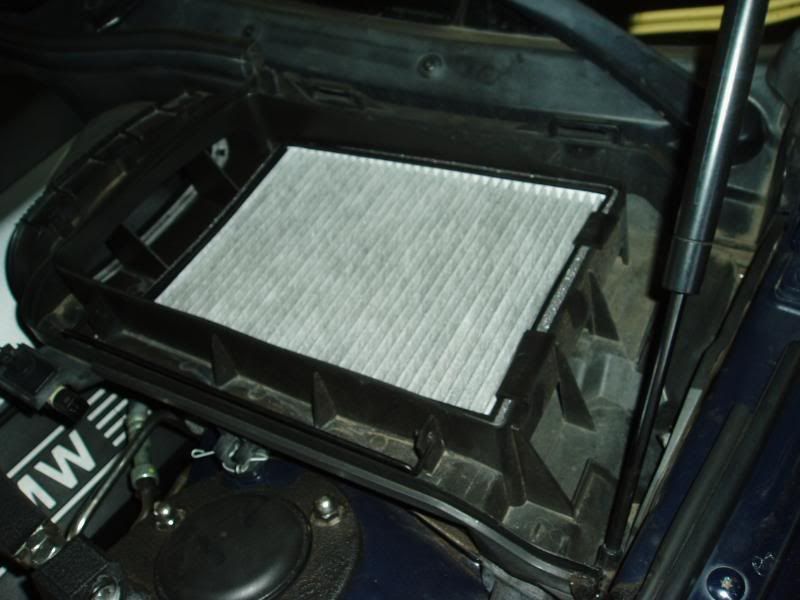
After you are done with that check the brake fluid level and reinstall the cabin air filter housing.
When you get into the car turn the key to the accessory position for 30 seconds, this will clear the brake warning message.
After starting the car pump the brake a few times before you start off to build up pressure in the brake system.
Now go out and bed the brakes using these instructions:
http://www.zeckhausen.com/bedding_in_brakes.htm
Congratulations your brake service is now complete, sit back have a beer and admire your work.
Nick
Member
Excellent write-up.. Thanks for sharing.
been there done that...
Great info, I love when DIYs like this put more confidence in people that are scared to do anything. They can see how not hard it is @ all
(oOO\(|||)(|||)/OOo) /00=[][]=00\
Crazy Cracker
BMW CCA Member
Nice! I like the zip tie idea. The parking brake advice is great.
Greener Grass ---------->
Thanks 1,000,000 times over. I was just getting ready to do my own brakes for the first time and you answered every question for me perfectly.
Member
Excellent write up & pictures. I keep a length of regular home wiring copper wire in my tool kit for hanging the brakes if you can't get the big zip ties. I have also had trouble in the past with the small rotor retaining screws. I've sold my E36 sedan and am looking for a 5'er so this will provide some support for me in the future. Didn't realize the fluid rez was under the cabin filter.....Well at least the filter cabin is easy to get to as opposed to the diabolically difficult position of the E36 filter
Again, thanks for the pics
Member
Hello all, I just want to say " BIG THANKS" for this wonderful write-up..I just did my rotors/brakes this morning..I can believe how easy it's to follow this this write-up and finished the work around 4 hours (first timer). YOU GUYS ROCK!!! THANKS!
Member
nice this is what i like to see!!!! thanks alot
FS:NEW_BF_Goodrich_245/35/17
Miami Performance Inc.
Good write up! People should no longer ask how to do brakes!
'02 E39 530i/5sp Topaz Blue/Black Interior - MegaSquirt3x - Garrett GTX3582R turbo - E85 fuel - Apex FL-5 - 265/295 tires - Custom Porsche Brembo BBK - 600whp @ 22 PSI
'15 E84 X1 35i M Sport Alpine White/Coral Red Interior - H&R Sports & Bilstein B6 - Velgen VMB5 - 265/305 tires - ETS FMIC - MPI Charge pipe & DME Flash - 3.5" down pipe
Need a new Cat...
Should park this thread..
Rollin' Down Rodeo
Member
i just changed my pads yesterday all around...put on the axxis delux ones...
how did you manage to get the bottom hex nut for the caliper on the rears?
I had to use my floor jack to jack the rear wheel hubs up (compressing the suspension) in order to get to the bottom hex nut....
i also noticed the ratchet you're using...maybe using a different one similar to that may have helped...
nice write up....
if anyone in the bay needs help on this let me know....
i can offer up my tools and impact wrench (i just need a reason to use my new power tools!
2003 540i M-Sport - Sterling Grey/Black LeatherGPS | PP | Rear Shades | Intravee II | Valentine 1 | 35w ProLumen HID Fog Lights w/3000k bulbs | 35% Formula One Pinnacle Series Ceramic Tint | Eisenmann Race Exhaust 2 x 83mm | Eibach Rear Sway Bar | Weichers Front Strut Tower Brace | Racing Dynamics CAI | Stealthone | Sound by Focal/JL Audio/Arc Audio
DPE Wheels for Sale....
http://forums.bimmerforums.com/forum...5#post26952145
Was Jo@EuroDyne...
i love the zip tie idea!!! =) i've always used some kind of a foot stool to have my caliper rest on something =P...
ronin009, great write up!!! =) i will have this "CTRL + D'd" So whenever people ask about DIY on brakes, this will be a great point of reference...
from now on, whoever makes DIYs...one must stick with the standards of this DIY...Tons of pics!!! Sometimes, the grammar of our members mislead many of us, lol...a picture is worth a thousand words!
authorized distributors of:: carbon 8 :: mycarrauthorized seller of :: linea corse :: miro design :: dp engineering
please don't hesitate to contact me for your BMW needs!
AIM : eur0dyne || Yahoo : euro_dyne || MSN : eur0dyne
Email : sales@euro-dyne.com || Phone : (714) 901-5080
Member
yea +1 on the zip tie idea.....!
2003 540i M-Sport - Sterling Grey/Black LeatherGPS | PP | Rear Shades | Intravee II | Valentine 1 | 35w ProLumen HID Fog Lights w/3000k bulbs | 35% Formula One Pinnacle Series Ceramic Tint | Eisenmann Race Exhaust 2 x 83mm | Eibach Rear Sway Bar | Weichers Front Strut Tower Brace | Racing Dynamics CAI | Stealthone | Sound by Focal/JL Audio/Arc Audio
DPE Wheels for Sale....
http://forums.bimmerforums.com/forum...5#post26952145
Dr.Q 007
great writeup, i was in need of a brake job too.
The most fun you can have with your clothes on.
Member
why is so hard rear wheele when i jack up and move them by hand in e 34 bmw 525i 1992 ? pls help me
Member
may problem in differ. r in autotransmation may be in drive shaft pls i wait for reply thanks all
License Revoked
Nick, I might be prejudice because I also have a 540i sport, but between using your last DIY on changing tranny fluid and this one- I am so very appreciative of your efforts! The pix are fantastic and the write-up could not be any more easy to follow- just a fantastic job man, you should get DIY of the year award for sure. Thank you~
Bill
www.bmwccahawaii.com
this should be moved up into the DIY section. I am not sure what is going to be coming up next as far as repairs on my car is concerned I have it pretty much sorted out, now.Originally Posted by 540iman

Nick
Member
This is a great DIY, Helped me alot. Thanks
Member
First, thanks you for the great post!
After I did my brakes they worked just fine and then started shaking at about 60-70 MPH...so I got all worried something's wrong and read all I could find online about it. I learned something that I hope will help, seems that you have to "brake in" the new brakes and I'll definitely do this tomorrow. Here's the whole "braking in" professionally explained:
http://www.stoptech.com/tech_info/wp_bedinstock.shtml
Member
BMW CCA Member
just finished all 4 corners...rotors, pads & sensors using this post...never done more than change brake pads on american cars...after i gathered all of the right tools, the job was easy, and like i said, i've never done rotor replacement...1 tip when i installed the front rotors, i put 2 of the wheel studs back in to hold the rotor in place, then i installed the rotor retaining screw, and went from there. all in all...as long as you're able to take your time...well worth the satisfaction...don't forget to break them in, too
 Posting Permissions


 Reply With Quote
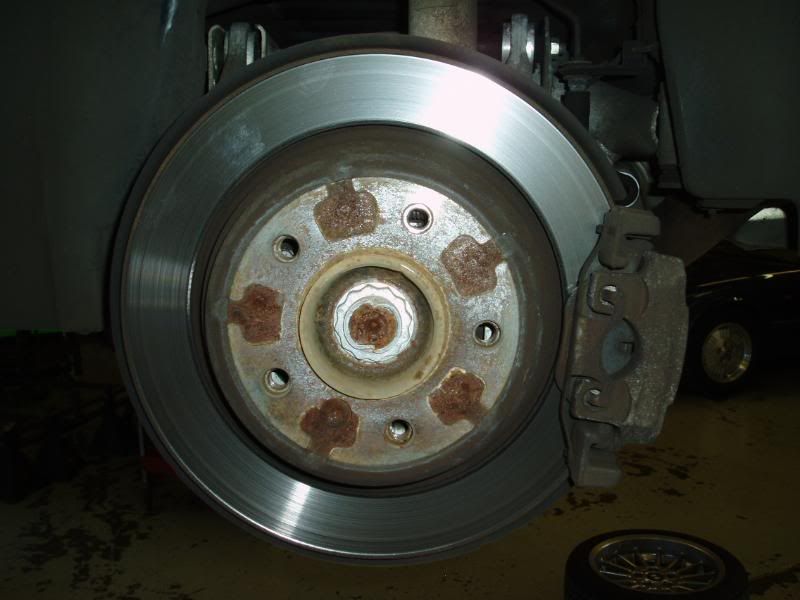


 IMO, the fewer parked threads there are, the better.


Bookmarks