
 sudo make me a sandwich
Preface:
OK, so I know a lot of people agree with me when I say that wood trim does not look good, especially against my black interior. So, I set out to fix that problem. This will take you all night, though 85% of your time is spent just waiting for paint to dry.
Part 1: Ingredients
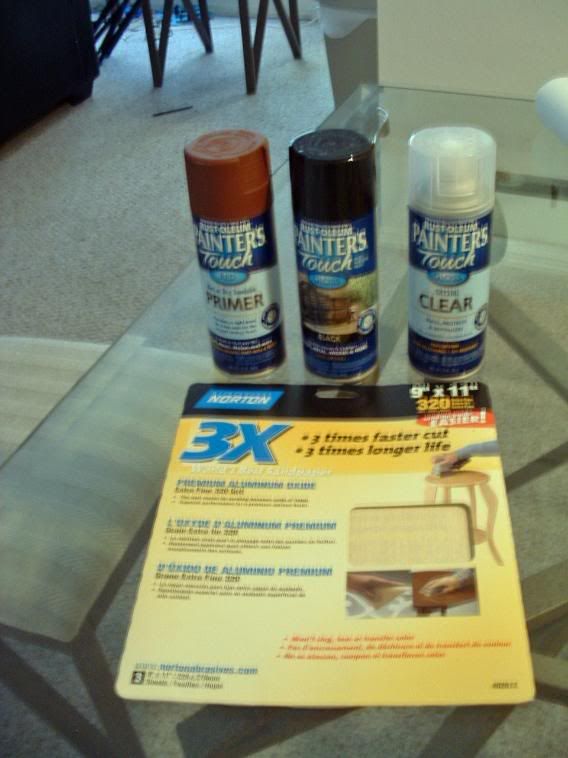
Ingredients:
·1 can Primer Spray Paint
·1 can (your choice color) Gloss Spray Paint
·1 can Clear Coat (Optional)
·320-400 grit sandpaper
·3000+ grit wet sandpaper (optional, bluebimma recommends it)
·Any safety stuff you normally use for painting
·Two seasonal Sam Adams beers (Oktoberfest ftw)
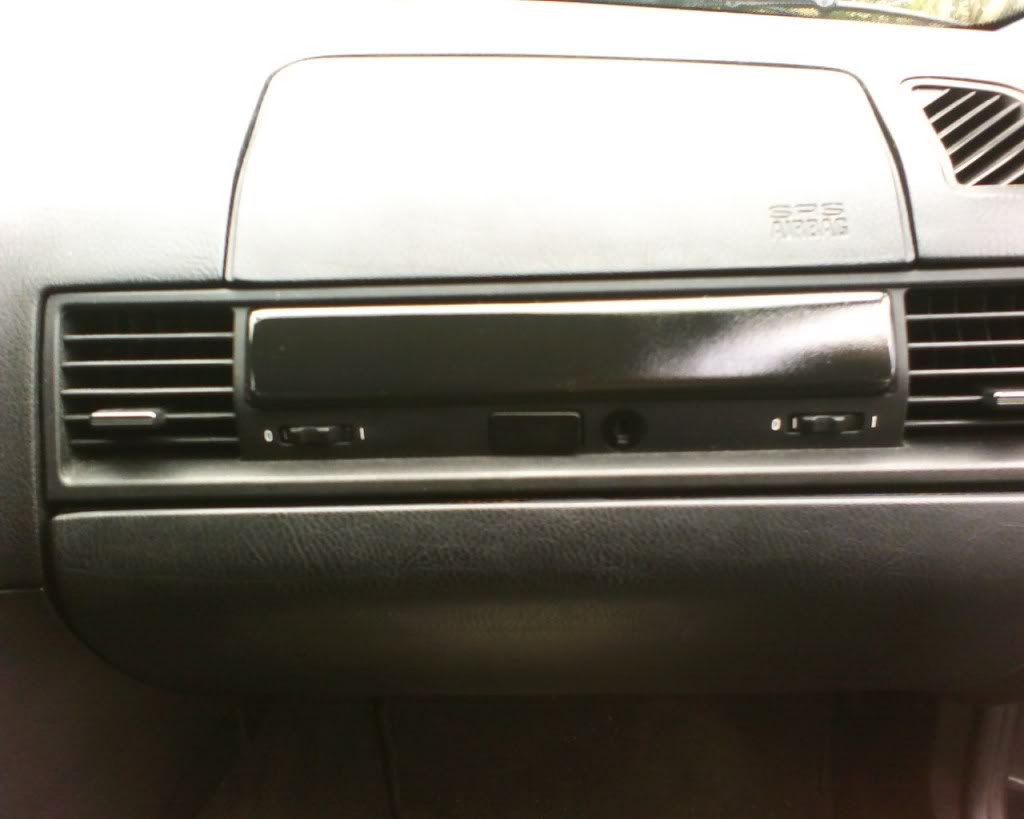
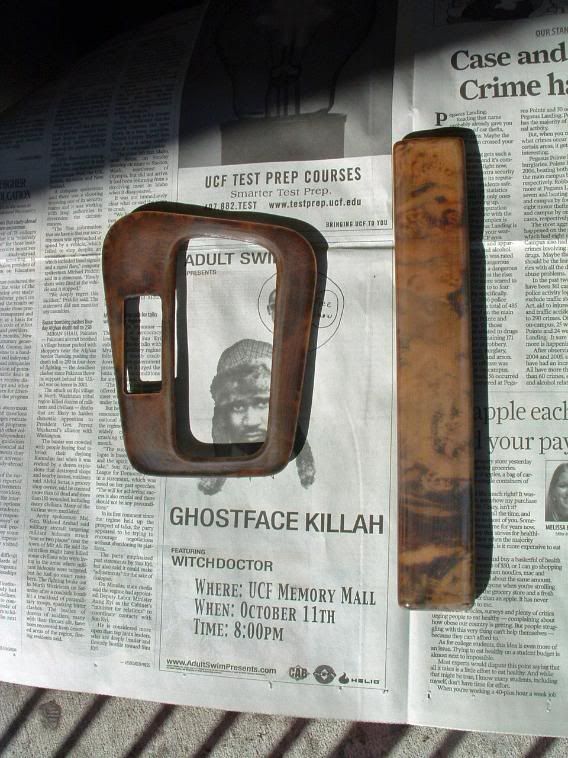
Note: In my car there were four trim pieces that were wood. Glove box, shifter, shifter surround, and sunglasses cubby. I replaced the shifter with a leather shift knob, and I could barely see the sunglasses cubby since there is always crap in it, so I decided not to bother with it. I also didn’t feel like messing with those vertical rubber pieces, so it is being left out.
Part 2: Removal
The glove box trim was easy enough. There are three plastic clips which hold the trim to the glove box. I simply pulled the left, middle, and then right. It popped right off.
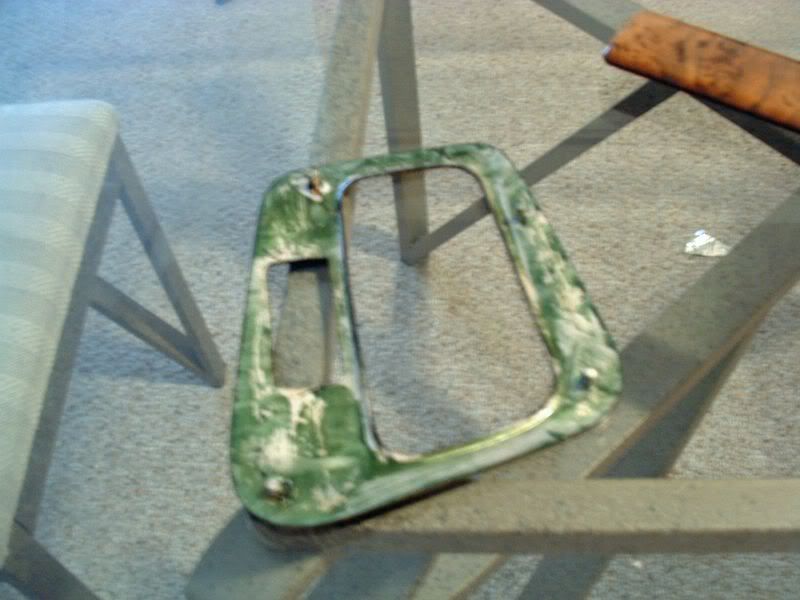
Then I moved to the shifter surrounds. The shift knob needs to be removed (hex on the back of the shifter, and then pull straight upward), and then you can just fit a small screw driver into the top left corner and pull upwards. It should pop right out. Others have mentioned you can go in through the OBC/sunglasses holder, but this method worked fine for me. Unhook the two wires. I then took the entire assembly inside, and took a good look at it.
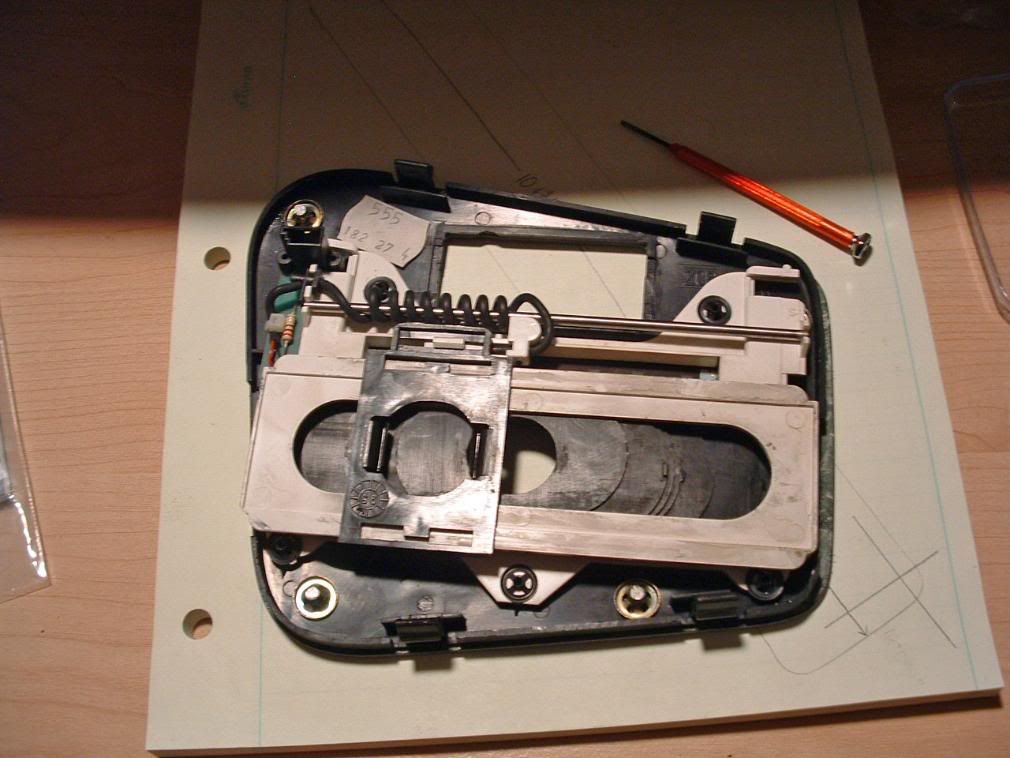
You will see 5 black metal fasteners, and 4 larger gold ones on the underside of the shifter trim.
The gold ones are responsible for holding the wood trim to the shifter, so those are what you need to remove. However, one gold fastener is not accessible without first removing the plastic held on by the black fasteners. I did this by using a very small screw driver (one of those you get in the eyeglass kits) and bending each separate tooth biting onto the center away, so they were no longer making such hard contact. Then I used a little force, and a circular motion to basically spin them upwards and around until they were off. The same method can be used for the gold colored ones, and before you know it, the shifter surround will be unattached from the rest of the shifter. Note that you could probably skip this step and just tape everything off instead, but I prefer to be able to give it a nice thorough coat, so I opted for this method.
Part 3: Prep
You’ll want to make sure the trim is ready to be painted. I wanted to make sure that the primer would stick, so I used 320 grit sandpaper and lightly sanded off the gloss finish that was already on the pieces-- just enough so when I washed off the residue, I could see score marks.
Part 4: Painting
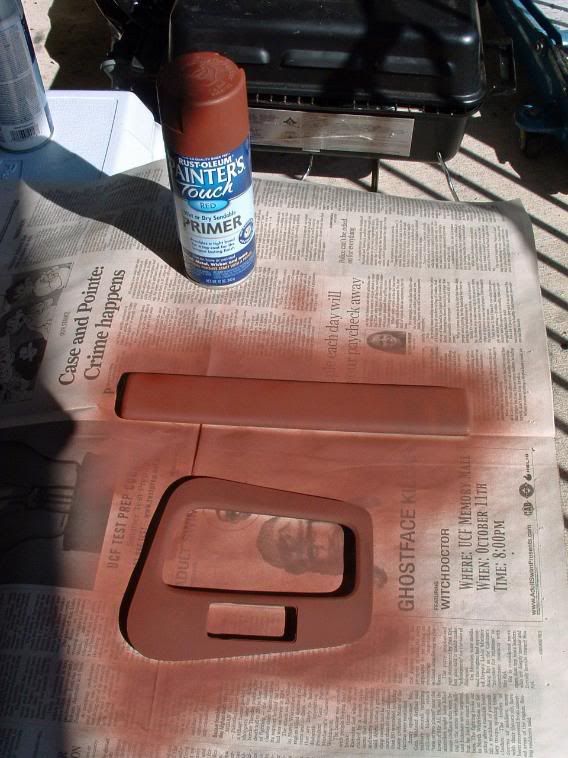
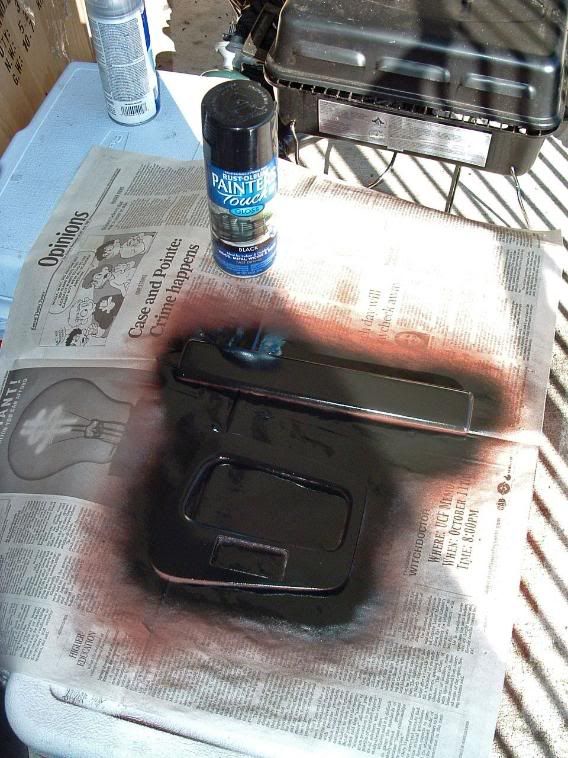
I then took the dried pieces outside (although a garage would probably be a better option, I don’t have one at my disposal). Laying the trim on top of newspaper, I followed the directions on the back of the Primer can regarding shaking and spraying. I applied one coat of primer, which was just thin enough so that you could still make out the wood grain.
After waiting for it to dry (I touched a spot on the newspaper to make sure it would not smudge or show prints, which was about 15 minutes for me in direct sunlight and 85 degree weather), I applied two more thin coats, which gave a very nice base for the colored paint, which was black in my case. After waiting again for the final primer coat to finish drying, I applied two separate coats of black. Then it was two coats of clear coat.
Part 5: Reassembly/Installation
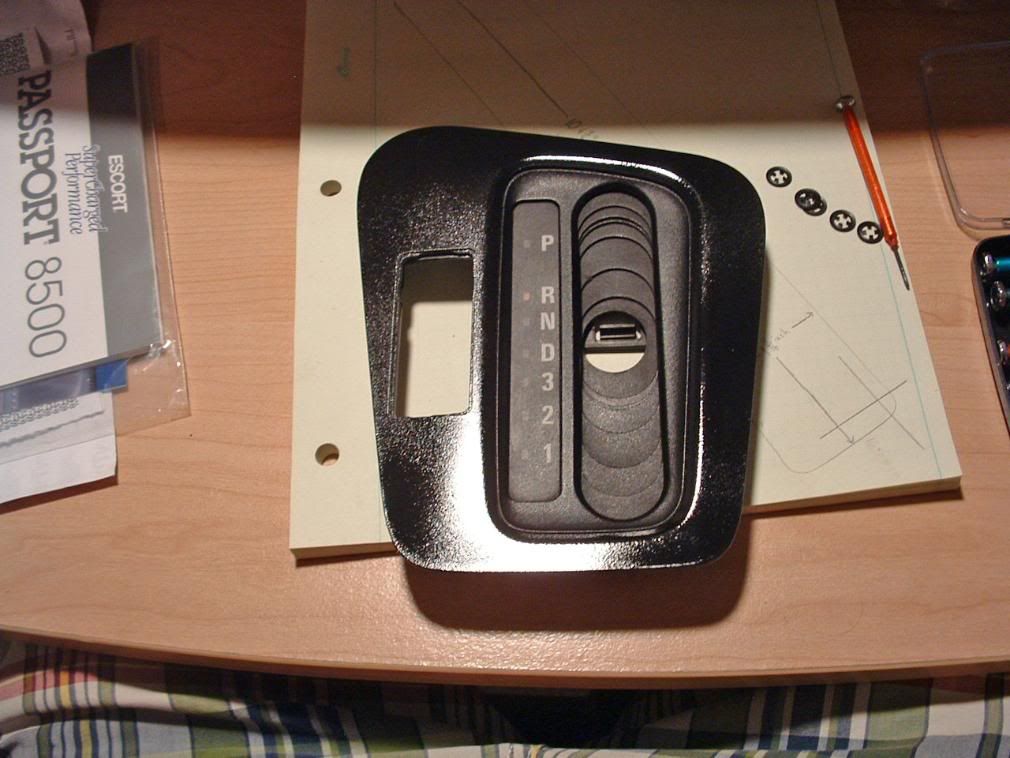
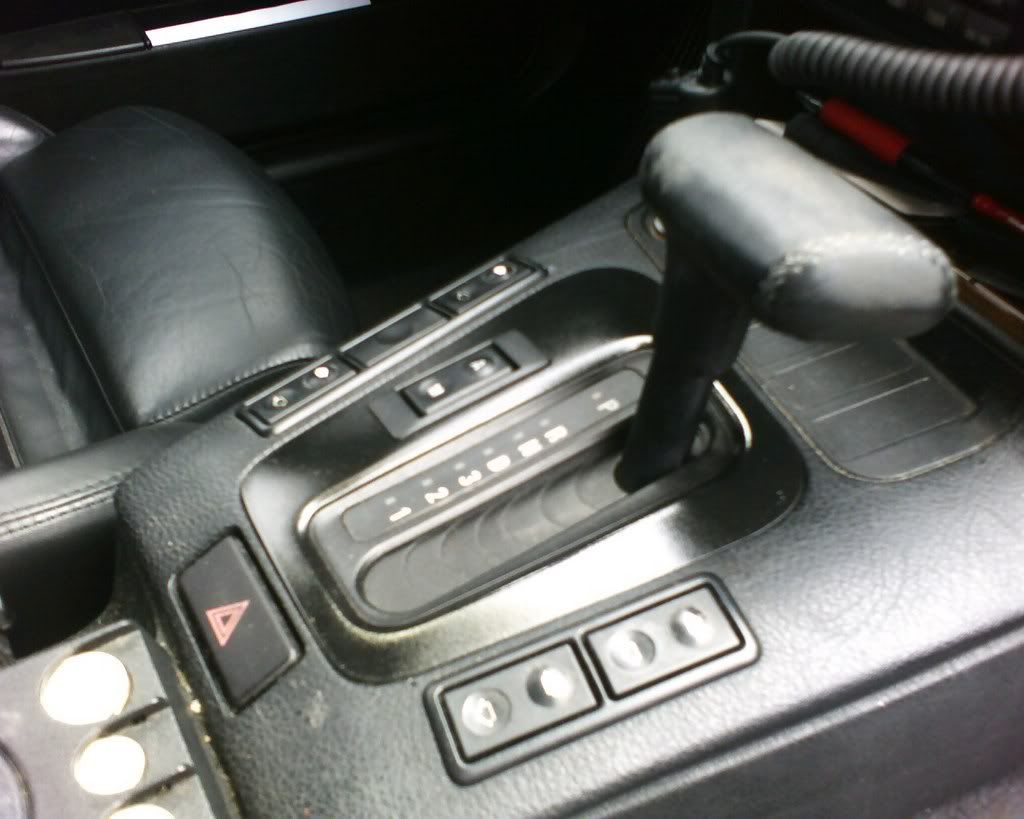
I bent the metal teeth on the 9 fasteners (removed earlier) back towards the middle, reassembled the shifter (after cleaning it up a bit), and reinstalled everything back into the car. It is, like they say, reverse of removal.
Verdict: Black on black looks much better than wood on black!
Last edited by jijacob; 10-26-2007 at 03:56 PM.
Strömung Exhaust // Bilstein Sport/H&R Sport Suspension // Microsuede Interior // 6000k HIDs // Cosmos V2 Intake // Manual ZF Swap // Jim Conforti Chip
Member
Looks a bit shiny for my taste. I think interior trim should be matte unless its made out of stainless steel.
BMW E60 530i & F30 320i
"Its sometimes better to shut up and be thought of as a fool than to speak and have all doubts removed"
sudo make me a sandwich
The trim is not completely glossy, I would put it more at a semi-gloss. I bought gloss paint though, so if you want a more matte finish, there is a paint for that.
Strömung Exhaust // Bilstein Sport/H&R Sport Suspension // Microsuede Interior // 6000k HIDs // Cosmos V2 Intake // Manual ZF Swap // Jim Conforti Chip
Member
I just did that too...except in silver. You should have used duplicolor. I did the sunglass cubbie shelf, the obc surround, and the heater control surround as well! Pics to come soon! Looks better for sure!
E36 parts for sale...cheap! Click the link below!
http://forums.bimmerforums.com/forum....php?t=1454653
Member
p.s. I know how to make the auto shift surround line up when you put it back on...I think you said you messed yours up when you took iot off. I'll check this thread again later so if you need help doin that just say so in a reply!
E36 parts for sale...cheap! Click the link below!
http://forums.bimmerforums.com/forum....php?t=1454653
Member
Looks great! Also, if anyone wants a stock black trim, I'd be interested in trading mine for a wood one.
-Gian
'99 M3, '07 S80 V8
floomanchu.
Before any others ruin their wood trim, my dad is looking for some to buy.
He just has tan plastic..
'84 325e 32k miles | '98 328i 68k miles | '01 Z3 74K miles | '99 F150 64k milesPSN ID: Trevor-TC2
We retrofit headlights, code BMWs, rekey locks and thoroughly detail cars. Interested or curious? PM us.
Member
I'm down with the trade too, I'll swap my gray glovebox trim for wood any day...PM me if interested
Member
look completely horrible.. Not the paint job.. The Auto tranny .. J/K
sudo make me a sandwich
I knowA manual swap is down the road at some point for me.
Strömung Exhaust // Bilstein Sport/H&R Sport Suspension // Microsuede Interior // 6000k HIDs // Cosmos V2 Intake // Manual ZF Swap // Jim Conforti Chip
Member
That looks so horrible.
sudo make me a sandwich
Originally Posted by rob20081


I can tell from that being your first post on this board that you are going to be a fine addition to the bimmerforums community.
Last edited by jijacob; 04-27-2008 at 04:33 PM.
Strömung Exhaust // Bilstein Sport/H&R Sport Suspension // Microsuede Interior // 6000k HIDs // Cosmos V2 Intake // Manual ZF Swap // Jim Conforti Chip
resident
good job man...i did that too before i got rid of my auto shifter surround completely and made this
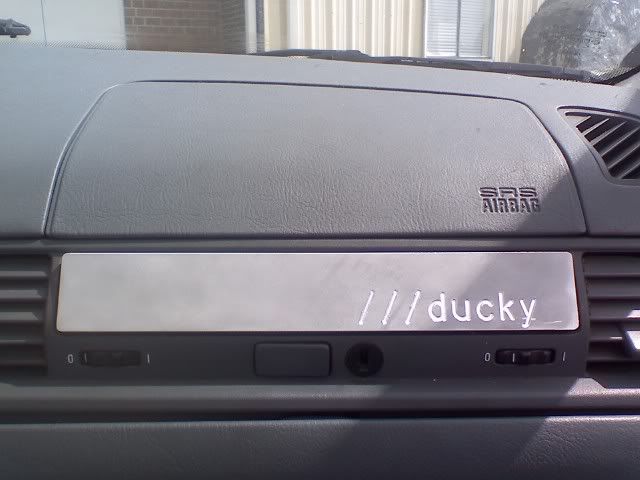
-ducky
Member
I think it would look so much better if you put a few coats of clear on it, wetsand it and then polish it.
Member
I think the wood looked WAY better. But to each his own. Some like Blackout. I prefer black only if you accent it with something. ....Like wood, or aluminum, or Something. For what you did, going to black, it looks good.Just not for me.
Member
good job, but i really like my wood trim, I guess I see the point about wood on black though.
Member
Good effort on the DIY. Not a big fan of the gloss look. What the durability like? scratches etc?
1 active member.
BMW CCA Member
just did mine and used a matte finish. no gloss. look into it.
BMW - MagnaFlow - K&N - Beyern - Depo
- Pic Comming Soon -
License Revoked
Awsome im going to do this ill post pics!
1 active member.
BMW CCA Member
almost done with mine. putting the matte spray on it. then ill post pics
BMW - MagnaFlow - K&N - Beyern - Depo
- Pic Comming Soon -
Member
I LOVE MY WOOD! Each to their own i guess
License Revoked
hhmm i might cnsider getting rid of my wood trim now
ive never really liked but honestly have been too lazy to do anything about it
i thinked i prefer the matte to the gloss too
Member
eh. Looks okay. Would do on my ghetto ride but i'd have to take out the whole dash
Member
I like what u did. If I have a convertible, do you think the paint can withstand the heat of the sun over time?
Super Warantee Voider
How about we swap instead? I'd like the wood trim instead of the black.
 Posting Permissions


 Reply With Quote


Bookmarks