
 Member
<marathon post>
This will detail how to install BMW cruise control into a non-cruise-control-equipped 1998 m3 with a manual transmission, which should apply to most manual m3s.
disclaimer: this is not for the mechanically faint of heart. I’m not responsible for you or anything you do.
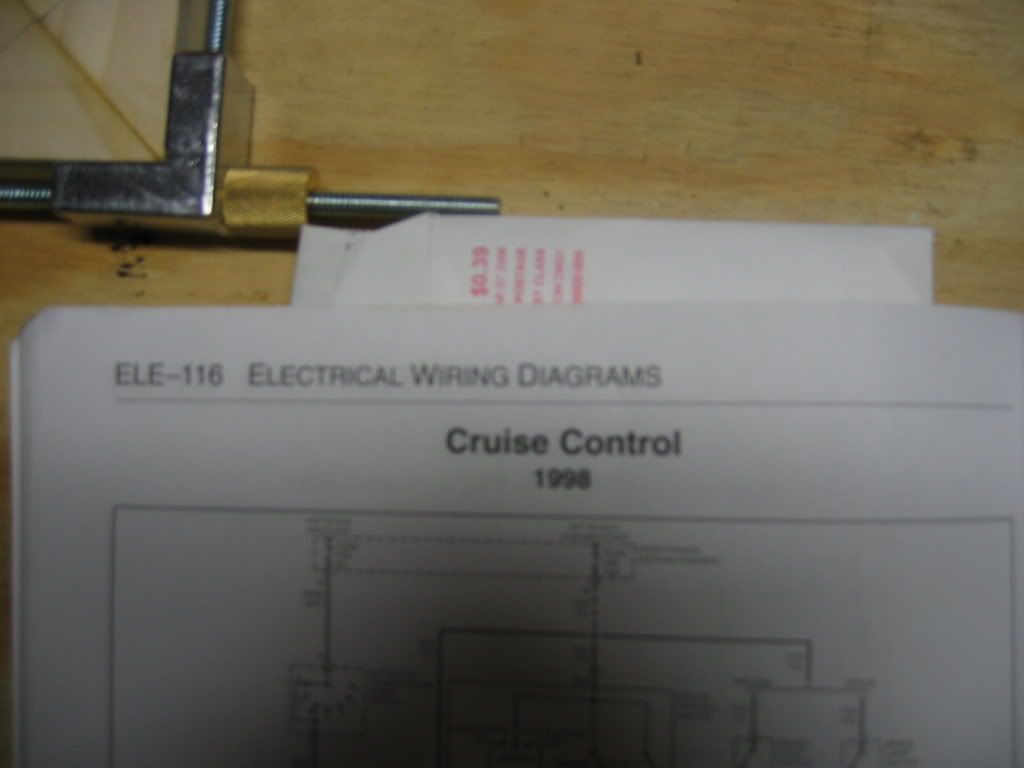
So, after buying my ’98 m3 late January, and realizing the M didn’t have cruise control, I began researching. Cruse is a must for the long driving I do, and to keep my mpg up and tickets down. From some guys on bf.c, I was able to snag BMW cruise retrofit instructions, which basically laid out where the components go, routing of the wiring, and had a rudimentary wiring diagram (more like a table…). Combining the detailed BMW installation figures with my bentley’s awesome wiring diagrams, and a little bit of research, I scrounged up all the info I needed to get started.
Here’s the killer: I was able to pick up all the parts I needed from a junkyard for $100 even, which included pulling the wiring harness myself (holy s#it). Buying individual components from BMW will cost you upwards of $500. (short version: buy what you need in a junkyard)
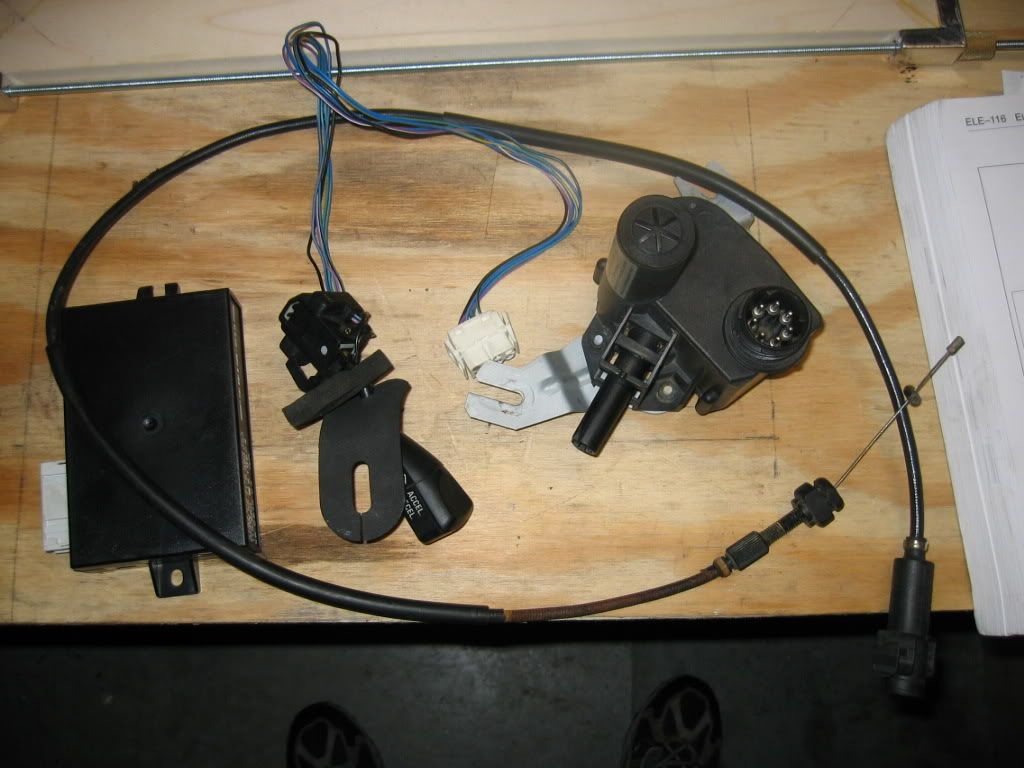
The parts you need are the following:
Cruise actuator
Cruise cable (aka bowden cable)
Wiring harness
Switch (on steering column)
Cruise computer
Clutch switch
Tools:
Ratchet, with sockets and extensions. 10mm, 8mm, 6mm
Flat and phillips screwdriver
Small torx screwdriver (will edit with size)
Must haves:
Bentley manual, bmw instructions
So, to begin:
1. Prepwork:
DISCONNECT THE BATTERY NEGATIVE (-) TERMINAL.
Open the both doors.
Remove the the screws that hold the driver’s footwell cover-thing in and pop the dinger-buzzer loose. It clips into place. Just depress both tabs and push it out. The footwell trim will slide towards the driver’s seat and out.
Remove the driver’s knee bolster by removing the screws that hold it in. remove the metal driver’s knee bolster by remove the 3 10mm bolts that hold it in, and unscrewing the OBD connector.
Remove the driver’s kickpanel/dead pedal assembly by popping off the screw cover on the hood latch and removing that phillips screw. Underneath the latch you will see a plastic fastener. Turn it ¼ turn and take it out. BE CAREFUL NOT TO DAMAGE YOUR SPEAKER. (ask me how I know)
Remove the screws holding the passenger footwell cover in. remove the two screws inside both passenger dash airvents. Open the glovebox and remove the screws around the edge and on either side of the latch. Remove the light cover inside the glovebox to expose the 8mm bolt inside, and remove it. The whole glovebox/airvent/foot cover thing should now come out with a little coaxing.
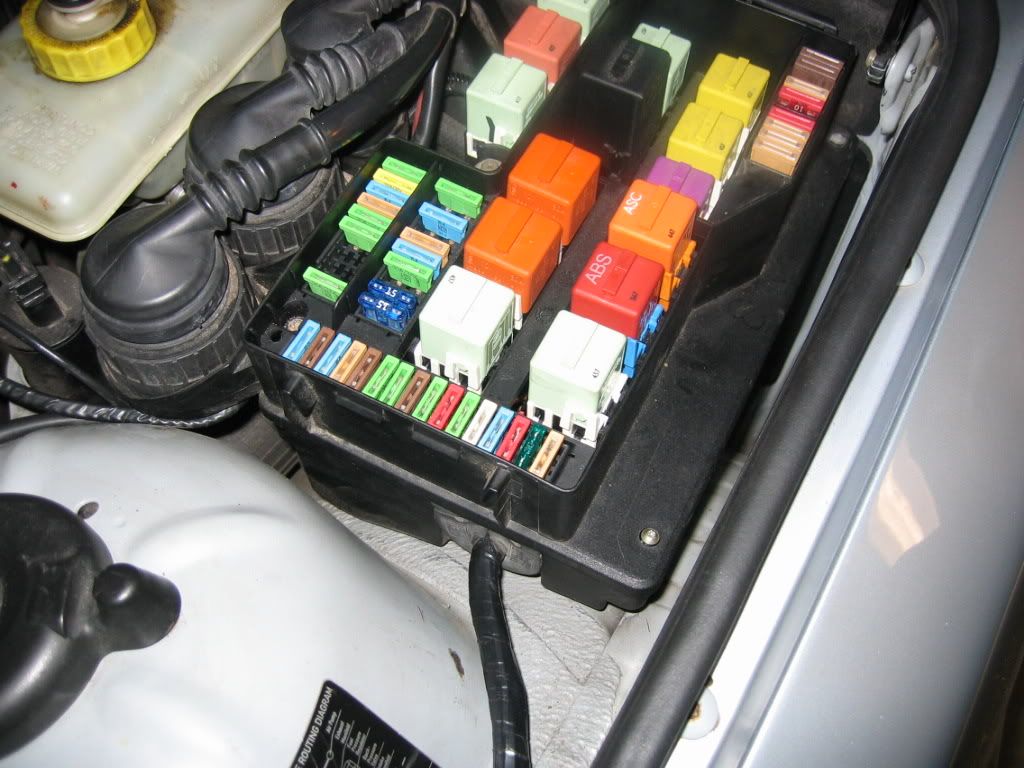
Open the hood. Pop the fusebox cover
2. The hard stuff …aka installing the wiring harness
Wire Harness Prep:
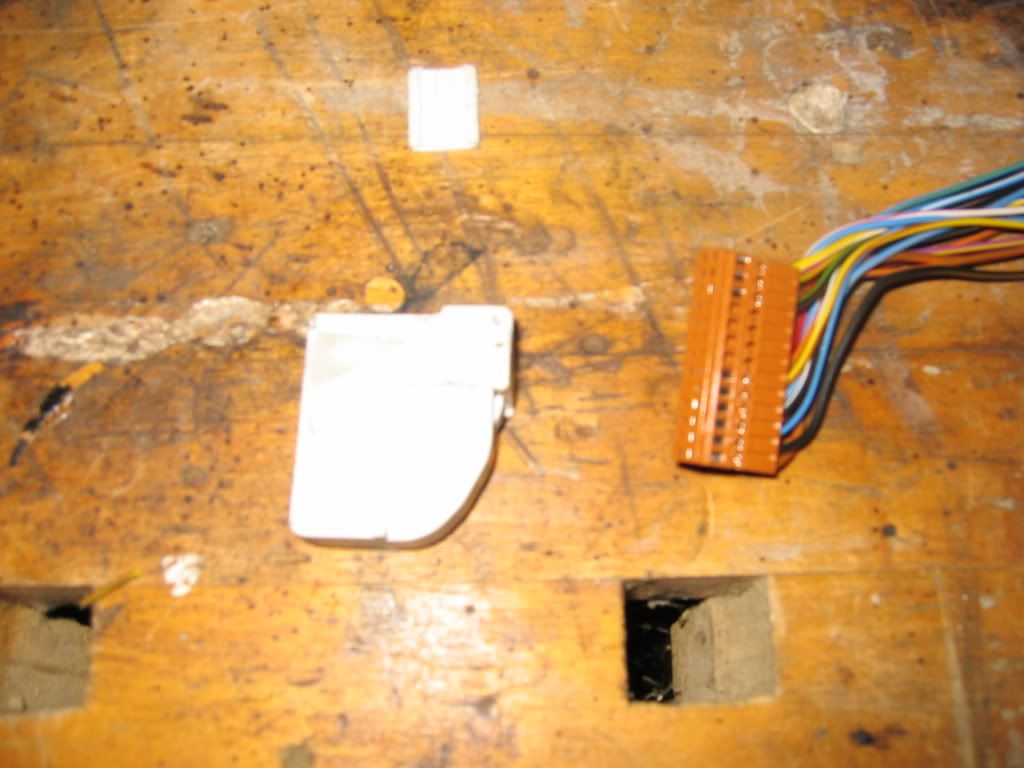
Junkyard-automatic-installing-in-a-manual specific: I, in my infinite wisdom, pulled my junkyard wiring harness from an automatic. This means it has some connections I didn’t need, and didn’t have some connections I did need. This is all detailed in the BMW instructions. The autotranny setup runs a wire to the large harness connectors next to thefusebox. The manualtranny setup requires input from the vehicle speed sensor (VSS) comb connector (solid black wire) (more on comb connectors later). To make my life easy, I opened up the computer-end of the wiring harness (the 26pin camlock cannon plug) and slid out the pin set inside. I used a finepoint awl to remove the autotranny wire that I didn’t need, and put it into the pin slot for the VSS input that I did need. These pin numbers are detailed in the bentley wiring diagram for the cruise control. I just made a note in my head that this wire (VSS, new pin ‘8’ I believe) had to go to the solid black comb connector, and proceeded to reassemble the 26pin plug.
Comb connectors are BMW’s way of distributing certain electrical signals, and its pretty damn ingenious. Having come from doing a good bit of electrical work on a grand cherokee (which I figure is representative of any late 90s chrysler) I was happy to find that they make your job essentially very complicated plug-and-play. They’re a connected array of male spade connectors (very similar in appearance to large-tooth comb) that carry the voltage/signal of one wire that feeds the comb. They’re inside protective plastic sheaths, which I’ll call the ‘comb-box’. Every comb connector I used had 2 or 3 open spades, of which the cruise harness used 1 or 2. These comb-boxes are then arranged into a larger master comb connector that hold them in place.
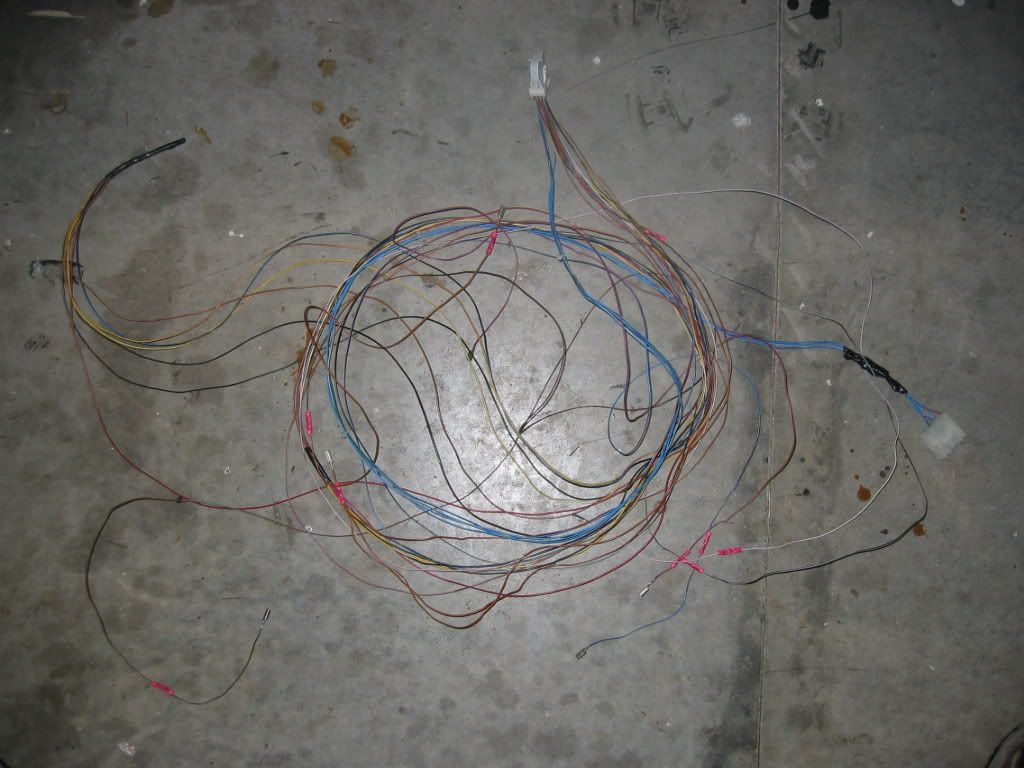
Lay your wiring harness out on the floor. Make sure any wires you cut during removal (except for the actuator end, for now) get reconnected to what you cut them off of. Everythign should end in a cannon plug or female spade connector. You’ll have multiple grounds (brown/red), a VSS wire, brake pedal wire, etc etc. Each wire will correspond to a identically colored set of wires plugged into their comb connector.
Junkyard-automatic-installing-in-a-manual specific: One wire on the auto harness used to be a ground wire. You can either just ground this normally and not have a clutch switch function (what I did) or you can buy the clutch switch from a dealer, run the wire to one terminal, and ground the other end. My rpms jump a little when I depress the clutch pedal while in cruise, but the computer shuts off the cruise control after a certain rpm increase anyway. I grounded the wire to the driver’s side comb connector instead of the passenger connector like it was in the junkyard auto so that I can eventually just install the switch.
opening up the 26pin:
Last edited by paulkeith; 05-04-2009 at 12:22 PM.
tow: '02 F-250 7.3L powerstroke, 6spd manual, Ext cab short bed. Leveled, chipped, intake, exhaust, BFG KM2s
dd: 1998 5.9 Grand Cherokee
old ride: '98 M3 5spd Coupe. arctic on black. ssr, uuc, zkw w/ philips.
older ride: '98 M3 5spd Coupe. estoril on dove...RIP 1/2/06
Member
Routing the harness
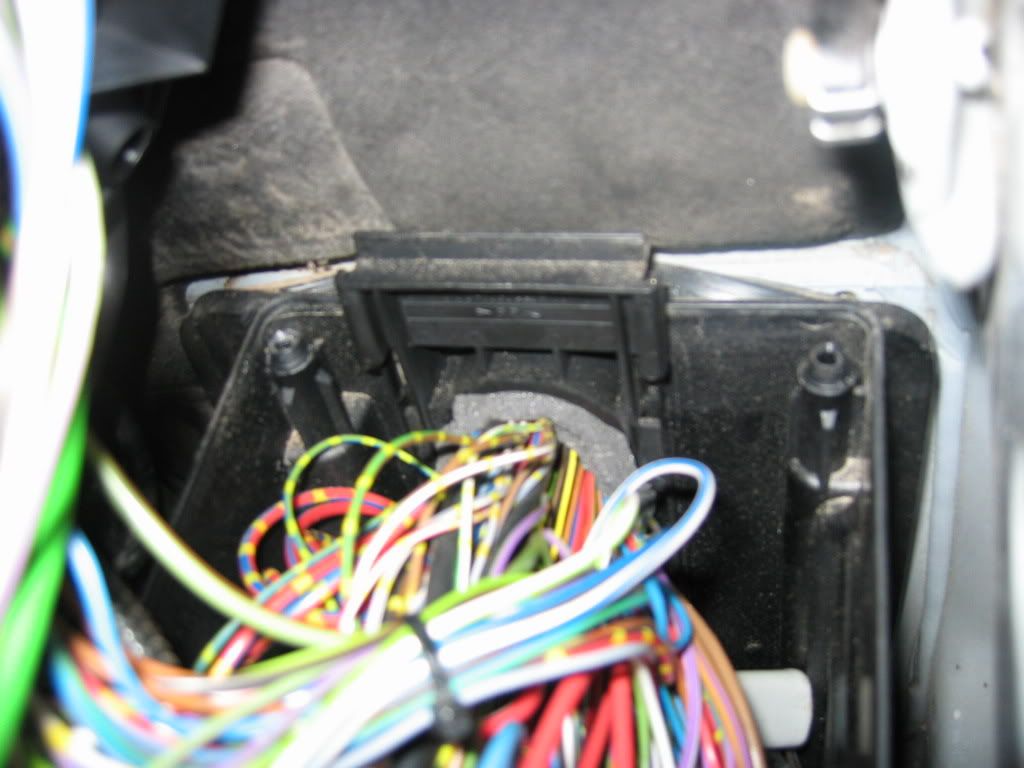
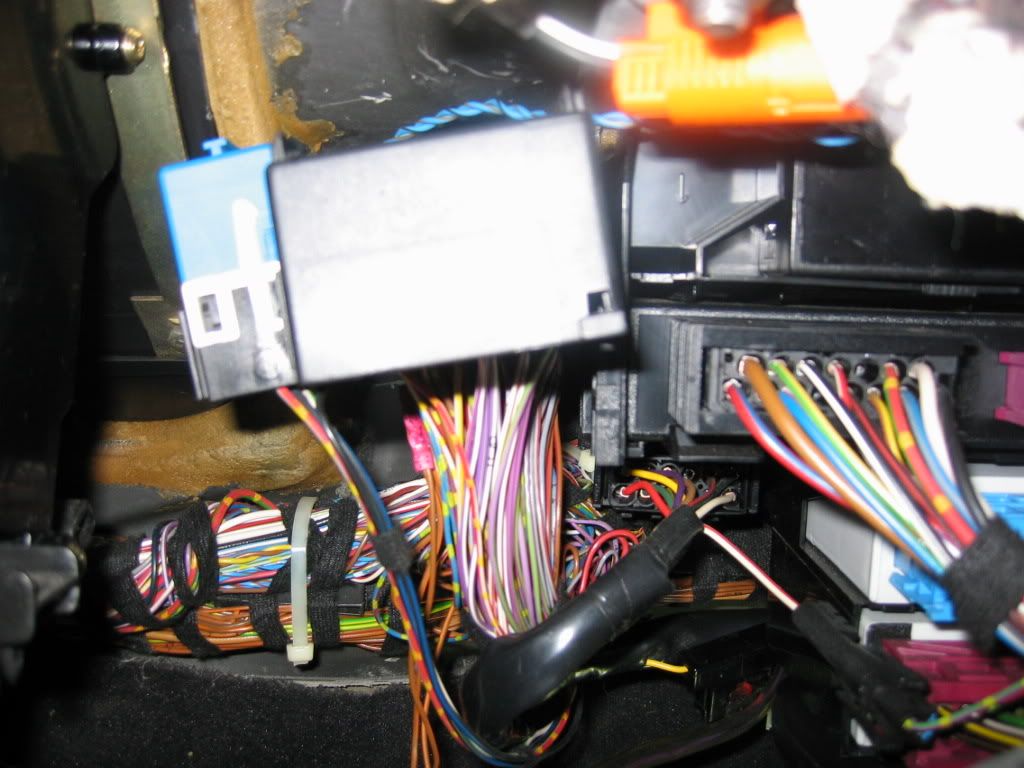
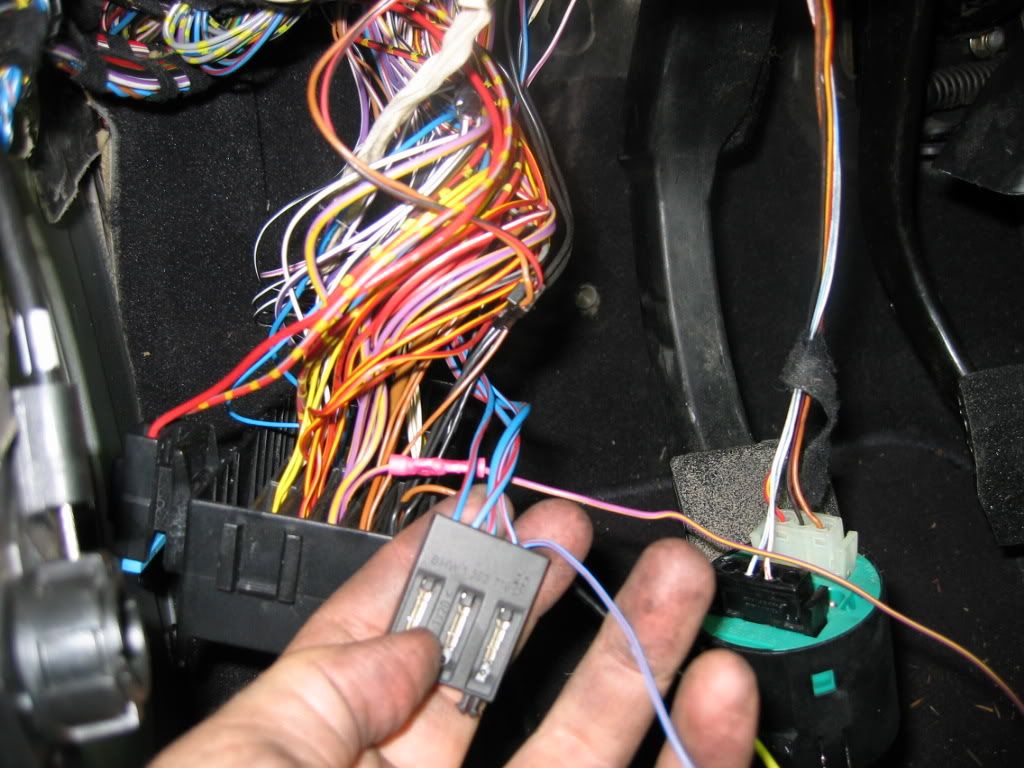
Here’s where it gets kind of tough. In the driver’s footwell, look to the left of the clutch, and up on the firewall. You’ll see a whole mess of wires going through the firewall. In a square pattern around this bundle, there are four (4) 6mm (I think) bolts that hold the fusebox to the firewall. You will need to remove these. To do this, remove the pack of comb connectors (black box with tons of wires going into it) from the left side top of the footwell by finding the clip on its top, towards the outside of the car, pulling this clip towards the center of the car, and pushing the whole box up and in. Move it out of the way. Above this box is a smaller computer-looking box attached to the ‘roof’ of the footwell. Remove the two plastic nuts that hold it up, and move it out of the way. Now you should have access/be able to find the 4 fusebox screws. Take them out. A few long extensions will make your life much easier here.
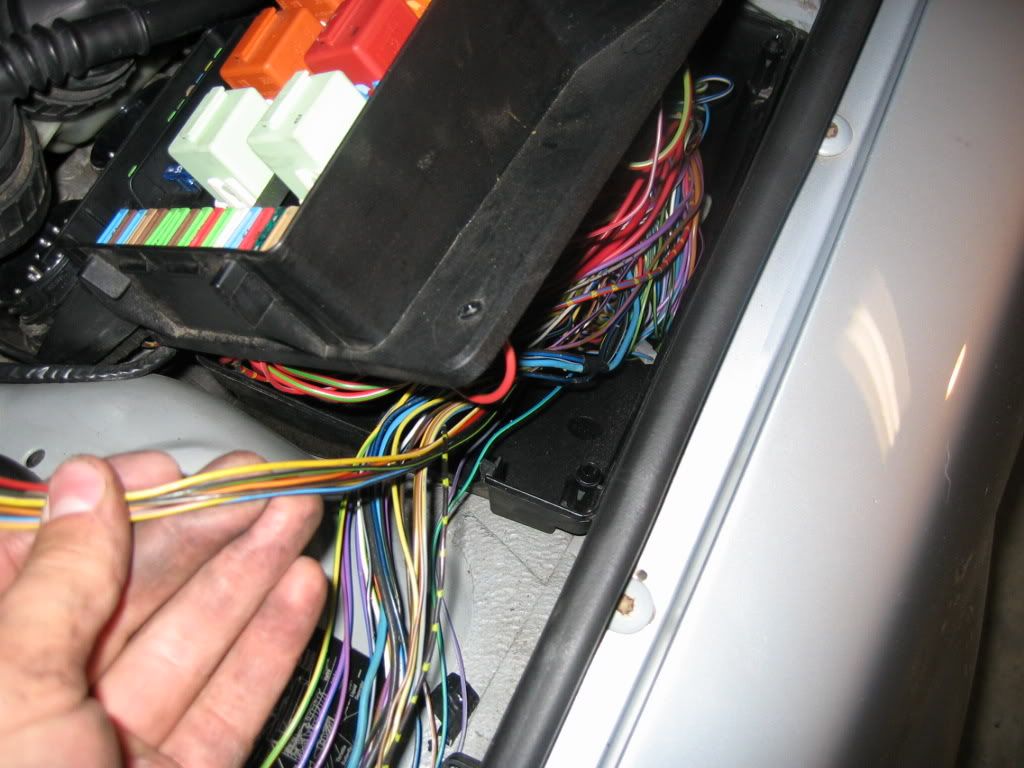
Now, under the hood…remove the 4 torx screws that hold the fusebox lid on. Move the cover up and out of the way as best you can. You will see the ‘hatch door’ around the wiring harness where it goes through the firewall. Inside the car, at the base of this door, through a hole in this door, is a ziptie. Cut it, and you will be able to ‘open’ the door by sliding it up. Peel back the foam wrap on the harness.
Route the part of the wiring harness for the actuator through this hole (note: when I removed my wiring harness, I cut off the large camlock connector for the actuator to make it easier to pull my wires out. You will have to…if you haven’t already… do the same to be able to fit the wires through the firewall.Make sure you tape the wires together for about 6” just to make it easier. If you’re using a new harness, this isn’t an issue as the connector isn’t on the wires yet), and out of the front of the fusebox to the location of the actuator down near the driver’s headlight. Replace the foam wrapping, close the door, and hold it down with a new zip tie (this isn’t easy). Open up the tape on the wiring harness going out the front of the fusebox all the way to the actuator location. Lay your new wires down with it, and tape it all up for that baller factory look. Reconnect the 7 actuator wires to the actuator plug. Snap the whole new wiring harness into the black plastic clips on the fender, put it through the fusebox rubber grommet, slide the grommet back into the fusebox bottom, and close the lid. Put the torx screws back in, and bolt it back up to the firewall. This last step is pretty much impossible by yourself, so recruit a helper to hold the fusebox while you try to get 1 or 2 of the screws started.
back together:
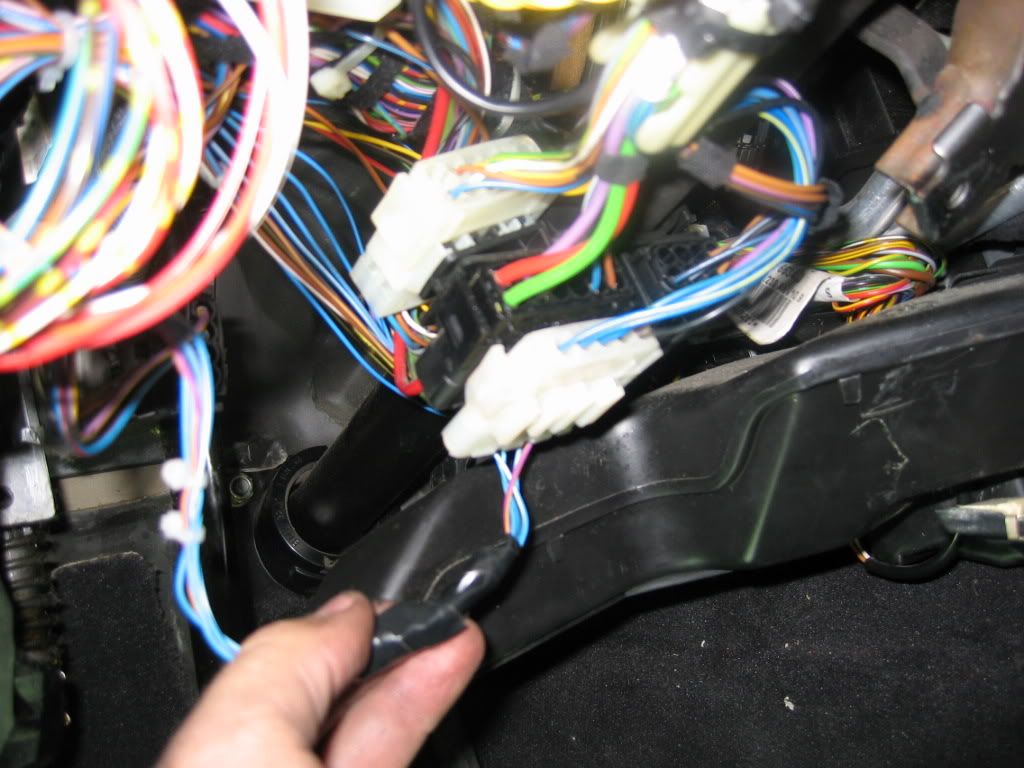
Route the 26pin cannon plug and 3 of the ground wires in the harness (brown, red tracer) over the transmission tunnel behind the heater box to the passenger footwell pull enough of the harness over to reach the top spot in the ‘computer rack’ in the passsenger footwell. The top slot is made for the cruise computer. At this point, you’ll have the 3 ground wire comb connector connections and the 26pin plug in the passenger footwell. In the driver’s footwell, you’ll have connections for the driver’s side comb connector, and the cannon plug for the cruise switch. You’re almost home.
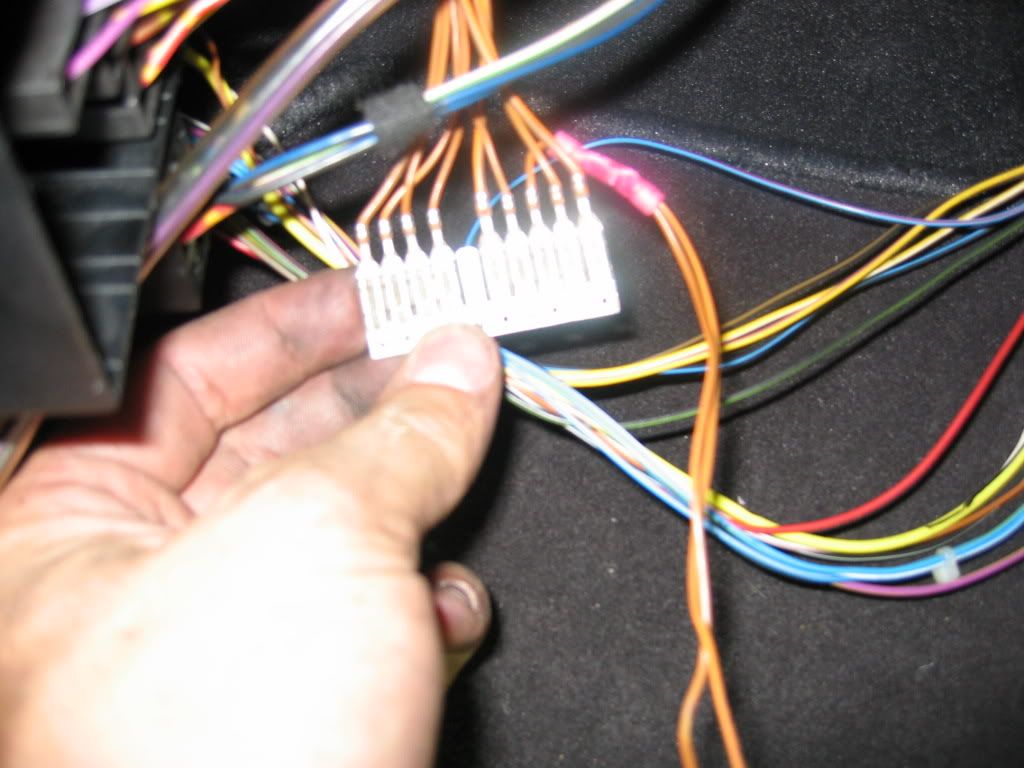
Locate the passenger side comb connector box mounted on the left side of the ‘computer rack’ in the passenger footwell. It detaches the same way as the driver’s side comb-box. Pull the tab toward the center of the car, lift up and left. Locate the ground comb connector (brown, red tracer) and pop it out. I found pushing on the appropriate comb connector with a awl from the top of the comb box was the easiest. Remove the metal comb itself from its sheath by depressing the plastic tabs on the sheath that hold the metal piece in. Now you can connect your 3 ground wires by simply sliding on the spade connectors. Put the metal comb inside its sheath, and reinsert the whole kaboodle into the comb-box. Plug the 26pin connector into the computer, slide the computer into its rack spot, and call the passenger side DONE.
Underneath the steering column you will find a cannon plug with rails underneath it. Find the wiring harness end of the cruise control switch cannon plug. It will slide and click into place underneath this connector.
All you’ve got left now is the driver’s side comb connector connections. As before with the pass. side, locate the wire combbox that matches the cruise harness wire color/tracer you’re connecting. Pop it loose, remove the metal comb, and connect your wires. Repeat until everything is connected.
You’ll have a clutch switch that you pulled from the junkyard queen. Snap it into its hole on the clutch pedal bracket, and connect the wires. You can sort of skip this step if you do what I did under ‘wiring harness prep.”
Do one more double check of your wires by going down the pinouts on your bentley manual and verifying that they go where they should. Don’t ziptie or clean up anything just yet. Unless you trust your work 100%…..
Last edited by paulkeith; 05-04-2009 at 12:23 PM.
tow: '02 F-250 7.3L powerstroke, 6spd manual, Ext cab short bed. Leveled, chipped, intake, exhaust, BFG KM2s
dd: 1998 5.9 Grand Cherokee
old ride: '98 M3 5spd Coupe. arctic on black. ssr, uuc, zkw w/ philips.
older ride: '98 M3 5spd Coupe. estoril on dove...RIP 1/2/06
Member
3. Hardware installation:
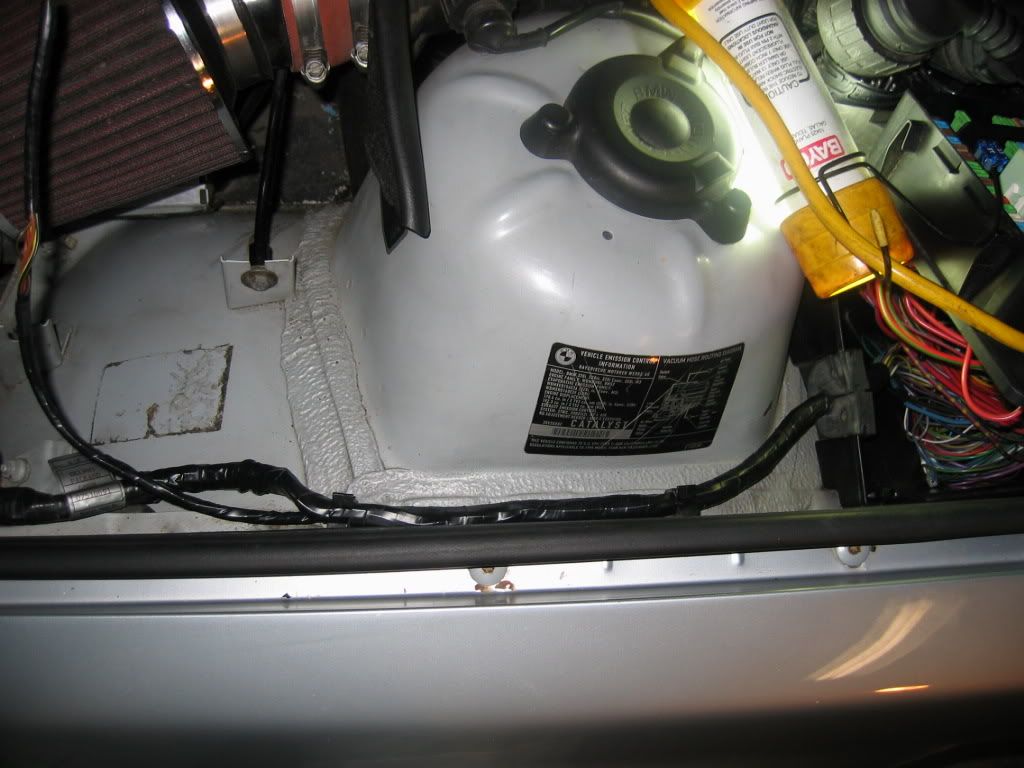
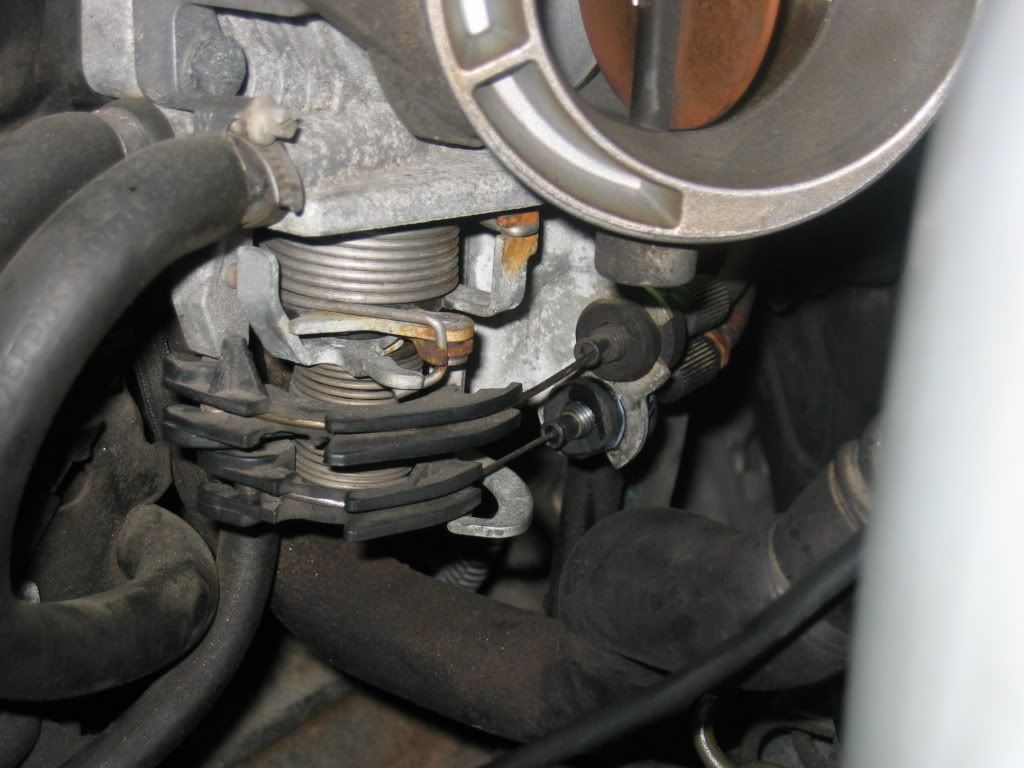
Attach your bowden cable to the actuator, if it isn’t already. Position the actuator on the two brackets that are already on the driver’s front footwell next to the airbox. Round up two extra adequately sized nuts and bolts, and bolt it on there. Route the bowden cable over the strut hat, along side the brake master cylinder, around the top of the brake vacuum booster, and down to the throttle body. My m3, as I think all do, already had the cruise wheel on the throttlebody. Snap the rubber connector on the bowden cable into the metal bracket on the throttle body, open up the throttle with your hand, route the cable through the wheel, and snap the cable-end in place.
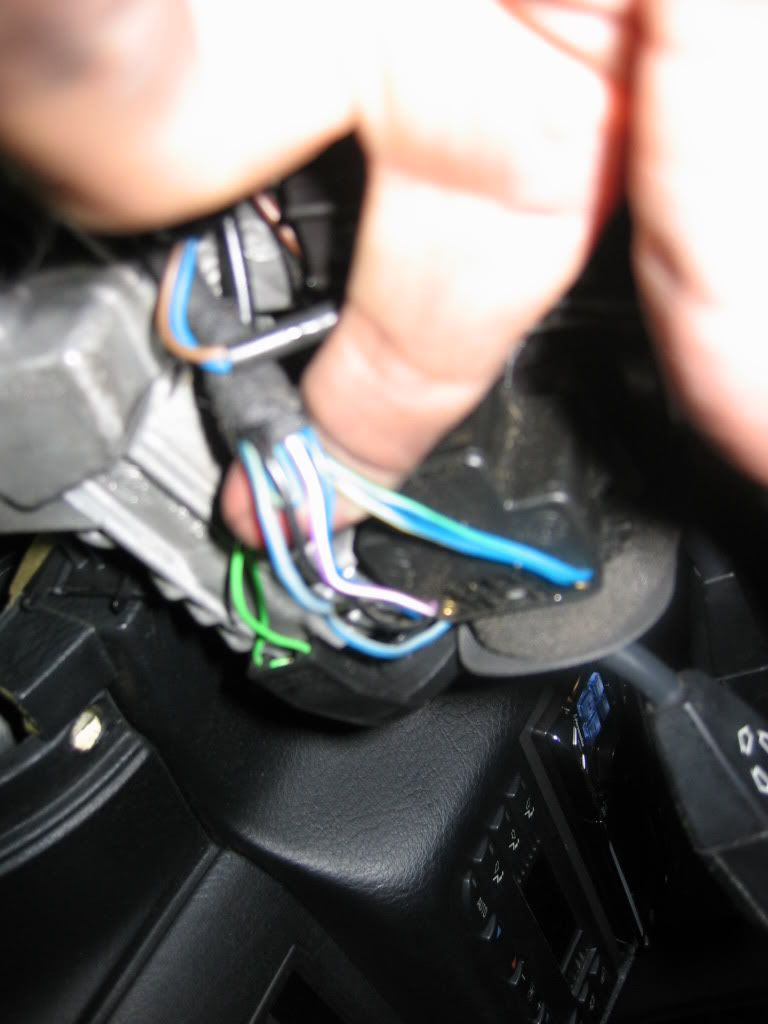
Remove the underside of the steerign column cover. There is only 1 phillips plastic screw that holds it in. Remove that, and the column cover pops off. Grab your new cruise control switch. On the top of the switch body, you’ll see a sprung tab and ‘rails’. Locate the wiper switch. Underneath the wiperswitch are rails that correspond to the cruise switch. Slide the cruise switch on until it snaps/locks in place. Route the cruise switch wires with the other column wires. DO NOT DAMAGE AIRBAG WIRES. THEY RUN TO A NOTICABLE ORANGE PLUG; USE CAUTION. Plug your cruise switch into the cannon plug you’ve already snapped onto the other column wires.
Take it out for a test drive. It should hold speed, accelerate when you press the switch forward, decelerate when you pull it back, and resume when you click it in. Applying the brakes should turn it off, bla bla bla…you know how cruise works.
If you got it all right, bolt everything back up and put the interior back together, and have yourself a frosty brew.
Hope this helps someone
Paul
</marathon post>
Last edited by paulkeith; 05-04-2009 at 12:24 PM.
tow: '02 F-250 7.3L powerstroke, 6spd manual, Ext cab short bed. Leveled, chipped, intake, exhaust, BFG KM2s
dd: 1998 5.9 Grand Cherokee
old ride: '98 M3 5spd Coupe. arctic on black. ssr, uuc, zkw w/ philips.
older ride: '98 M3 5spd Coupe. estoril on dove...RIP 1/2/06
Member
Holy smokes what a lot of work for something so simple...
YNWA
What E36s don't come with cruise control lmao
2004 SilberGrau M3 Coupe 6MT Noroof No Power or Heated Seats No Nav
Member
tell me about...top of the line 3 series...and no CC.Originally Posted by Tbone325
Its a real bummer...
Awsome write up! And Great work!.
Can any cruise control assembly from any year e36 work?
Member
A lot of them, including mine.
Needs more cowbell
My 98 M3 came with CC - I guess I'm lucky. Like you, I do a lot of highway driving and have to keep the ticket count down.
2017 X5 ///M
2019 X3 XDrive 30i
2003 C4S
Member
thanks. you've gotta get the parts from a POST 12/94 e36. before that was a different system.
tow: '02 F-250 7.3L powerstroke, 6spd manual, Ext cab short bed. Leveled, chipped, intake, exhaust, BFG KM2s
dd: 1998 5.9 Grand Cherokee
old ride: '98 M3 5spd Coupe. arctic on black. ssr, uuc, zkw w/ philips.
older ride: '98 M3 5spd Coupe. estoril on dove...RIP 1/2/06
Member
I have CC already, but grats to you for having the patience to deal with that mess of wires!
Member
Mine didn't.
If I'm really bored one day, I might try this!
Thanks! Awesome write up.
-Dave
BMWCCA Member
damn...that's impressive. Glad you got it working
Big Member
Great work! I just saved a copy of this thread on my hard drive so I have it forever!
Funny - I have two BMWs - an E30 318i and the E36 M3. NEITHER came with cruise and I love cruise.
I'm currently tracking down how to retrofit cruise control into the 318i since cruise was never a factory option! The retrofit will need a combination of E30 and 1992 E36 318i parts. I'll get warmed up doing that cruise install first. At least with the E36 M3 cruise the factory offered it so the retrofit isn't so bewildering!
Member
Zoso: I had an E30 318i with factory cruise control. That was the 8v 1.8 engine in a 1985. I realize you have the 16v 318i, but you may want to look for early E30 318i in junkyards that came with cruise to get the parts you need (I guess items like switches in brake and clutch pedals for an 8v or 16v should be compatible, maybe most of the parts are ?)
M73B54
ok i have a 95 obd1 and i only have one round eletrical con buy the fuse box are u obd2 cause u have 3
Member
this is a very great write up , we appreciate it very much
but (atleast in florida) i can set cruise control for about 5 minutes before
some jack asses are going 20 mph under in the fast lane ..i almost see no
need for cruise control nowadays , maybe i am just venting and i hope you take no insult to this but if i didnt have c.c , i wouldnt really care
but much respect for your hard work , keep it up
No more M3, driving a Camry TuRD
Big Member
thanks for the info. I find it interesting that a base 1985 318i (with drum brakes) had cruise as a feature but the 1991 318i/is did not! From my research, I'll need:
Actuator = E36 m42
Bowen Cable/ throttle bracket = E36 M42
Cruise computer/stalk/wiring loom = E30 89+ (I want the cancel/resume feature)
clutch switch = any E30
(sorry for the hijack)
Go ahead. Make My Day
Damn Paul... thats a Ton of work, both in the installation, and in the writeup.. Great Job!!!
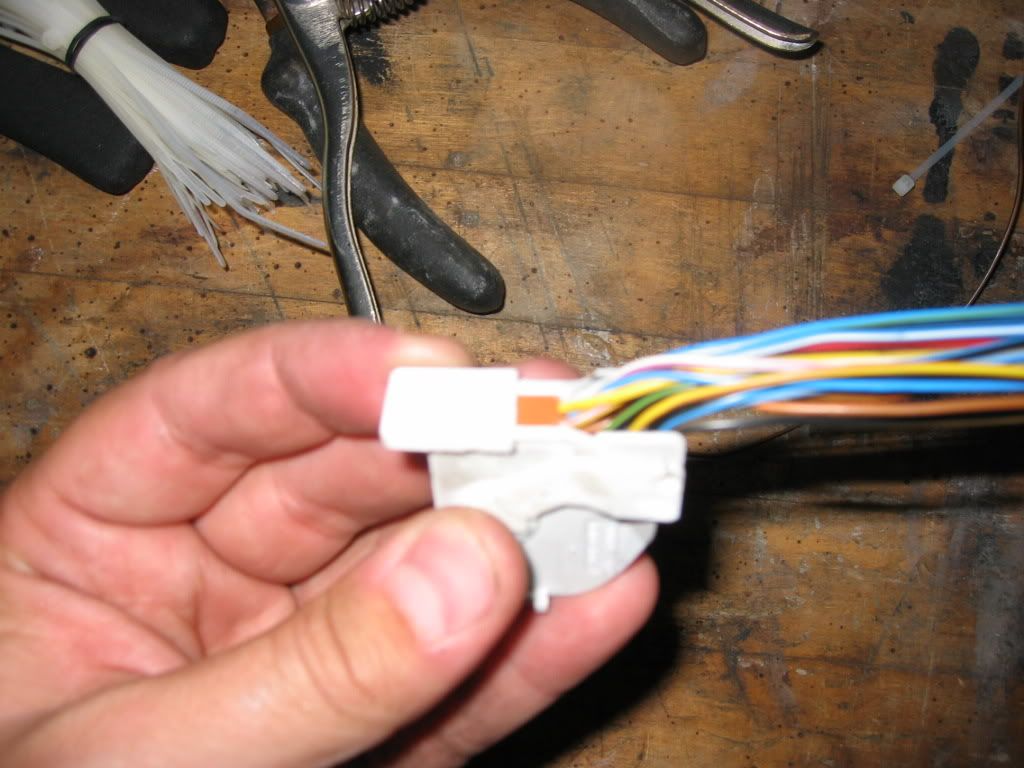
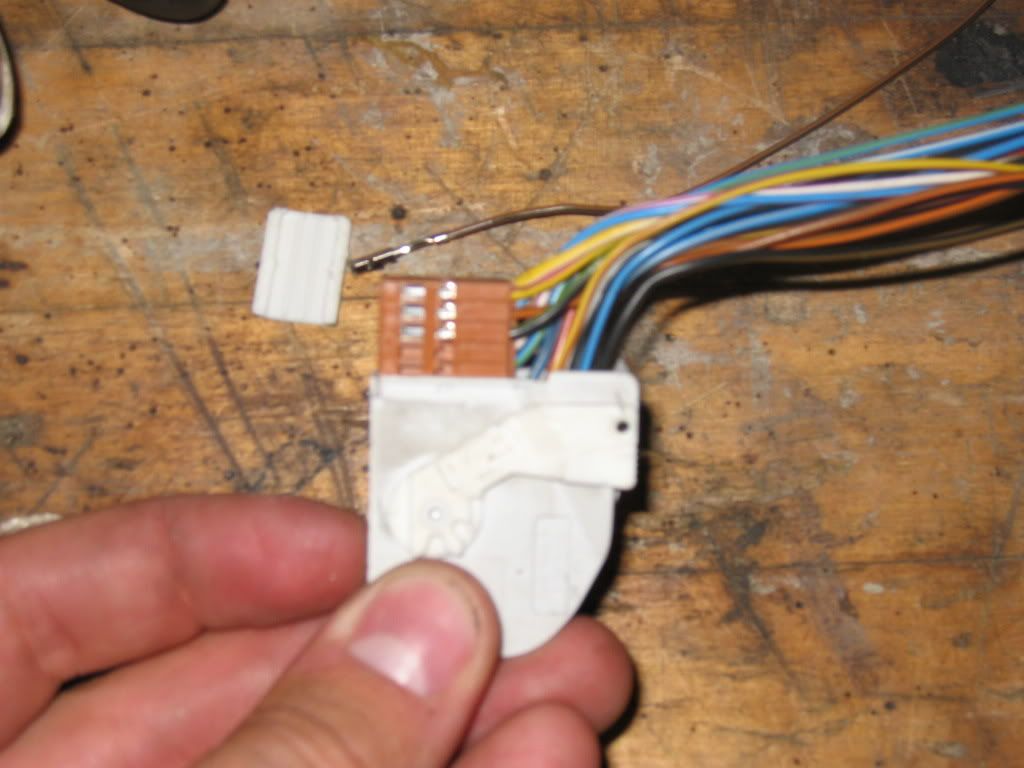
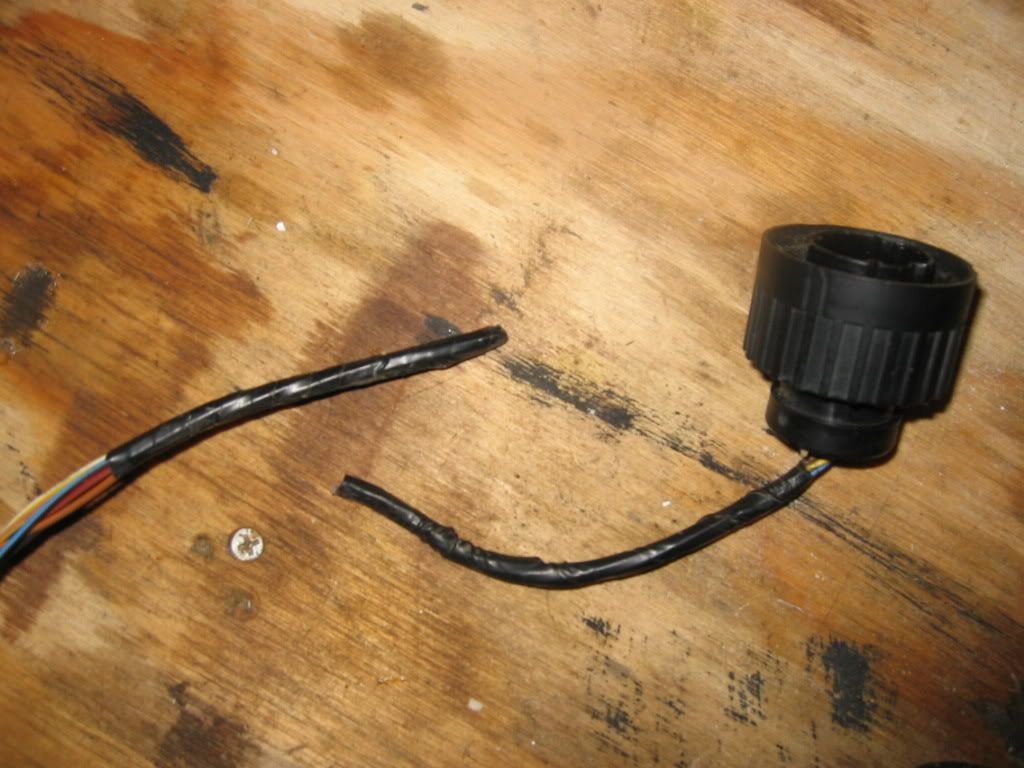
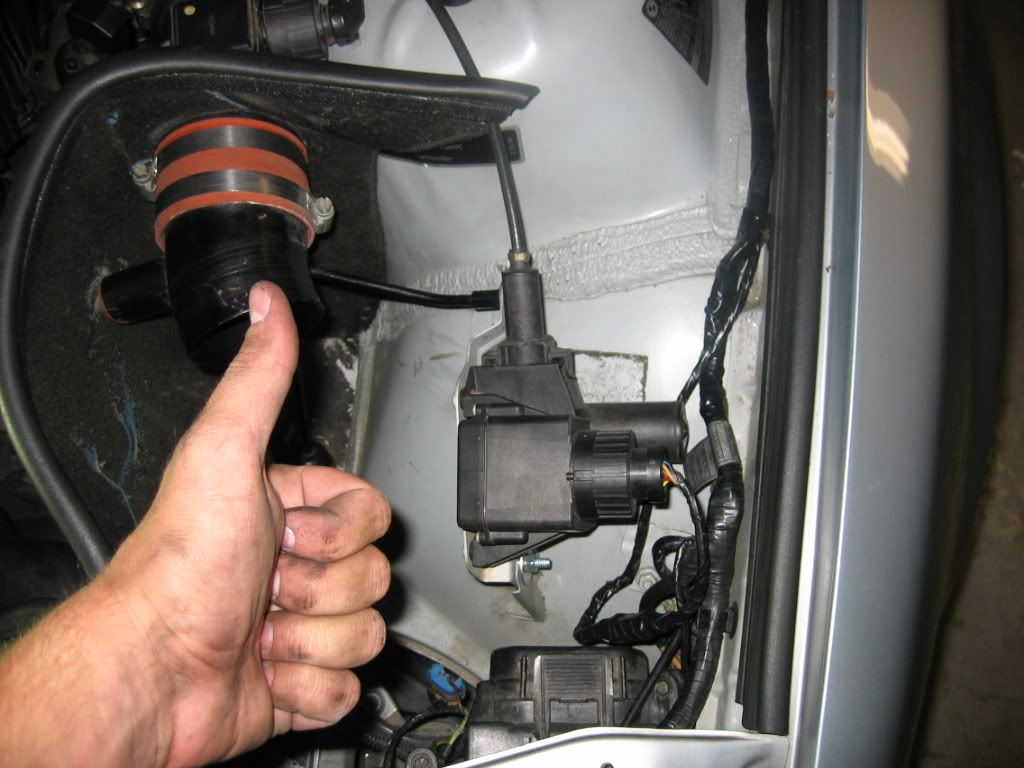
Enclosed is a pic of my cruise control, such as it is. It was removed to make room for some components, and at some point Im going to want it back. For some reason, even though the bowden cable and the electrical harness can both easily be removed from the main body of the cruise control, on mine, they were both Cut.
I imagine I will have to buy a new bowden cable.. Do you know if they are available for purchase separately, or only come as part of a new cruise control unit? As for the electrical connection that terminates in the twist-on cap to the unit, Im hoping i can use continuity and color to reconnect those. Lastly, becasue of the supercharger and other mods Ive made, room on that side of the engine bay is non existant. I think Ill have to install it over on the passenger side.
Im sure Ill be using this diy thread to get me through it. If the bowden cable isnt available separately, I think im screwed..

Last edited by paul e; 05-27-2006 at 01:22 PM.
___________________
Paul E
'11 AW 135i ; Sold: '99 White M3 81k mi; Dinan SC kit, 6"/3.48" sc pulleys, Aftercooler: 10.5 psi-367 SAE rwhp/304 rwftlbs @80 degrees ambient (still with OBDII manifold & stock cats); DynoTuning by Nick G (techniquetuning.com); Speed Shop: Imported Cars of Stamford; AA-Aquamist Water Injection, exhaust, clutch; Fikse FM-10s; Koni Suspension; Stealthboxes
http://s11.photobucket.com/albums/a173/boostm3/
Veteran Navy Corpsman HM2
cruise control FTW, i hate keeping my foot on the throttle(unless if i race on the track), but everyday highway driving it get's tiring trying to maintain a certain mph, as soon as i tap the cruise control at 85mph i let go of my foot and relax. of course i keep my right foot near by if i have to break, but it's fun to be able to turn the cruise on and off while driving just to slow down.
Member
definitely. the m3s are so sensitive to pedal position, too. 1mm = 3or4 mph. very fatigueing ...sp?
paul, you can get the bowden cable seperately. I will get you the part number when i get a second, my parts list (supplement to the BMW cruise retrofit instructions that another bf.c member gave me) listed it at $25.00
the one s/c m3 i've seen had the actuator down by the bottom of the strut tower. you can try to hunt some room there. You can easily reconnect the actuator wires with color coding.
hth
Paul
tow: '02 F-250 7.3L powerstroke, 6spd manual, Ext cab short bed. Leveled, chipped, intake, exhaust, BFG KM2s
dd: 1998 5.9 Grand Cherokee
old ride: '98 M3 5spd Coupe. arctic on black. ssr, uuc, zkw w/ philips.
older ride: '98 M3 5spd Coupe. estoril on dove...RIP 1/2/06
Member
That is one hell of a job.
Good work.
DDEs Suck - Iowa Chapter
Wow. I am really thankful both my cars came with cruise. That looks like a major PITA to install and wire.
License Revoked
BUMP.
Any idea on how much labor (hours) were involved. I'm not mechanically inclined enough to do this myself.
Eric
I don't know if this is for certain, but most mechanics will not touch something like this. This is a definite DIY only type of thing. The liability is too high for a mechanic to do it.
~yummy~
Wow nice write up.
I havn't touched my CC in almost 2 years now and i drive on the highway daily too.
 Posting Permissions


 Reply With Quote
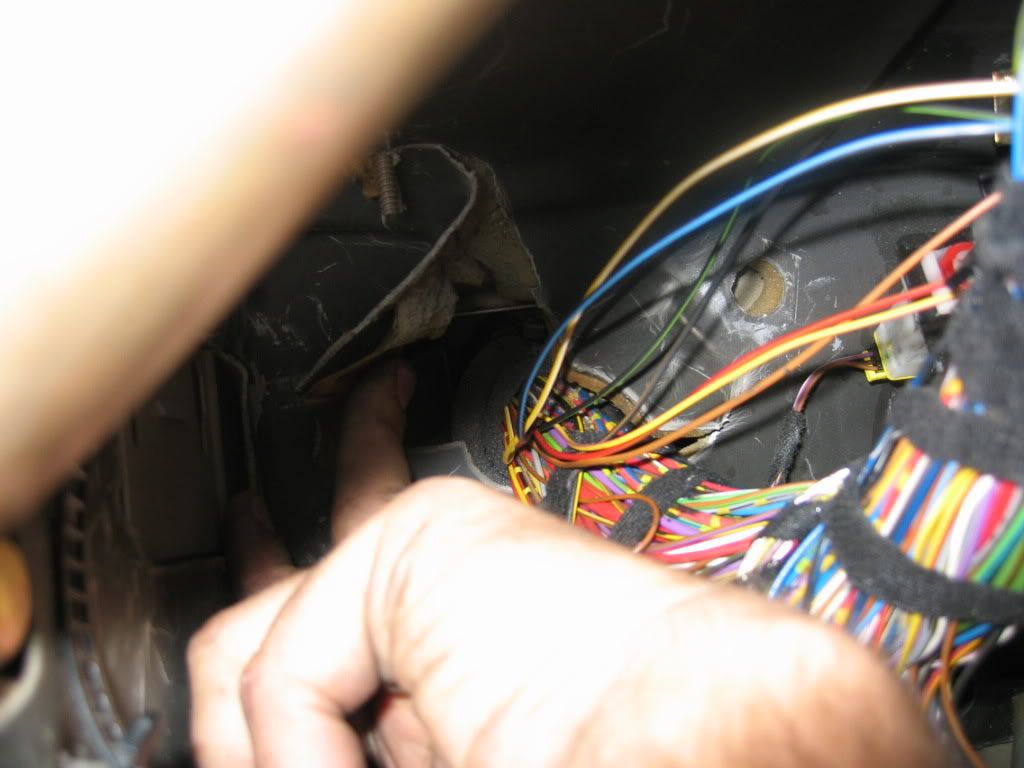


") thread!
thread!


Bookmarks