
 Member
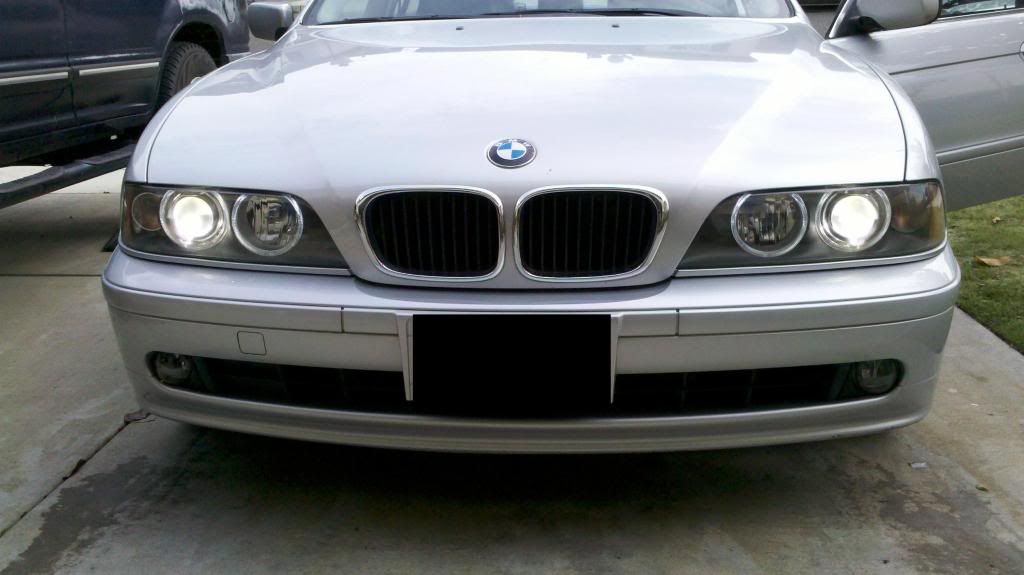
I recently did research on how to get rid of the "haze" on many bmw owner's headlight lenses. For my 2001 525i, I had the facelifted trim with the newer style headlights, I would have to remove the headlight housing and either spend hours sanding and polishing each light or baking the lens off in an oven and gluing a new lens on the old housing. I figured there was a better way...
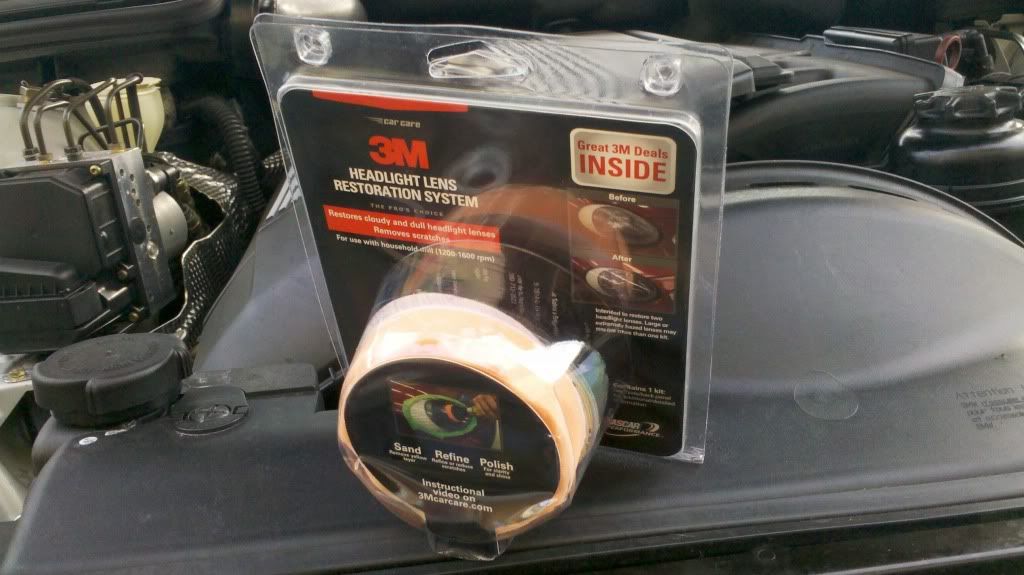
I searched around and found 3M's Headlight Restoration kit part# 39008. I saw the company's videos and some homemade videos of people using the kit. All of them turned out great. The kit costs $18.99 on ebay with free shipping, so I figured for that price, I'd give it a try...
It turned out great and here's what I did:
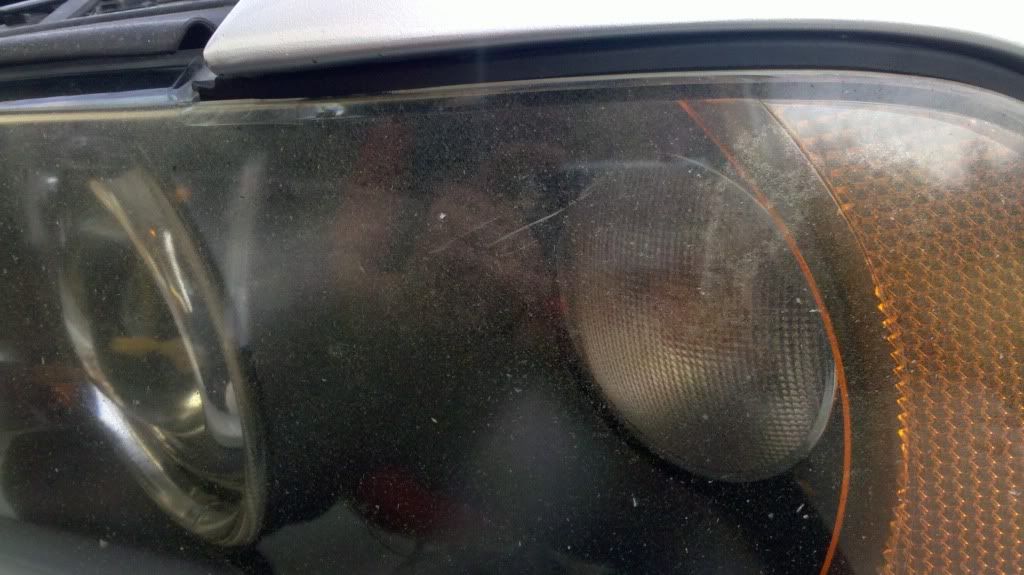
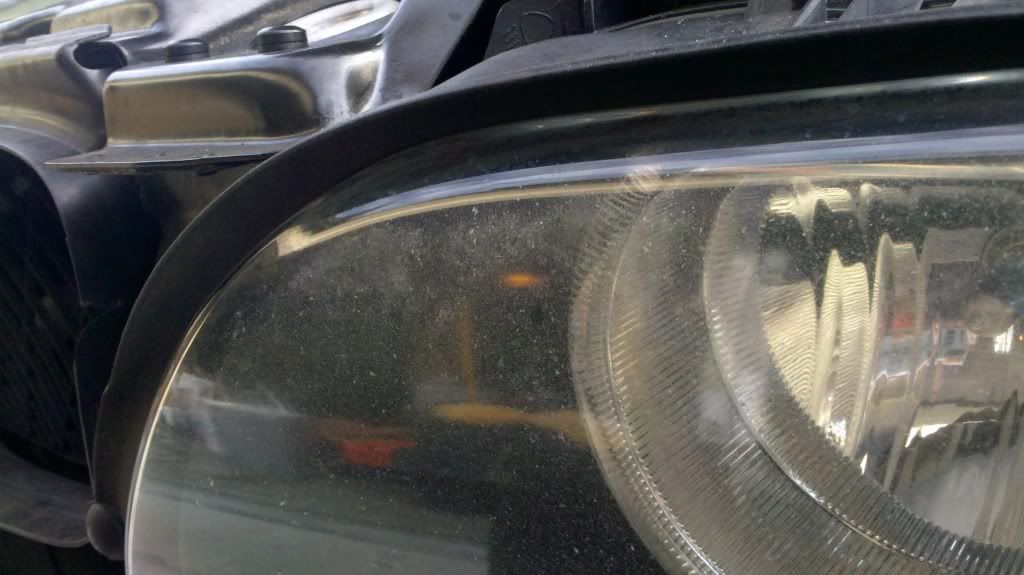
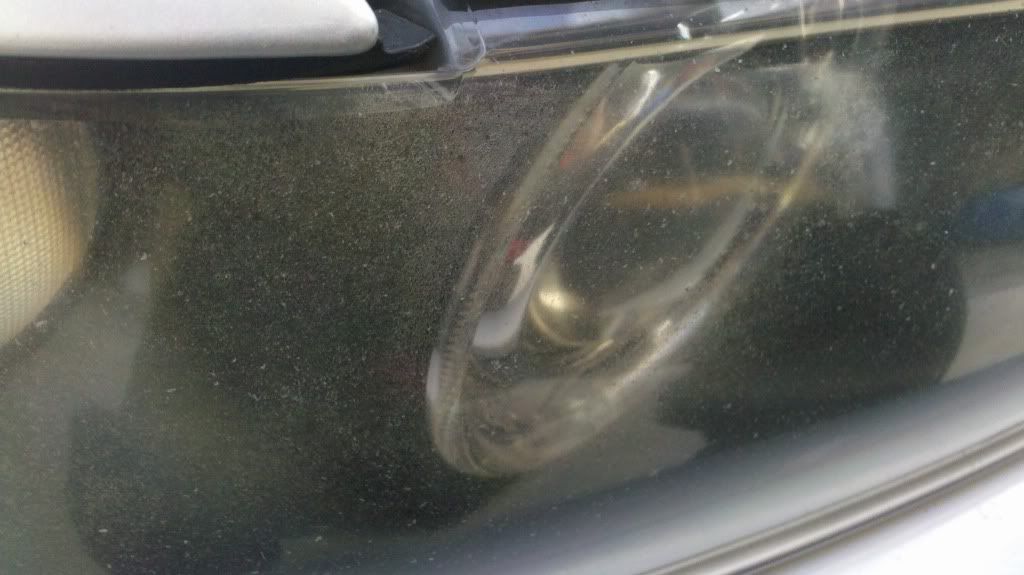
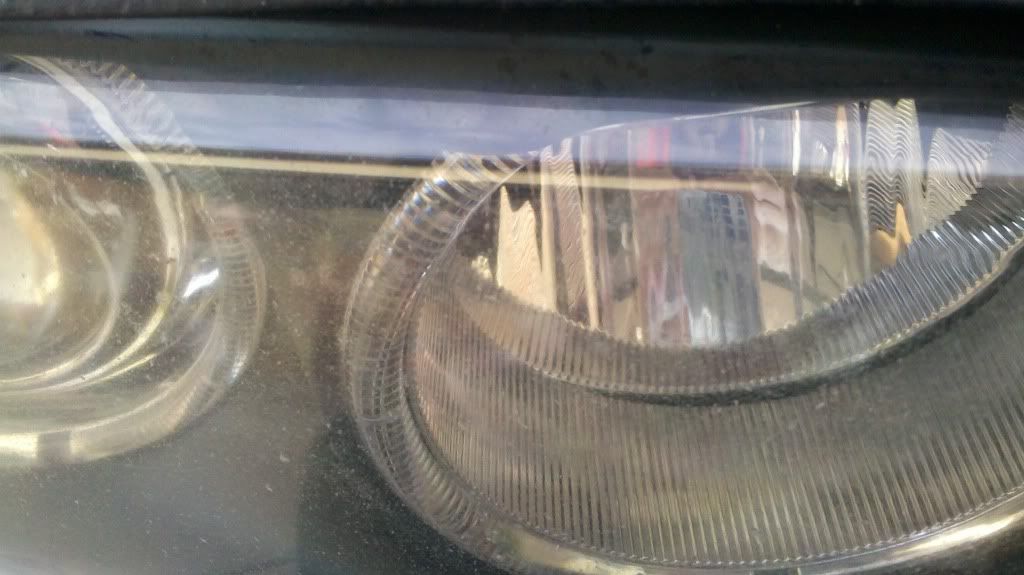
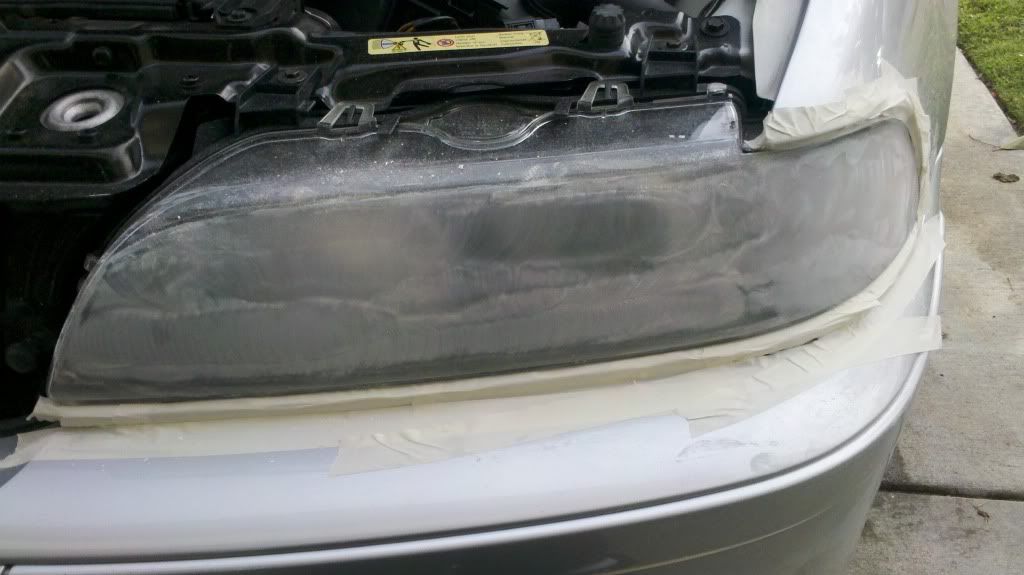
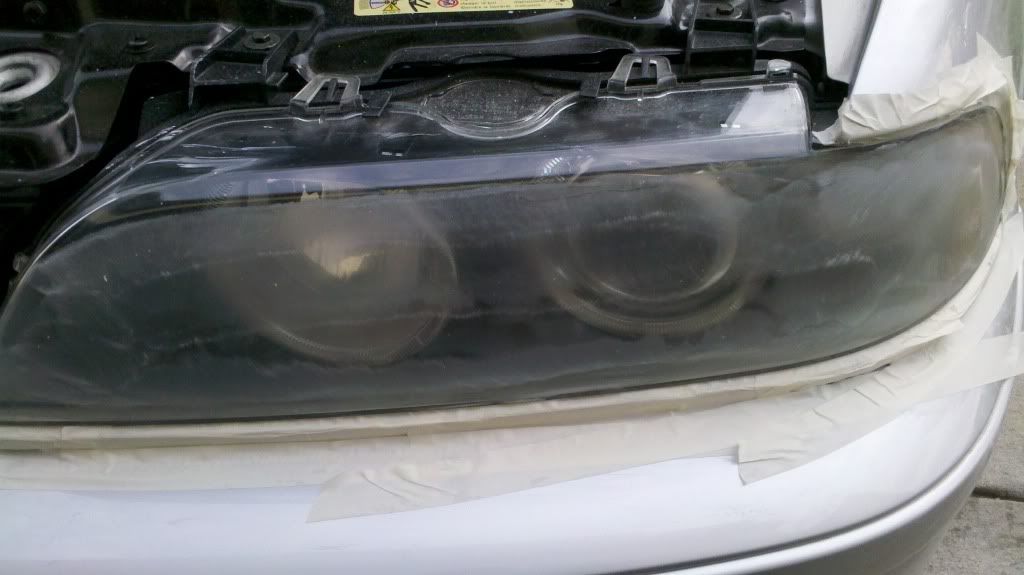
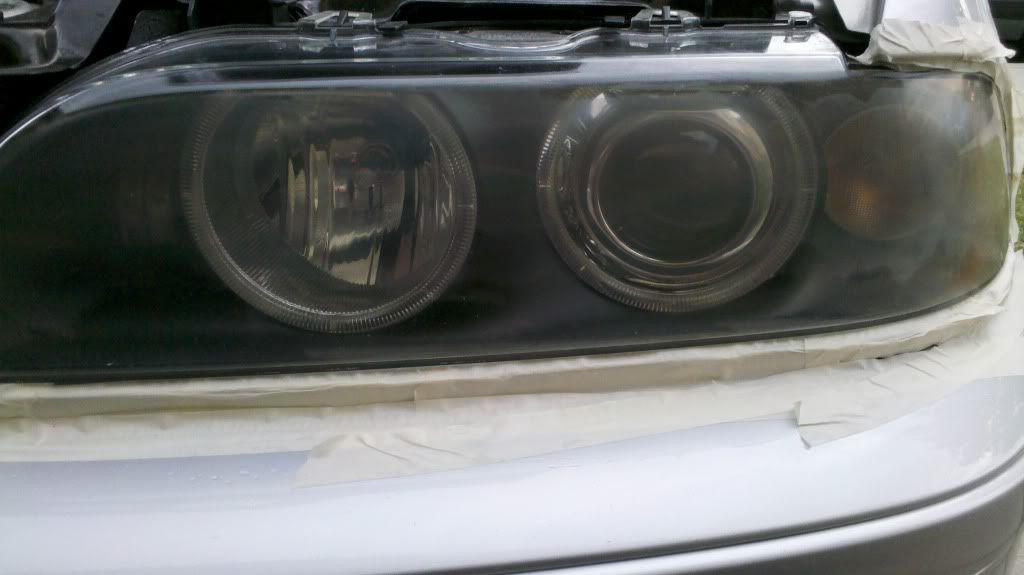
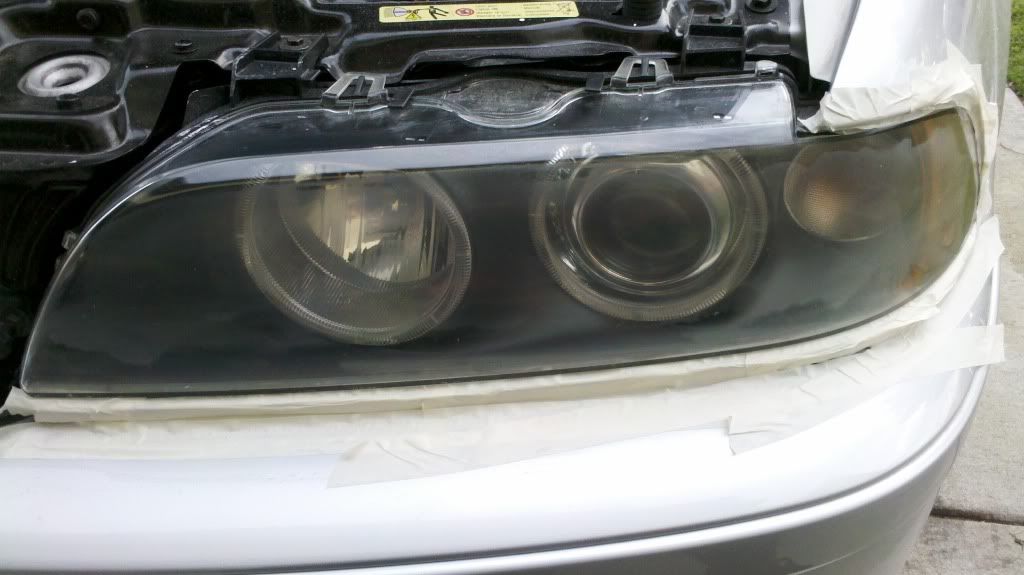
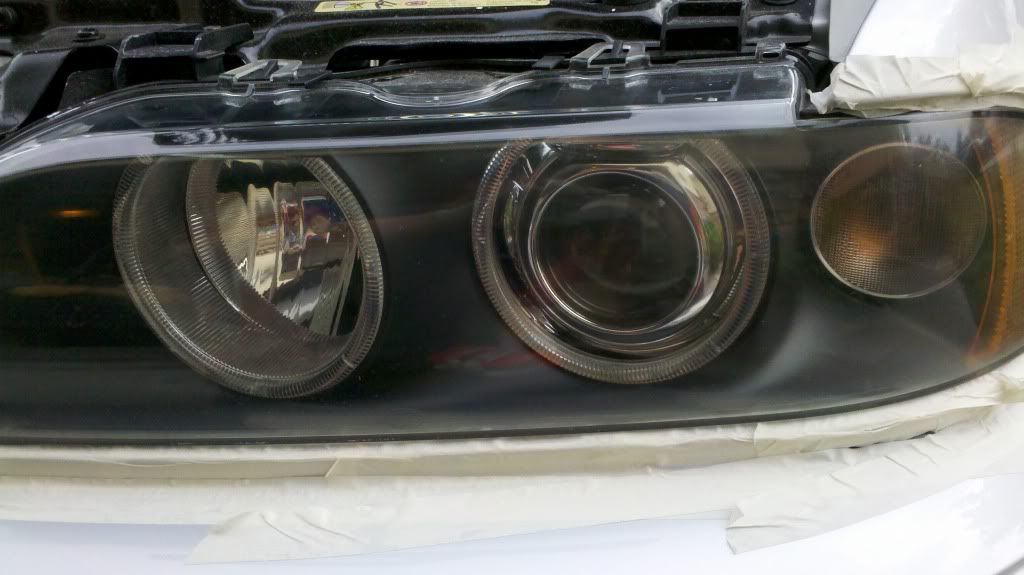
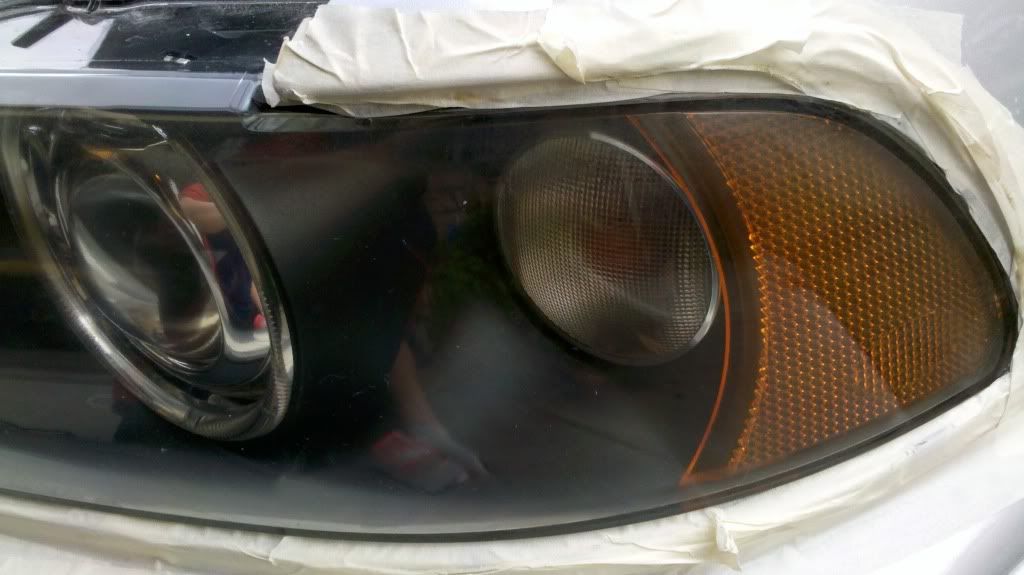
Here's some pictures of before, note the small chips and the annoying hazing areas.
Driver's:
Driver's:
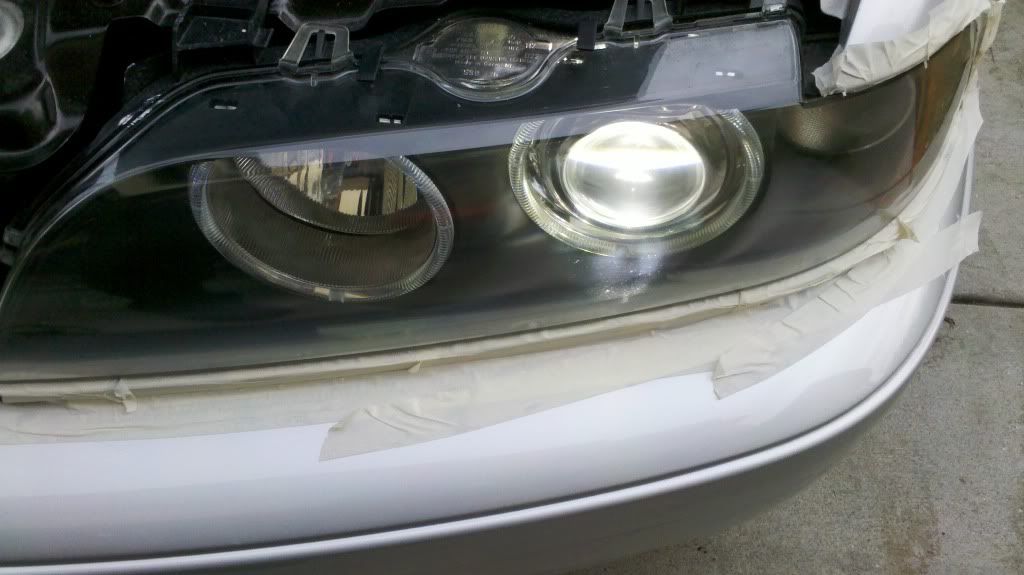
Passenger's:
Passenger's:
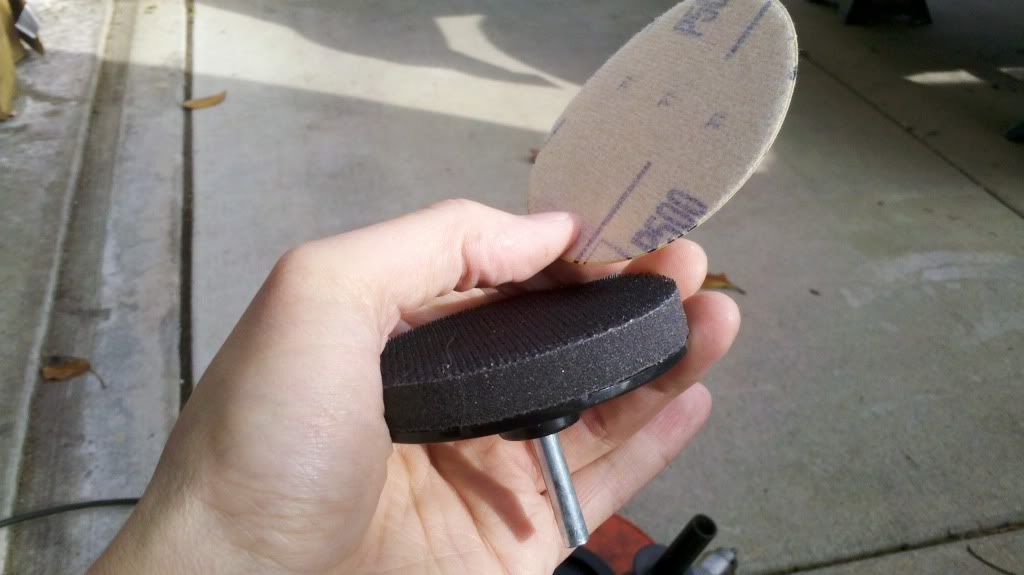
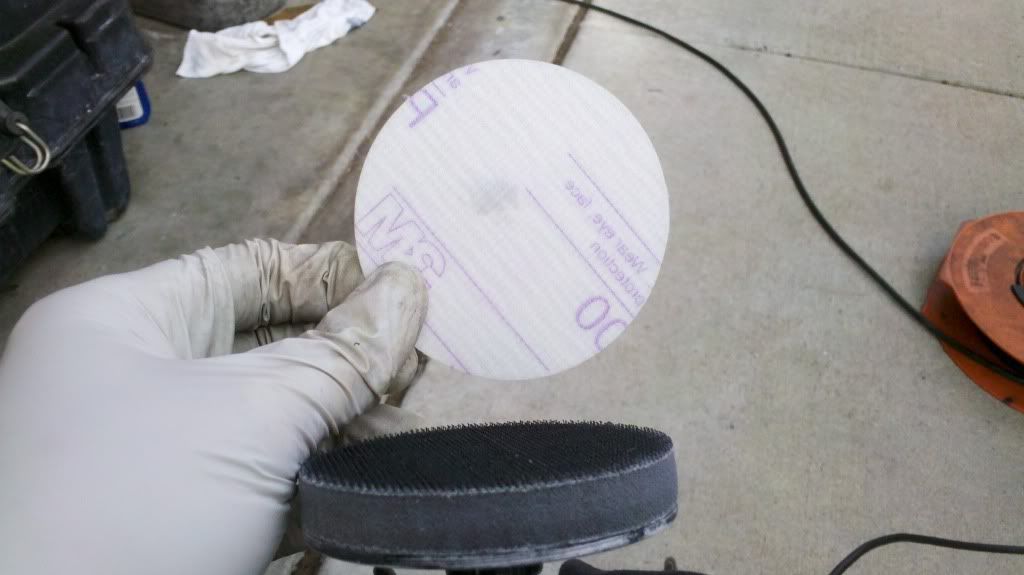
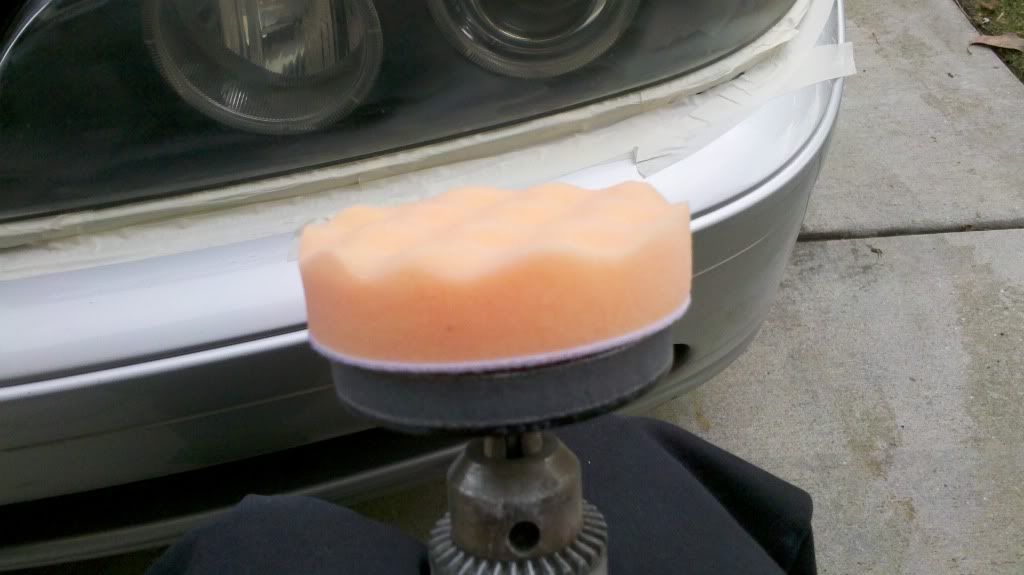
This is the kit, it comes with a backing pad that fits on your typical drill, 6 p500 sanding discs, 4 p800 discs, 1 trizac p2000 disc, 1 foam buffing pad, and a tear off packet of 3M rubbing compound.
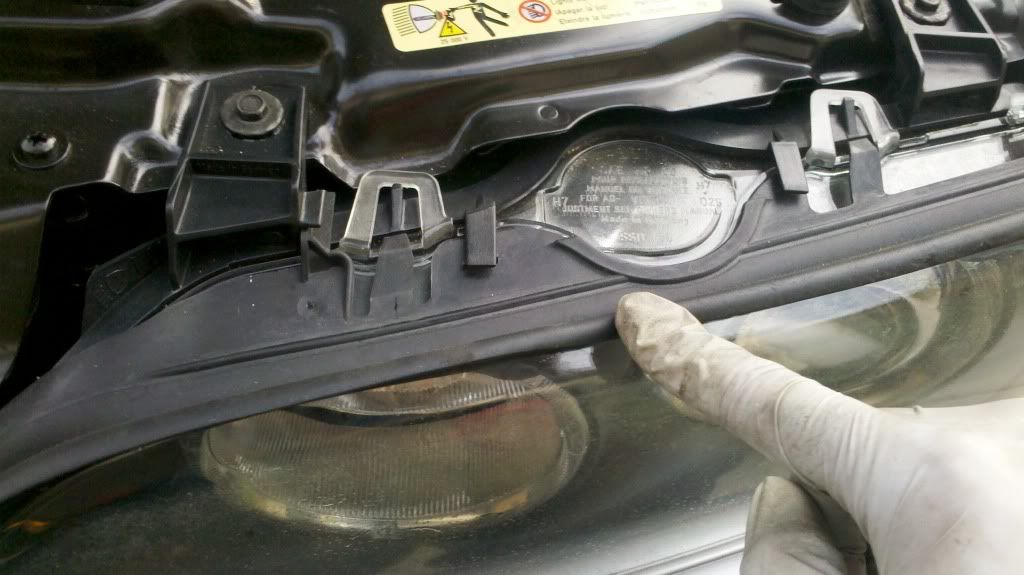
First, I took off the rubber trim that sits on top of the headlight, it was quite easy. Just two clips on top of the light and one hook on the side closest to the center of the car.
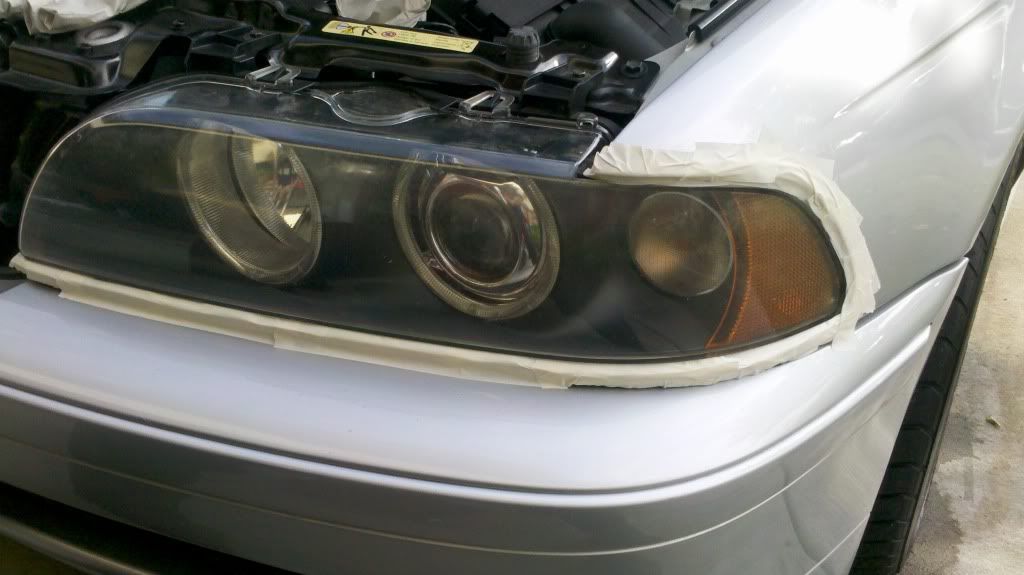
Then I masked everything that was close to the sanding spot with 3 layers of masking tape. Don't forget to mask some of the bumper too because my drill slipped once and I was pissed cause I knicked my bumper with the spinning disc, doh.
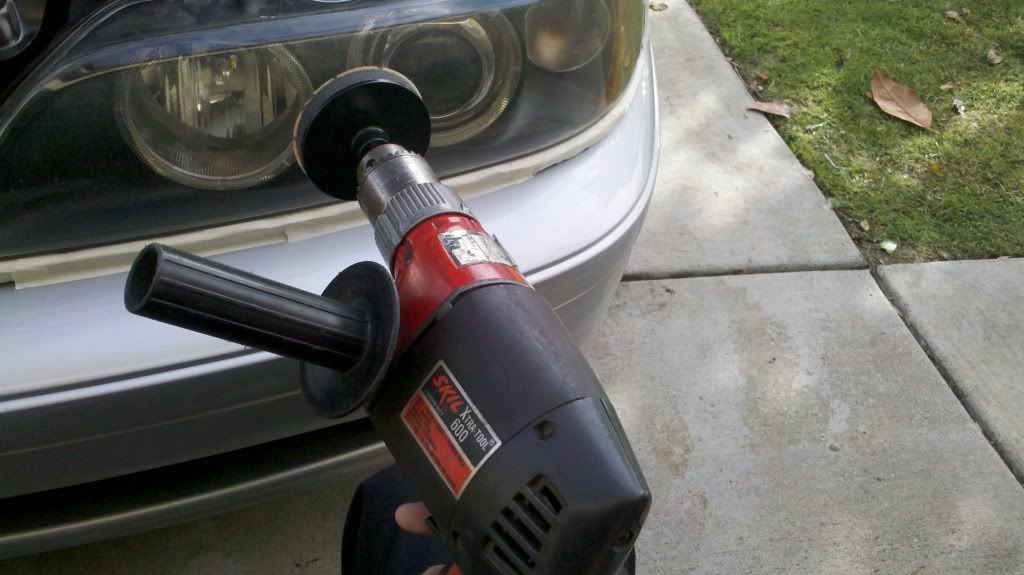
I started first with the p500 disc
I just slowly sand side to side an occasionally wipe the lens and the disc pad with my hands to remove the plastic dust. (For safety! remember to wear safety goggles!)
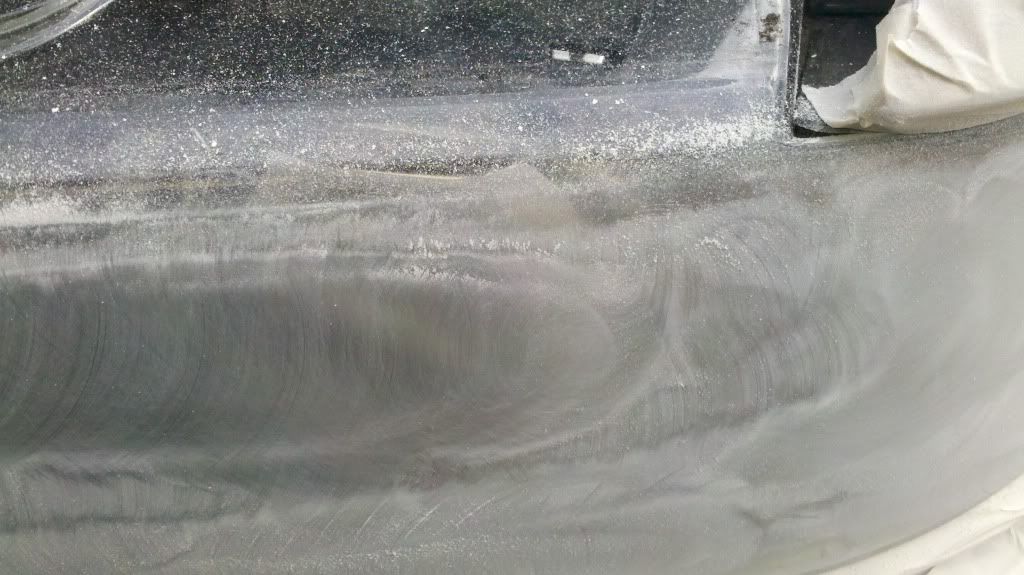
You can still see some hazing and I continue to sand some more. Basically sand till you see a uniform look all around.
Next I switched to the p800 disc. I saw some people on the youtube videos wetsand this part, but the instructions that came with it did not say so. So I dry sanded it. The goal in this step is to get rid of all the coarse scratches that the p500 discs made.
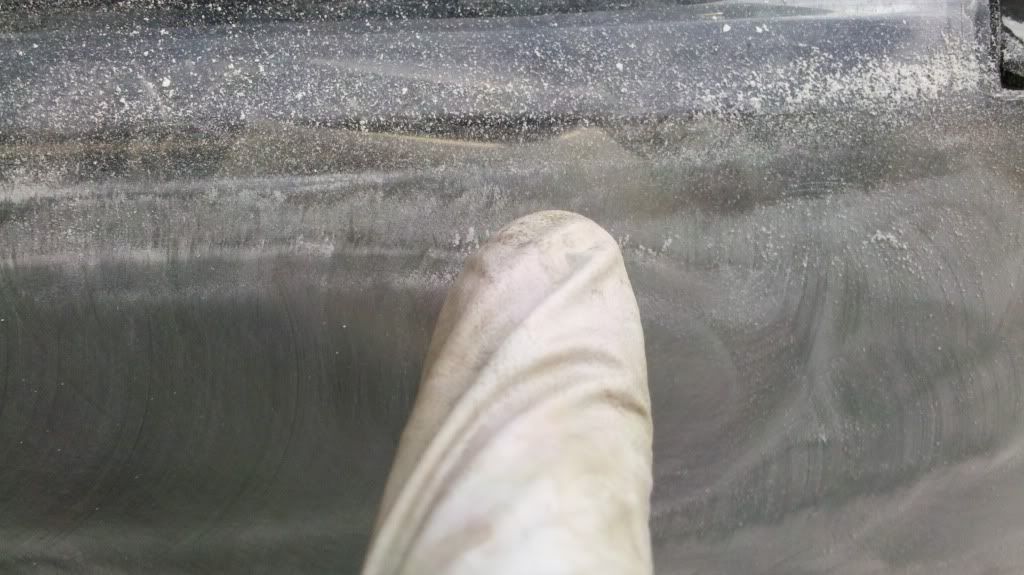
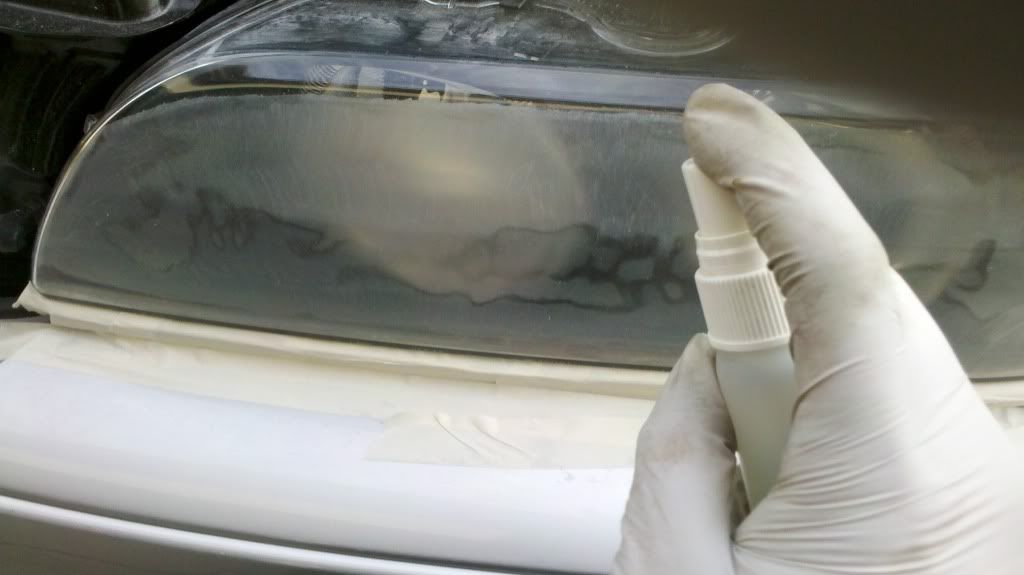
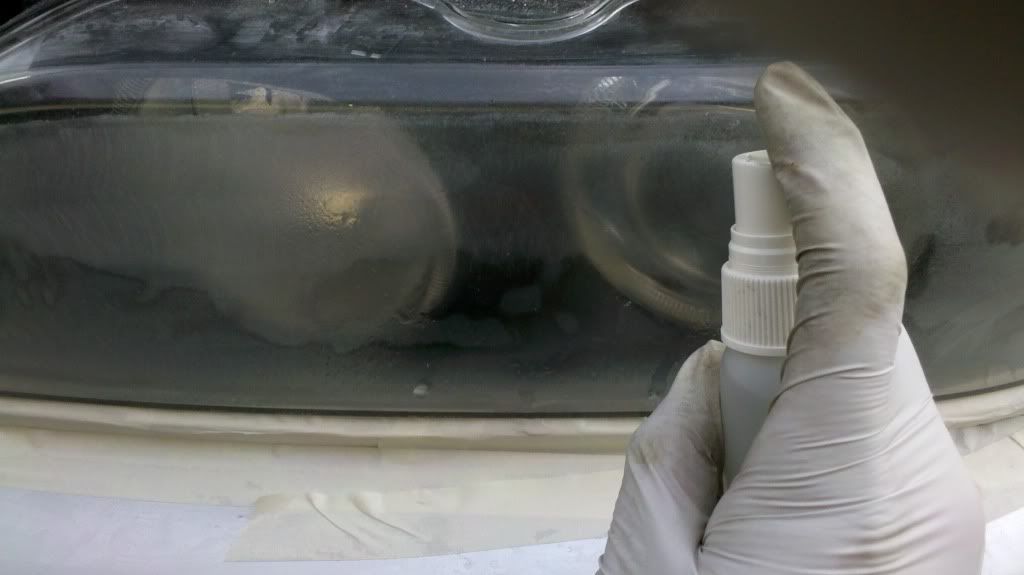
Next is the Trizac p2000 disc. Sorry I have no picture of the disc because I got a little too excited and forgot to take pictures of that. But basically I just put that disc on and sprayed the sanding surface 3-4 times with some tap water in a plastic spray bottle. I also sprayed the lens before sanding it.
Occasionally respray water on the lens as it starts to dry out as you sand. Avoid hitting any sharp corners with the disc since they only give you one disc and it was meant to be used on both side lights.
At this point, I start to wipe it off with a microfiber cloth and see that the lens is really clearing up.
If you still see some chips and haze, you can't really remove them any further with the p2000 disc because it it not as abrasive as the p500. Mines was not perfect but it's pretty darn good compared to before I used the kit.
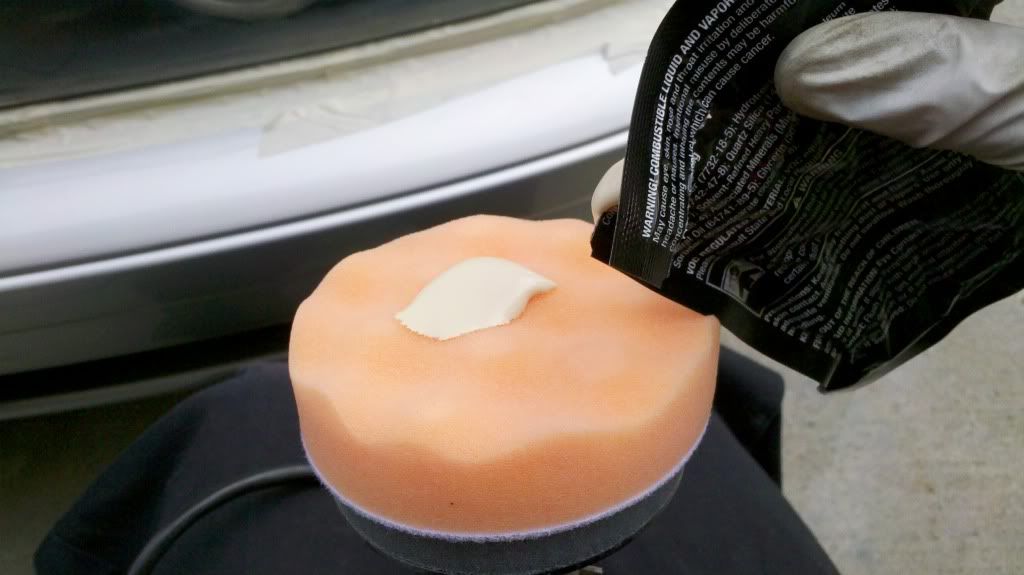
I then used the buffing pad with a dime size amount of rubbing compound. before you power the drill, you should smear the compound across the light so it doesn't flick everywhere when you start the drill.
Look at all that sexiness come out from behind those clear lenses
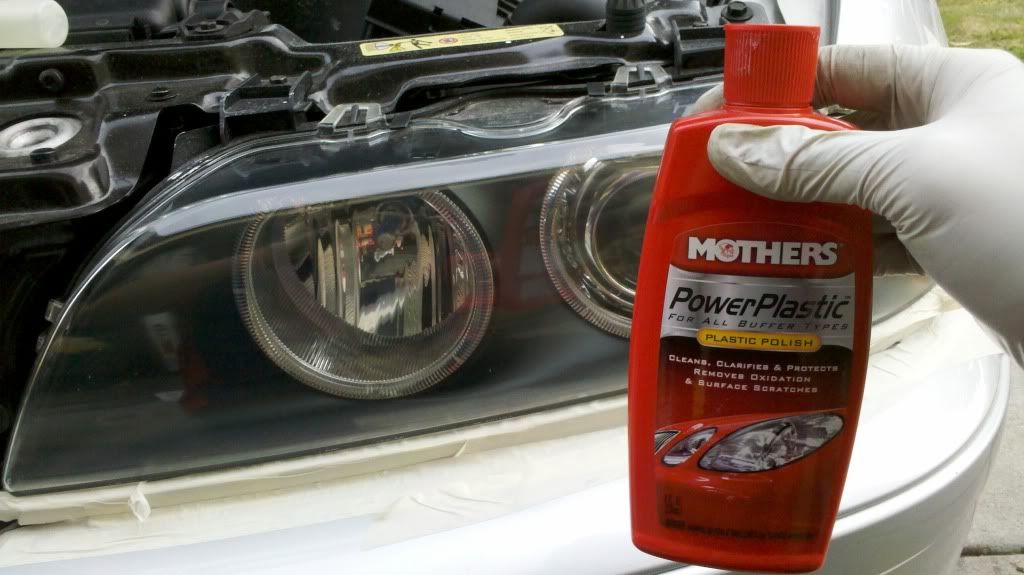
This part is optional, but I finished it off some more with some Mothers Plastic Polish my brother had bought and was laying around in my garage. I used the same applicator pad that I used for the 3M rubbing compound.
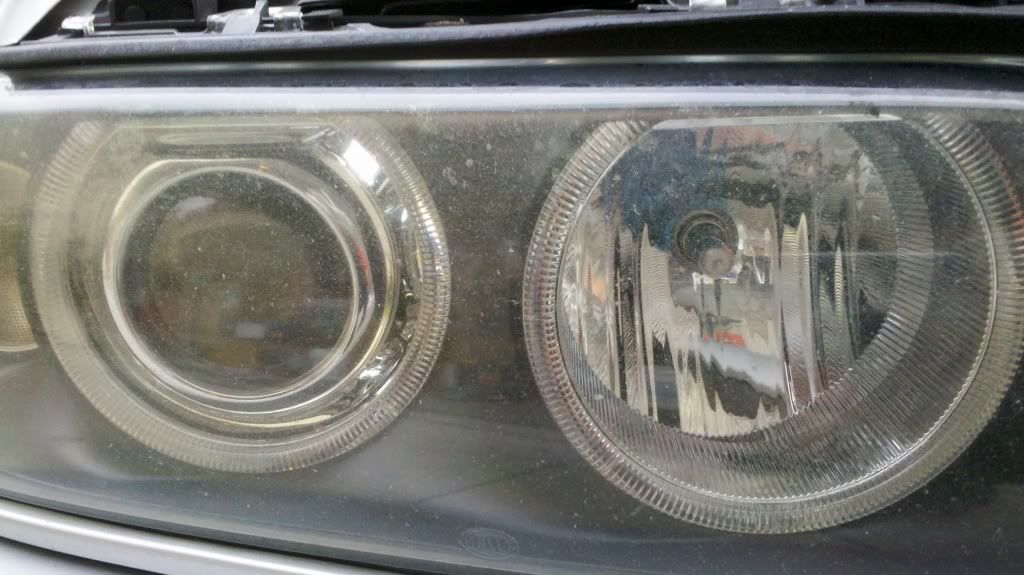
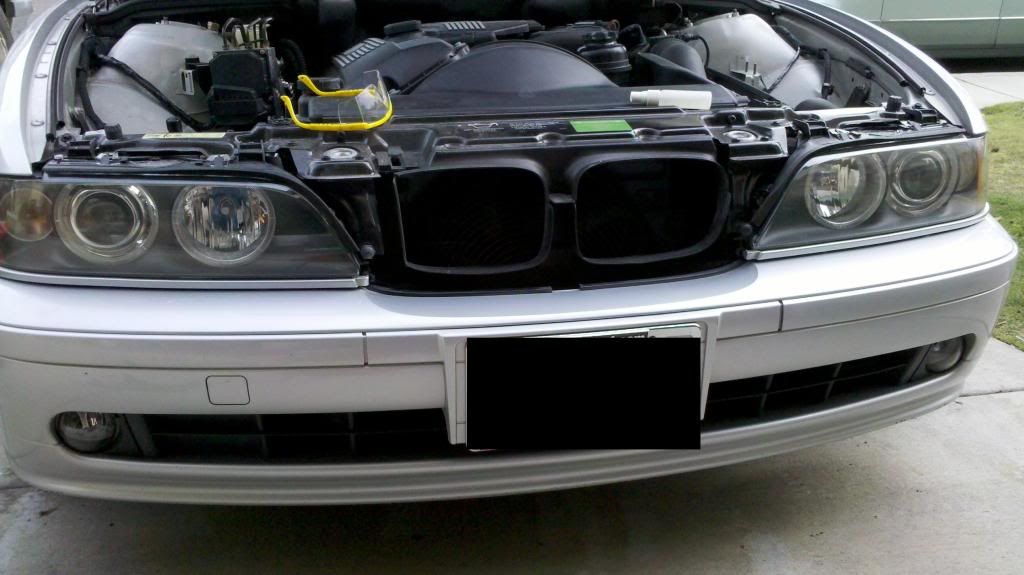
Here's the finished result.
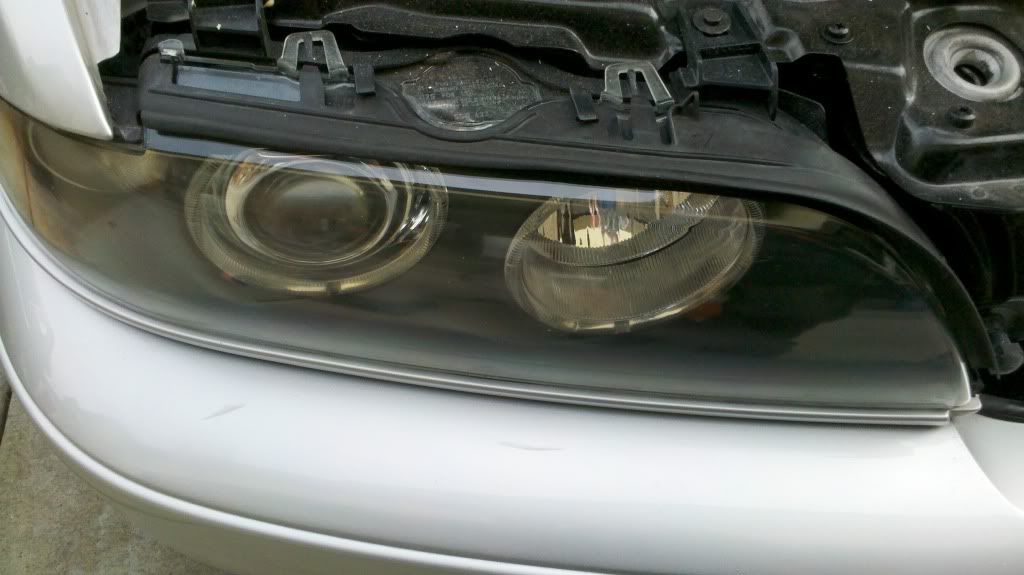
Before(Untouched passenger side):

Member
After(Driver's side):
Passenger side finished with the same steps:
End result, I didn't get the show quality finish because I didn't sand long enough with the coarser discs. I spent 2 hours total on both lights and used up only 4 p500 discs and 2 p800 discs. I still have plenty of rubbing compound left and I think I will try to sand it out once more after I order me some Lamin-X to prevent from future chips. This is a simple and perfect alternative for those who don't have much technical skills and/or just plain lazy. Hope you enjoy this and I would like to see some of you use this product and post your before and after pics here too!
Sim Simma
Moderator
Very nice job. I have no experience with the power-tool kits but I am going to give that a try to refinish my current lights
Going into my TENTH YEAR of providing high quality reproduction BMW fabrics!
PRICE CUT on ALL FABRICS
Offering the best prices on the best quality reproduction fabrics!
Member
good job
much easy with headlights off
i used 3M as well
The key is 3000 polishing disk which is hard to get
I used 2 sets
and ya
they will never look like original headlights

Last edited by champaign777; 01-02-2011 at 09:02 PM.
Member
Nice work and write-up. Mine are over due.. I've used compound and polish with my buffer, but going to have to sand them for better results like yours.
1999 540i | Dinan 5 | SuperSprint Exhaust | Sports Package
Member
Wow, champaign777 yours looks way better, guess I'll take mines off when I do it again
Member
I was just going to try this too! thanks for the write up.
Member
I have had the 3m kit for a while in my garage.
However, I have not used it because I don't want to remove that factory protective film on the headlights with the super coarse sand paper...
Looking for an E39 belly pan , passenger front inner fender liner
Member
nice job....
I just had this done to mine for $60. They look new again.
"If everyone thought the same when it came to modding there would be no thinking"
Member
^ nice clk, nice write up
PM me for Interior Trim Wraps!!! Get rid of your old wood!
**PM ME FOR DETAILING/ROOF WRAPS(BAY AREA**
Member
Nice write-up! I did this a few years ago on wifes Jetta. This kit is also available Walmart for around $16 in the autobody section of the automotive dept, just make sure is has not been opened and missing discs, as one kit I bought did.
6 spd swap, M5 diff, M5 steering box, B&G springs, G.A.S. Monoballs, M5 rear chasis braces, Eibach rear swaybar, EBC red brk pads, EBC slotted rear rotors,
StopTech frt rotors, StopTech brk hoses, aFe CAI, 4" MAF, M60 Manifold, N62 Throttle Body, DUDMD Stg 2+ w/ SAP & EWS Deletes,
muffler delete w/ Magnaflow tips, 18x8/9 style 69, BMW lip spoiler, Hella G4 projectors, & 1.4 bar coolant cap.
Member
+1 Nice write up!
$14.95 at Amazon (no tax and free 2 day for me!) - 1-click ordering here I come.....
Member
We just started carrying the Sylvania refinishing kit. The nice thing about it is that it includes a clear coat to put on your lenses after the polish. I refinished my headlights last winter and it only took a few months to look like crap again.
http://forums.bimmerforums.com/forum...php?p=21048789
http://www.eaceuroparts.com/parts/part_number/38771
I have nothing against the 3M kit, but if you use it, have your lenses clear coated with something to help them last longer.
Last edited by jnyost; 04-16-2012 at 11:56 PM.
"If everything seems under control, you're not going fast enough. - Mario Andretti"
Member
The kit is great... I found it easier by removing the headlights from the car... didn't want to hassle with tape...
Member
How much?Originally Posted by jnyost

Price?
LOL!
Edit:
Found it...
http://www.eactuning.com/parts/product_details/38771
~$24...
Last edited by Jason5driver; 01-03-2011 at 01:05 PM.
Looking for an E39 belly pan , passenger front inner fender liner
Member
I don't recommend to touch your headlights if they look OK with just some minor "haze"
You headlights will never look like OEM after polishing
just my 0.02
Last edited by champaign777; 09-03-2011 at 10:37 AM.
Member
I agree. I removed my headlights also.
Yep, that would be the kit.
I agree, if they aren't bad, don't touch them. However, if they were like mine and looked freaking horrible, then it's worth the time. You'd be surprised how nice they look after polishing. If you take your time, they will look as good as new. If you take shortcuts, you'll be able to tell.
Last edited by jnyost; 04-16-2012 at 11:55 PM.
"If everything seems under control, you're not going fast enough. - Mario Andretti"
Member
Does the Sylvania kit remove the OEM coating?
Looking for an E39 belly pan , passenger front inner fender liner
Member
Yes, all sanding will remove it. That's why it includes a bottle of coating that way you can protect your lights afterward.
"If everything seems under control, you're not going fast enough. - Mario Andretti"
Member
Thanks for the write up and pics! I used some other kit on my daughter's Jetta which only worked ok. Now, a year later, they look like crap again. I also used Mother's kit on my son's Passat with mediocre results. I'll have to try that 3M kit.
Member
See the Sylvania kit is cool in the part that it has the clear coat compound. The downside of that kit is that it costs more and it doesn't come with a drill attachment, so be prepared for hours of endless sanding. You might turn out with some nice forearms afterwards though.
Member
I haven't tried it yet, but supposedly the fluid they include will make the sanding easier. A lot of guys wet sand without a drill attachment. Not sure if it will make a lot more difference or not. Interested in hearing feedback though.
"If everything seems under control, you're not going fast enough. - Mario Andretti"
Sim Simma
Moderator
Wetsanding without the drill attachment just takes a lot longer and is a much more tedious process. Both have potential to look bad afterwards, but moreso with the drill I think because its easier to get carried away.
Going into my TENTH YEAR of providing high quality reproduction BMW fabrics!
PRICE CUT on ALL FABRICS
Offering the best prices on the best quality reproduction fabrics!
Member
OP, great job!
Polishing plastic is only temporary, will last a month tops. The best way is to take out the headlights and have a bodyshop spray urethane 2K clearcoat over them.
Prodigal Member
Good stuff ITT... as with anything, prep and attention to detail is a must.

UNDER CONSTRUCTION
- 2000 528i Sport -
Got any questions about my car? Feel free to PM me!
 Posting Permissions


 Reply With Quote
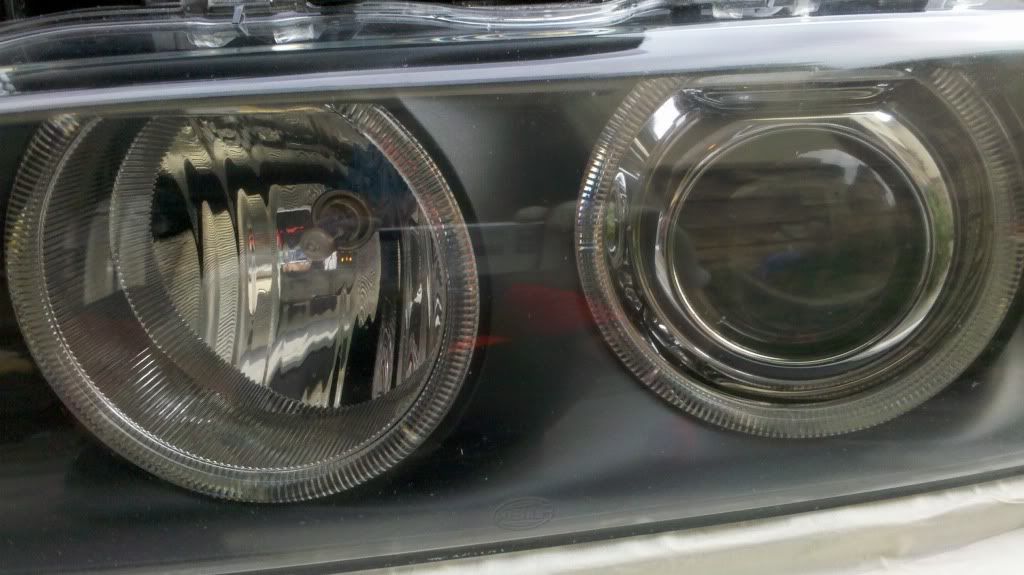


Bookmarks