
 Member
well, i guess i can bring this here for more opinions and views.
-----------------------------------------------------------------------
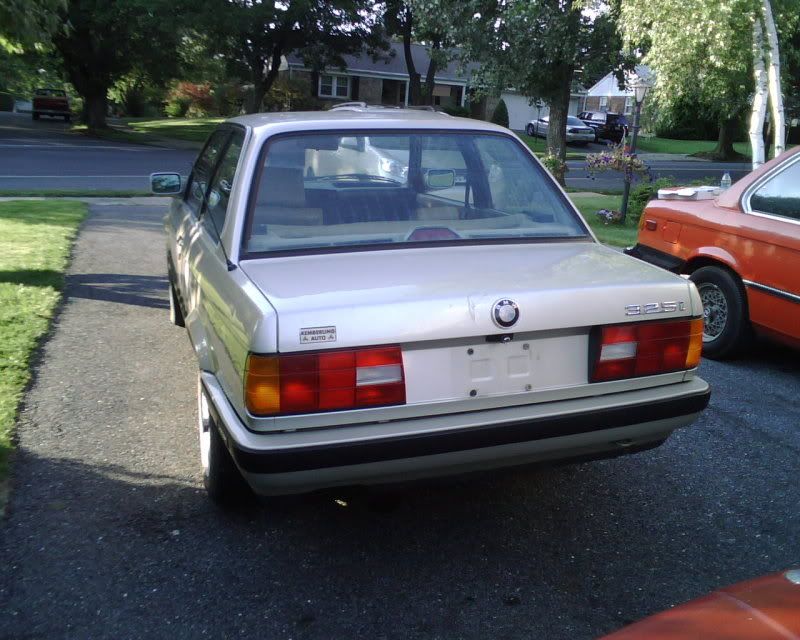
$300 AND 6 HOURS LATER
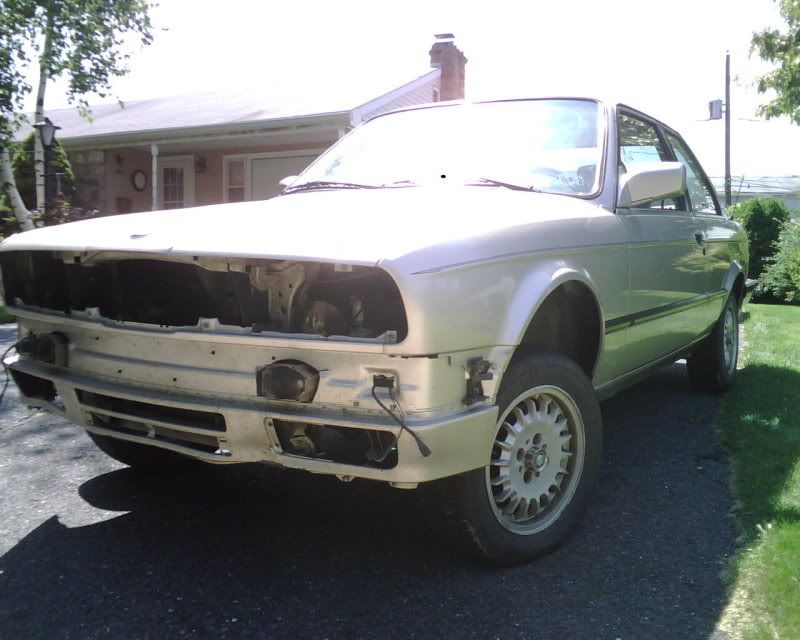
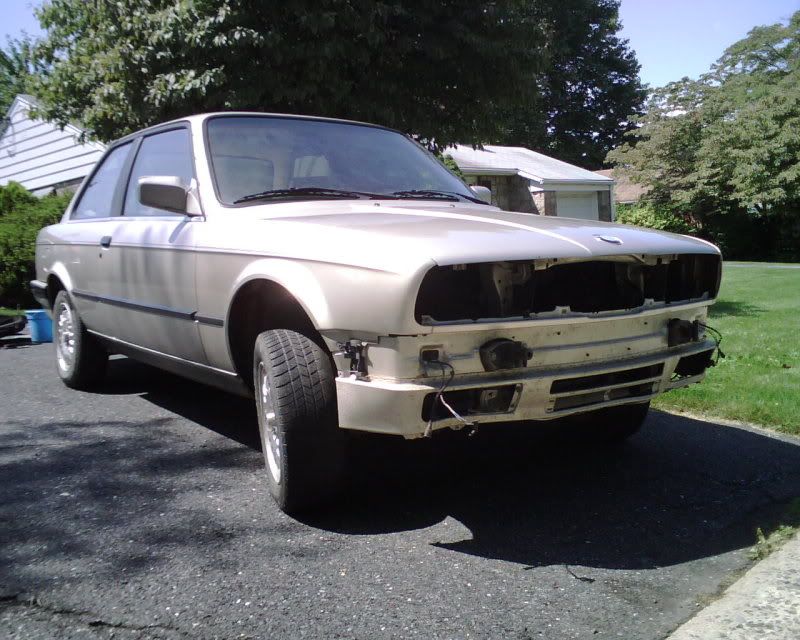
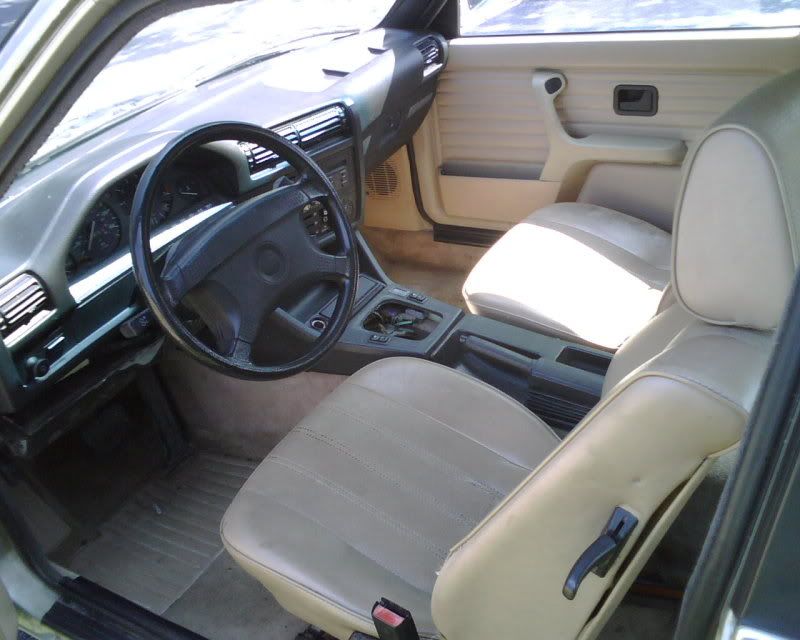
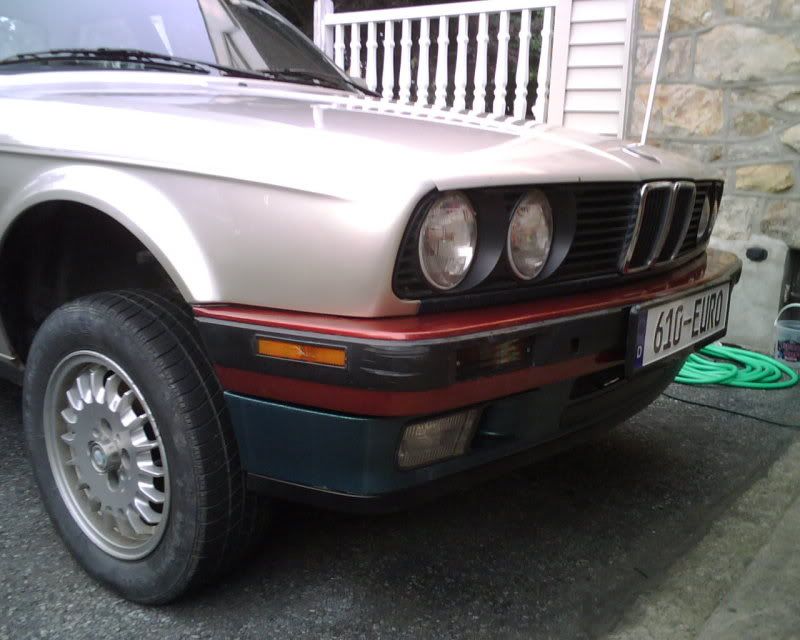
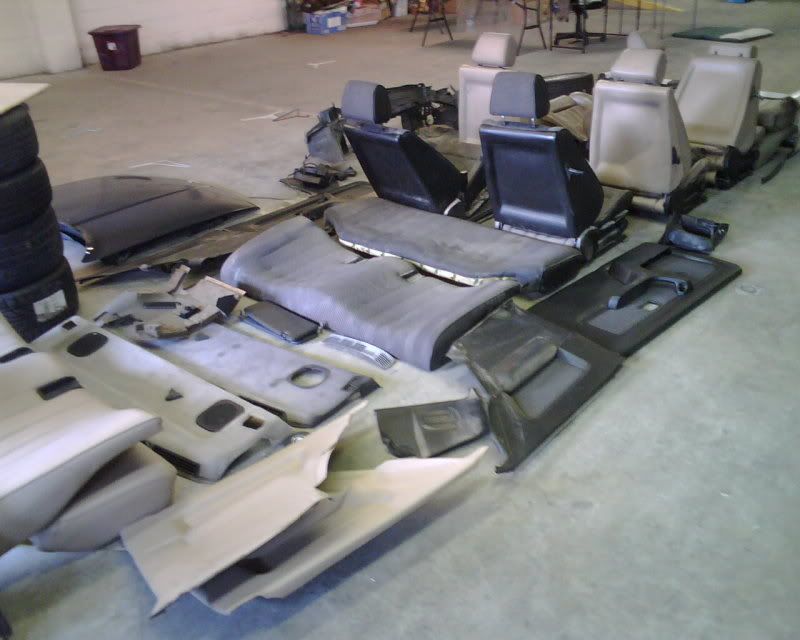
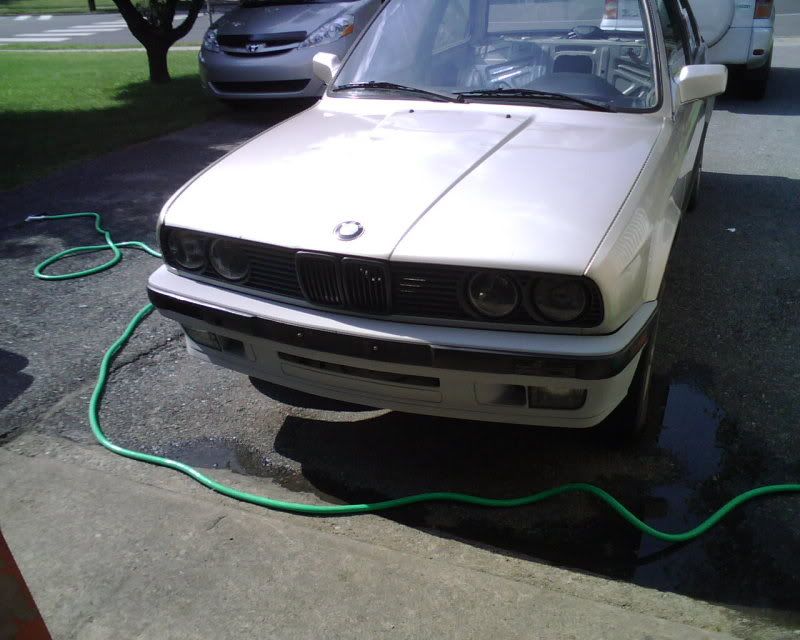
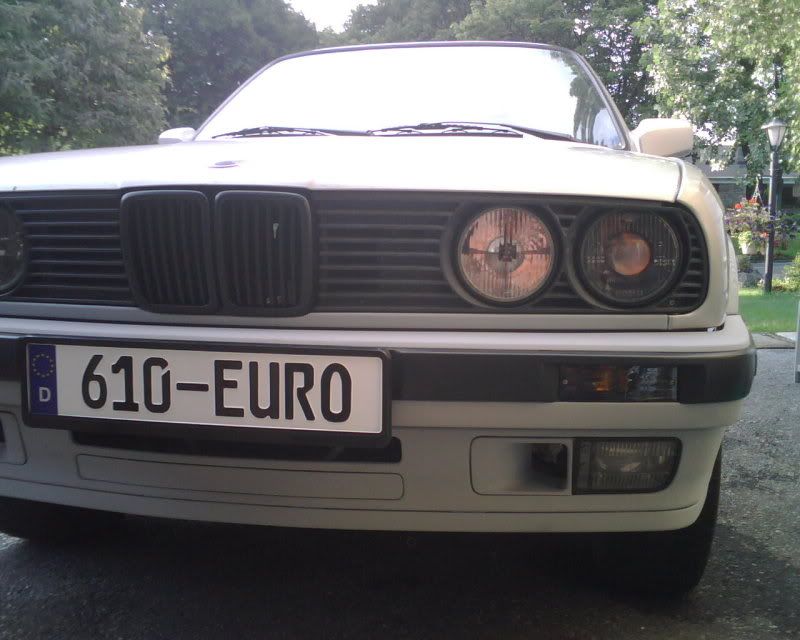
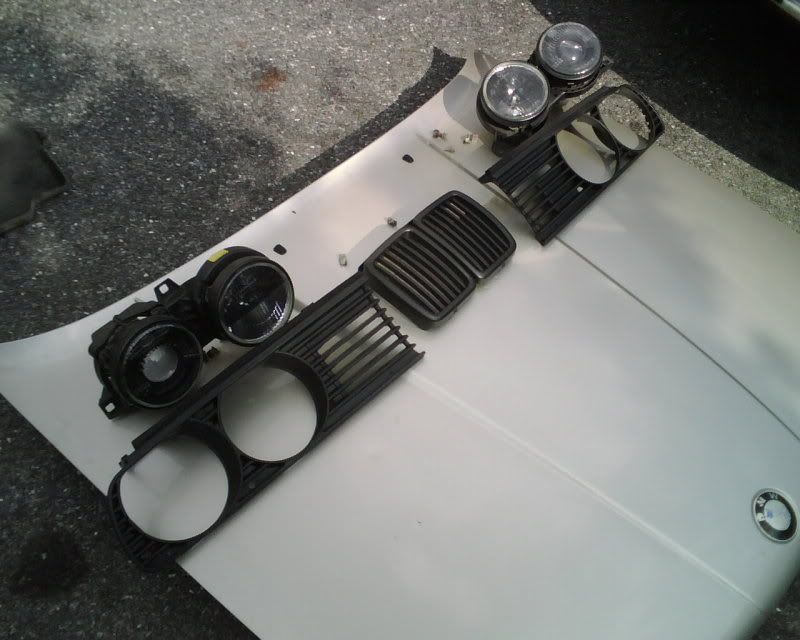
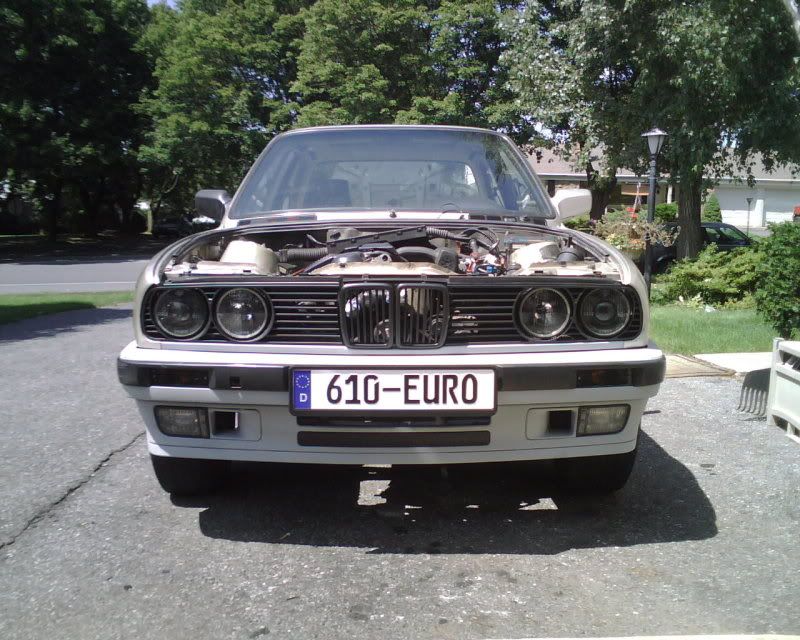
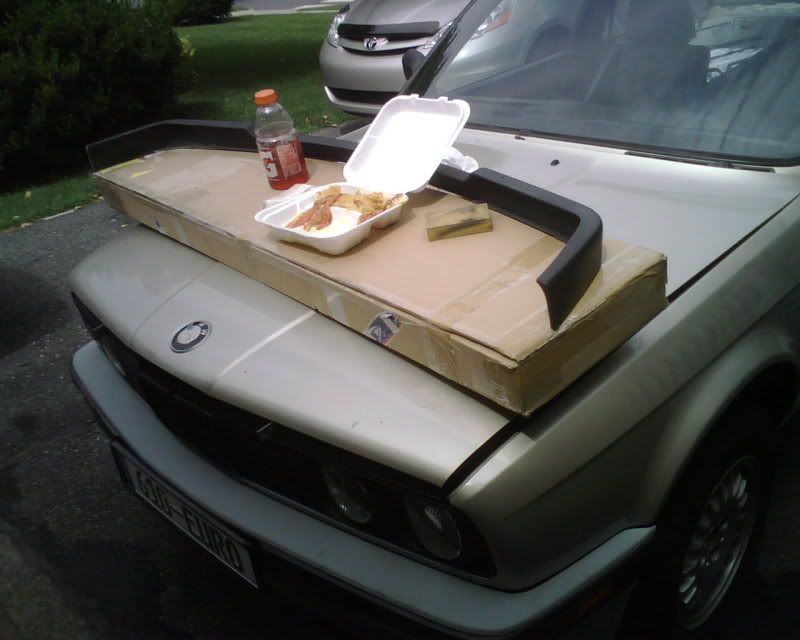
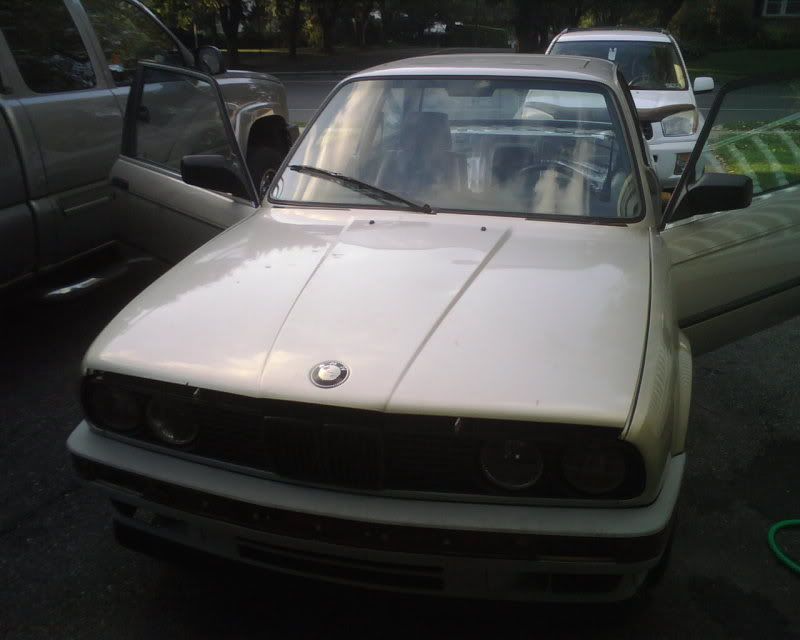
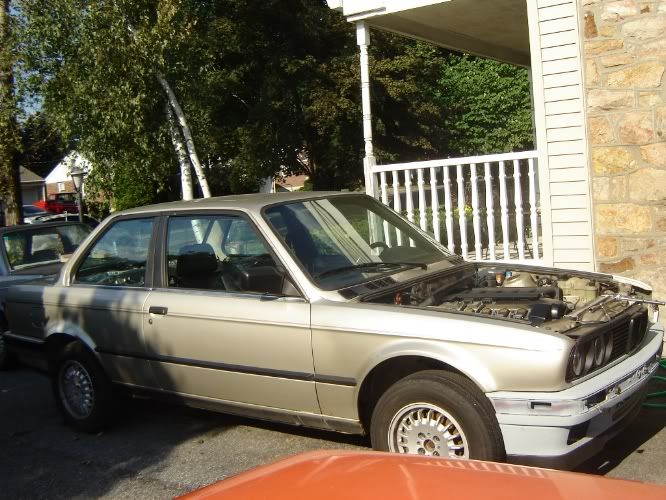
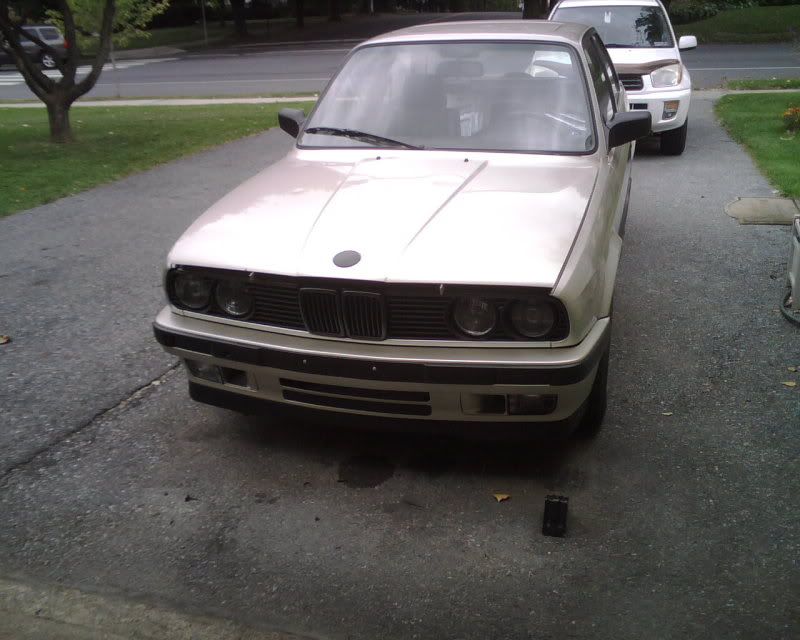
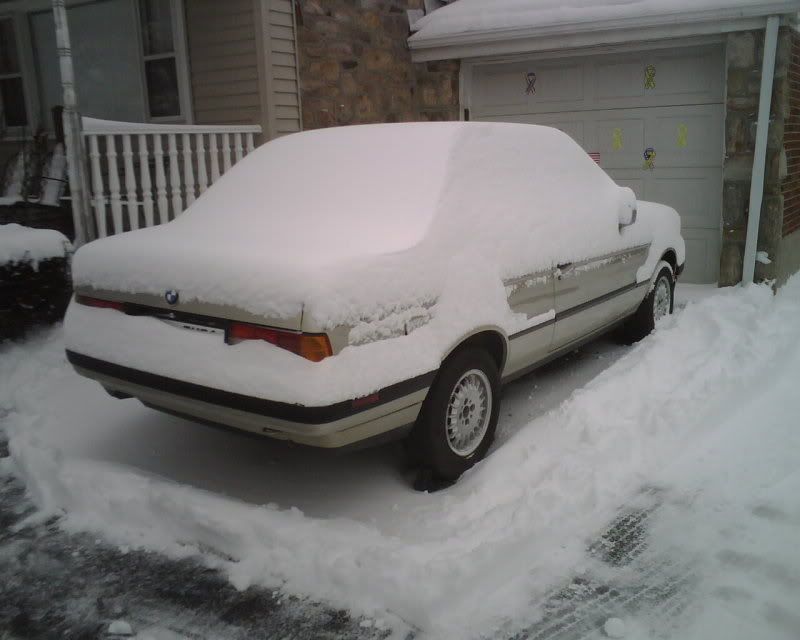
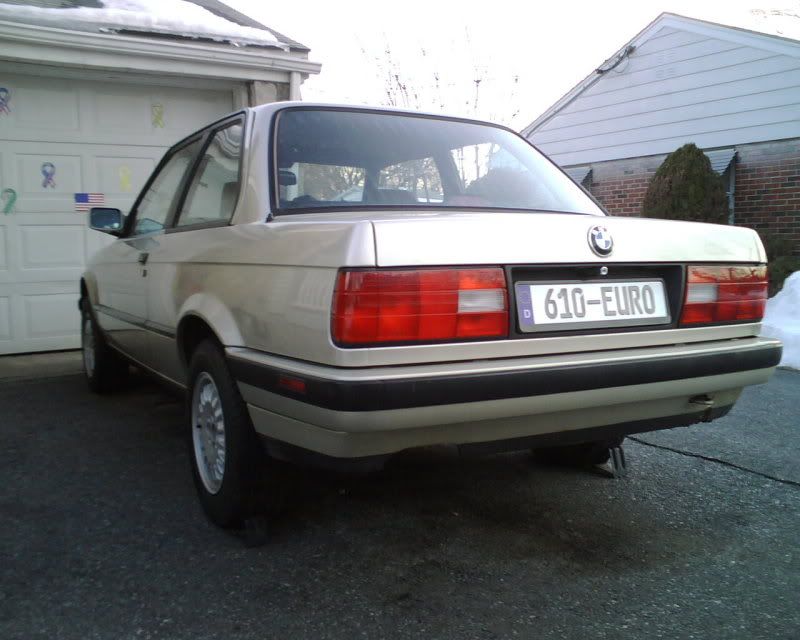
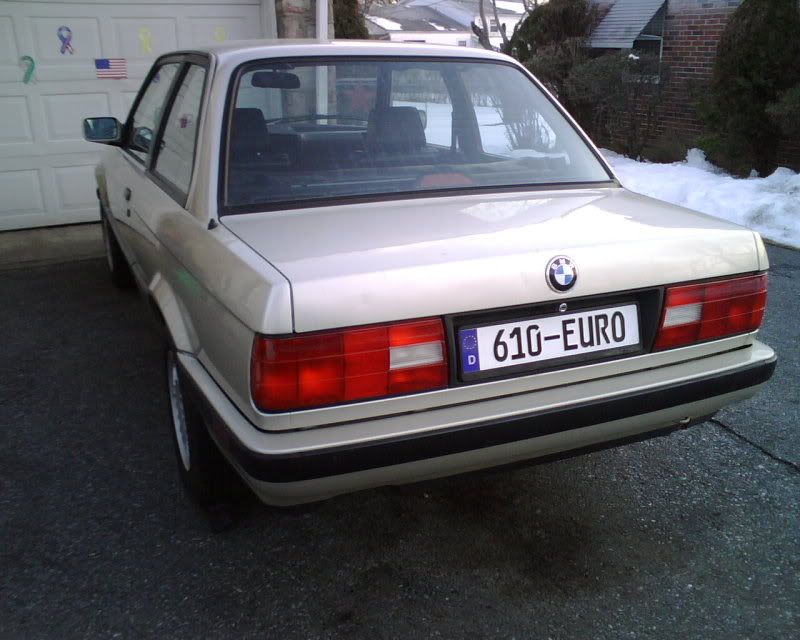
so i have been looking for just a shell to swap in my motors and drive around. this was it. body is near perfect minus some real light rust and the front valance. the rust i will be getting rid of very soon. the headlights and grills and some near mint fogs were all in the trunk so i can slap those on. i already have everything else here to get it to perfect condition except the front plastic. the car came with 2 rear bumpers .. so now i have 3 rear bumpers and 0 front bumpers.
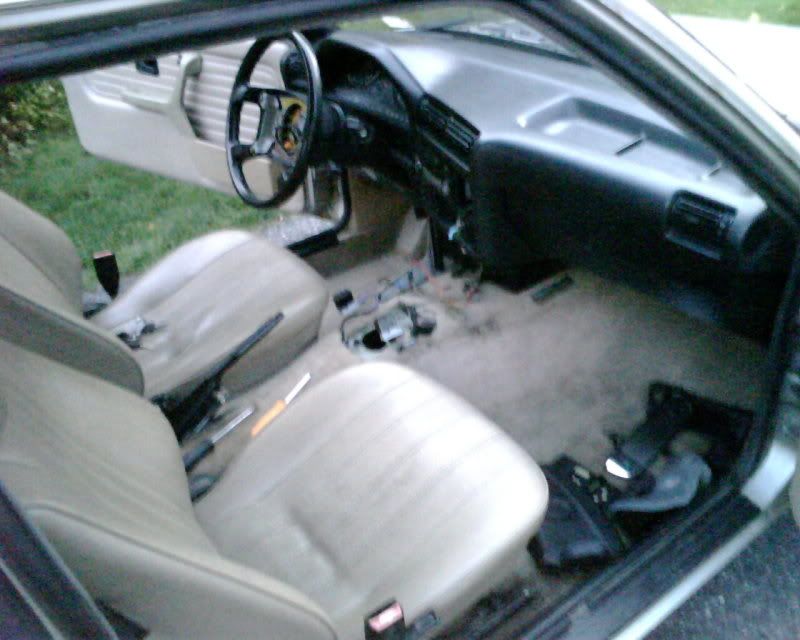
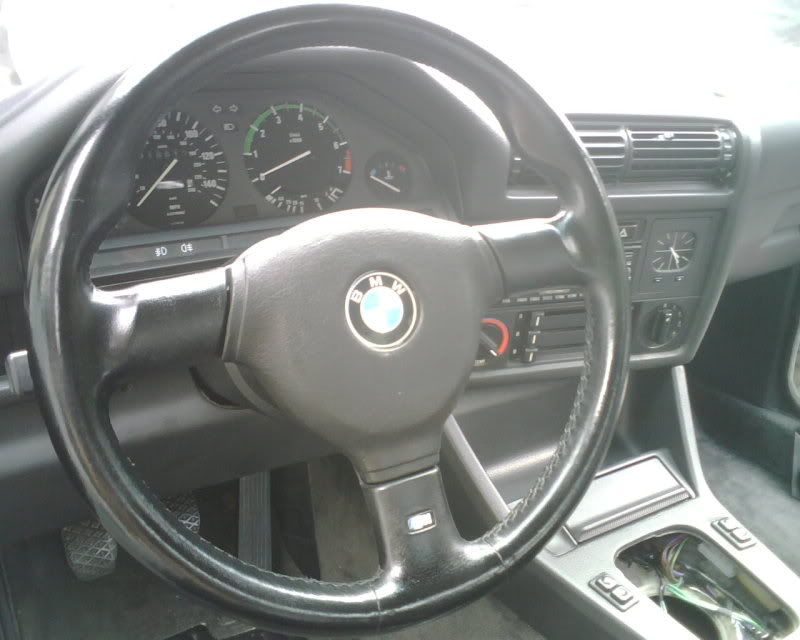
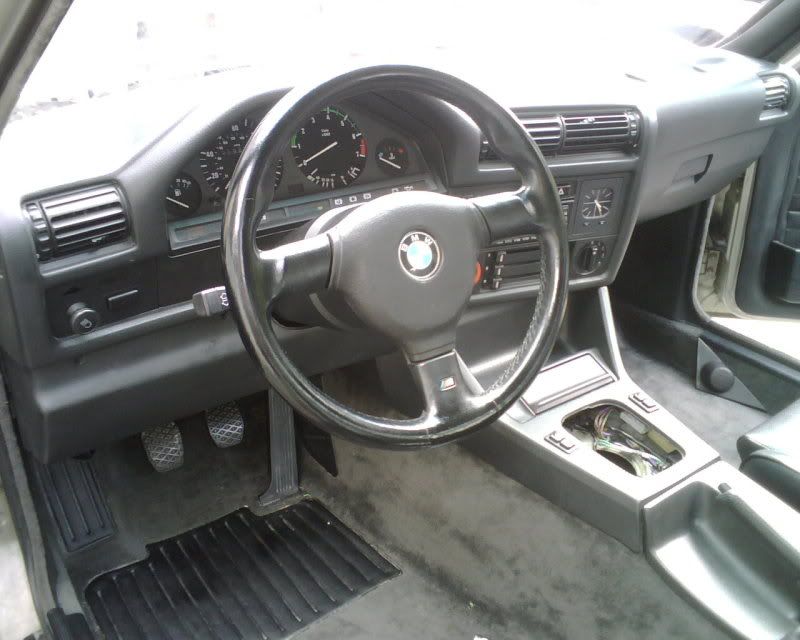
mint dash, knee panel and a bunch of other stuff were a plus. most of the interior was in pieces on the back seat, most of its still there
the tool kit was mint .. so i will be selling it as i have no need for it.
[/QUOTE]
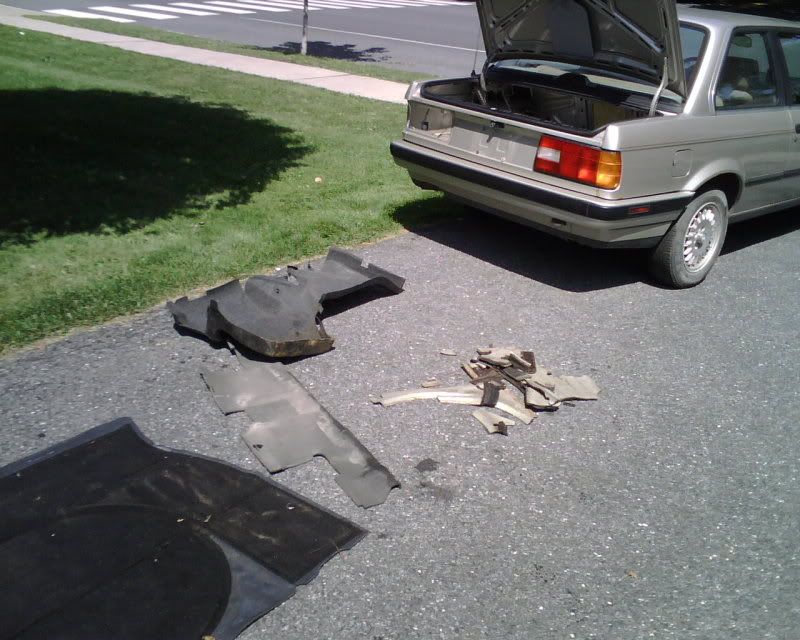
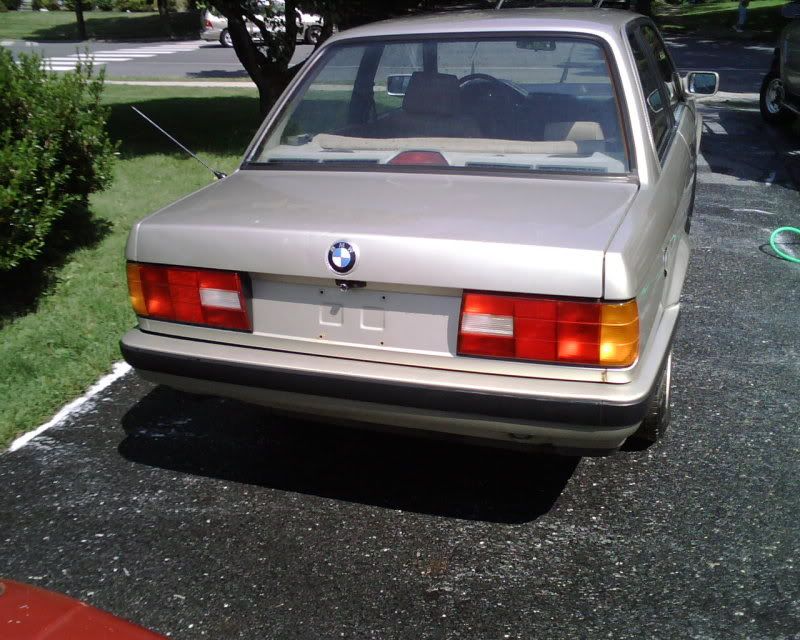
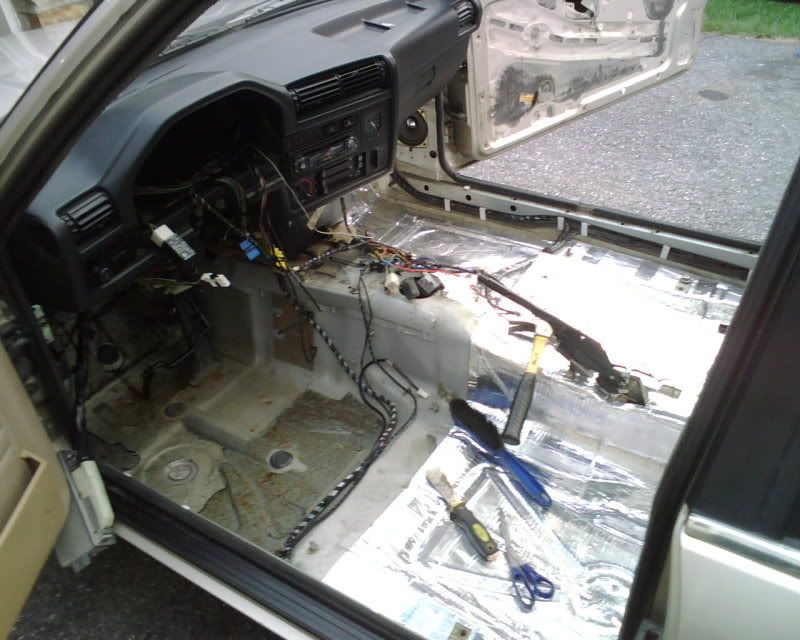
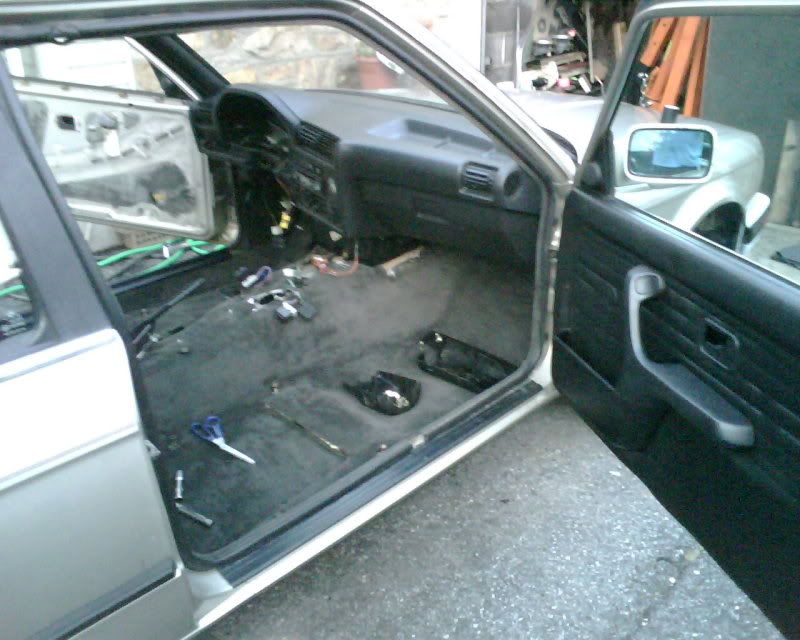
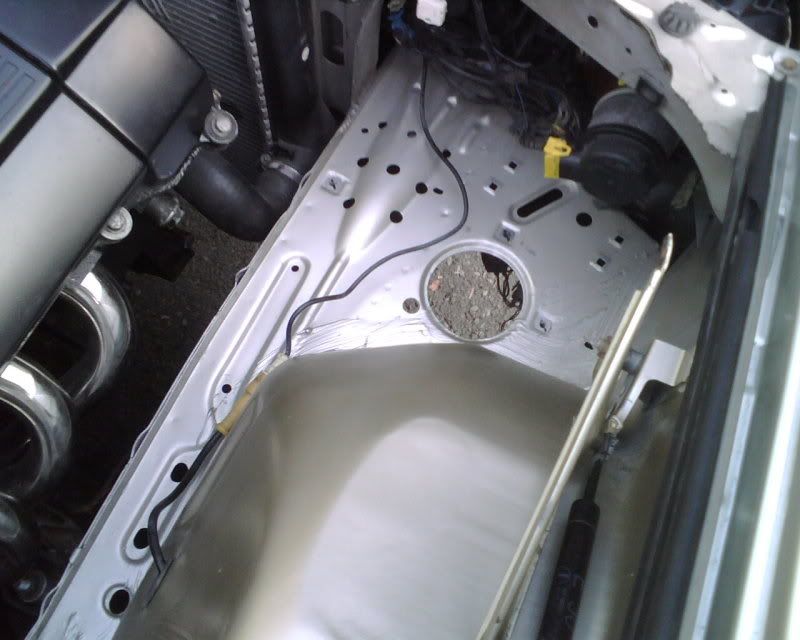
[QUOTE=fcsteve;4342386]first thing i did was remove all the trunk tar and all the carpeting to access all the bare body metal.
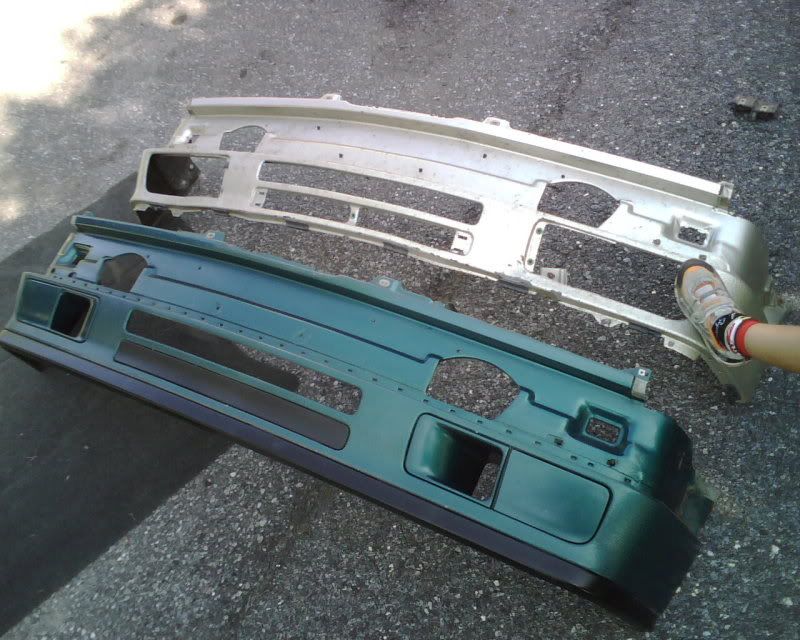
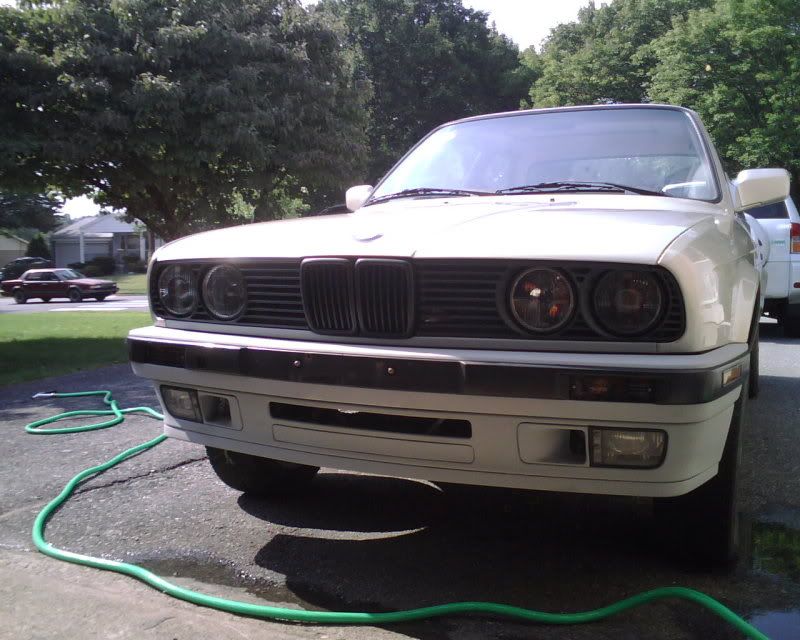
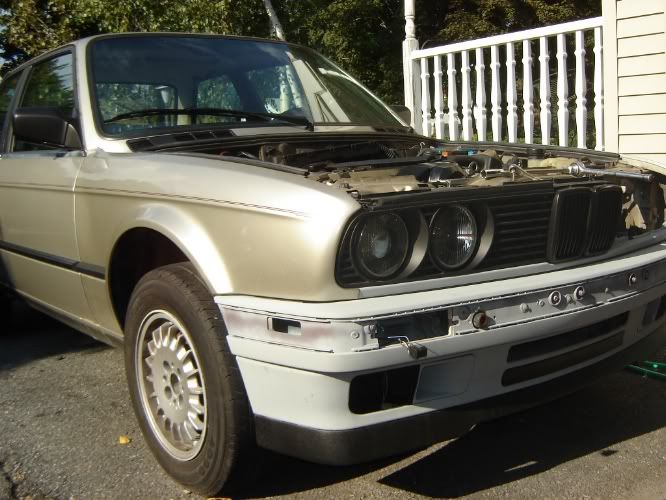
next was to replace the front valance .. that is clearly not my leg/foot/shoe/socks
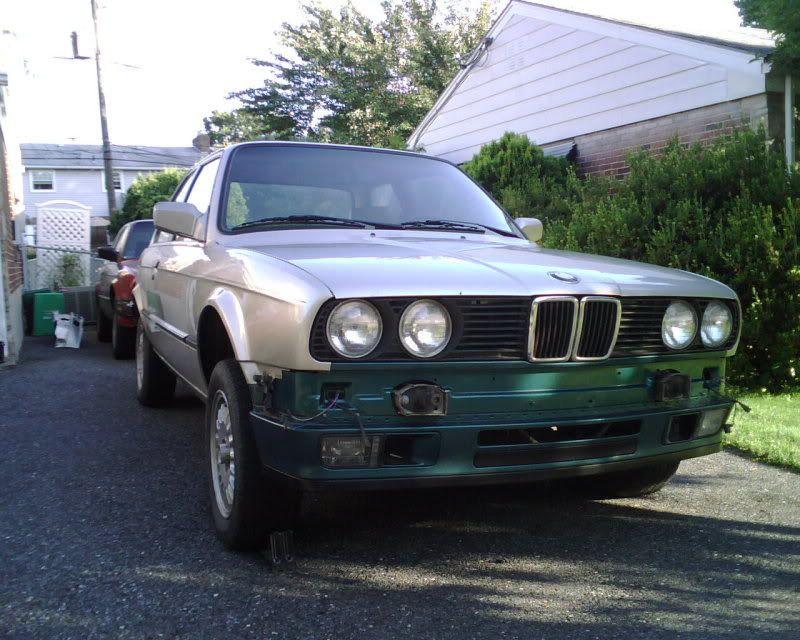
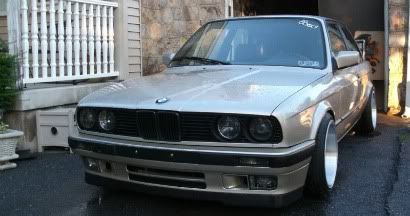
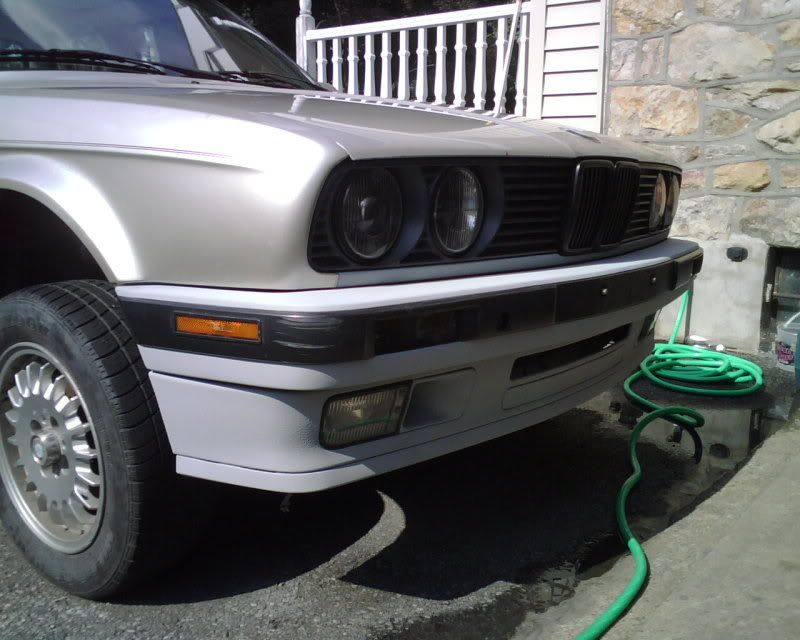
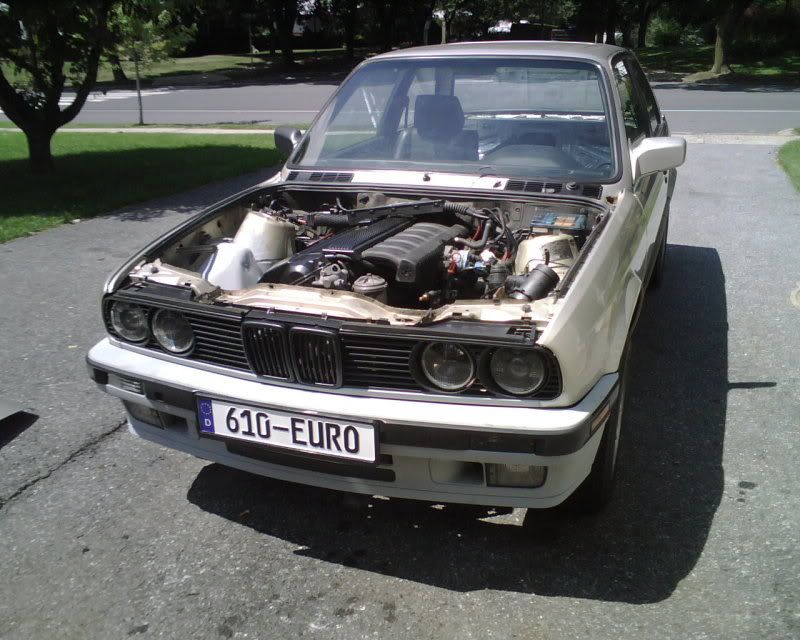
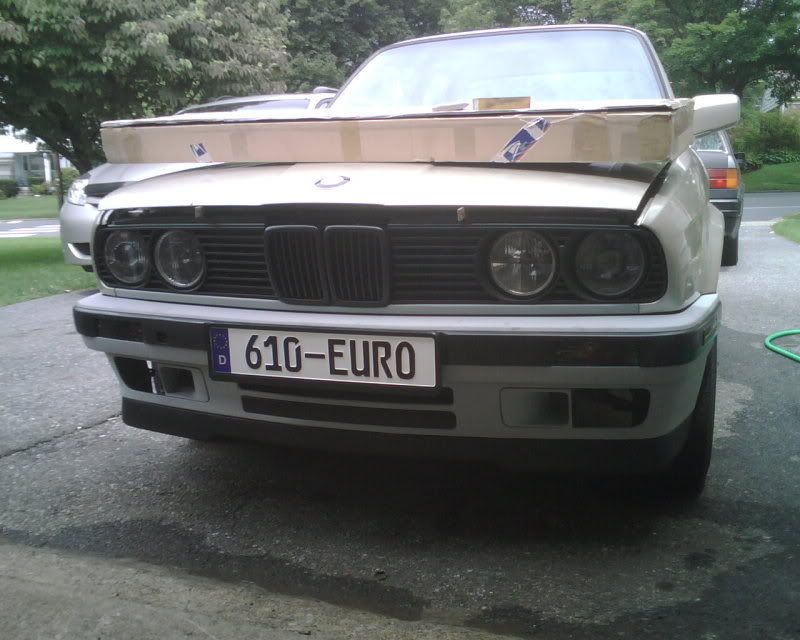
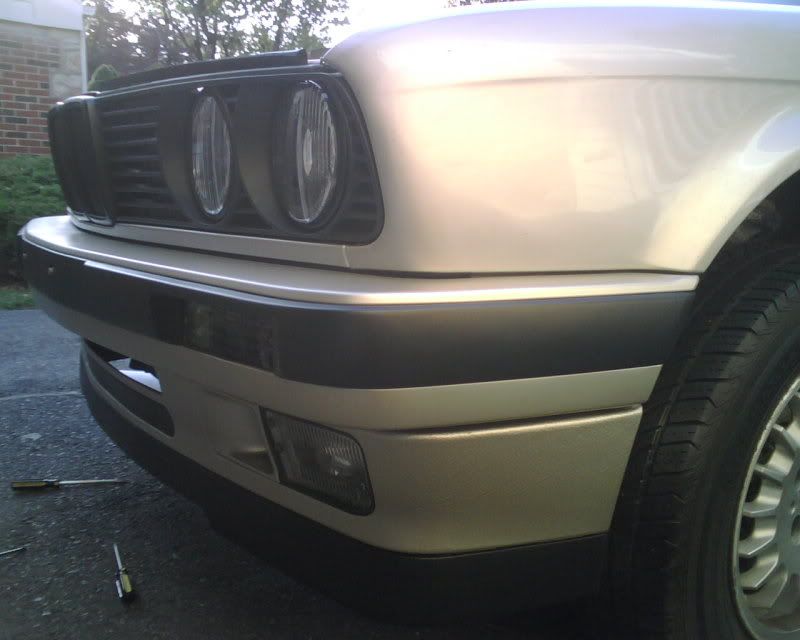
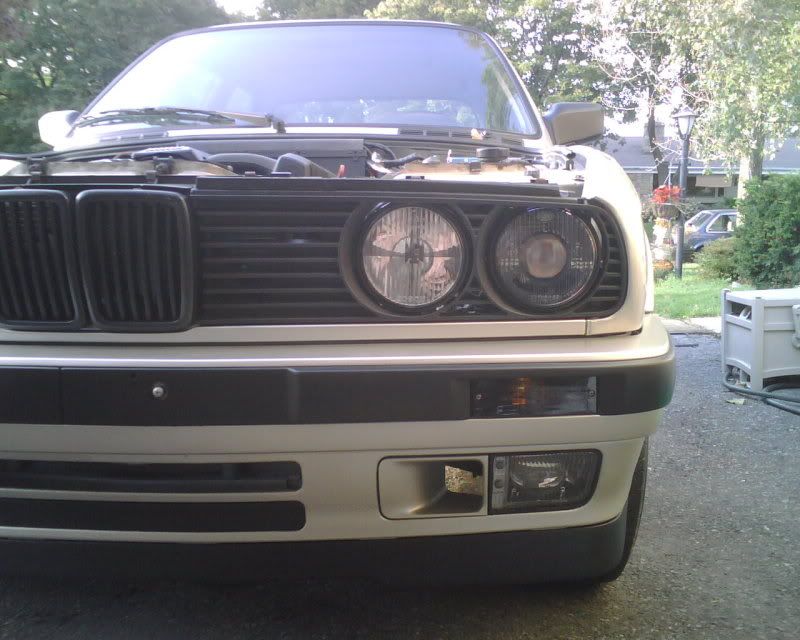
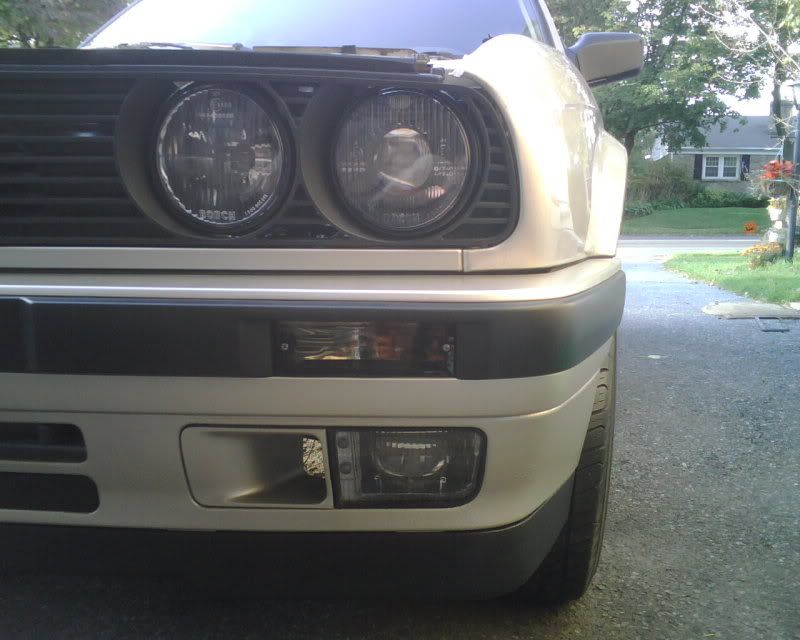
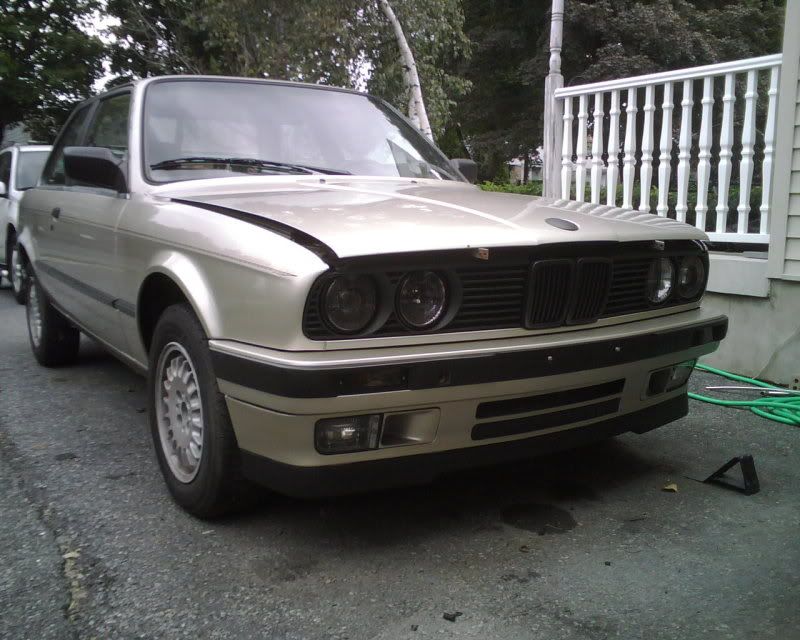
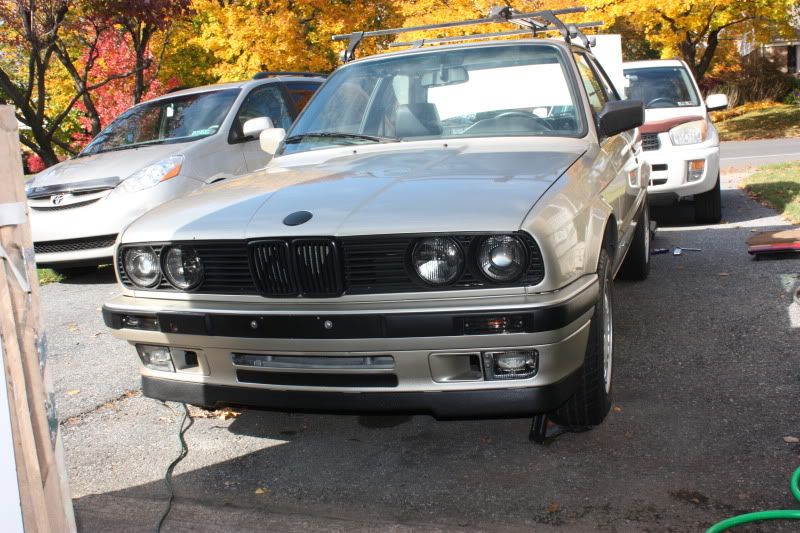
as you can see below i decided i liked the fogs better then the deletes. i also put on the headlights and grills that came with the car.
next was to put on one of my lights to replace the missing one. i had to open one of my many boxes of new parts.
im not sure what im going to do tomorrow. maybe a emblem/sticker shave and some euro plate filler .. or motor swap .. who knows ... i will post pictures.
-----------------------------------------------------------------------
its pretty early for me .. but i got some stuff done.
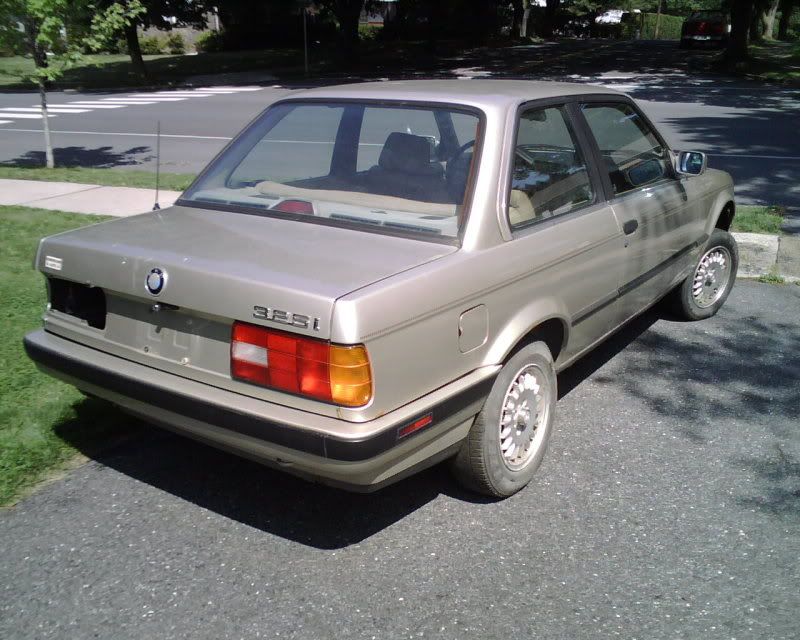
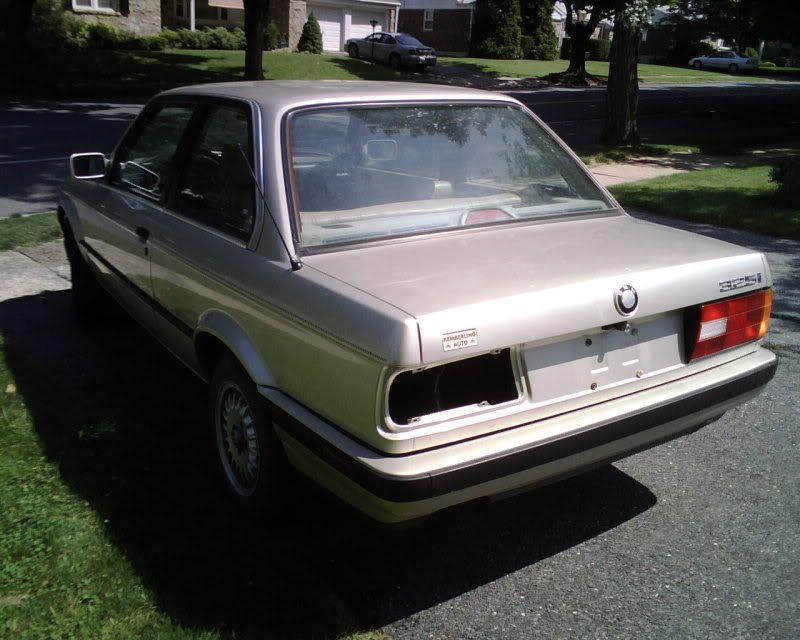
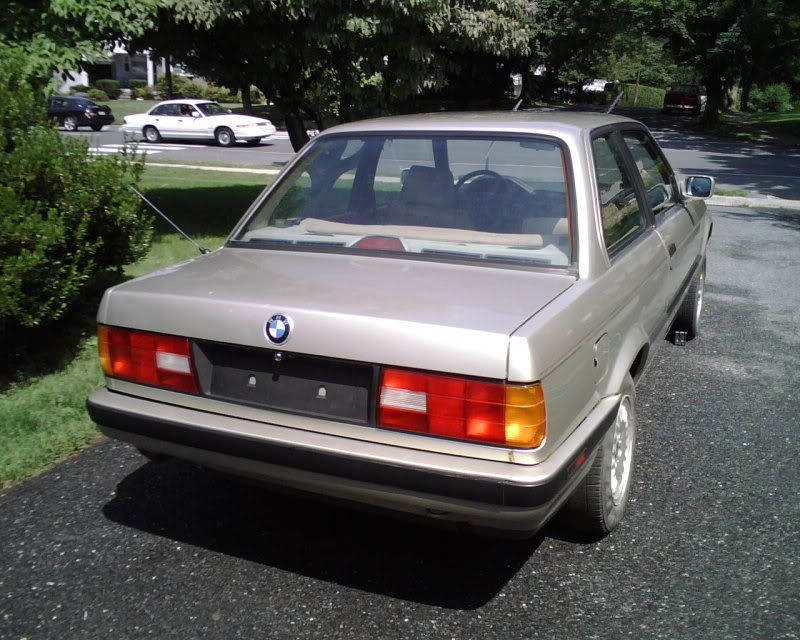
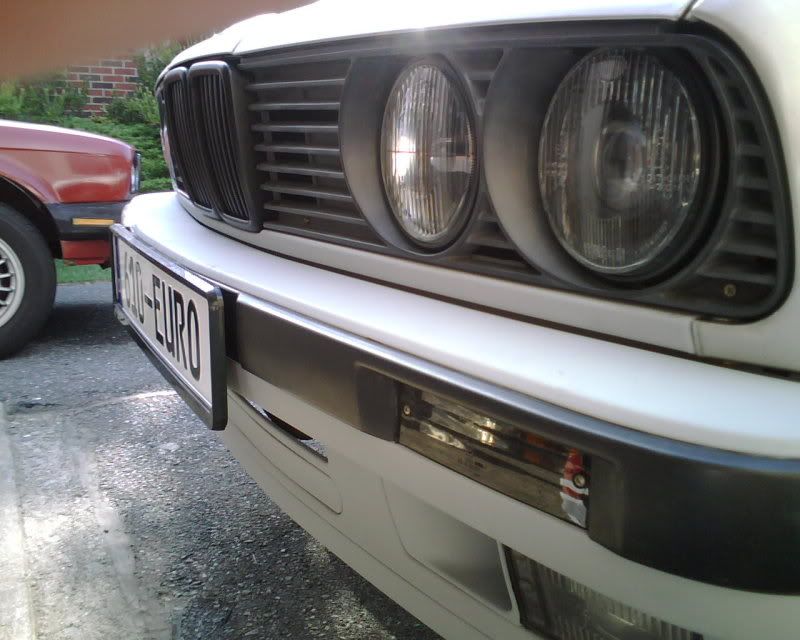
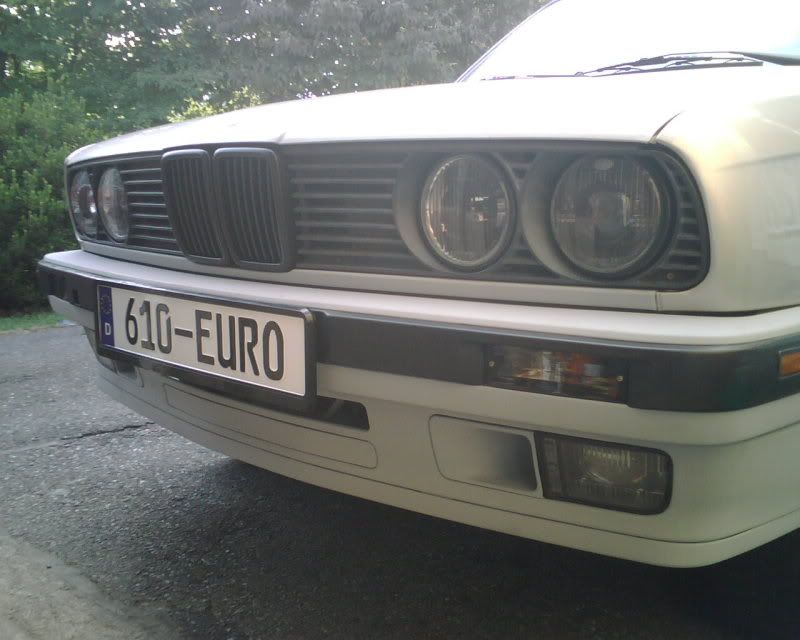
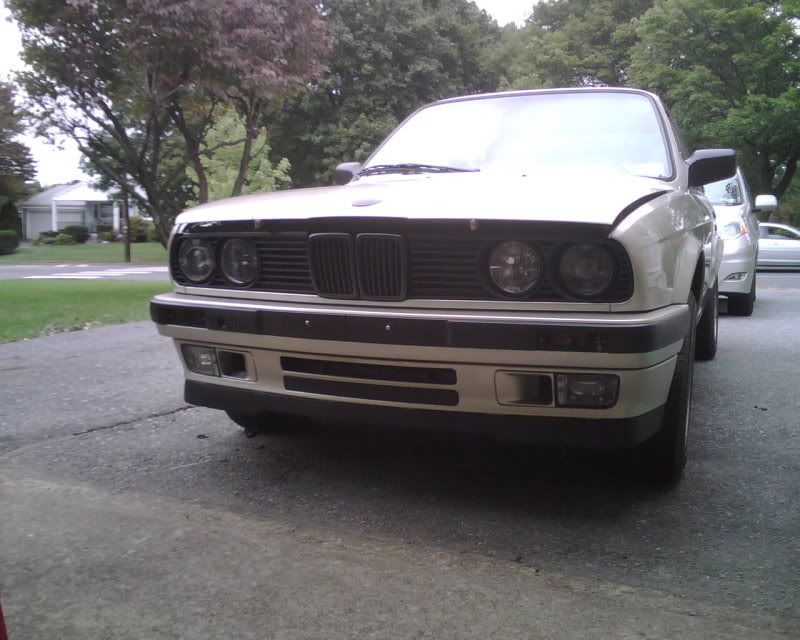
shaved the badge and the " Kemberling Auto" sticker. also put on a much better roundel. also cleaned the car.
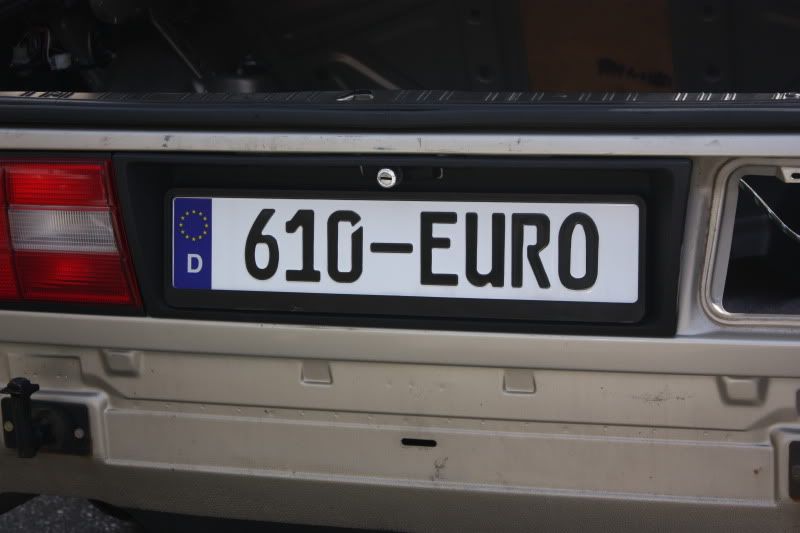
still looked bad to me so i put the euro plate filler on. pulls the rear end together much better.
-----------------------------------------------------------------------
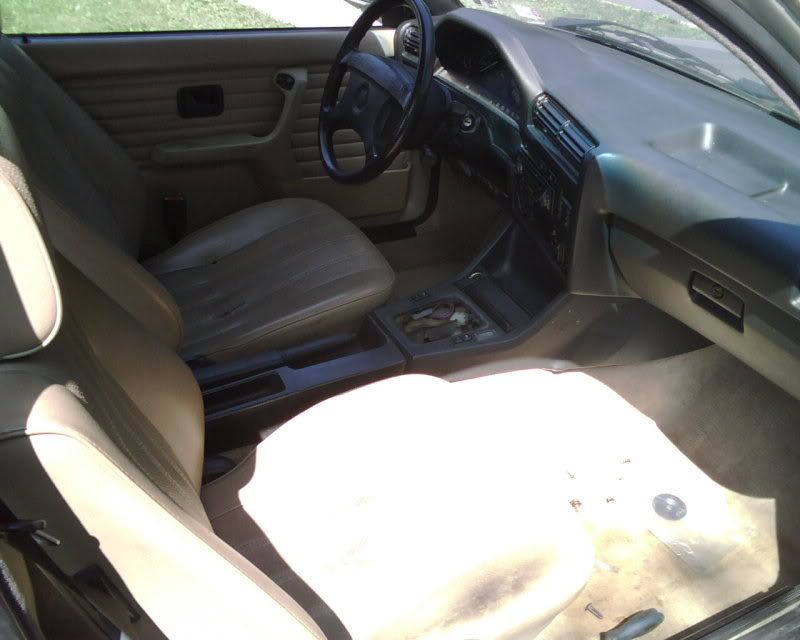
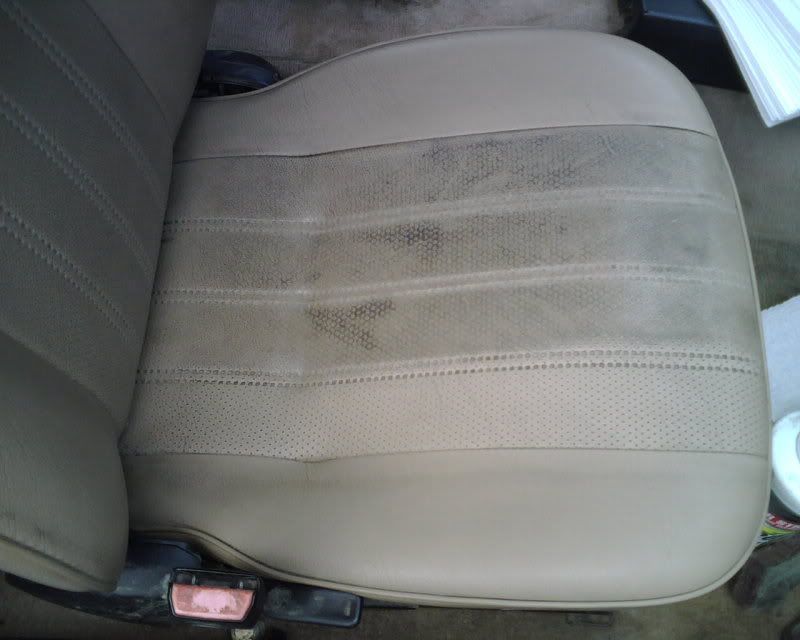
well i cleaned the seats .. not that they are even staying in the car. but i just wanted them clean for the time bieng. i think its pretty obvious where i started to clean and where i didnt.
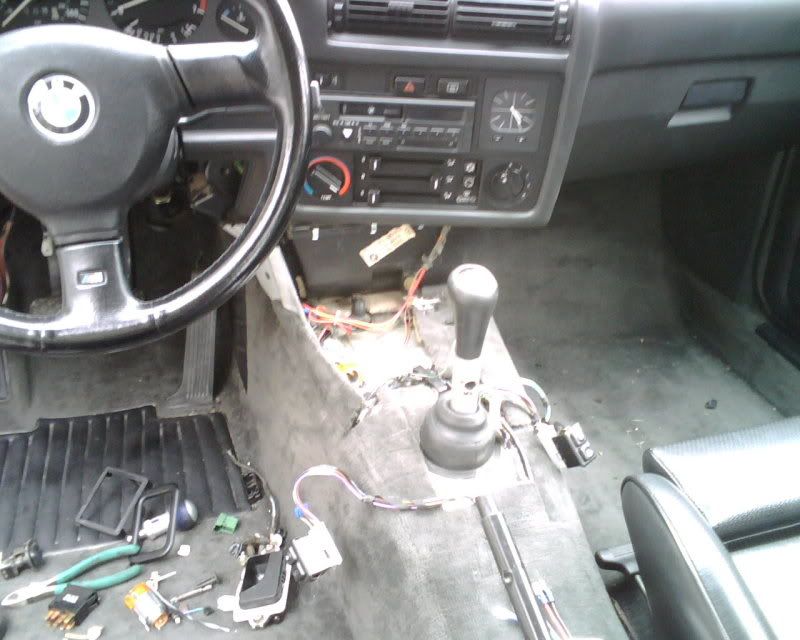
then i was doing misc. small stuff on the interior:
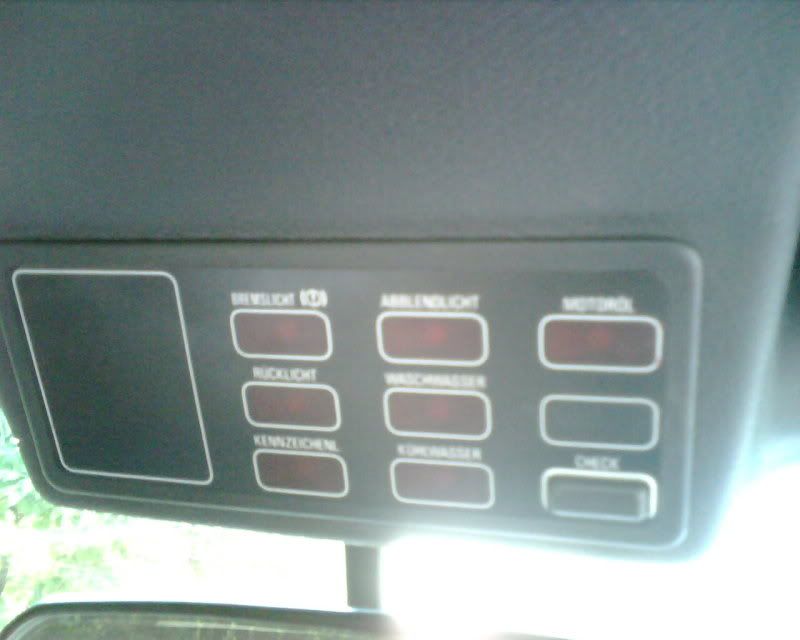
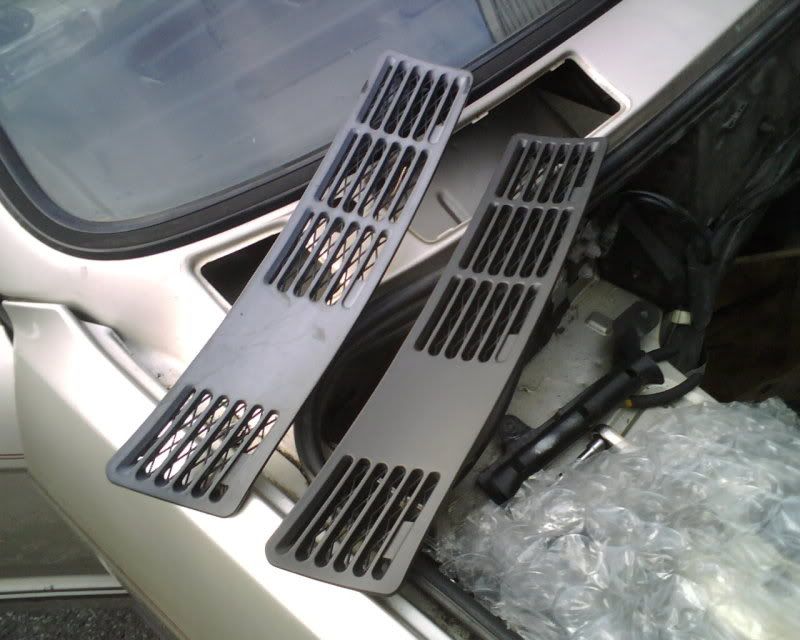
german check panel.
OEM keyless glove box handle.
and the nice blurry pic of the insides beieng removed
it all will be replaced with new stuff soon.
i cant start the motor swap till the motor mounts and throttle cable get here. once thats all here it will get interesting .. as long as my kidneys dont fail in the mean time.
-----------------------------------------------------------------------
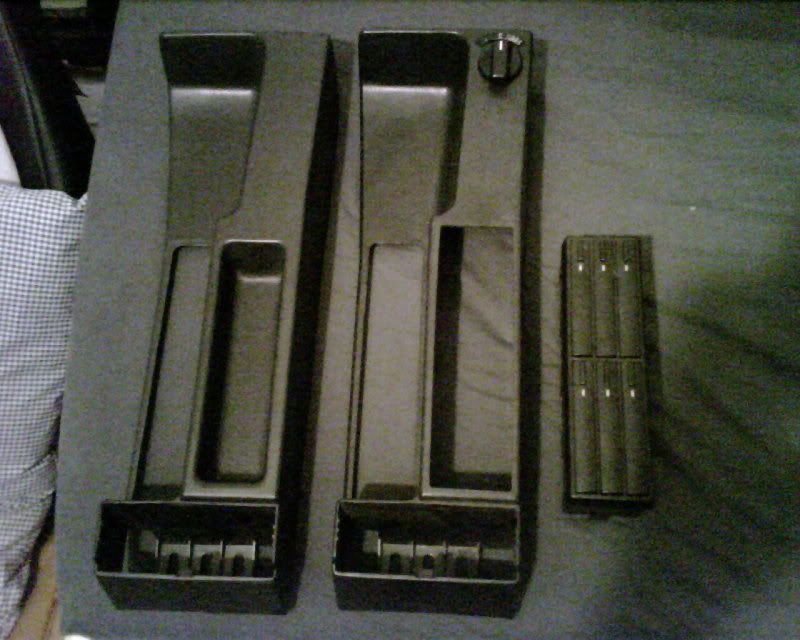
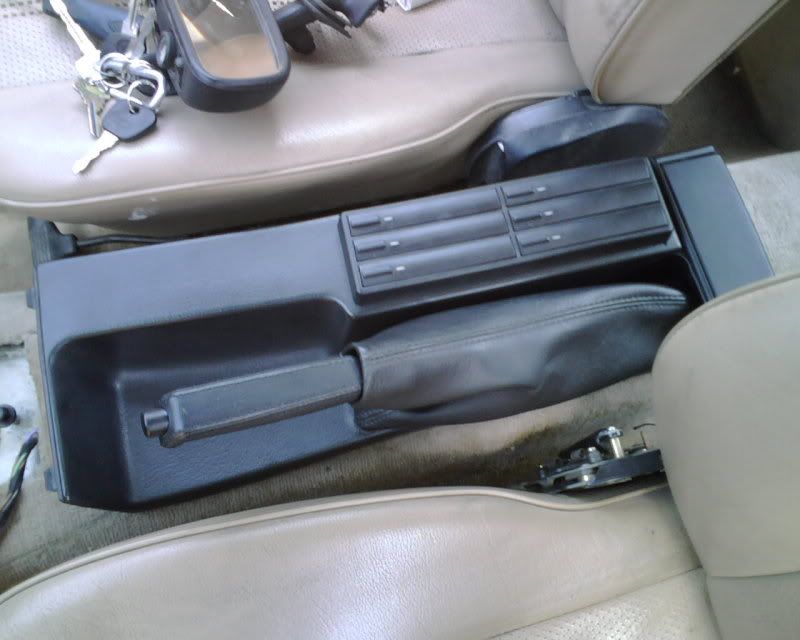
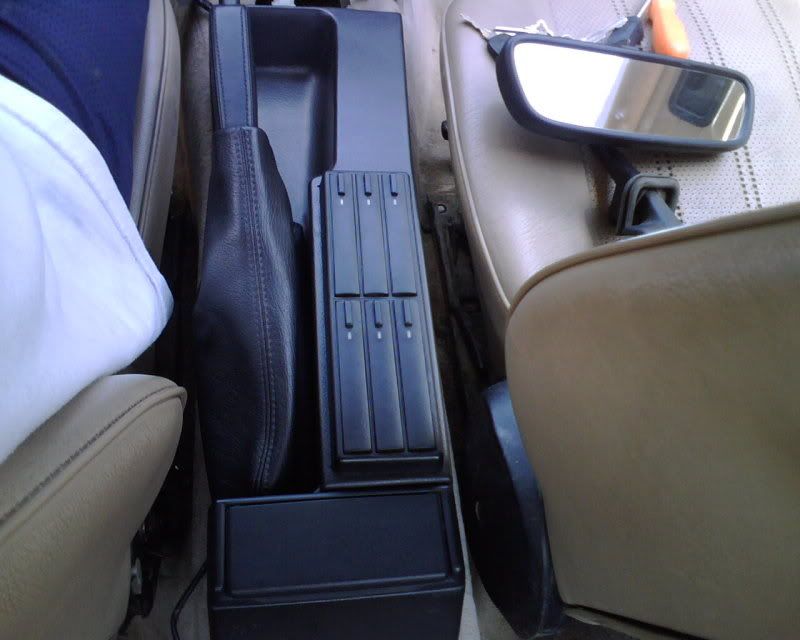
both of these consoles are the same part number .. who would have guessed ? one is from germany with the cassette stock, from an automativc car. the other is from a stock US 325i with no cassette or anything.
but i cut out the tray and put the cassette holders in the mint console. i also put on the rare OEM e30 leather brake handle . all in mint condition of course
i will be buying a new console from the dealer thats made for the cassette. you can see in the corners there is 2 little slits .. thats not up to par.
-----------------------------------------------------------------------
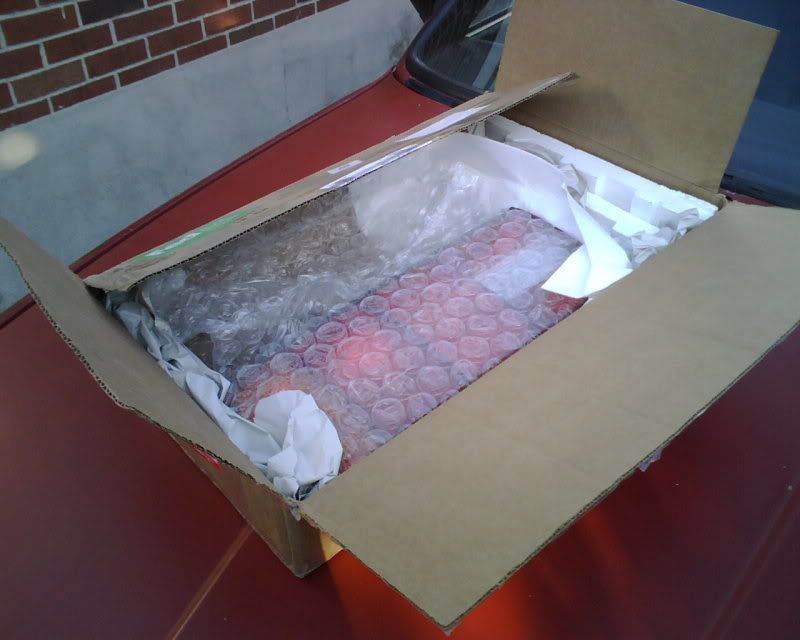
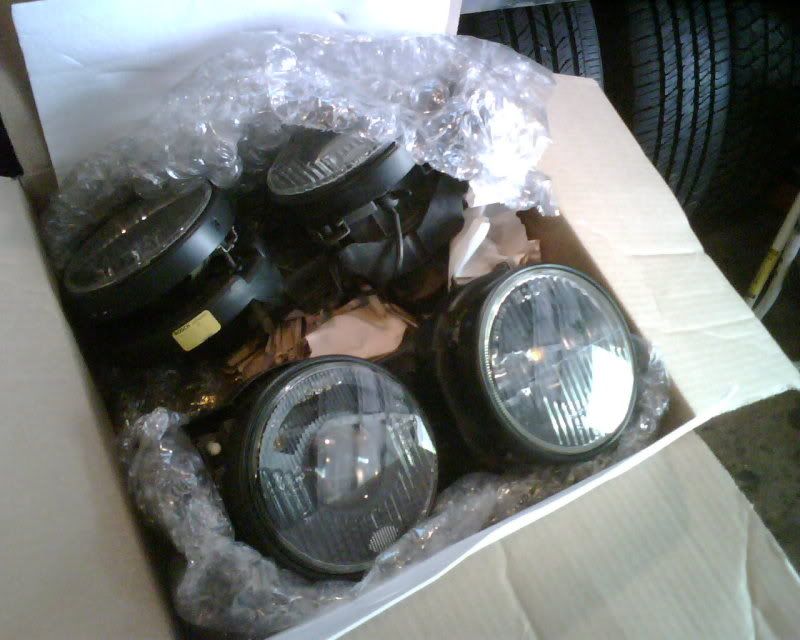
not really progress. but i was opening boxes earlier and found one with a shipping label to "Zach Anstead"
... only in his dreams
contents:
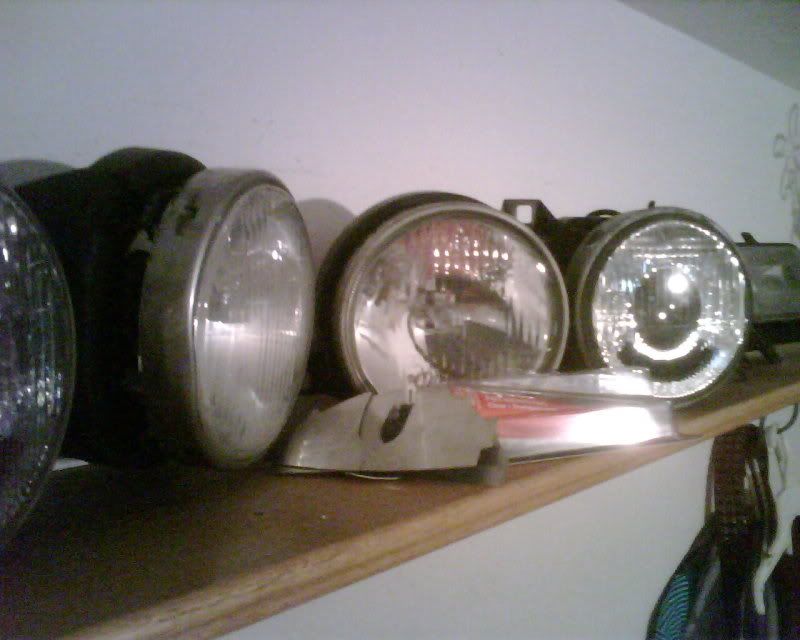
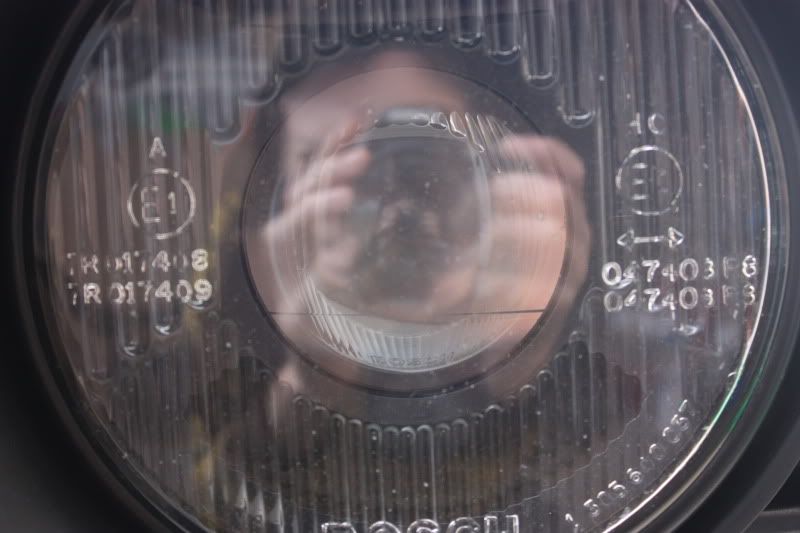
look at that factory glass .. not a pit, scratch or imperfection in sight :bigpimp:
most of you know about them. but to those who dont .. these lights were previously a set of busted euro smileys from the UK :
Last edited by 610EURO; 03-04-2010 at 10:52 PM.
Member
Looks good.
Would you mind sharing how you cleaned up those seats so well? I have that same crap in mine and I can't seem to get it out.
1998 Technoviolet M3 Convertible
Member
well i havnt really posted much in the last few days. i havnt done much.
got some parts:
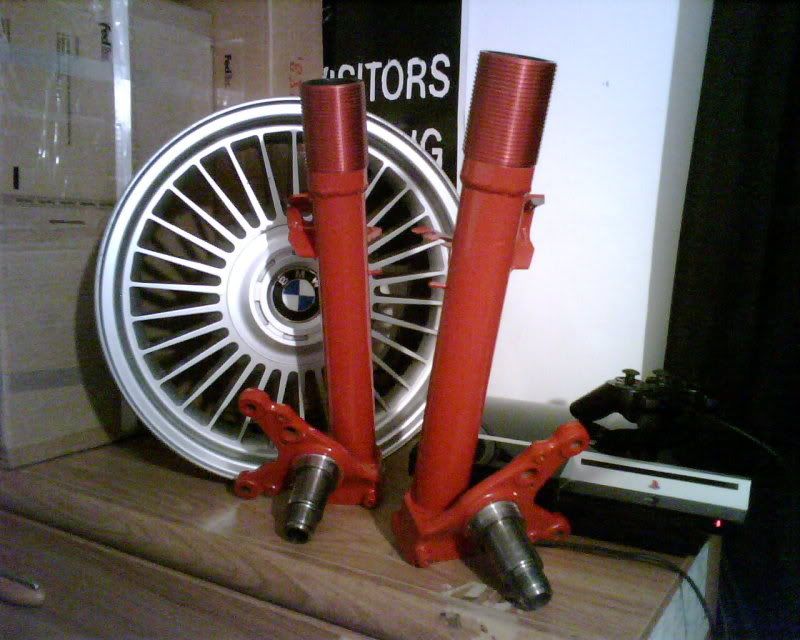
other then getting some stuff i have been preparing the interior and waiting on a die to rethread the 944 booster
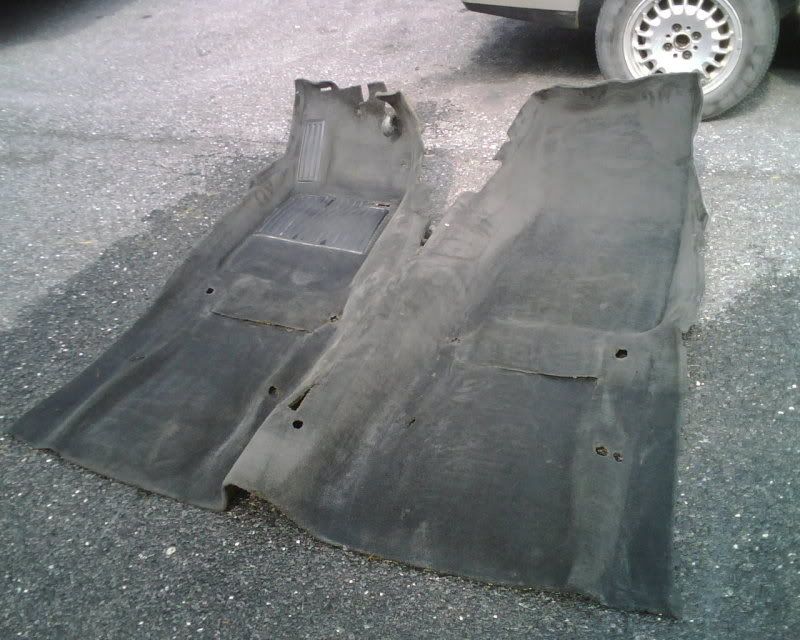
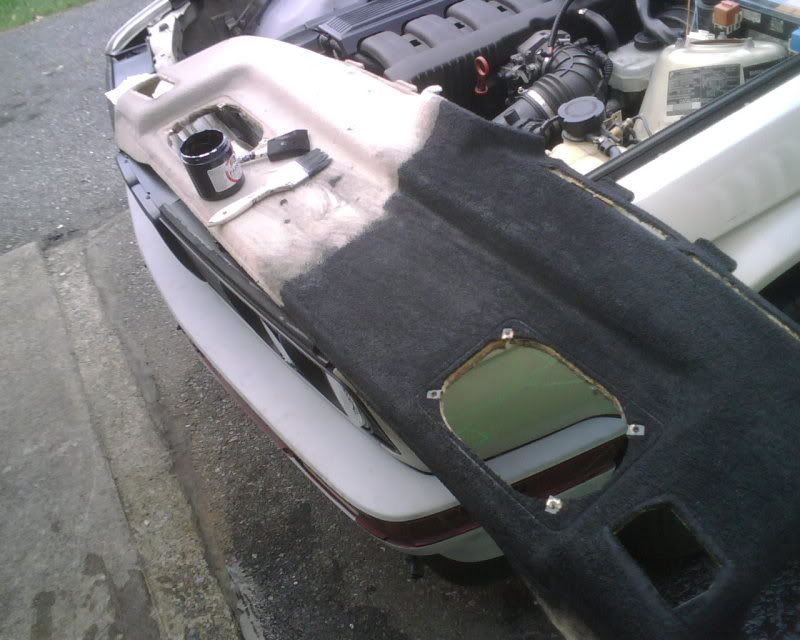
i was going to die the tan carpet black, but after running around to a couple stores ive come to the conclusion that nobody has the duplicolor carpet dye. so im going to take the charcoal carpet out of my 84 es, clean the dirt and throw that in. its in good condition but i really wanted to try out the carpet dye. will get alot farther on the car as soon as the booster is threaded and installed. everything else i need except a front bumper is here and ready
SOMEBODY FIND OR SELL ME A GOOD CONDITION PLASTIC BUMPER !!!!!
-----------------------------------------------------------------------
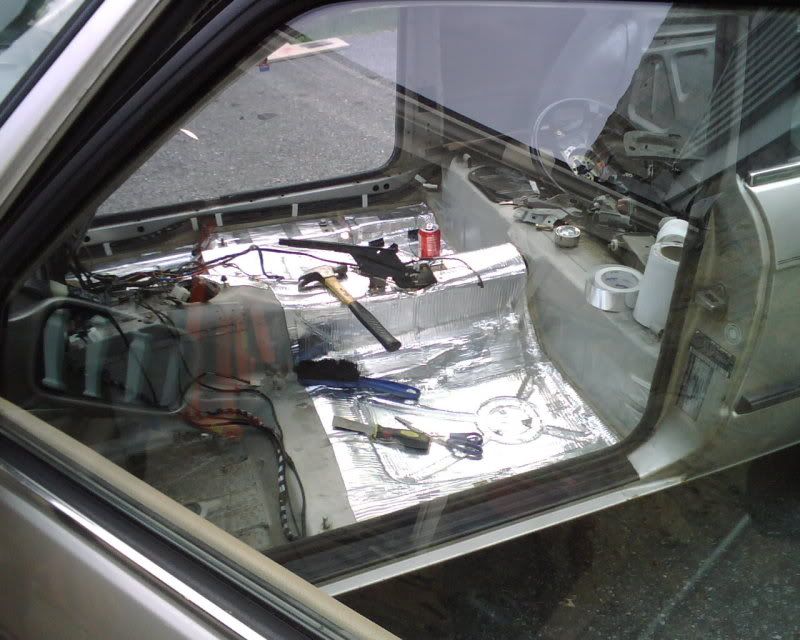
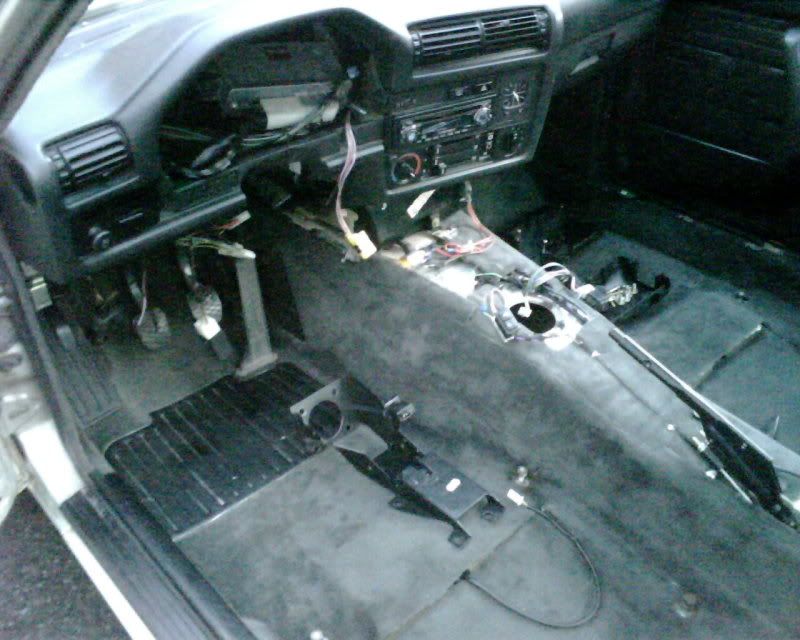
well i finished the floor damper. still dont have the tools yet so i started clearing out some engine bay stuff. was going to put the pedals on but i want to do the carpet first.
found another part labeled to anstead
:
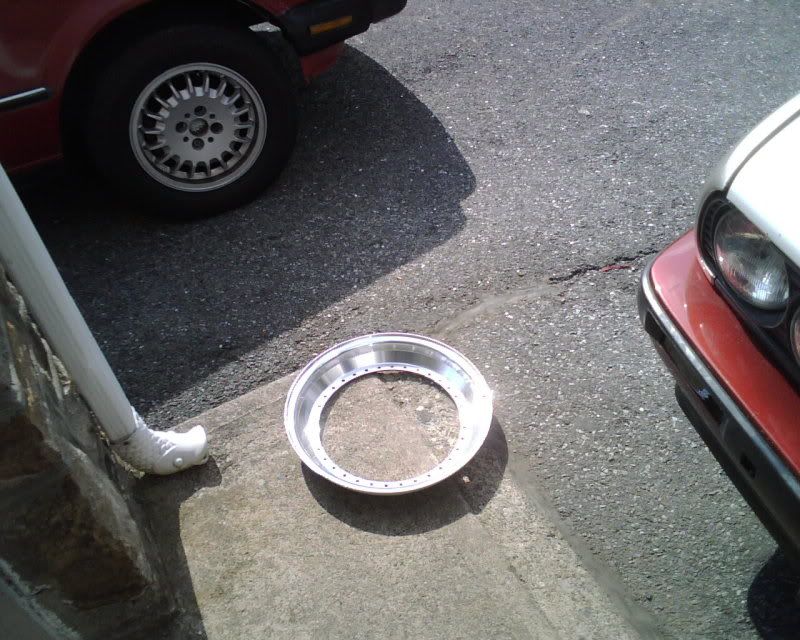
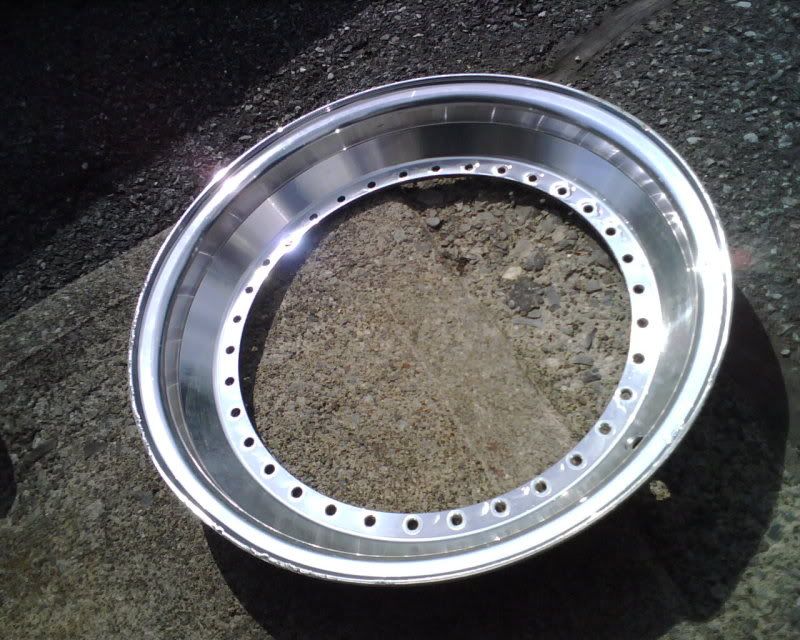
then i was going to test fit an Rs to see how much more lip i want over the 2" SS lips i have .. but remembered anstead has my 1/2" rachet and the extension in his car: so blame anstead for no RS pics. but i did clean up another lip
stainless is so nice :bigpimp: just gotta remove that rash and that lip will be like new.
i cant continue or finish anything else till my tools get here or brandon brings over the $800 for my red car
-----------------------------------------------------------------------
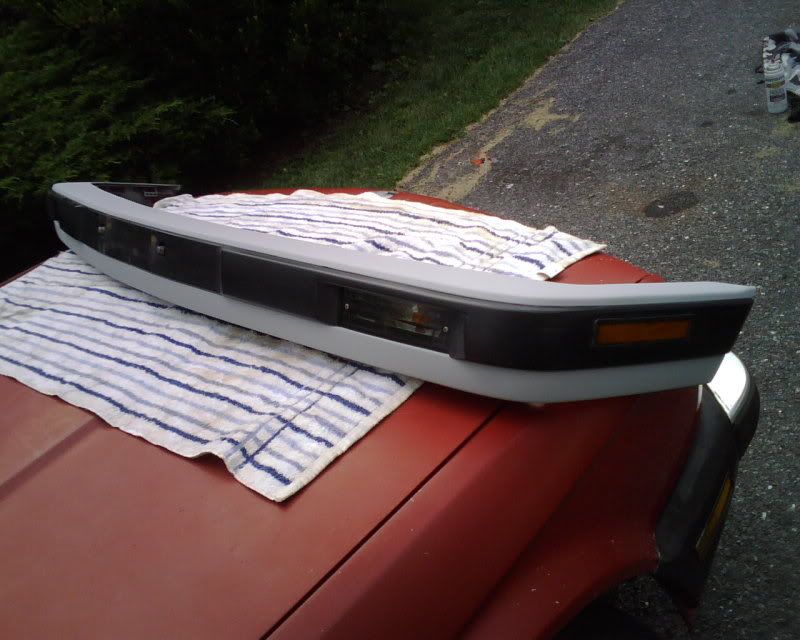
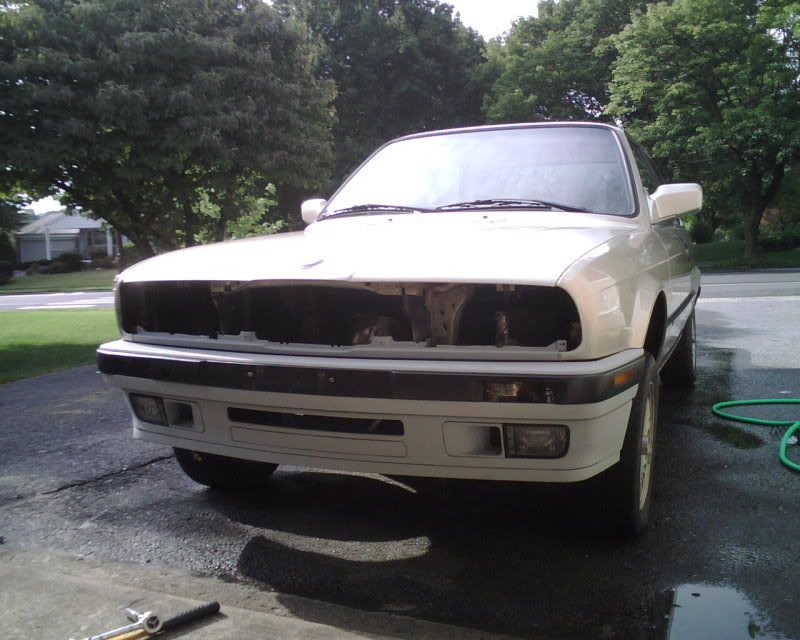
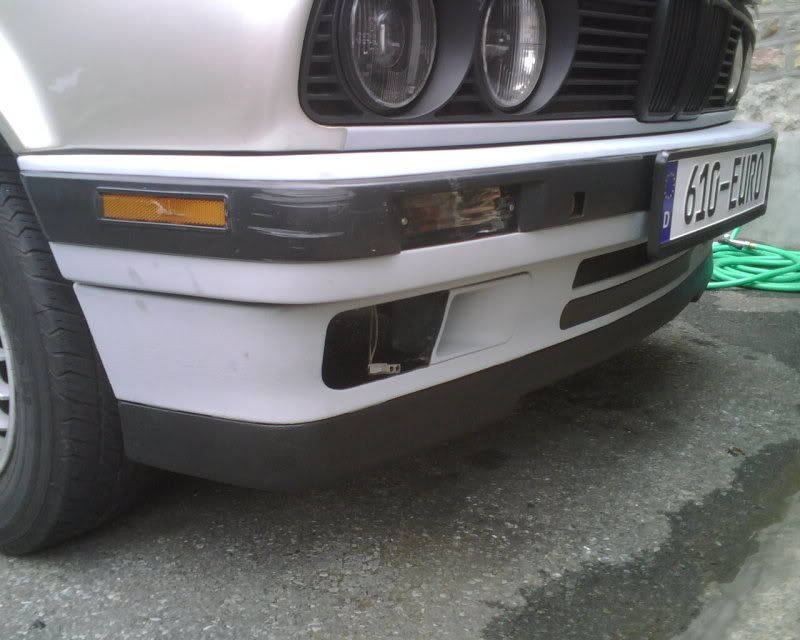
christmas front end had to go .. strangely enough the bumper and the valance were both colors i had on my list of possible colors for the whole car .. calypsorot and boston green
painted the bumper
then painted the valance and not even a minute later iyt started to rain, so i boarded off the front end from rain
hour later :
i would fix that trim and a couple other things but im getting euro trim and everything is gonna get painted so i dont car about it right now.
tools for the booster and my SEM should be here soon. then i can post much larger progress
also narrowed my paint possibilities to just mauritis blue or boston green. i voted calypsorot off my list because it doesnt fit my style.
-----------------------------------------------------------------------
did some stuff today:
went to the warehouse .. because im a whore
picked up the carpet for the car, (soaking wet)
needed alot of cleaning so i shampoo'd and hosed it all down to get it relatively clean, whats left ill do later on once its in the car.
modified the brake booster so its a perfect fit now but im still waiting on paint. then i figured why not slap on the front even though the SEM isnt here yet.
had to replace an adjustment tab,
but once that was changed it was all systems go
thats pretty much it for today
Last edited by 610EURO; 03-05-2010 at 01:07 AM.
E30 fan
bronzit ftw!!!
'91 SpecE30 #523
'12 F30 328i Sport Line
'00 F-350 Dually
BMWCCA #360858 NASA # 128290
https://www.facebook.com/COTABBR
Member
-----------------------------------------------------------------------
got a little done today. took forever for the carpet to dry but today it was fully dry so i installed that, booster, brake lines, pedal assembly and misc. other interior parts.
my phone is very selective. sometimes it takes nice pictures other times its blurry like these
tomorrow im gonna get the rack mount welded up and the mono wiper installed then saturday or sunday as long as the weather report is good i should be putting in the M50. hopefully all goes as planned.
got free door premium sound door tweeters, the nice as caps and some other stuff free from the yard too
-----------------------------------------------------------------------
well got the medal assembly welded .. after anstead was done bieng a pain in the a*s i got home to work on the car. i put on the mono wiper linkage and the pedals/column is all back in. AIRBAG cars are the crappiest e30's to ever work on. so much extra BS and uselessness. but i got everything done that i wanted to today. weather permitting the motor will go in tomorrow.
replaced some small parts
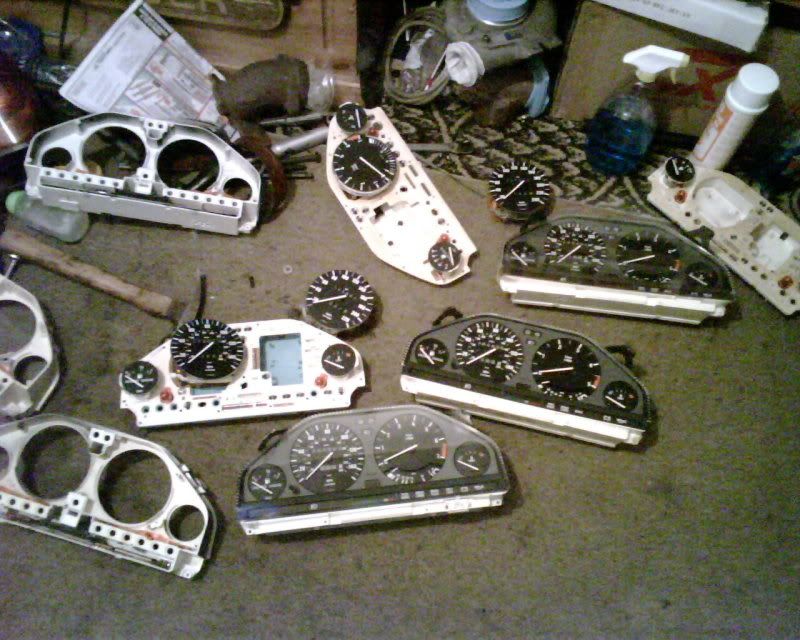
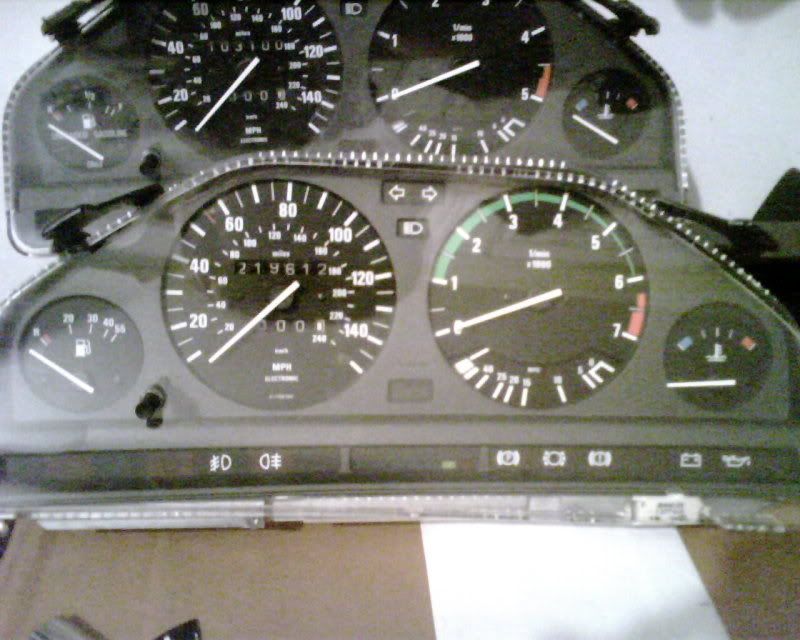
when putting in the new cluster one of the tabs snapped off. so i took the oppertunity to build myself a full euro cluster but with miles for a speedo since that is one thing i need to know.
i figure i can make one out of these right ?.. i knew having a spare cluster would come in handy
there is a grey marker euro cluster, a full euro cluster and 4 US clusters. i havnt finished the final one yet.
-----------------------------------------------------------------------
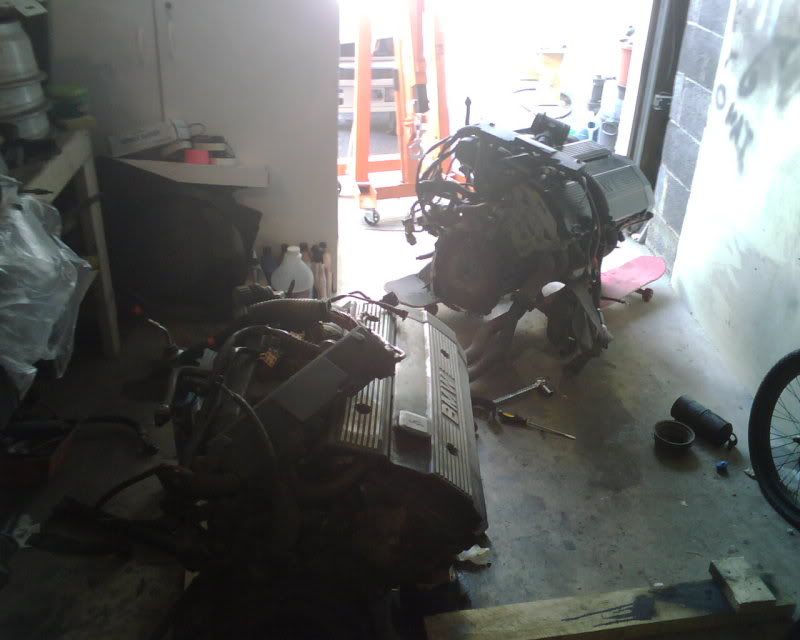
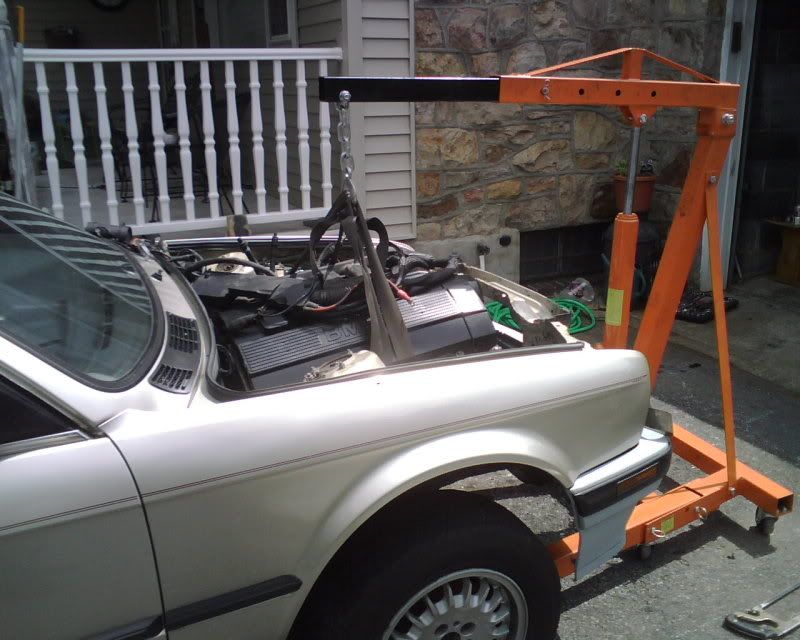
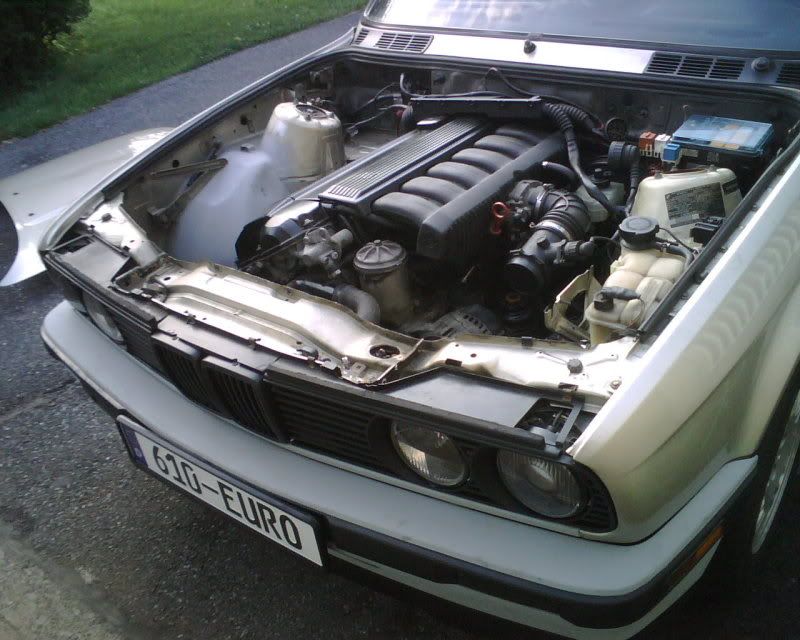
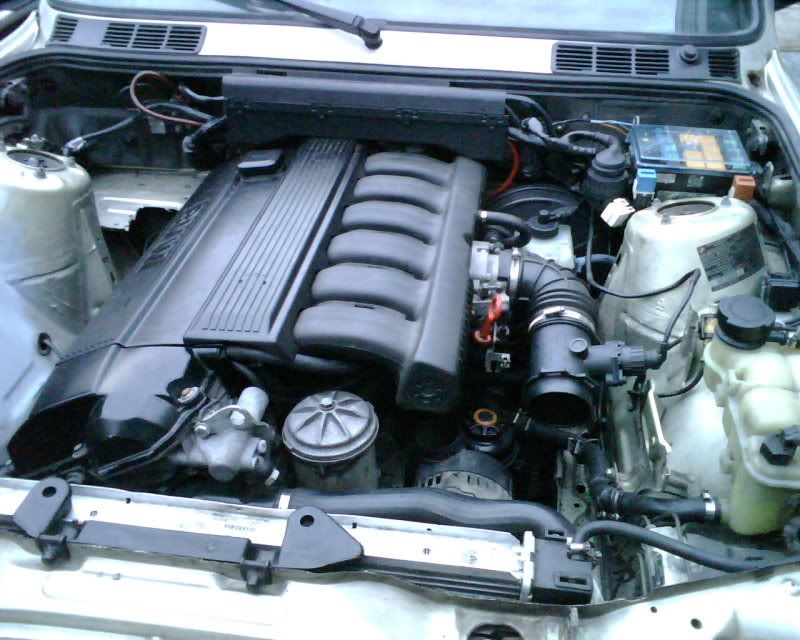
well the motor didnt go in today. m50's are a real pain in the ars to work on compared to m20's.
after some garage cleaning :
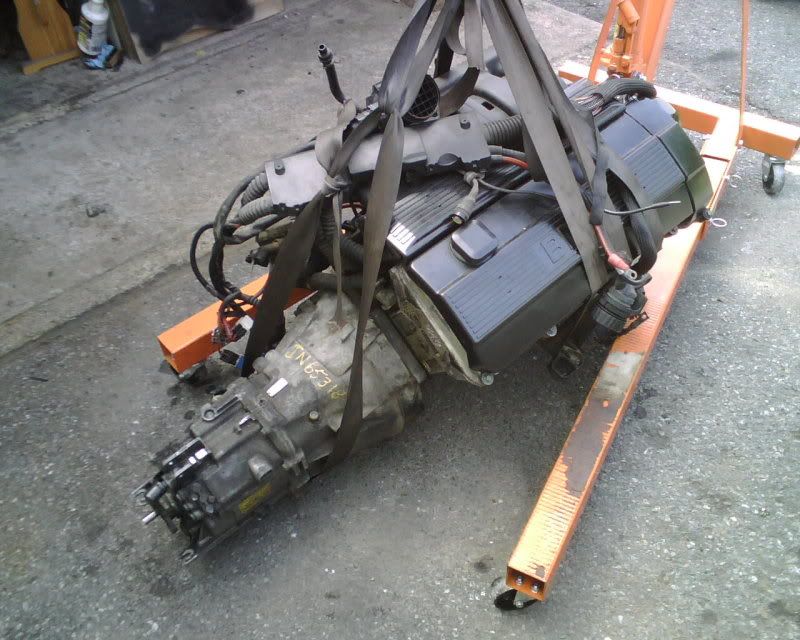
then i had to swap the manuel trans/clutch/flwheel onto the vanos.
took the clutch off and to my suprise it was in excellent condition, didnt show any wear and the flywheel had no grooves bed into it
all done .. trans went on smooth and quick
but not enough hours in the day so i had to call it a day with the engine not in the car, it will have to wait for the next not rainy day:thumbdwn:
so close .. yet so far
[/QUOTE]
[QUOTE=fcsteve;4398786]weather has been crappy so i couldnt put the m50 in, so i did some interior bits.
the regular sport seats are tempory till i reupholster the m3 seats.
-----------------------------------------------------------------------
well guys. the swap is on delay. reasons below
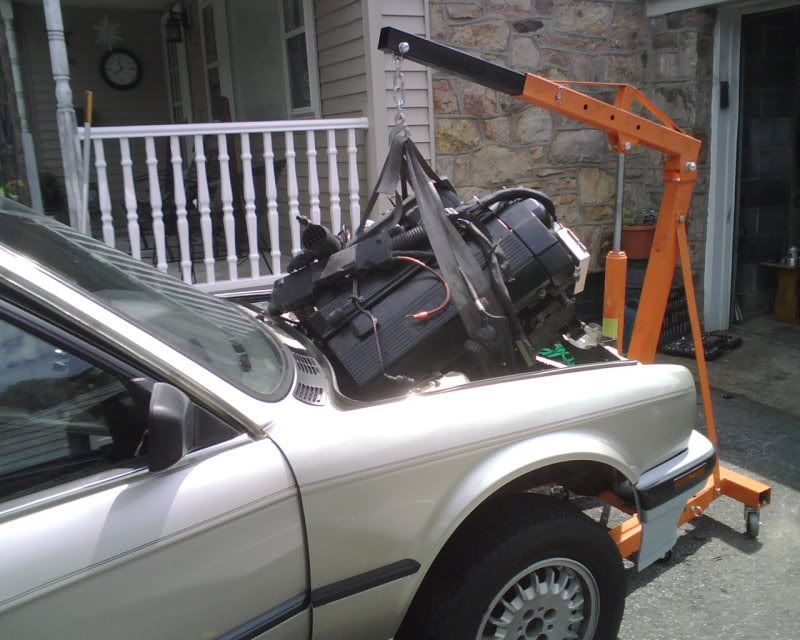
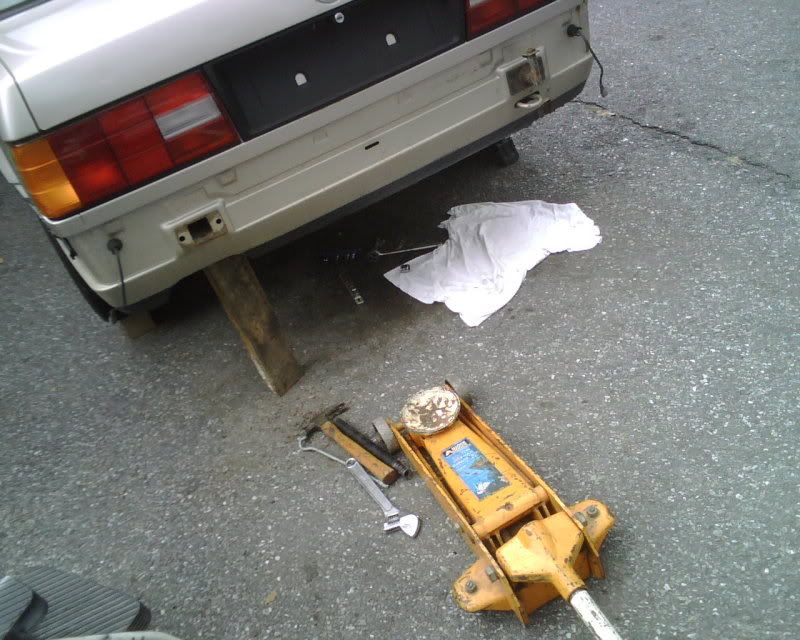
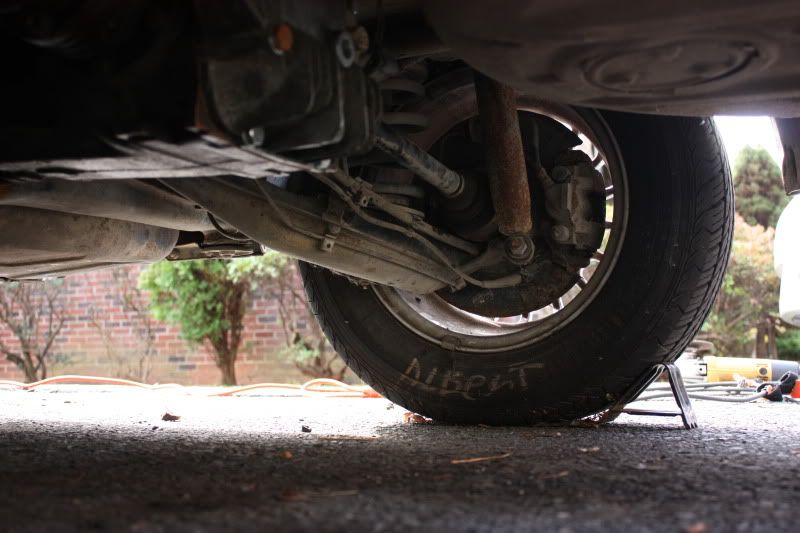
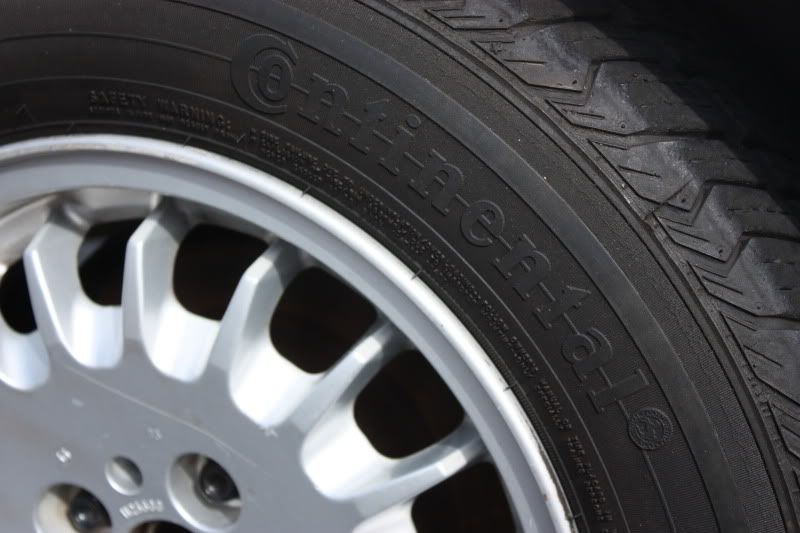
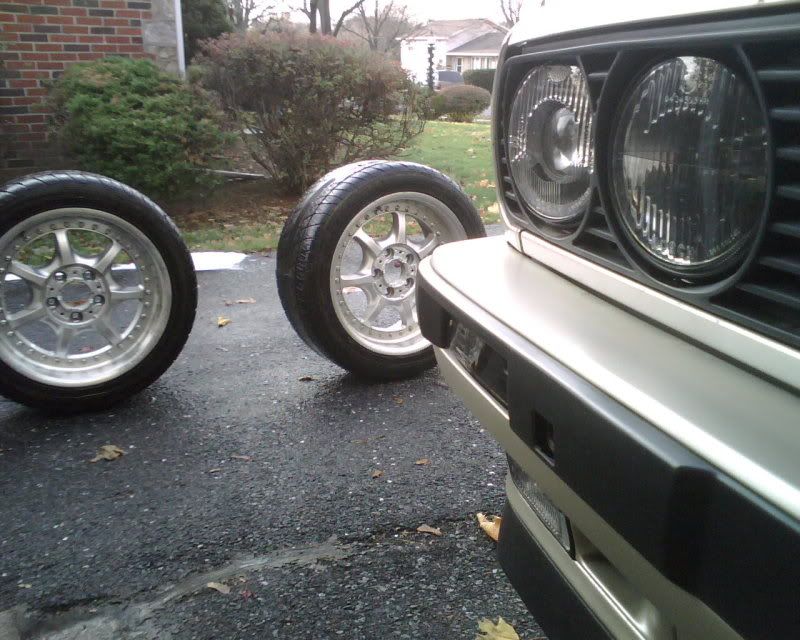
started the day good, put on 4 new tires. removed the front end and everything i didnt want to damage
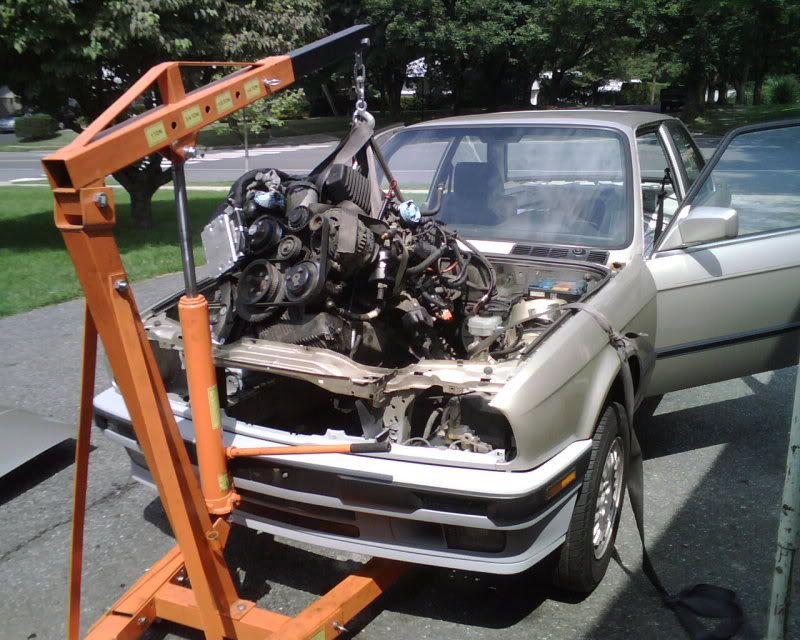
pushed the car back so i could maneuver the lift around it and got the engine ready to go in. went to remove the down tubes and one of the bolts snapped off .. fine, i can deal with that. i just took off the headers and the downpipes as one.
next i wanted to put on the mounts and the trans crossmember so it was all ready once the engine was in .. well the crossmember i have is from an auto, which i didnt realize till i was minutes from putting the motor in. so now i have to go to the yard, get a new crossmember. some bolts and maybe some obd2 headers if there are any.
day was a big loss :thumbdwn:
-----------------------------------------------------------------------
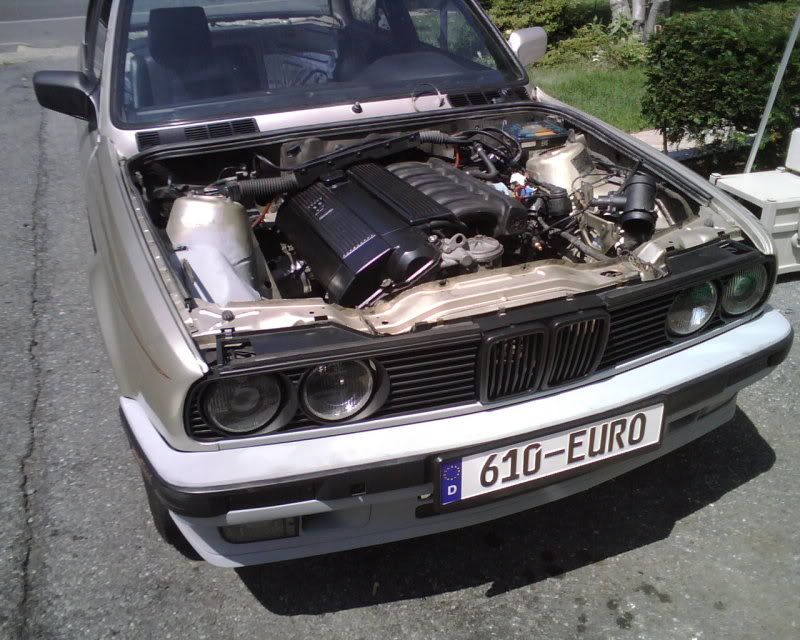
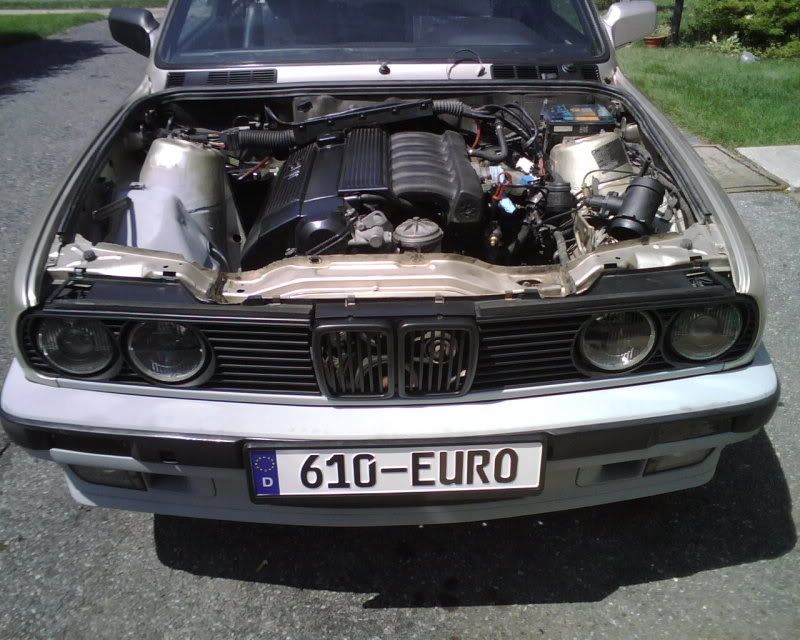
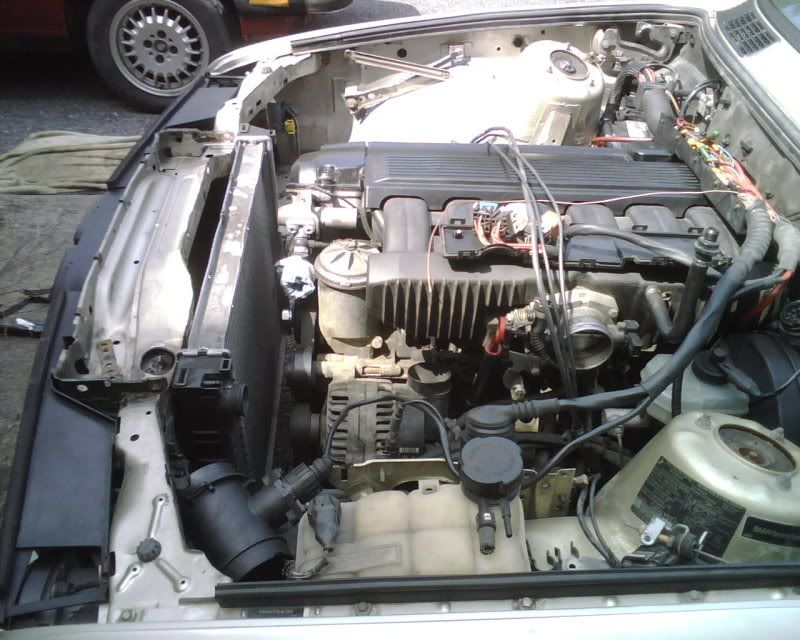
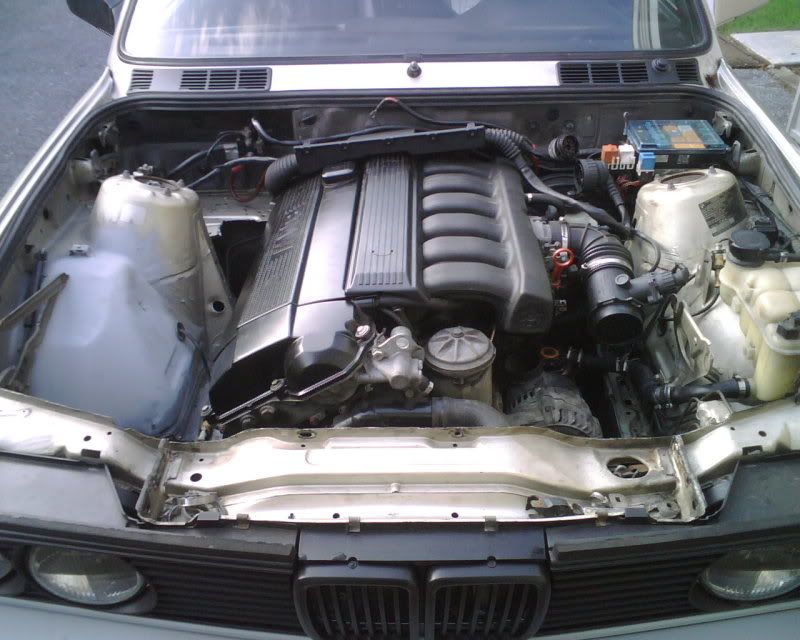
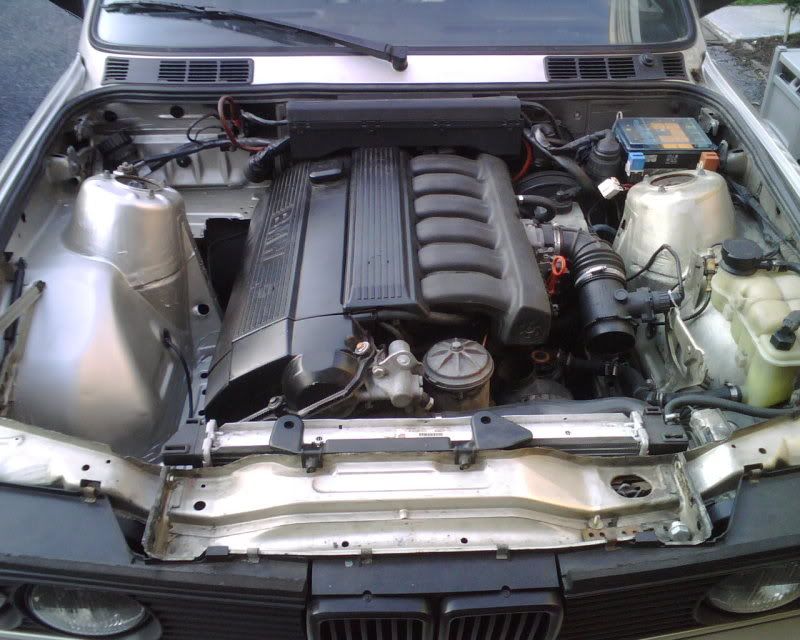
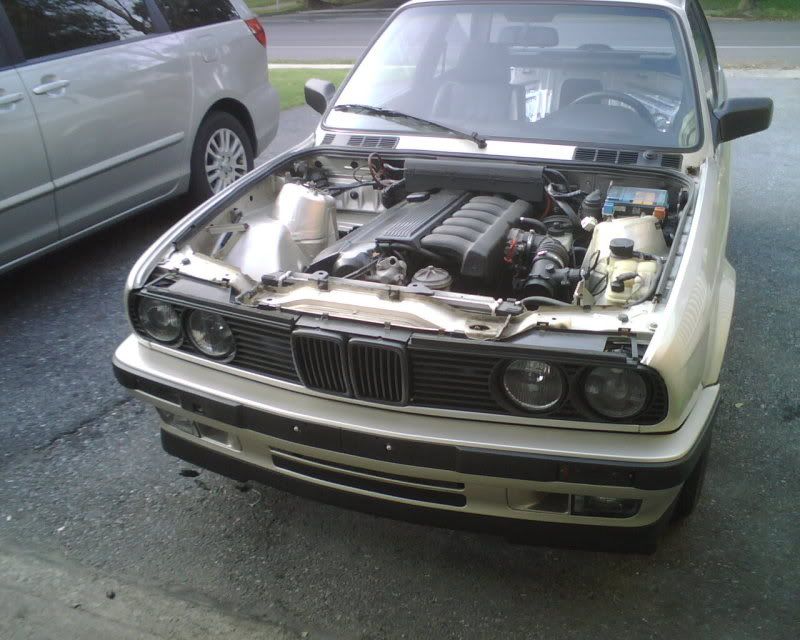
well, took about a little over an hour. weather changed to reports of rain .. but i was going to do the motor whether it poured or not, actually got pretty nice out. all cell phone pics as usual .. but nontheless .. here they are
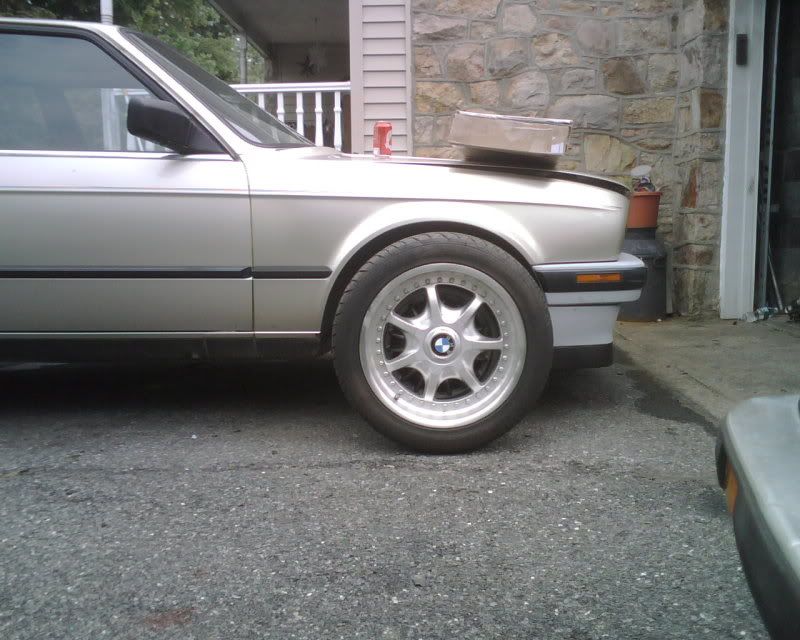
the low low
needs coilovers BAD
decent enough
Member
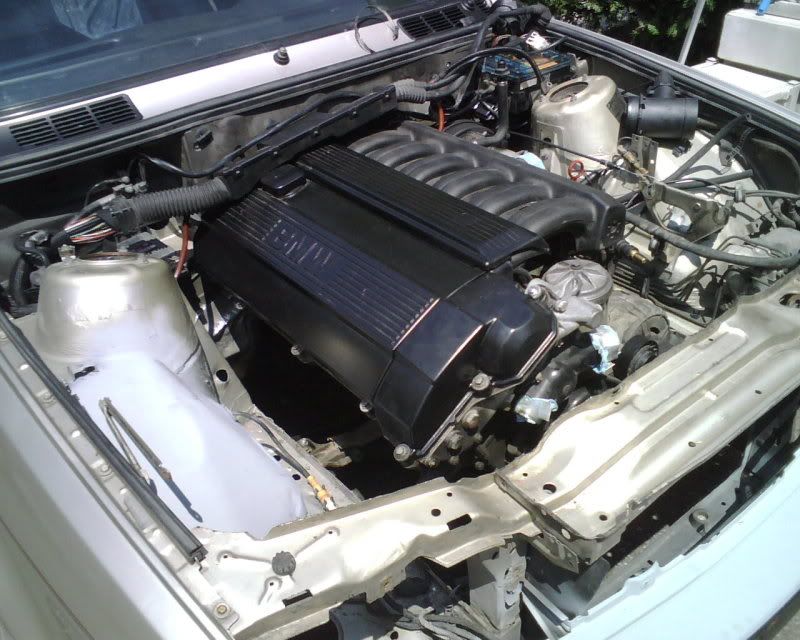
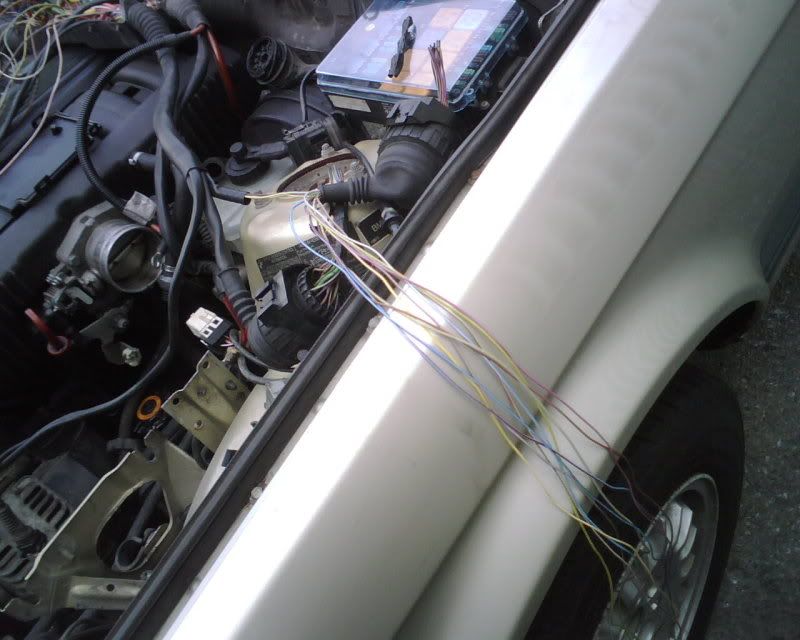
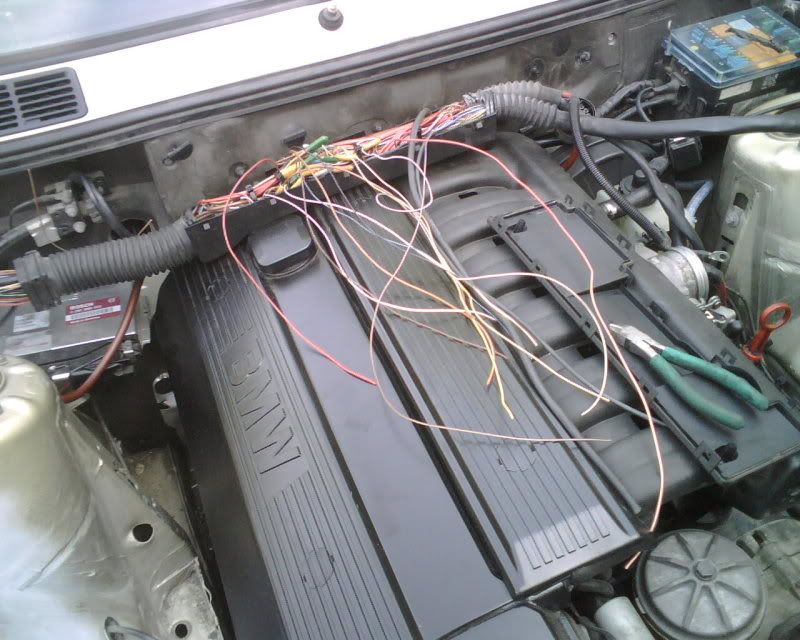
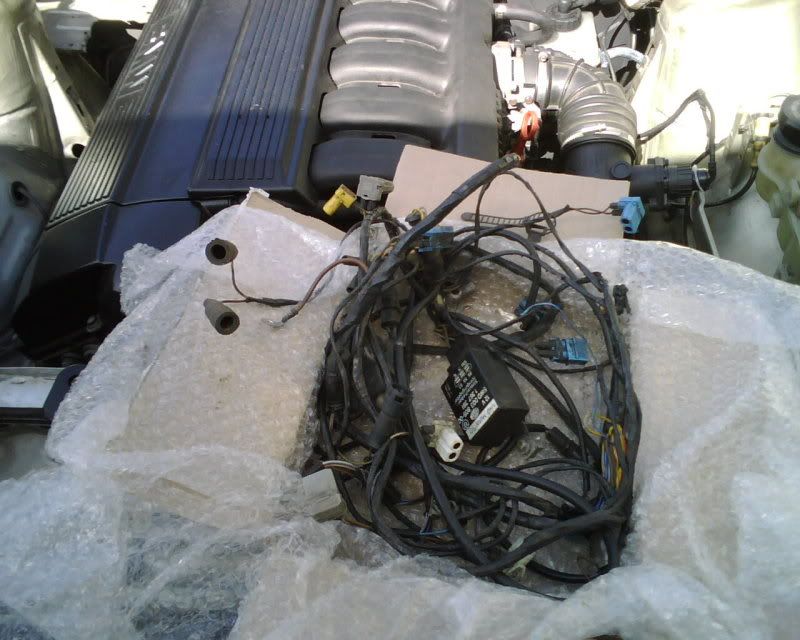
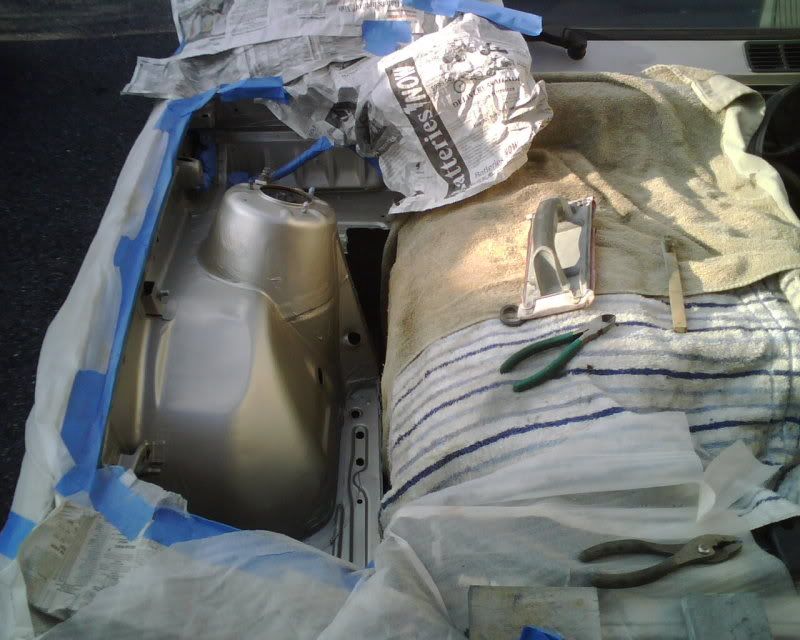
spent this morni8ng working on the harness, it was from an auto so i had to remove all of that wiring.
got that all done. wired the left side of the harness all up and mounted the ECU through the firewall and into the top of the glove box in stock location. started working on all the coolant hoses but i have to take off the intake manifold to be able to plug those in and to get the wiring harness where i want it to be. once thats done and the manifold is back on i have a few other things on my checklist to complete but shouldnt be too long.
i was in philadelphia for about 6 hours today so i didnt have much time to work on the car.
-----------------------------------------------------------------------
thanks guys. was just working on the cluster .. who can guess the 3 things not normal about it ?
im still debating whether i want to go with red needles or keep them white.
-----------------------------------------------------------------------
well i spent the day doing alot of the small stuff.
power steering is all plumbed up and ready to go.
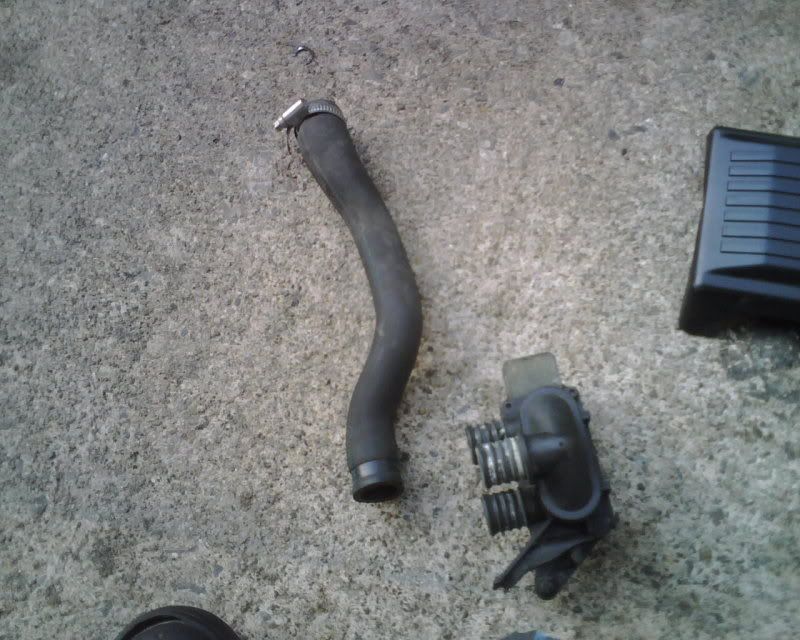
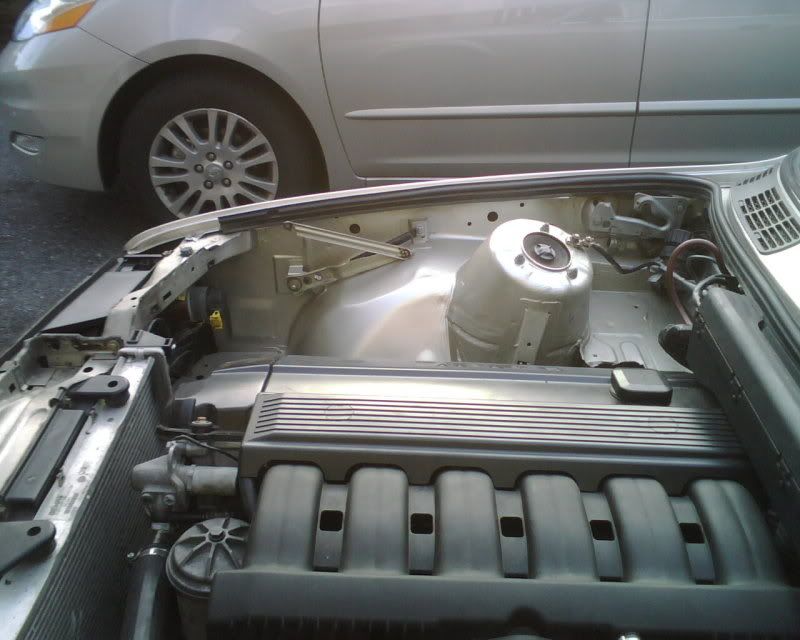
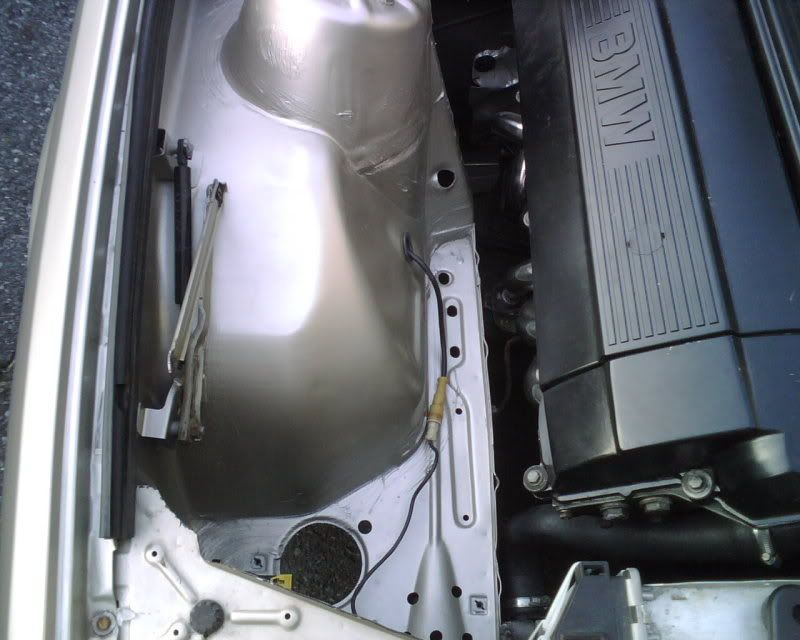
the coolant hoses into the firewall behind the motor are all ready to go. had to machine a new fitting and make my own tube .. i dont know what every opther 24v guy is running but the stock tube would never work. the tube itself is straight, where i placed the heater in that pic is where the tube has to make it to in the engine bay ..
needless to say i wasnt going to bend that tube into the firewall and have it all pinched up and slowing flow. so i machined this:
finished with the
once i put the intake manifold and everything back on the motor i realized that the tube i made bent upwards to make the 90 degree yturn. so i had to remove it and put one on that made the angle down rather then up. took me another 20 mins but its all done now with no pinches in the hoses.
otherwise i spent the day playing super nintendo while eating steak with mushrooms and shish kabobs
-----------------------------------------------------------------------
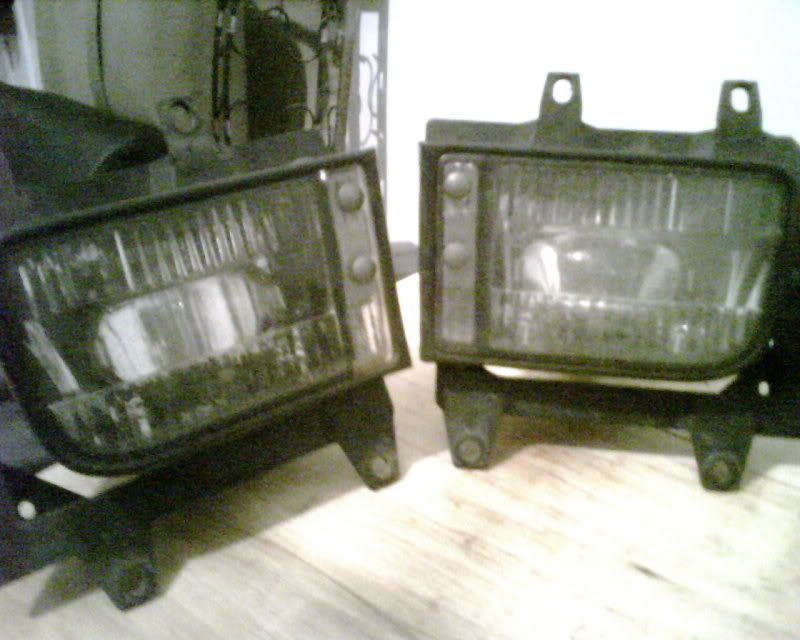
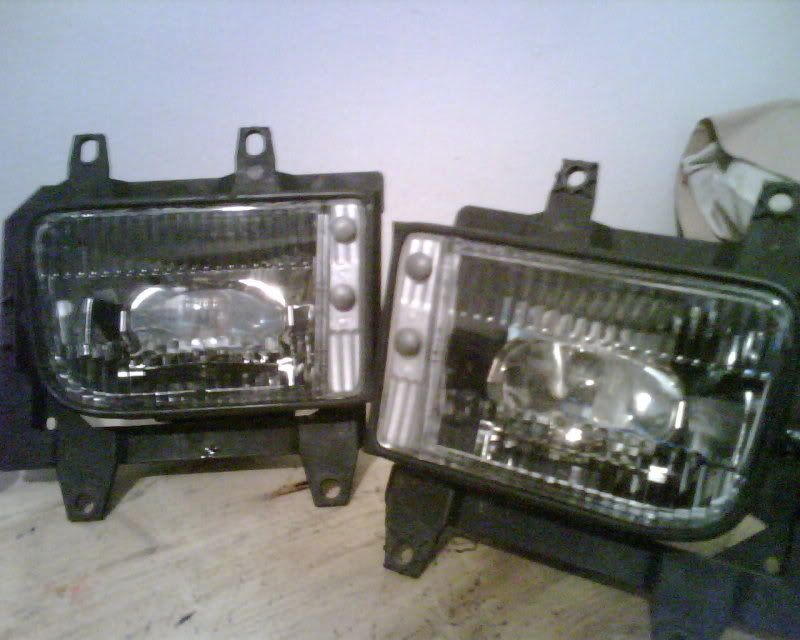
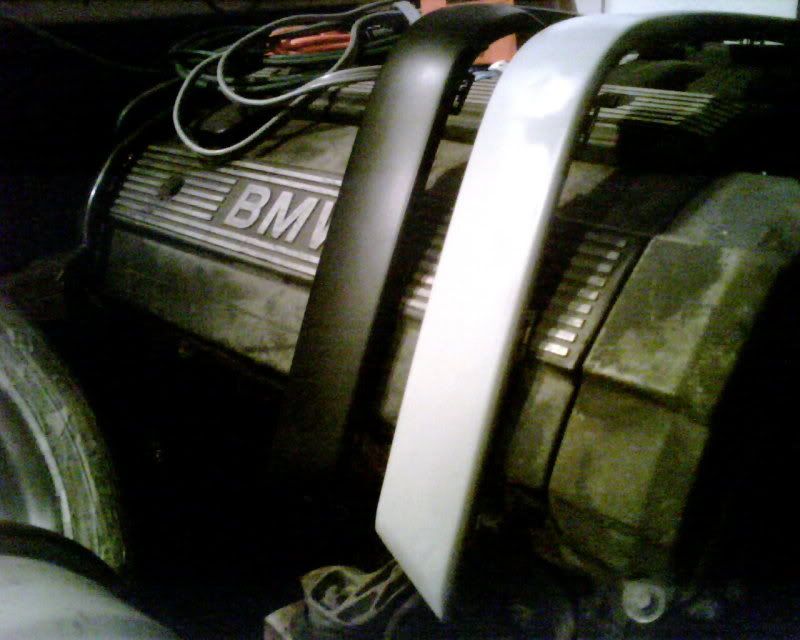
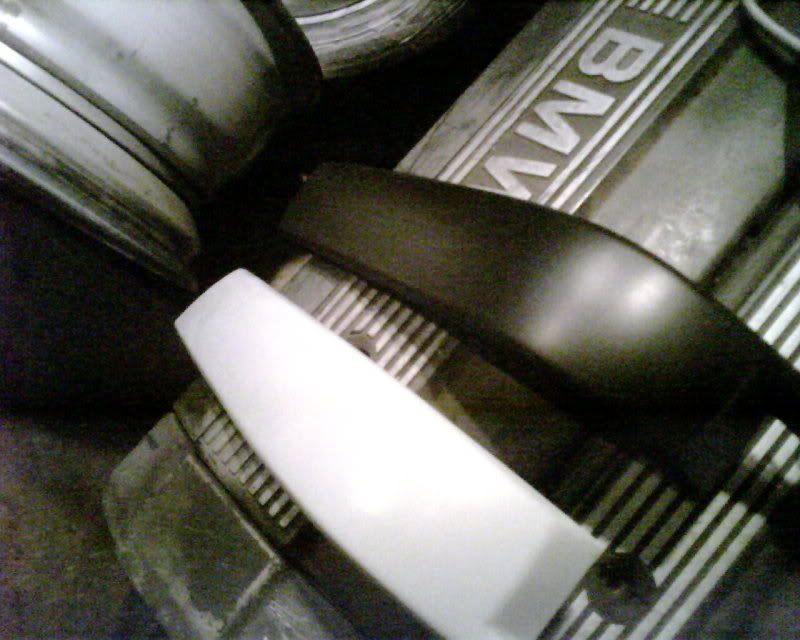
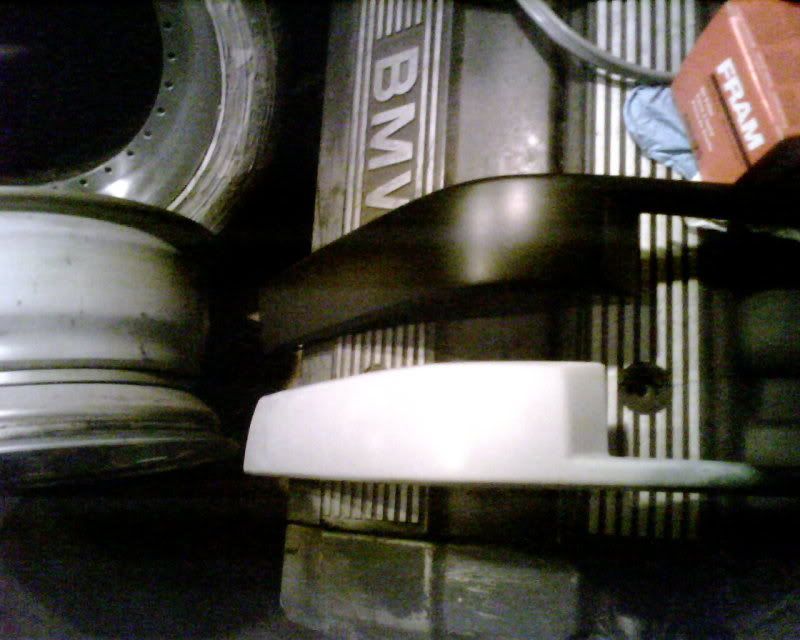
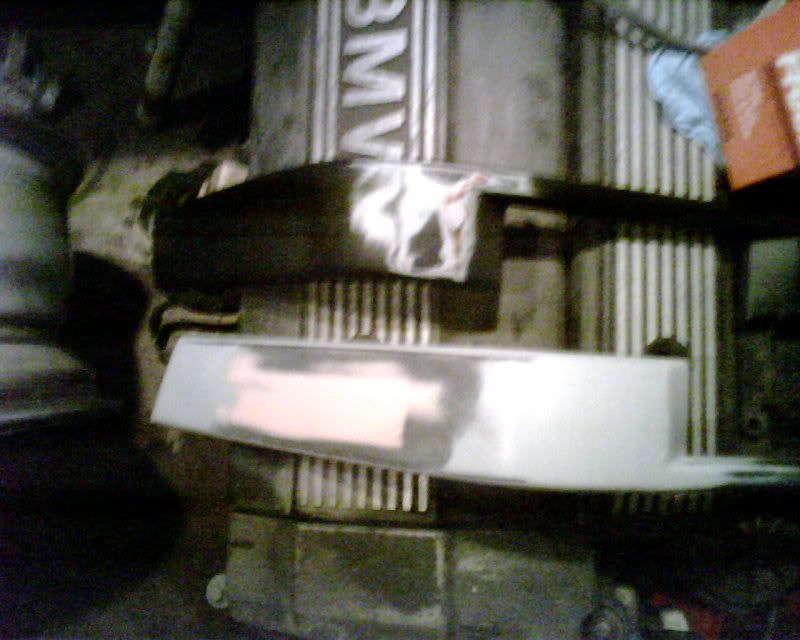
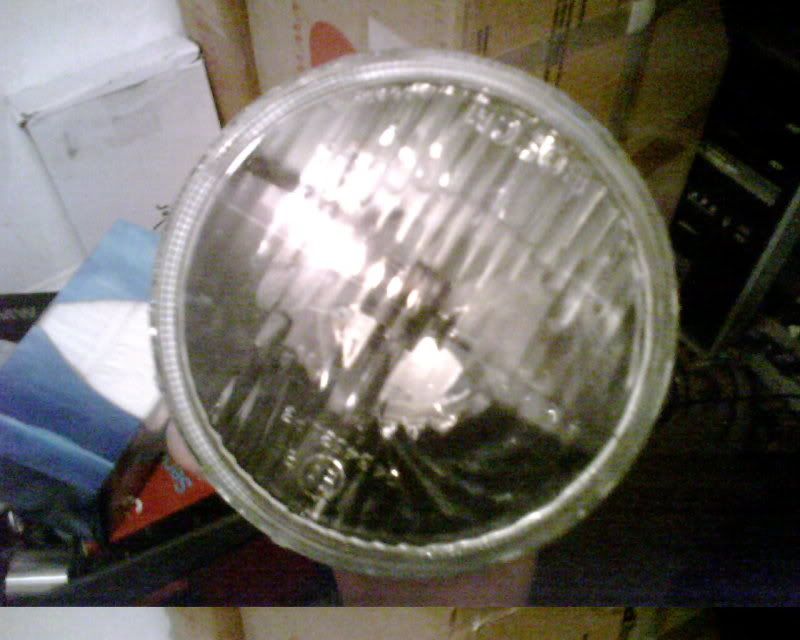
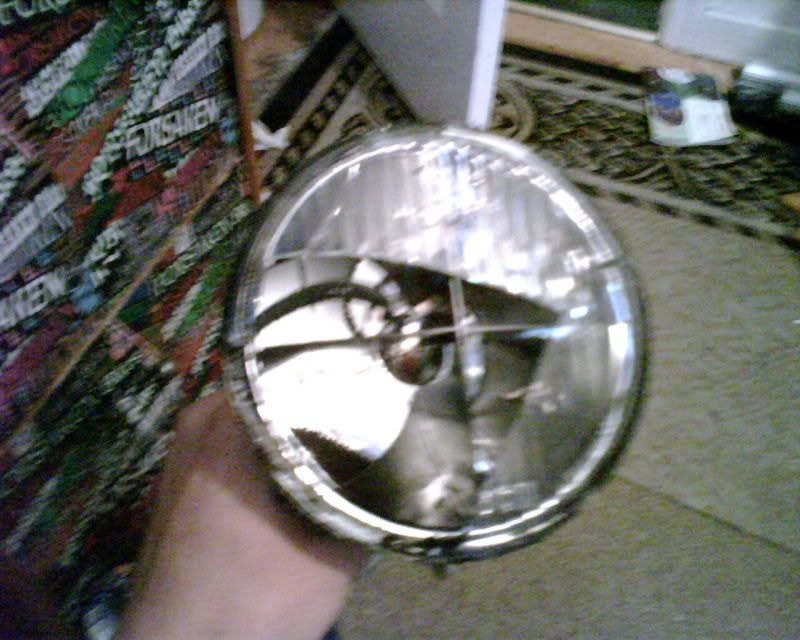
out with the old ..
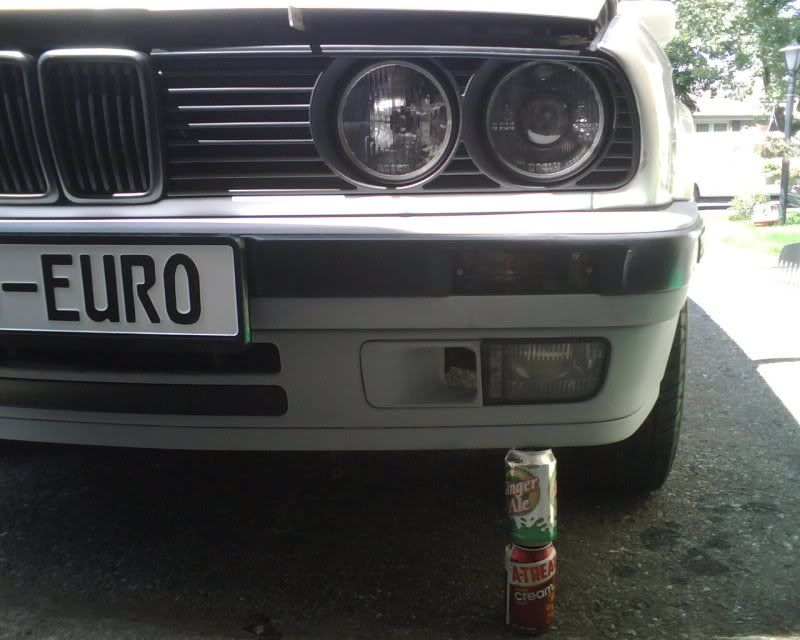
in with the new .. no they are not those JDM ebay fogs. they are OEM fogs with new "MR. Lens" replacement lenses
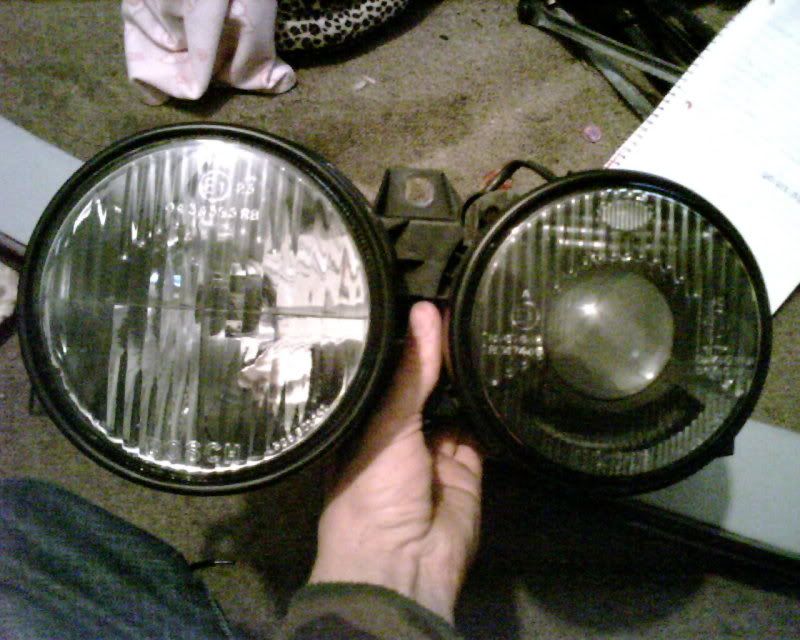
comparison
traded my the old ones and my spare euro clock for a part id rather have and i need
-----------------------------------------------------------------------
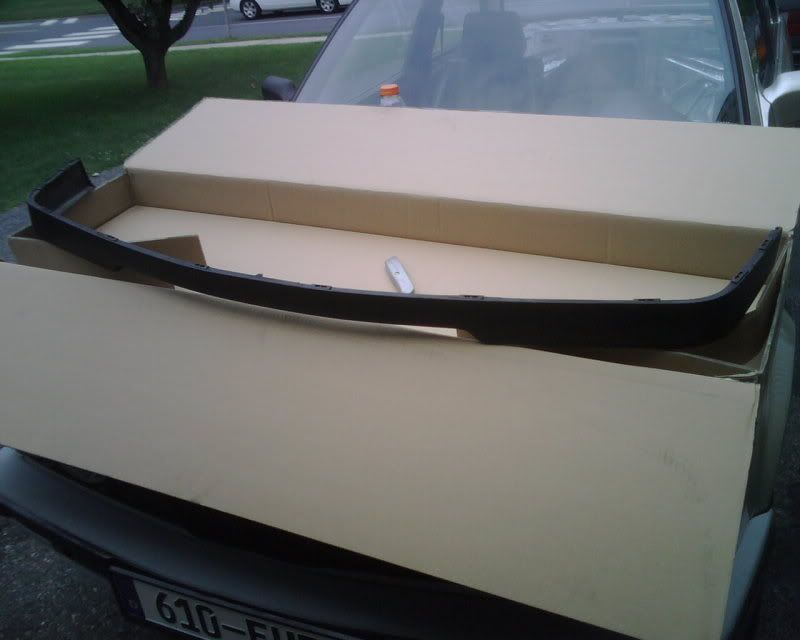
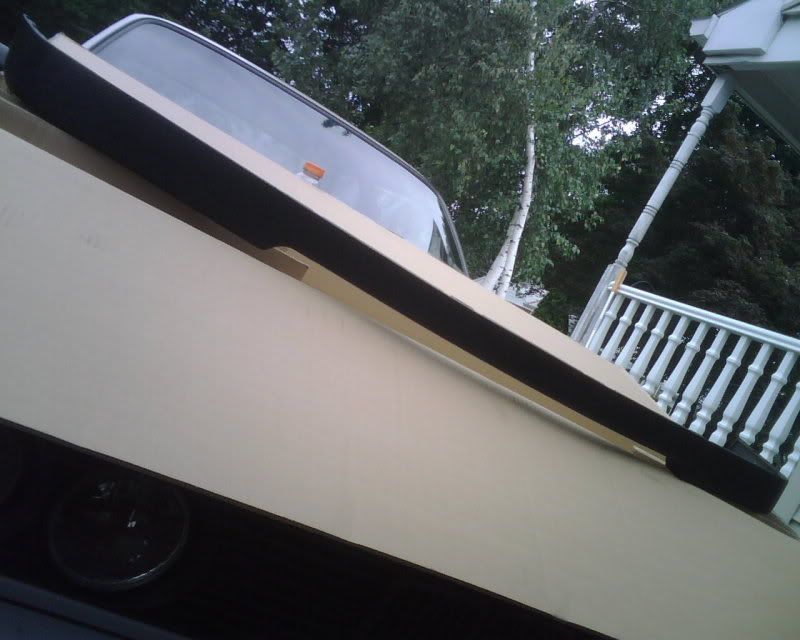
lip came today.. this is what i traded my spare fogs and spar euro clock for
.. then breakfast came , breakfast of champions
installed * note i didnt put the new fogs on just yet
still not sure if i want these:
-----------------------------------------------------------------------
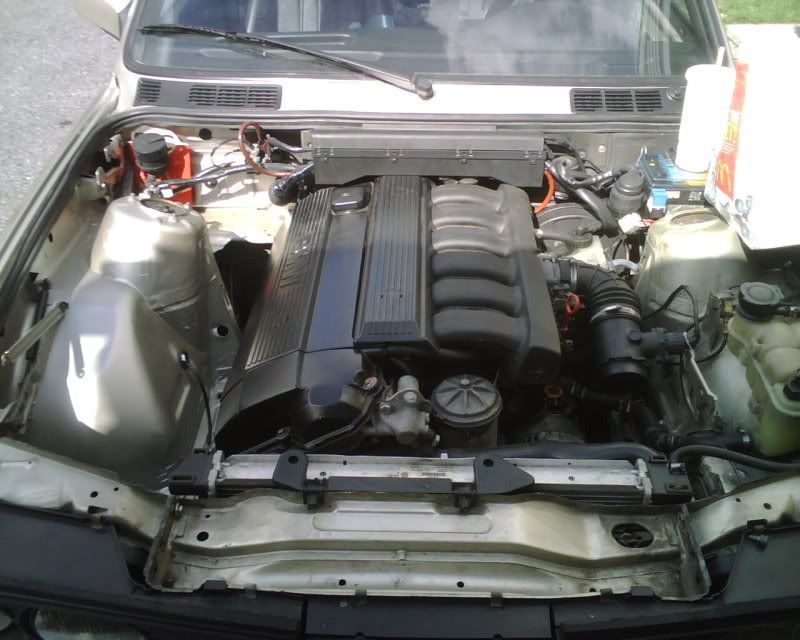
more together.
still needs a few things like the harnes connectors wired together, radiator, fan and exhaust. but all of that wont take much longer
also decided on some new suspension so i will be hopefully buying parts for that very soon
-----------------------------------------------------------------------
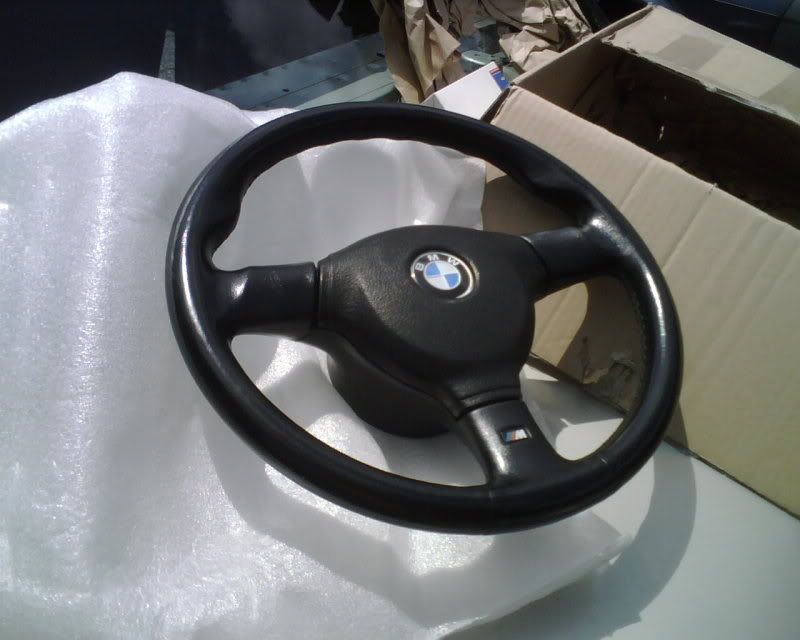
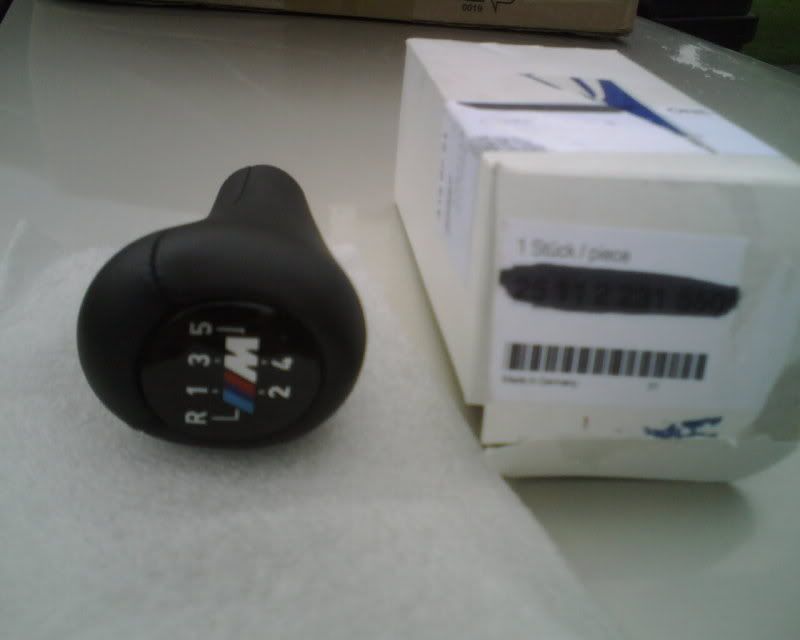
today was time for some brand new in the box goodness :bigpimp:
obviously didnt install the knob and didnt really want the knob. but i have it either way.
also installed the cluster
i also got the radiator all ready to go in, got the headlights wired up, radiator should be in tomorrow
Member
well i had planned on installing the power steering into my girlfriends e21 this morning. but when i was putting the exhaust in my car i burned my fingers pretty bad so i had to resort to small light working.
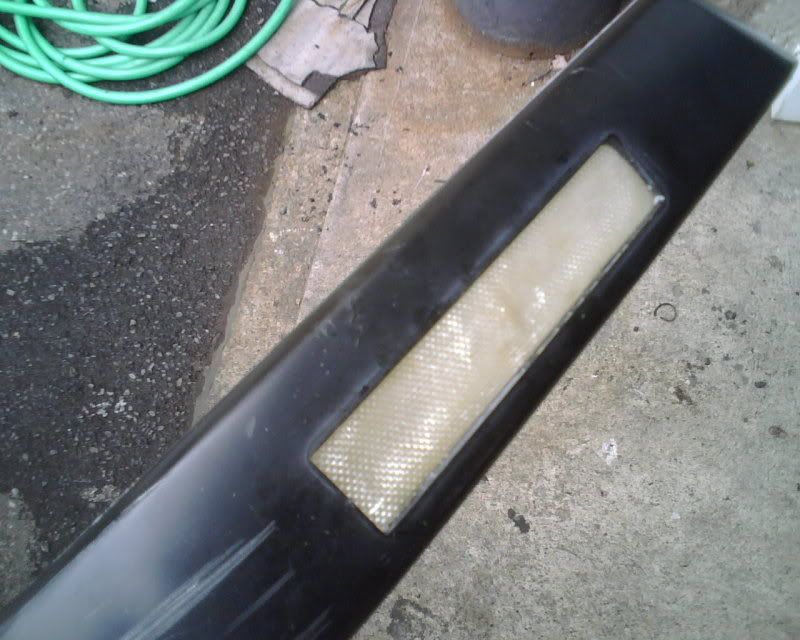
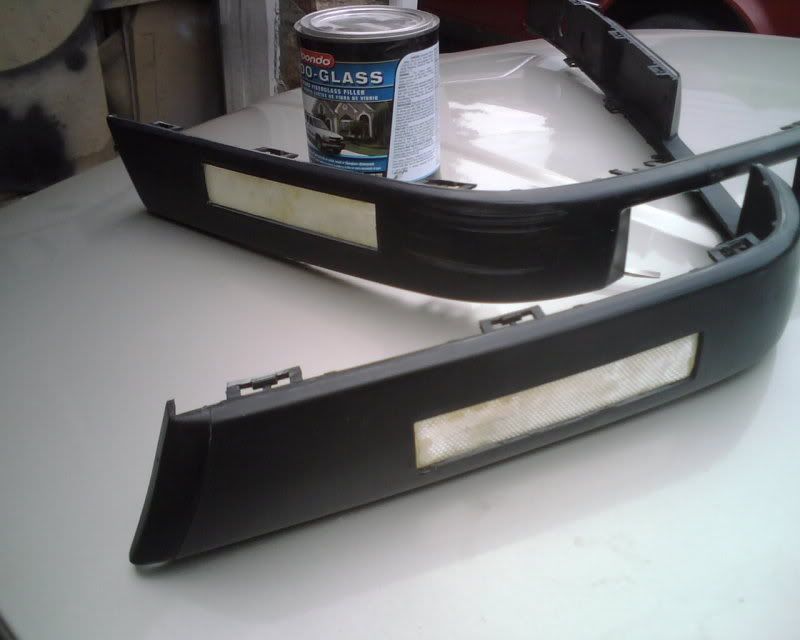
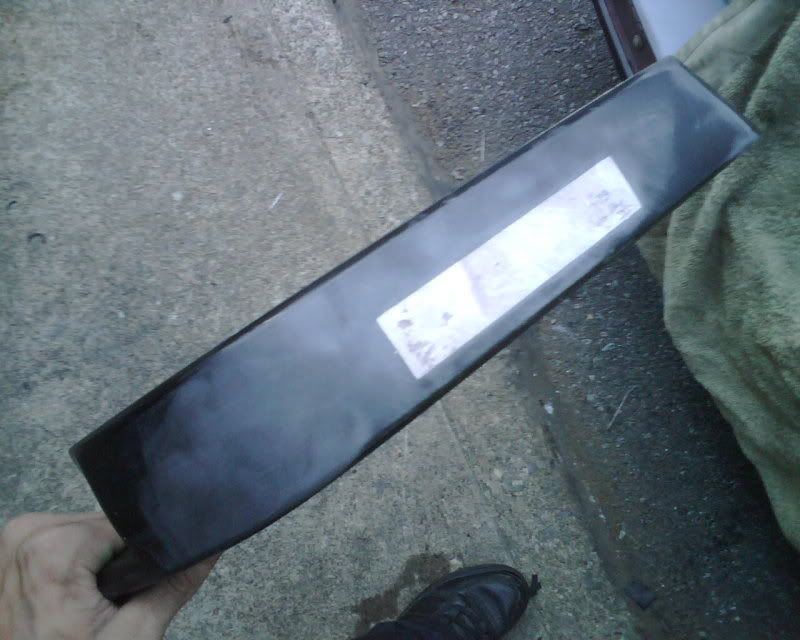
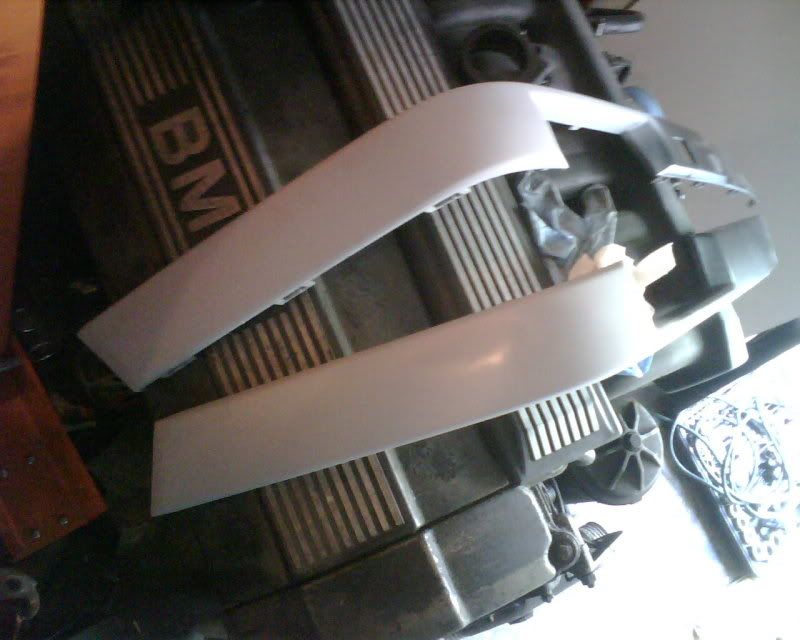
i couldnt find any euro trim that was worth shipping to me so i decided to make my own out of my US trim. cost me $0 considering i have all the body supplies here in my shop.
drivers trim:
passenger :
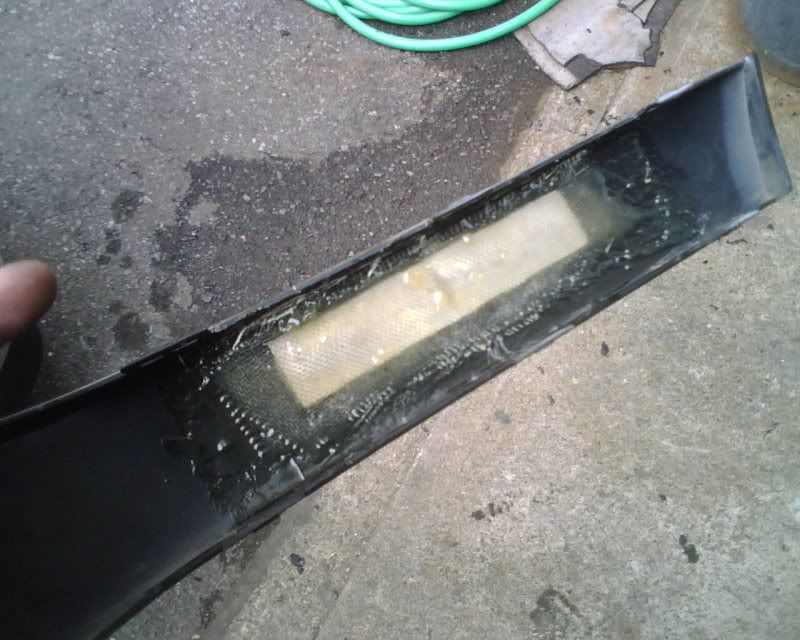
bondo glassed up
.. yes i use one of the m50s as a stand :p
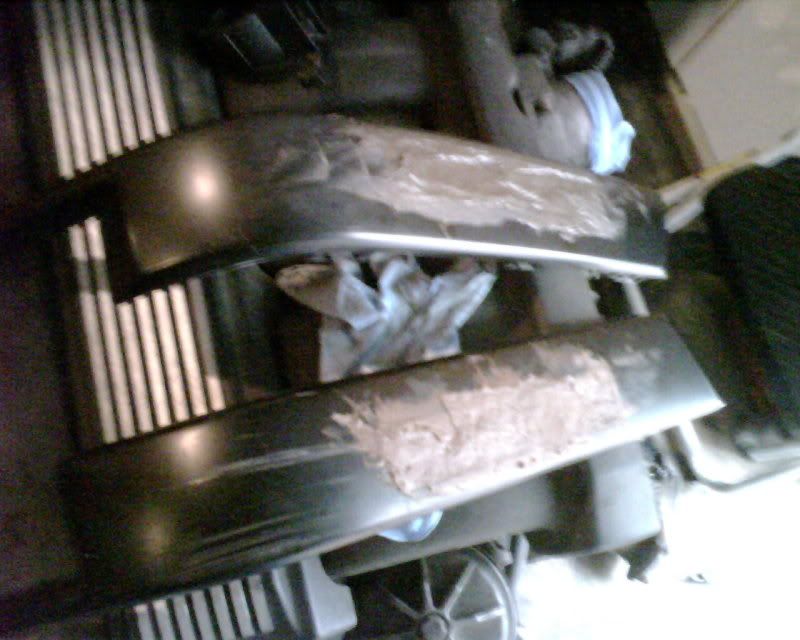
sanded off, i removed those gashes and scratches that were in the trim from the PO.
they are not finished, i still have to lay on regular body filler and smooth it all out for the final finish then paint it all. it started getting dark and stormed so i put them in the garage for the time bieng. will finish and post pics as soon as i get a chance
still havnt had a chance to get the m20 side harness
-----------------------------------------------------------------------
havnt updated this in a while.
trim not fully done yet
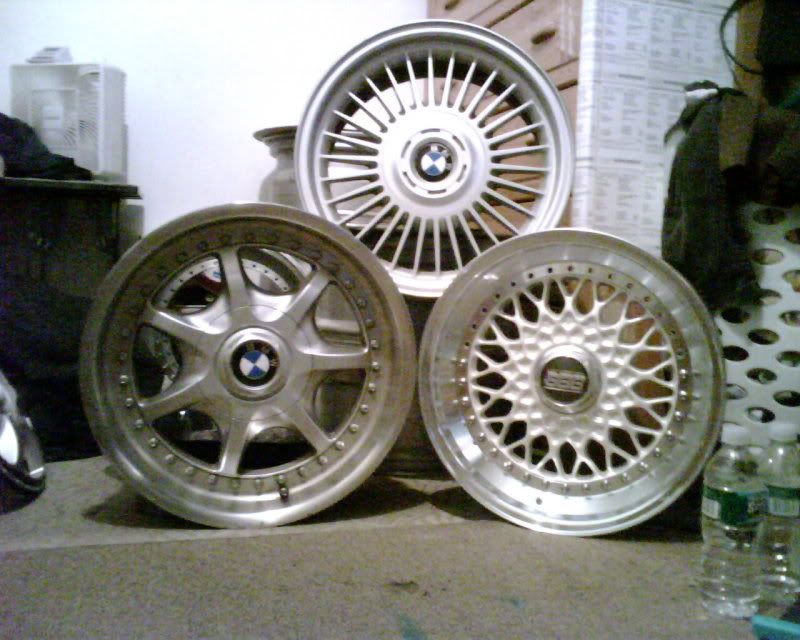
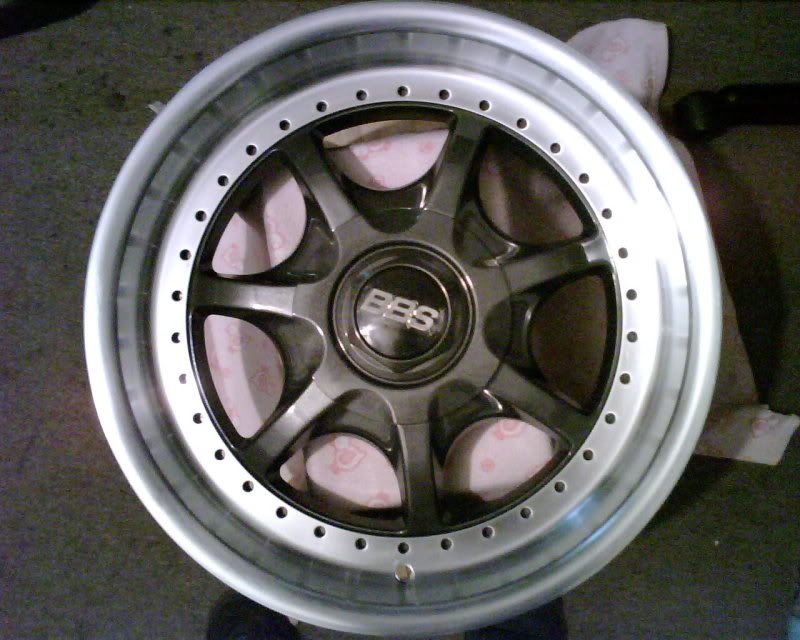
started polishing the BBS style 19's i got for $50
going to sell these to fund some of my new suspension.
getting a welder to do te exhaust very soon. should be running soon
-----------------------------------------------------------------------
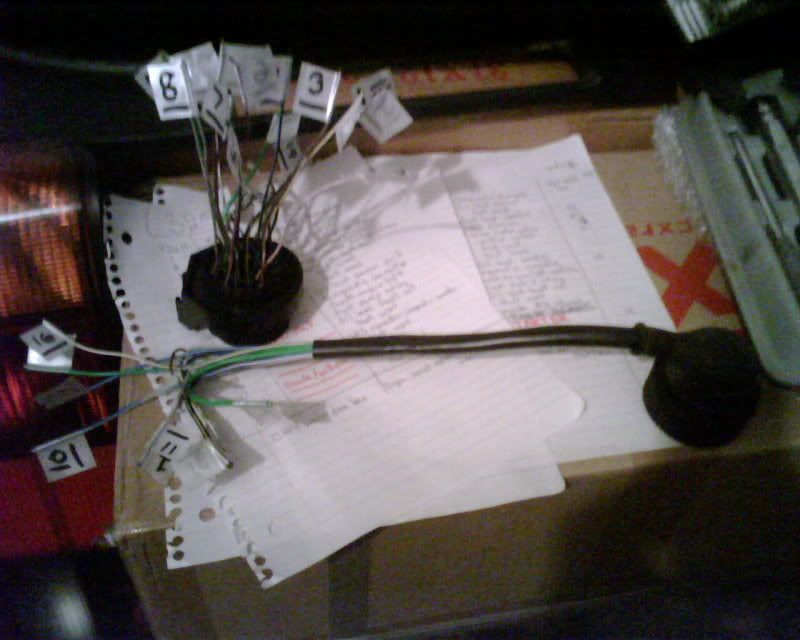
was going to finish this but all my tools are at ansteads.yes i have all the wires labeled and the uses written on paper .. i ran out of ink in both of my printers, like 6 months ago
-----------------------------------------------------------------------
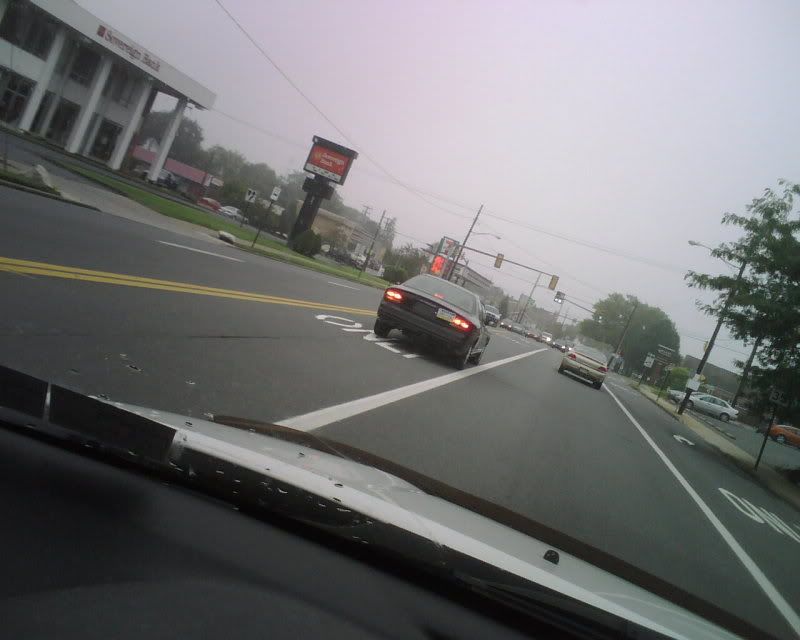
well .. i started the day off driving behind this thing for a while ..
guess he didnt see the square and pre drilled holes for the plate so he customized it and screwed itinto his trunk lid::tsk:
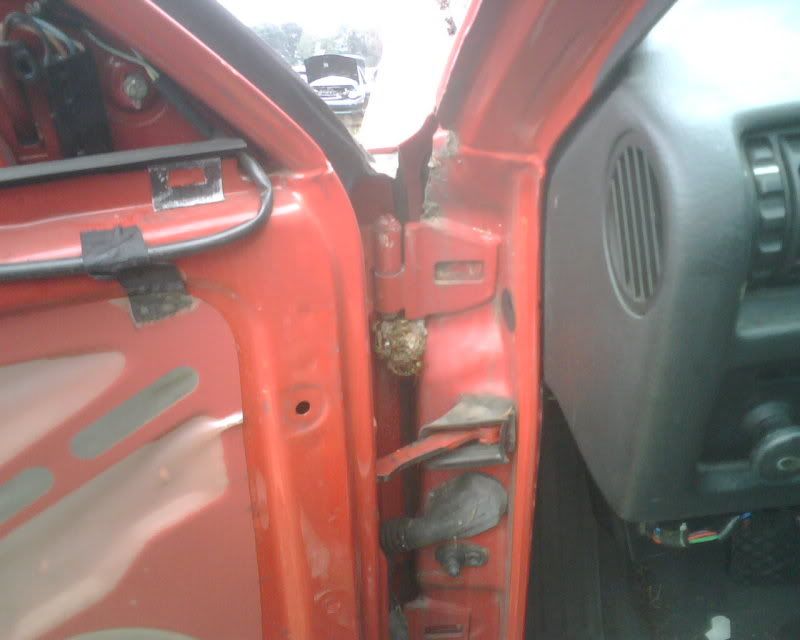
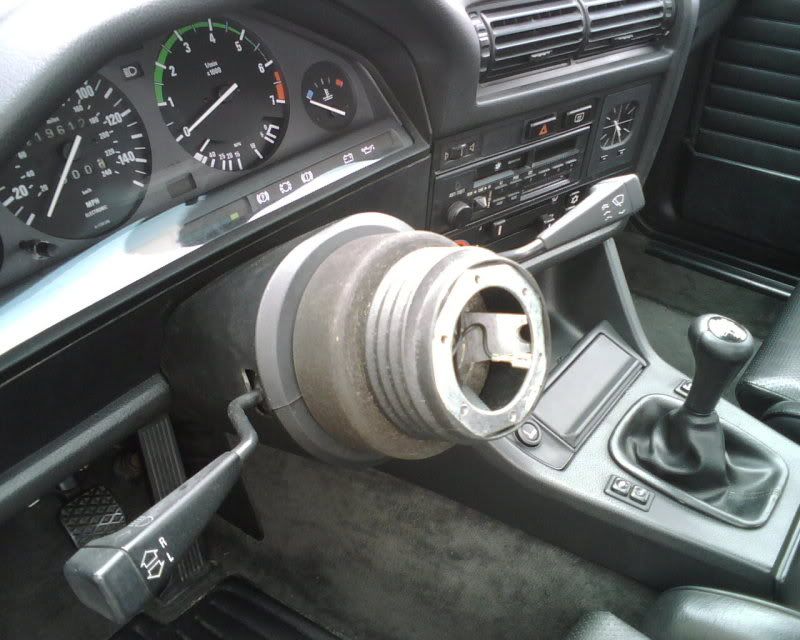
got a bunch of parts and on my last trip to get the steering wheel .. of course i run into issues. like 14 of them to be exact, good ol' wasps
one of the little buggers got me in my finger pretty good. which made me mad, so i threw water on it, took out about 8 with a soaking wet t-shirt, 3 with a wet carpet, beat the hive with a hammer and stomped out a couple more. there was still 2 that kept coming back. i left the steering wheel there, ill get it next time i go.
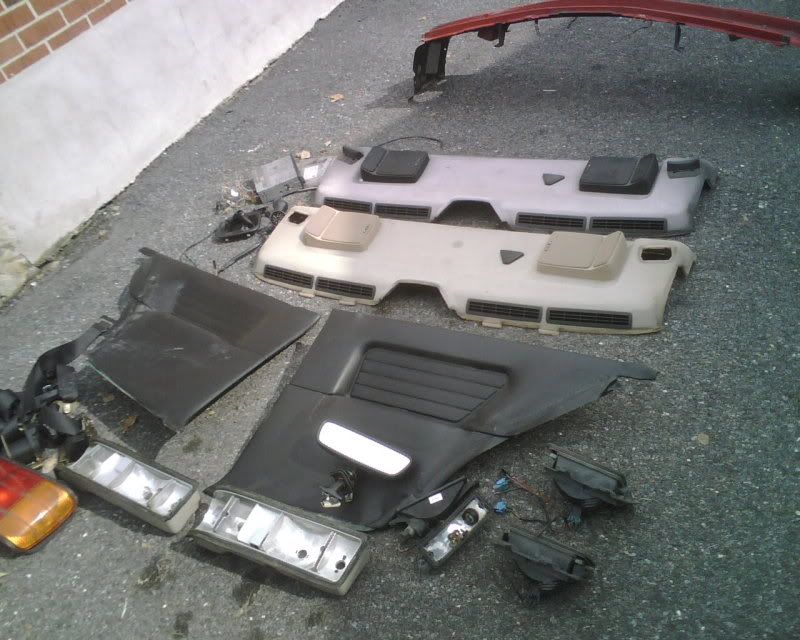
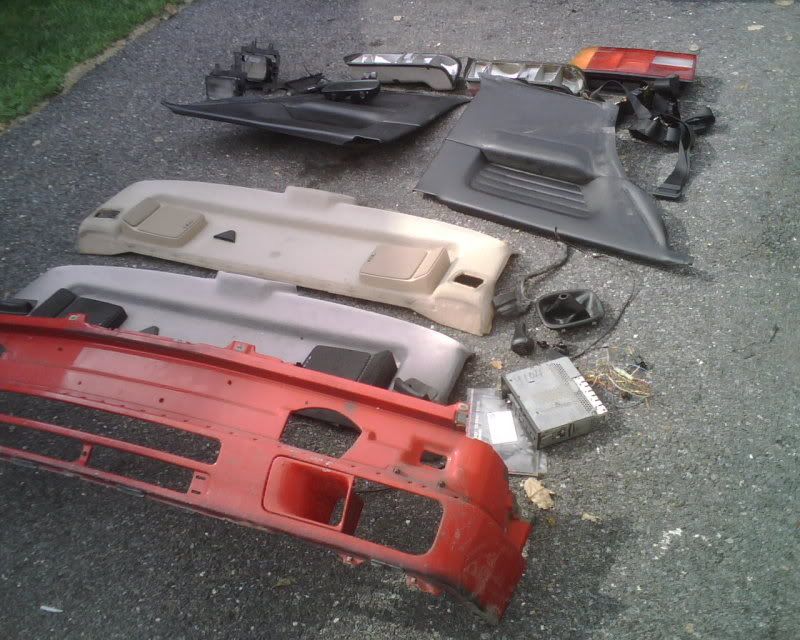
parts list:
2 black rear door cards
black premium sound with shelf
tan premium sound with shelf
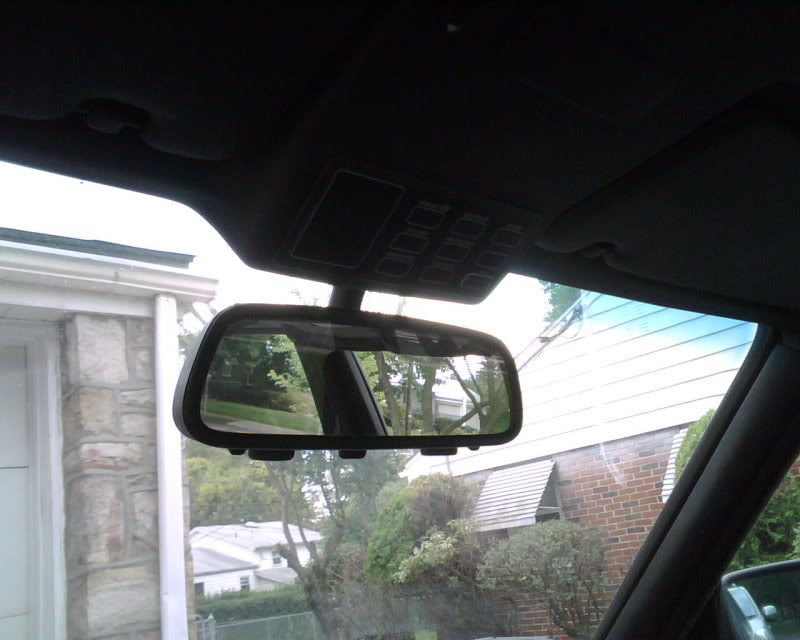
maplight rear view mirror with wiring harness
unripped **** foot
good anatomic factory knob
fog lights
turn signal housings
facelift valance with vents
m20 motor harness
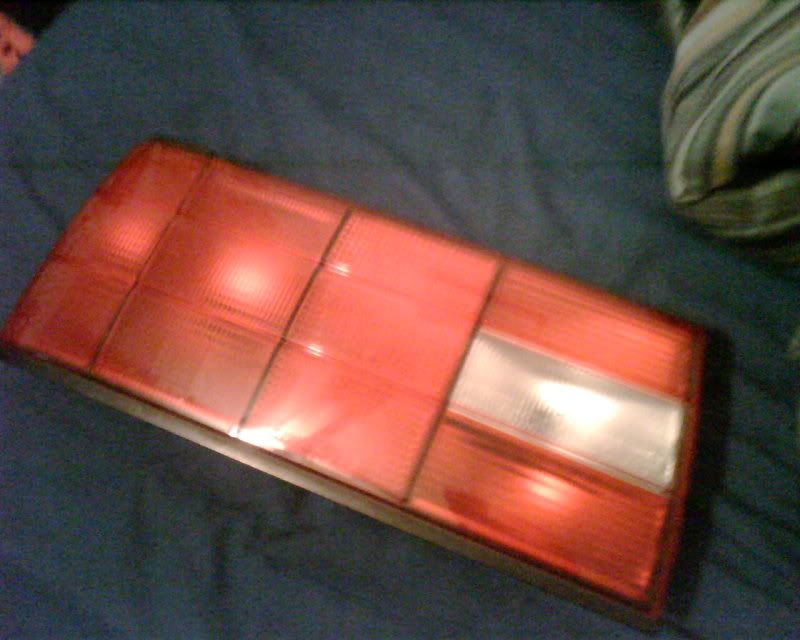
facelift drivers side taillight, i already have a spare passenger one here
mint radio with manuel, code card and little pouch it comes in
e21 tail light housings for my girls e21
mint black seat belts
grand total of $105
all i really wanted was the radio :. the rest i just got because i could
will post updates on the bronzit car soon
-----------------------------------------------------------------------
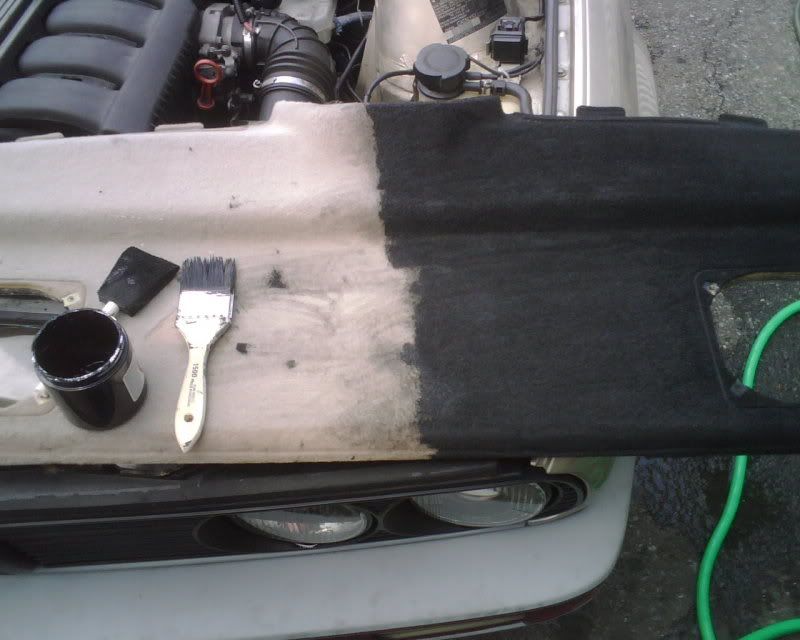
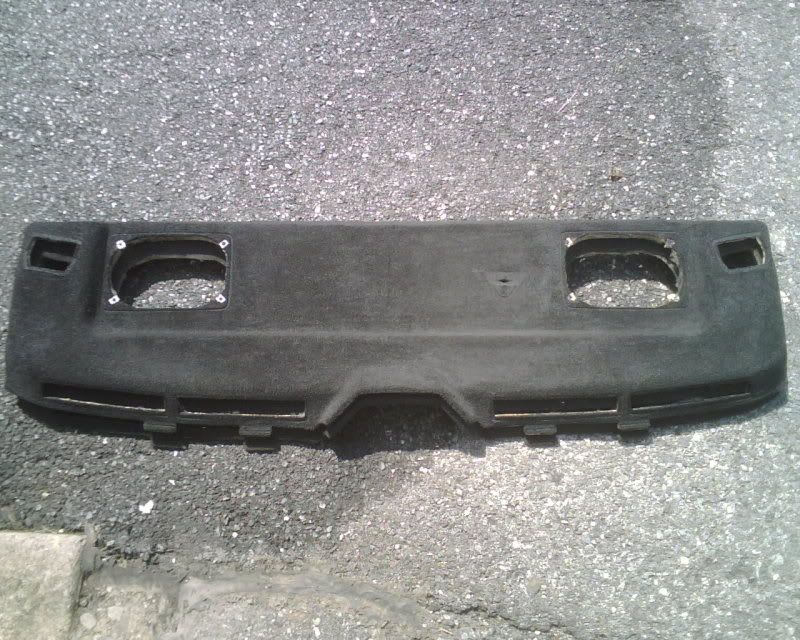
i went back and covered the unseen corners after i was sure i had enough paint/dye.
finishedbut not fully dry.
im not sure why it looks greyish in pictures. but it person its a very deep black. pat aka "cudi" was here yesterday and can confirm its very deep black. im sure anstead will be here eventually to confirm it does look oem. i wouldnt put it in my car if it didnt look oem. thats y i never put in the spray canned one i made. you can always see the lines and you never get the full coverage and depth with a spray can.
-----------------------------------------------------------------------
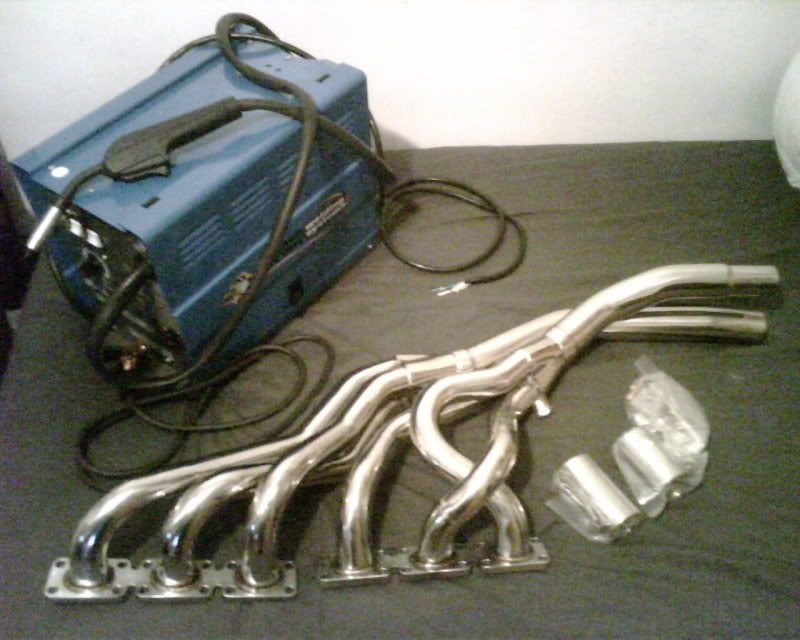
welder came a day early. headers were on time
but i still cant use my right hand so they will sit here till my hand is better
Member
went to buy an oil filter ..
has nobody around it when i went in, nobody inside seemed to even look out at it, when i went back out .. still sitting there with the door open. ricers:
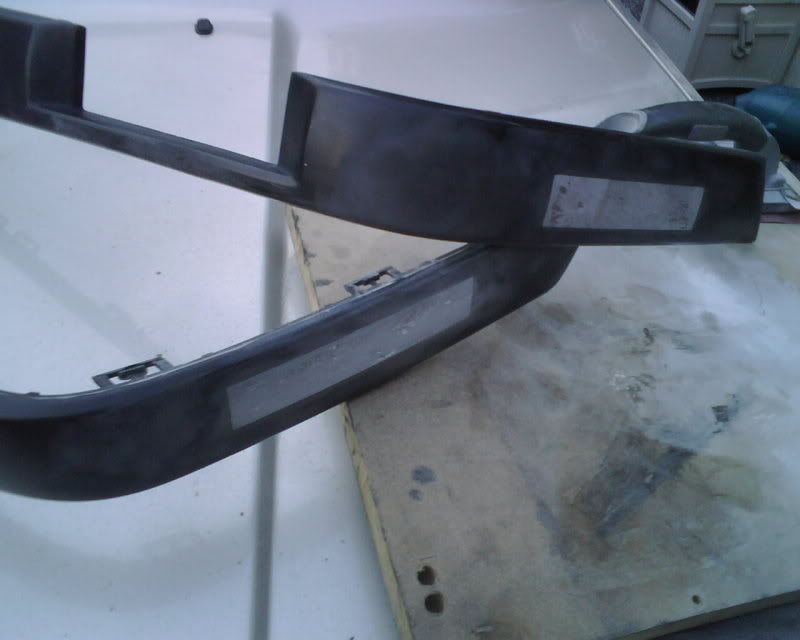
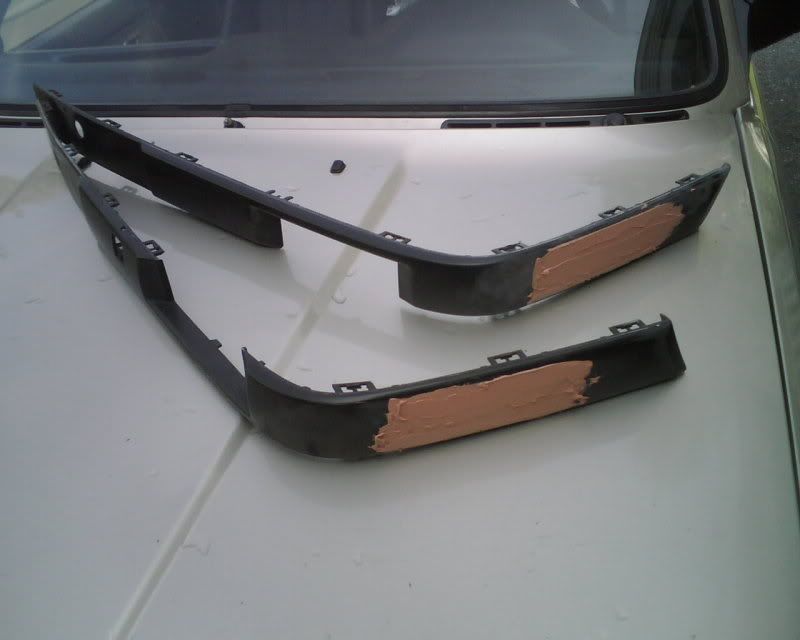
was workng on the trim today. looked like this yesterday:
the black one was supposed to be done, but after some time looking it over i noticed 2 small shadows up on the shoulder of the trim, so i sanded that all down and wet sanded it again. primered trim is obviously still bieng perfected. i have about an hour and a half of actual work into these as of now. they have been sitting untouched for weeks
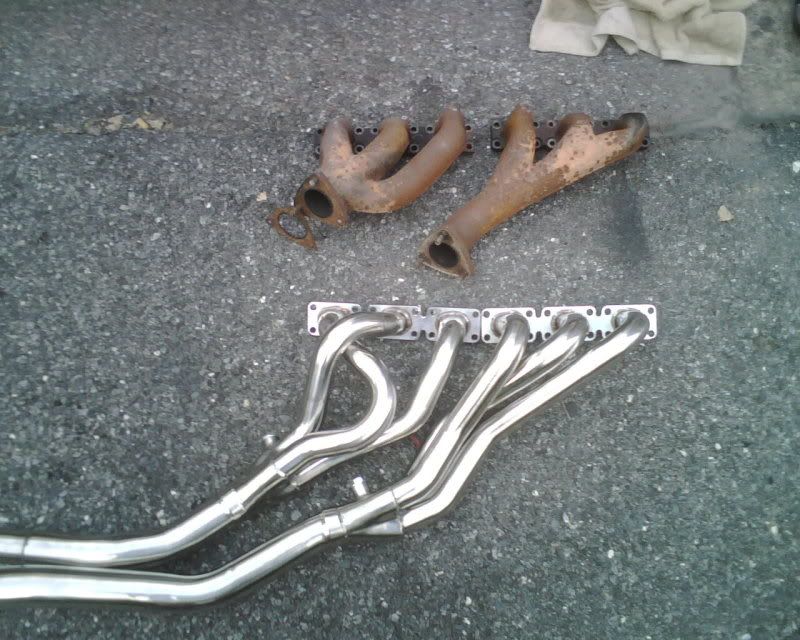
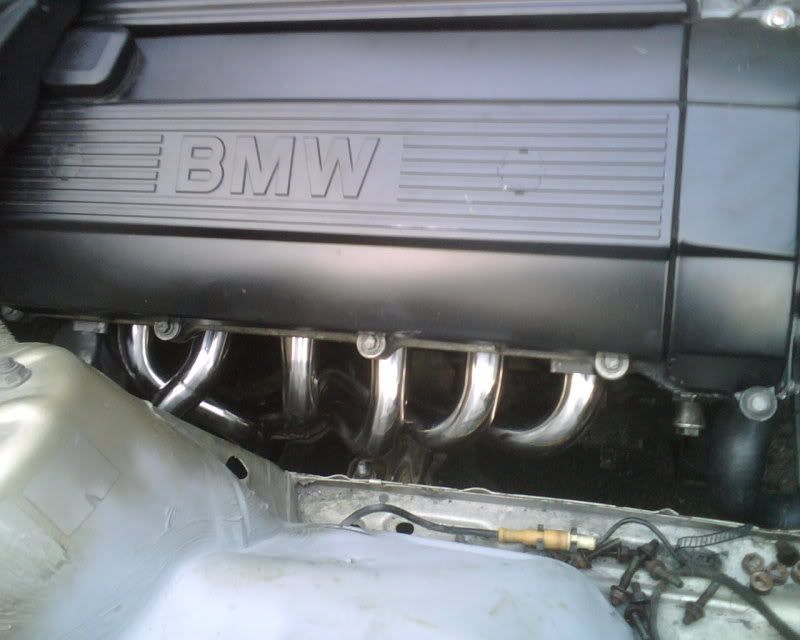
test fitted the headers to see if they fit without any mods . since i already tried OEM headers and down pipes which do not fit at all.
they are seemingly much larger, but clear all obstacles and even the subframe. i was suprised at how close they sit to the motor mount arms, maybe a 1/4 inch gap between them. but they do fit perfectly, although ythey do hang a little lower then id like, on any other car i dont think this would be an issue at all, but my cars sit very very low to the ground so any and all ground clearance is necessary. last thing id want to do is fab up a nice exhaust and have it ripped to shreds by some bump on the highway
didnt have much time for anything after that. i spent the first half of the day changing the valve cover gasket and oil pan gasket on my girls e21. was alot easier then an e30 pan. took about an hour of work from start to finsh, with about another hour of cleaning the pan and valve cover, i let my girl clean them since it was her car.
should be able to get some more stuff done monday
-----------------------------------------------------------------------
went last night and bought the battery. today i installed amnd was testing everything electronic in the car.
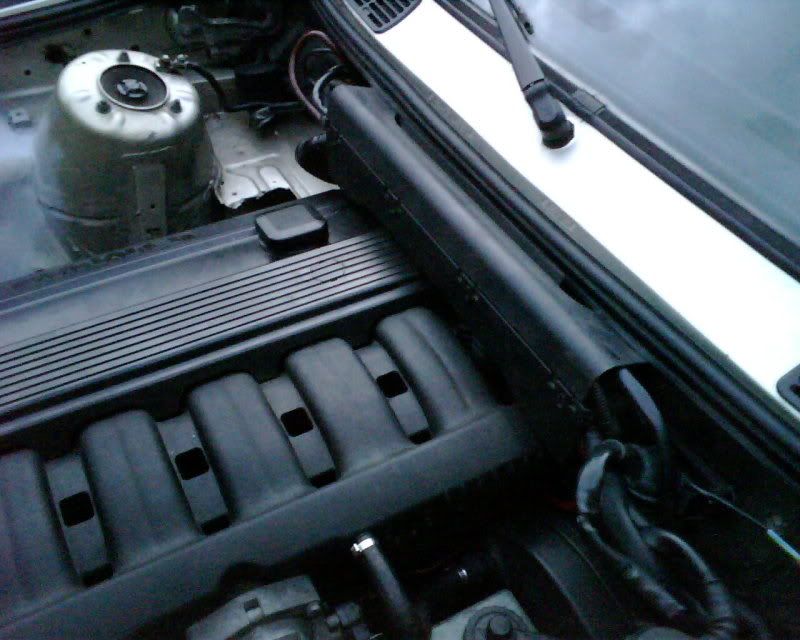
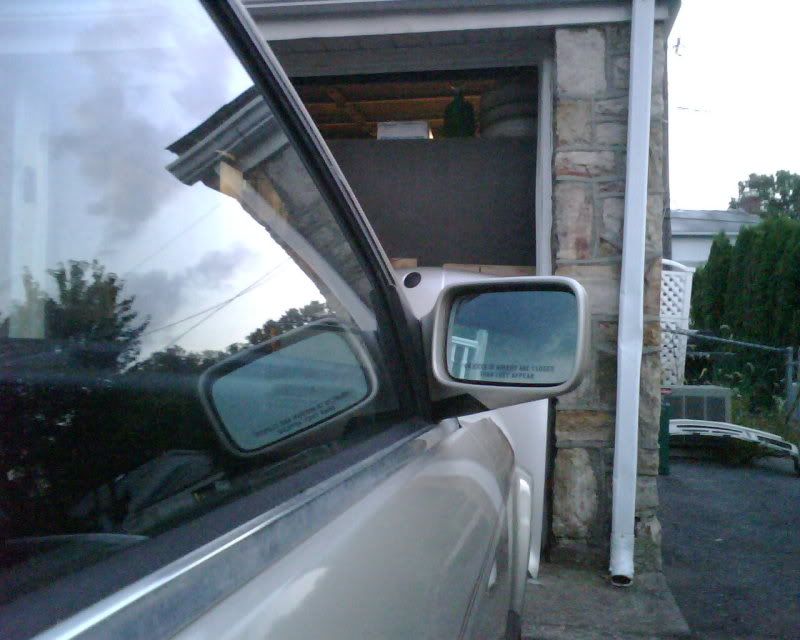
since the m50 blocks the firewall pretty good. i only had one shot at getting the wiper parkesd correctly. before i installed the engine i put in the linkage and got it all situated. without a battery i had no way of testing it, so i was left hoping. installed the arm and new blade and it was dead on. couldnt have been more perfect.
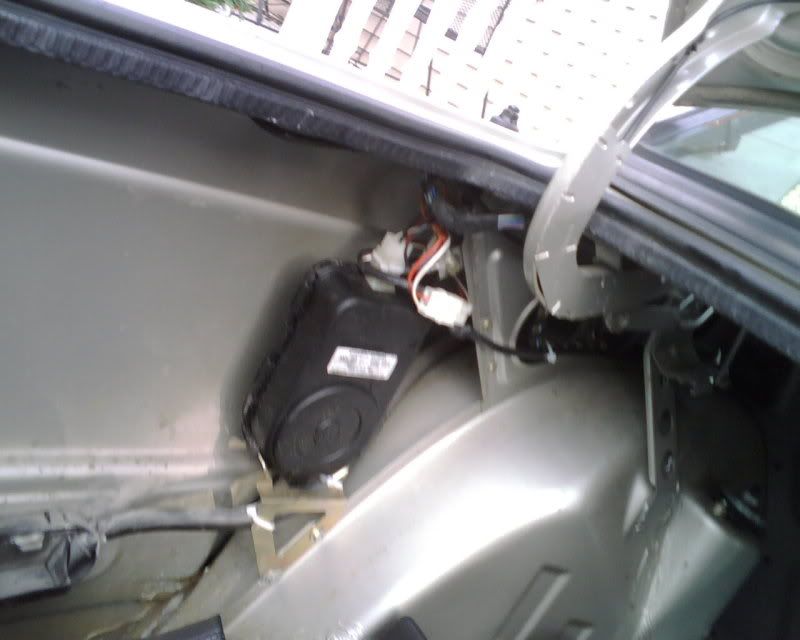
i was testing everything electronic in the car. first thing i thought after the wiper was the blower motor, same reason as the wiper. m50 would completely block the motor so if it was broken it was going to stay broken. but i switched it on each level and it worked perfect. wasnt fun when 3 years of dust blew into my face but i was still happy it worked.
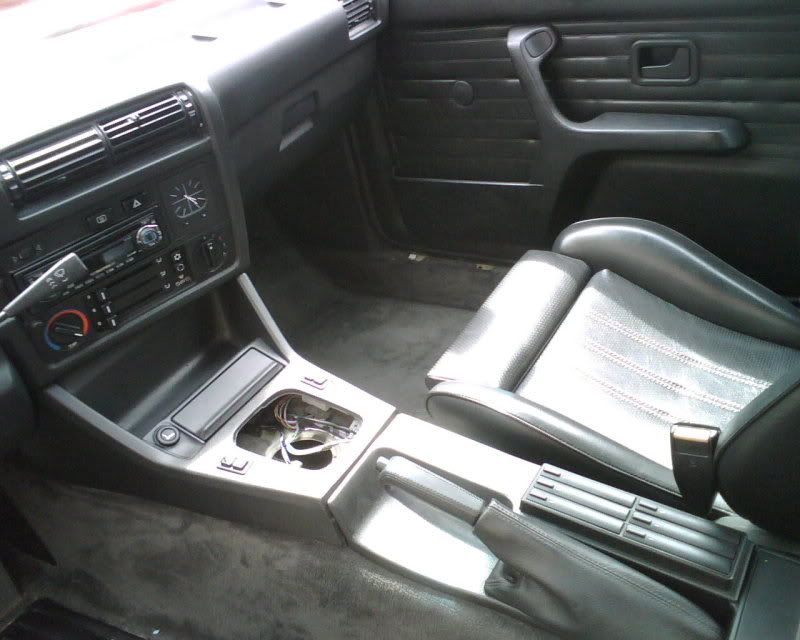
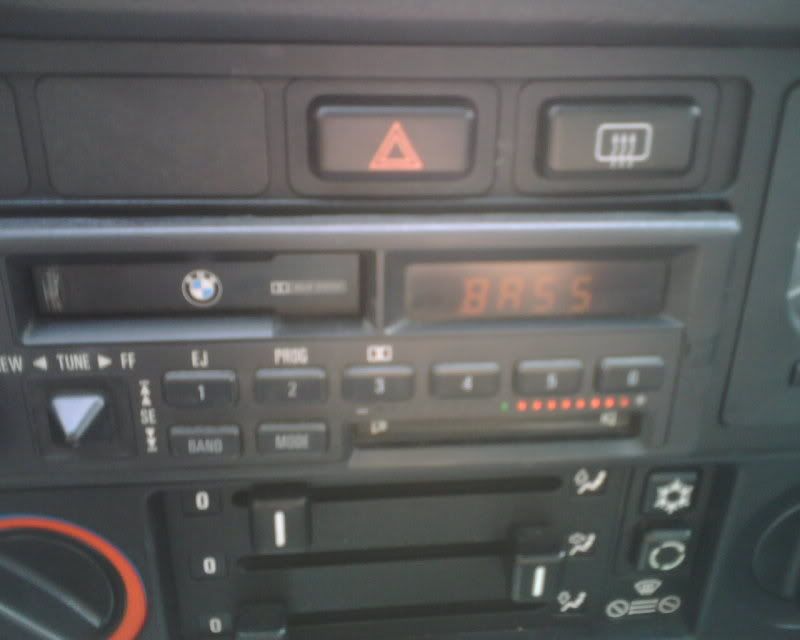
put in a better HVAC panel. then test fitted the HU, not fully installed or pushed back into place.
radio code worked as it should, volume, stereo functions and even the touch sensetive
adjuster worked perfectly. lights even worked. you can also see i installed the factory red hazard switch
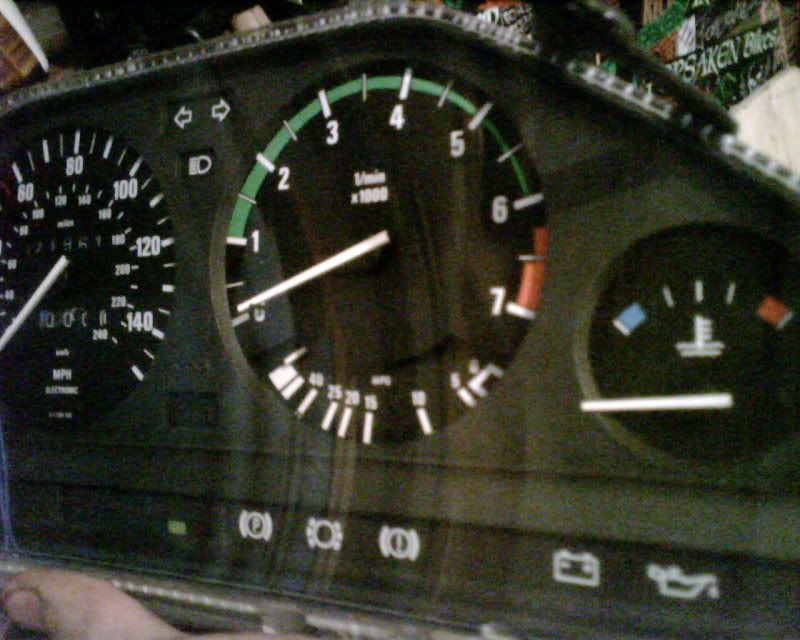
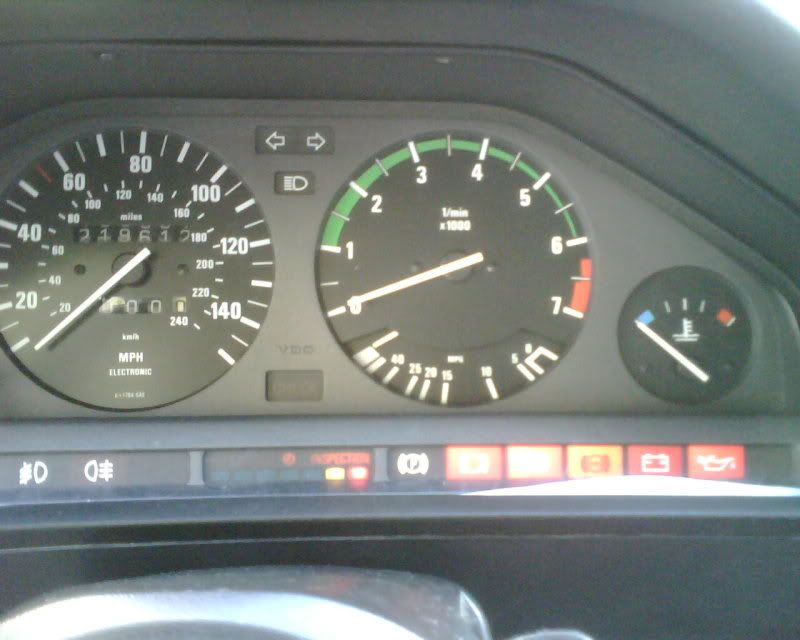
next was the cluster:
SI board worked, i was suprised. the whole cluster (minus speedo/tach, i changed those)was imported from germany so i didnt expect it to work 100%, especially considering i payed $25 shipped from germany. but it did
parking brake light worked, but i put it down when checking the light, its down in the pic so the lights off. brake lining light would be caused by my lack of any pads on the car. brake fluid light because .. it doesnt even have a drop of fluid in the reservoir. antilock is hopefully because i dont have the system connected yet. oil light because i dont have the level sensor wired in yet.
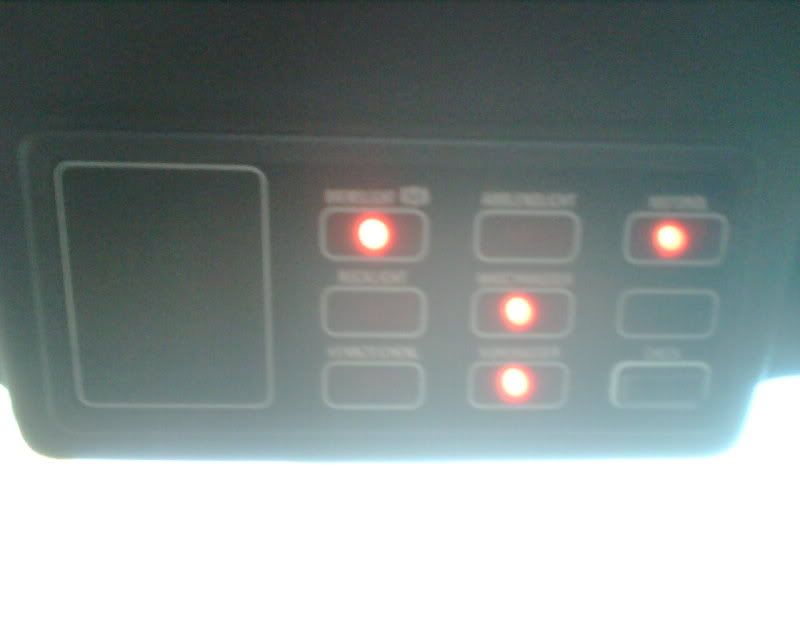
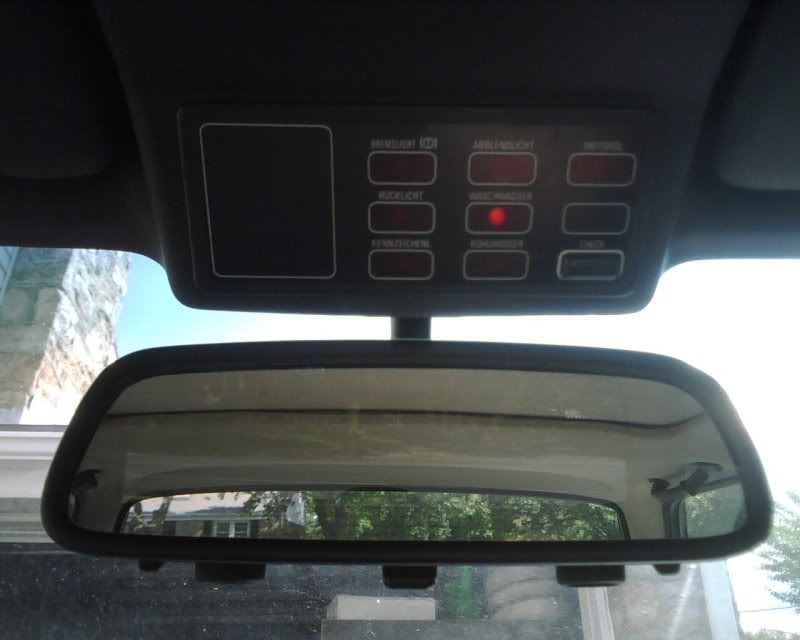
next was the check panel:
brake light went off as soon as i connected the pedal.washer fluid is on because i have no container or pump connected. coolant because i have no sensor connected yet. engine oil as stated above is because the level sensor isnt connected yet.
everything is explained simply as of now. once i start doing the final connections i will check to make sure all the lights are functioning properly.
also on the working/functioning properly items list:
both windows
power sunroof
power mirrors
tail lights
signals
brake lights
city lights
------------------------
high beam relay needs to be put back in before i can test the highs
i have a passenger ellipsoid out, didnt check the bulb yet.
today was a pretty good day. i dont think ill get much done tomorrow as i plan on spending the day with my girl. but who knows
-----------------------------------------------------------------------
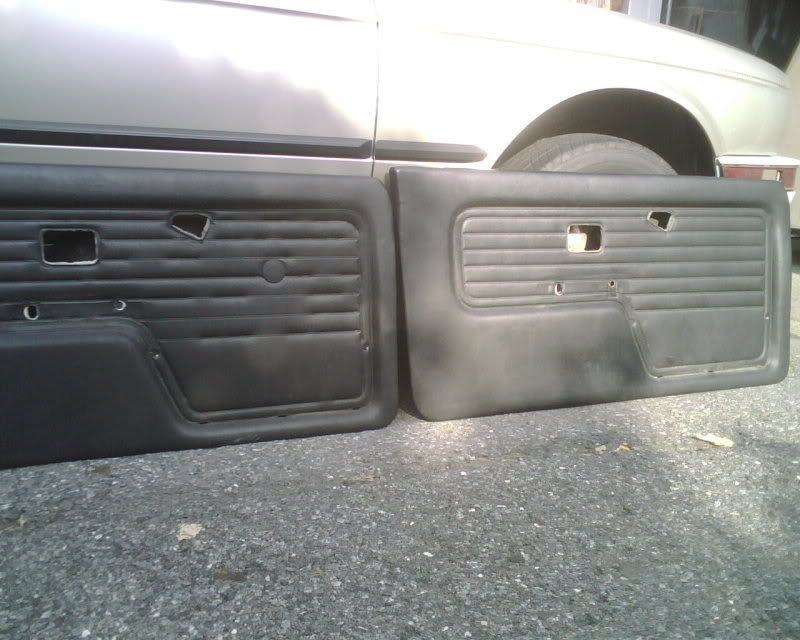
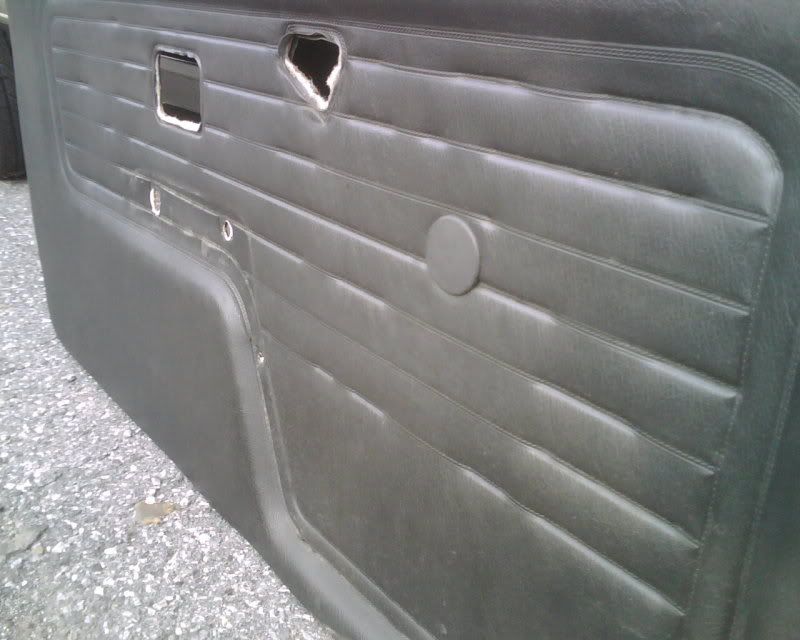
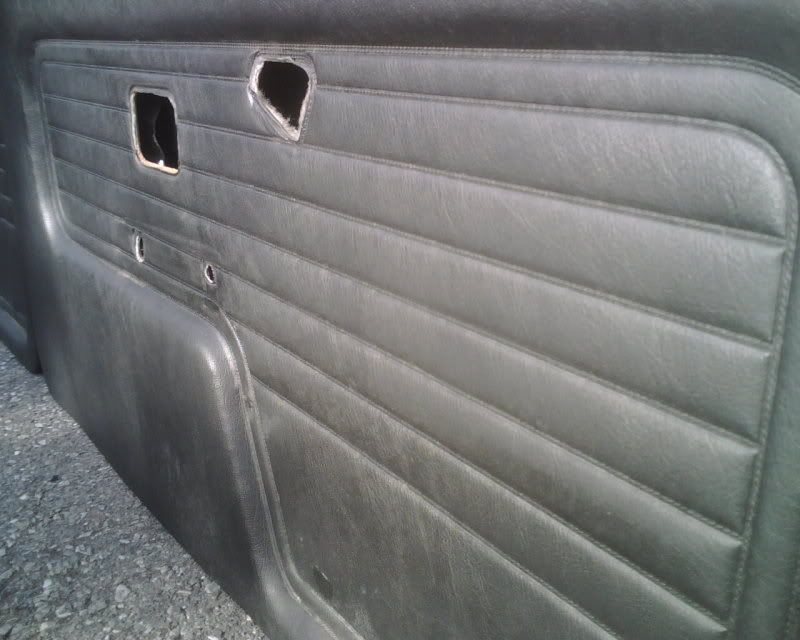
new door cards vs old door cards:
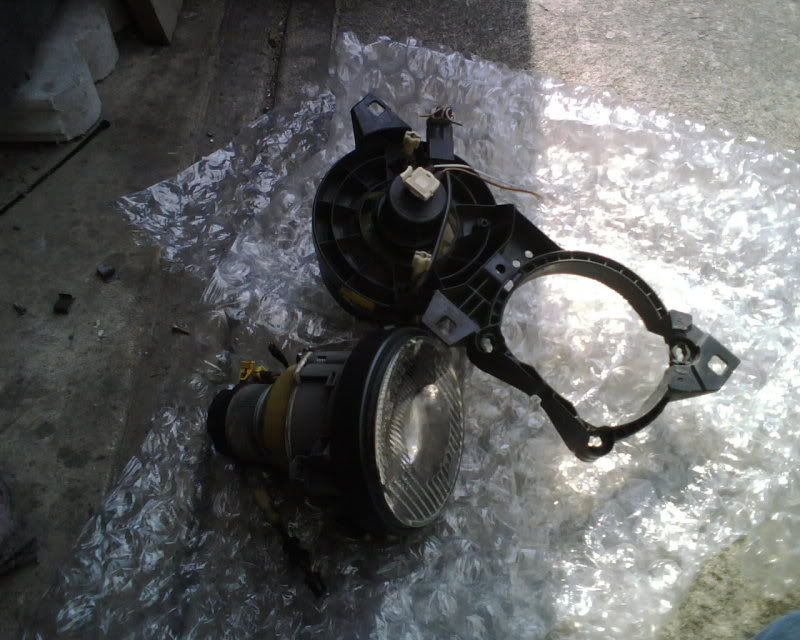
as i said in an earlier post, i took apart my smileys to get them a little darker. adding black sealant vs clear sealant and painting the insides of the rings to reflect less white light into the glass.
before:
had reseal;ed it then zach noticed the one crosshair had gotten pushed down so it looked royally off. so i had to take the glass off again .. not so smooth this time.
luckily i have 2 spare good condition high beam lenses, so its all resealed and back together again. will post pics some time soon.
-----------------------------------------------------------------------
one assembly re-finished
the black silicone makes a huge difference. i will post pics next to my other clear siliconed assembly soon.
-----------------------------------------------------------------------
here's the video of the start up
[ame]http://www.youtube.com/watch?v=nfm5qylKULI[/ame]
Last edited by 610EURO; 03-05-2010 at 01:12 AM.
Member
-----------------------------------------------------------------------
random pictures anstead sent me
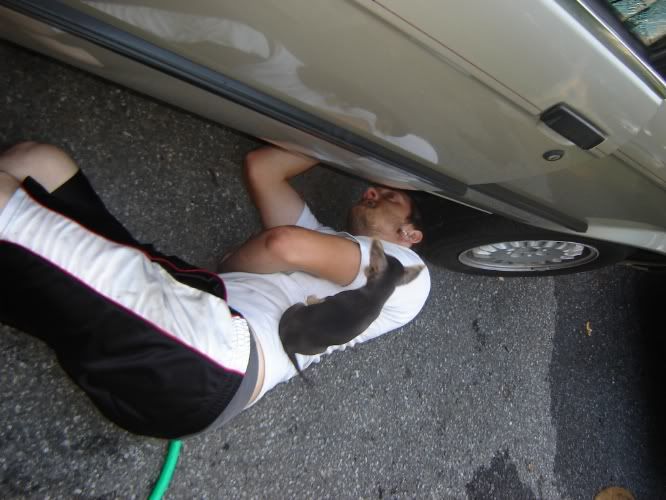
lilly doing what lilly does.
when i was under the car doing the linkage. she kept trying to sleep on my stomach, which would have been fine, but then i couldnt move because she would have been squished between me and the floor of the car. was even worse because i had gloves on which were very greasy so i couldnt take her off.
the linkage is in, took all of 20 minutes. i was mixing and matching linkages till i found the one that worked best. ended up bending the selector rod to getit just perfectly centered. then realized i have 3 full shift linkages and only 1 clip :tsk: .. so i just need to pick up another clip and throw it on. used all factory bits, nothing modified except the little bend of the selector rod.
will post more updates as soon as parts and supplies start arriving
-----------------------------------------------------------------------
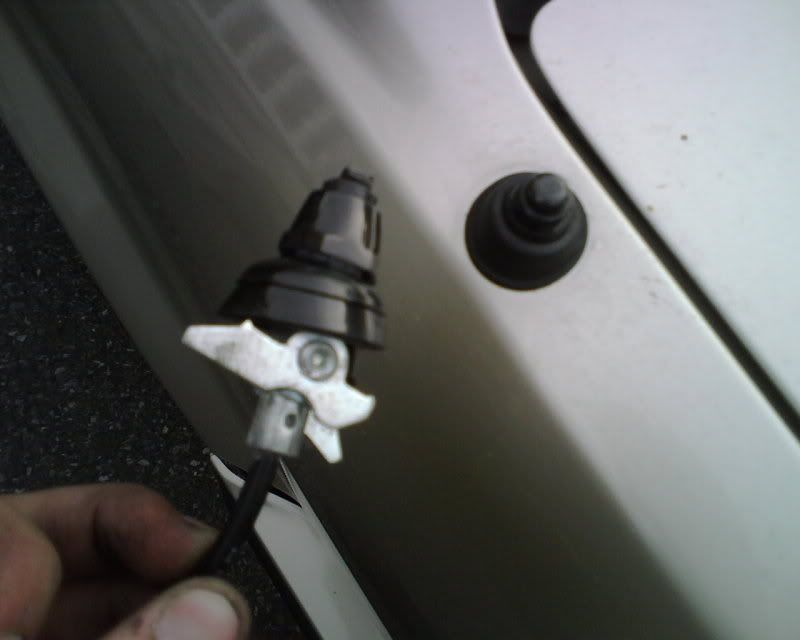
got the antenna and cables from my parts car today. the PO of my car had removed all of it and had put in a dummy antenna to block the hole. the one on my parts car had a mint grommet and the antenna mast looks like it might actually work, but i havnt tested it yet.
new one:
old poser:
ran the new wires as they should be
didnt run them all the way to the HU im still waiting on the OEM CD changer so i dont want to pull up my carpet and have to pull it up again to put in the changer line.
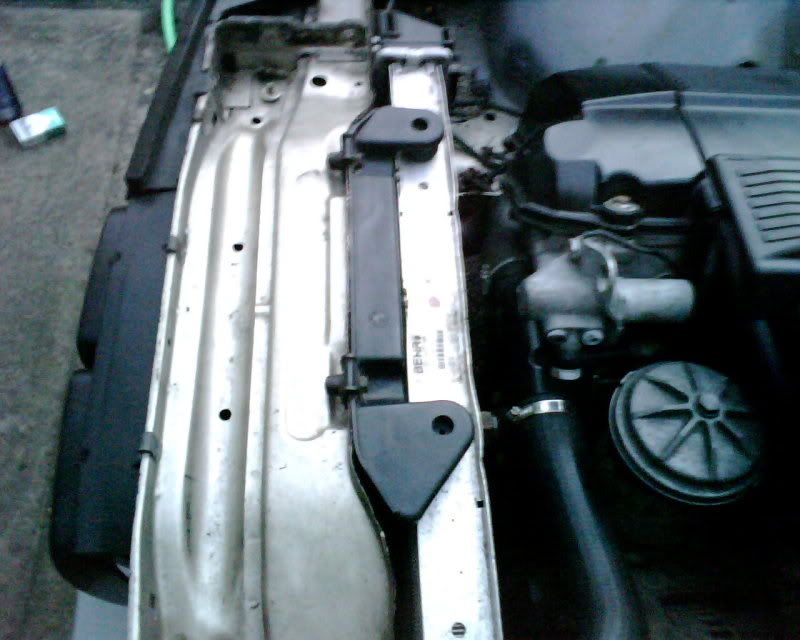
went to the yard. got the proper rad support, better harness box and plug and wires to
run to the oil level sensor. also got the reverse wires/plug and the clip i needed for the shift linkage while down at my parts car.
proper rad support:
nicer wire box:
the 525i wire box isnt finished yet, its just sitting there but its half the size of the 325i's box. even tho they are for the same m50. the flap that covers the unboxed wires needs to be trimmed to not touch the padding under the hood.
general pics
still so much to do
-----------------------------------------------------------------------
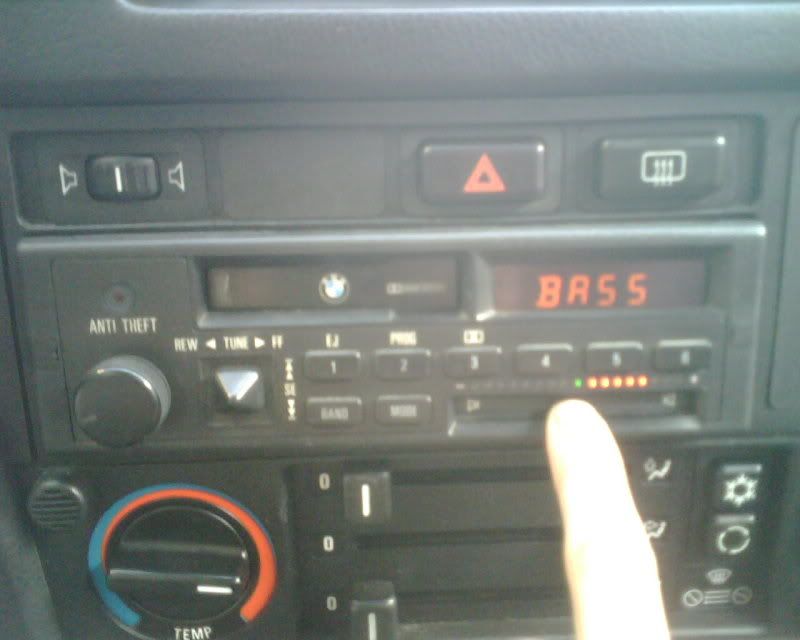
was testing the speakers out and the HU's functions. was only getting power to the drivers side, so i moved the fader switch and it got real loud .. so i swapped out the bad fader and everything got twice as loud at the same volume and its 50/50 left to right sound.
bass controls and all functions on the HU work so far. once the changer gets here and is proven working i can mount the HU properly rathre then just having it sit in the hole like it is now, you can see the gap.
i will check the changer functions as soon as it gets here
-----------------------------------------------------------------------
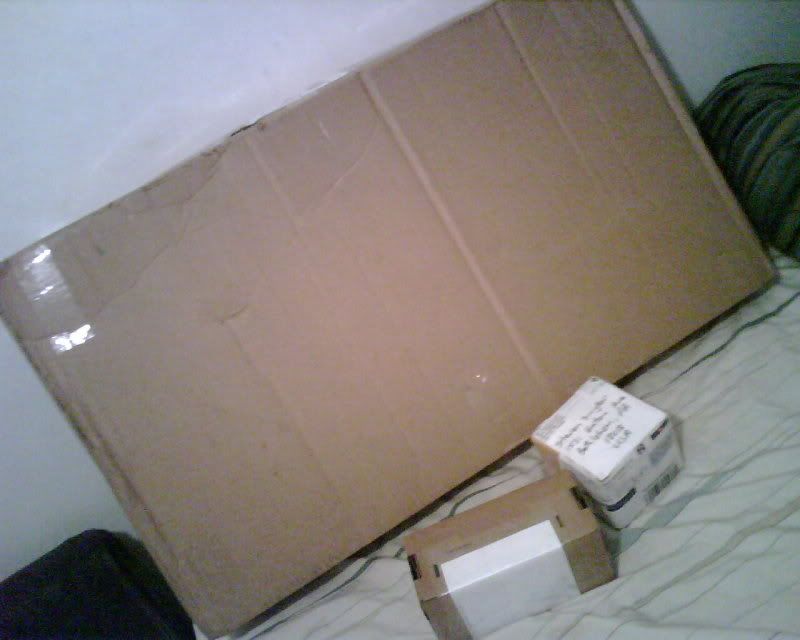
1 of the 7 packages im waiting for arrived today.
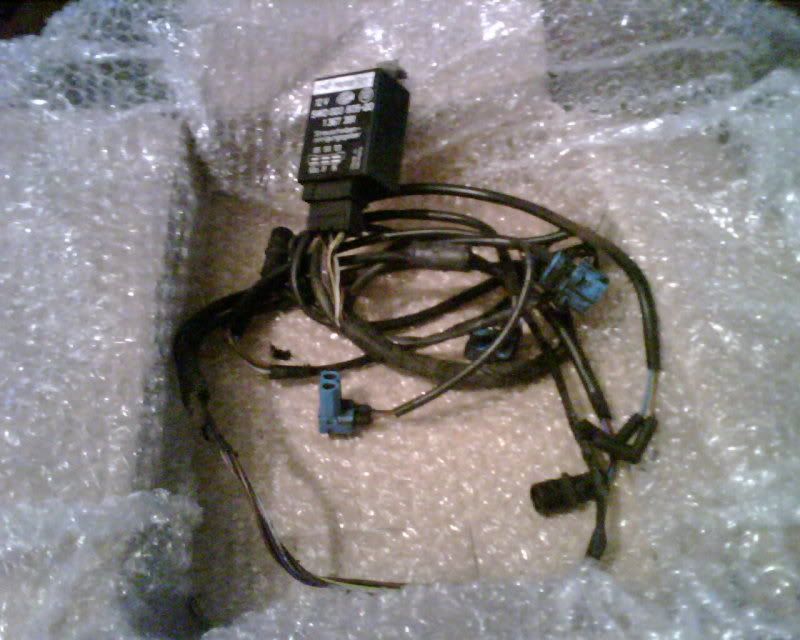
who can guess what these wires are for ?
-----------------------------------------------------------------------
better pic. hint 2 .. its a euro only option.
yes i made it so you cant see the part number, that would give it away :p[/quote]
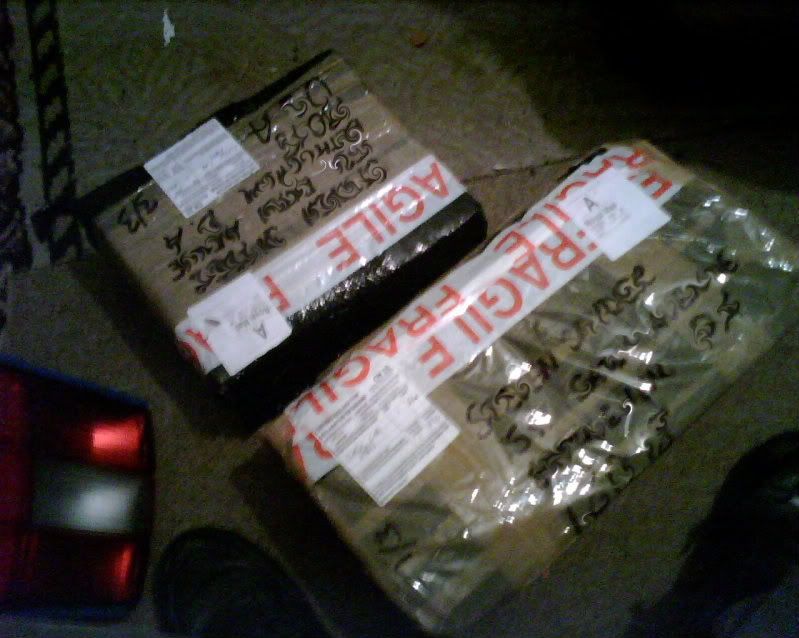
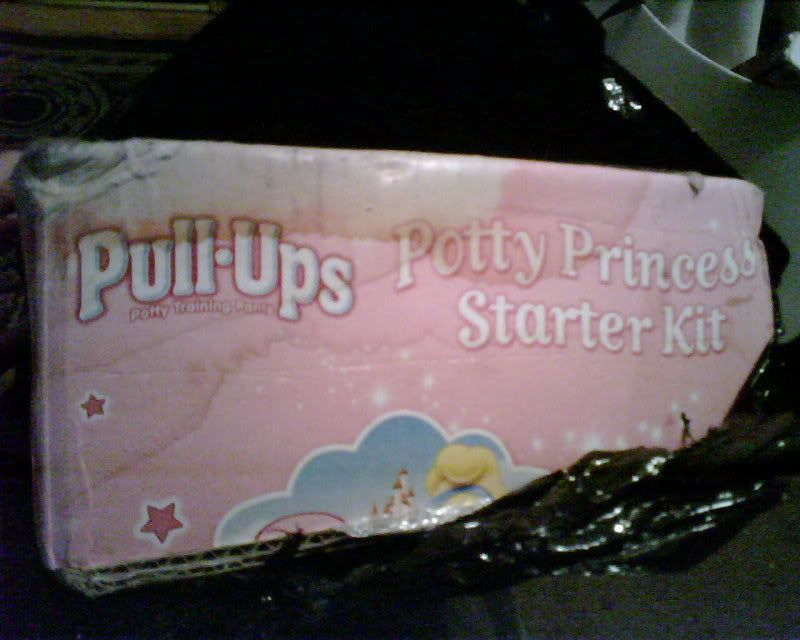
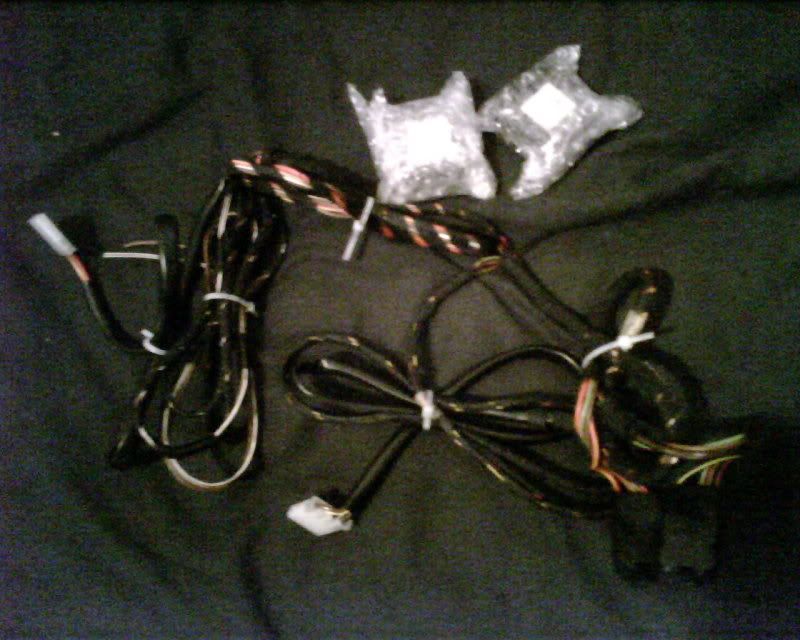
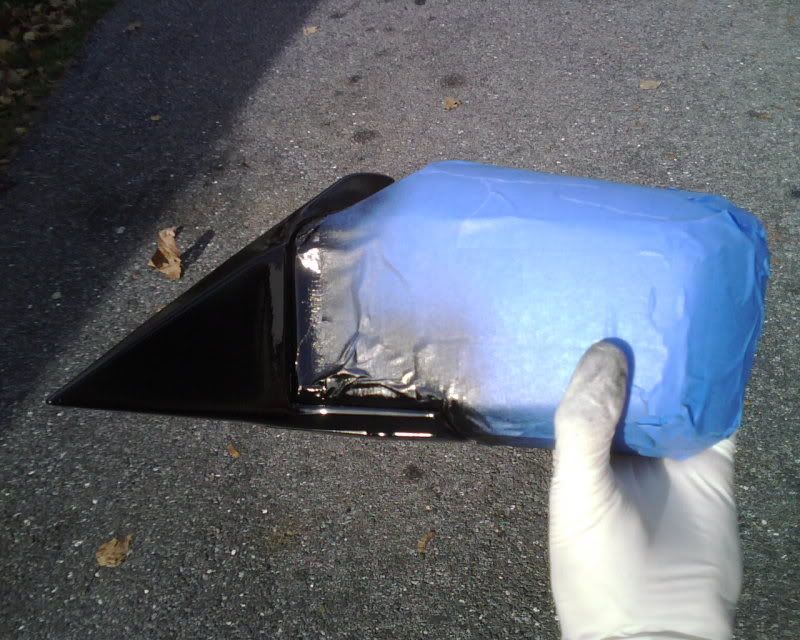
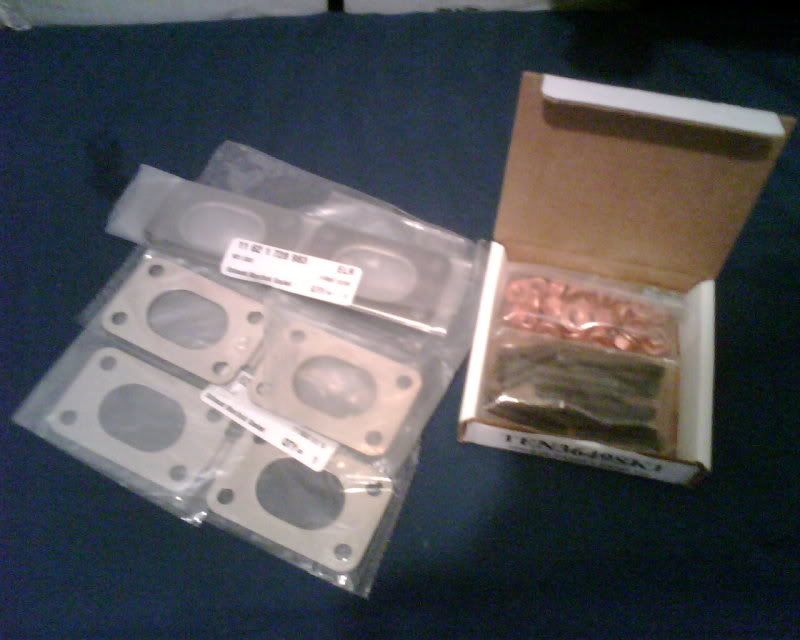
[QUOTE=fcsteve;4551840]2 more of the packages came today
one of them had an awsome box under the black bag
whats here so far for this kit :
still waiting on a bunch of stuff. still waiting on the most important bits actually. didnt really work on the car today
-----------------------------------------------------------------------
realized yesterday that i forgot to wire in all the bits for the heated seats while the carpet was out
so ill have to rip that up again and wire that in.
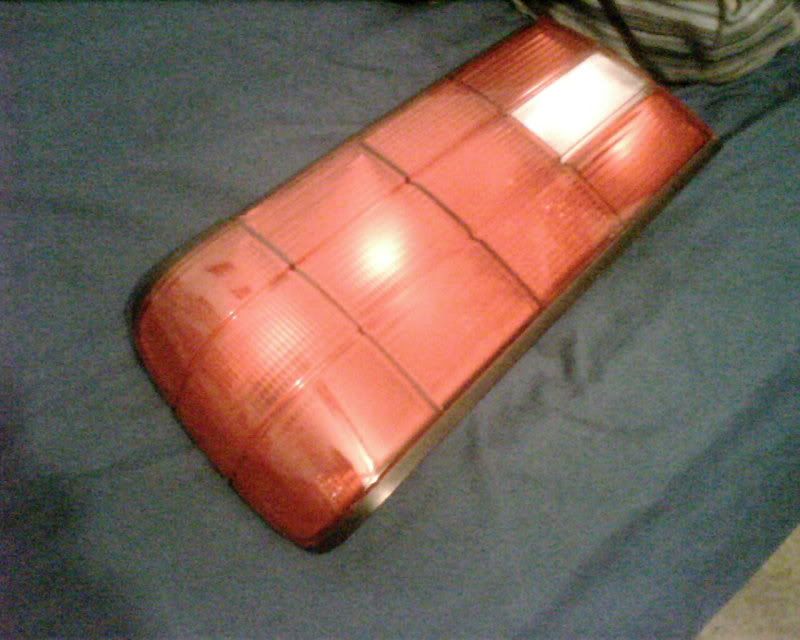
also made some temporary tail lights till i can find some genuine MHW's that are near mint. seen a couple sets on the bay . but all went over $400 except the last one which i made the mistake of not bieng home for :thumbdwn: .. if i was home i could have gotten that set. but ill have to wait for another to come around.
(not clear coated yet)
they will do for the time bieng
Member
-----------------------------------------------------------------------
did a little freshening up. will try and get the bay freshened up tomorrow. none of the valance or bumper are clear coated so it is a little lighter. at $25 a can i expected it to match as it does.
valance looks like a darker bronzit .. but its all done with the same can so its just shadow games.
the "euro" trim is also on and obviously finished. i will try and post full front end pics tomorrow. maybe some engine bay pics
-----------------------------------------------------------------------
installed the maplight today. its all wired up and functions properly, but the passenger bulb is out so ill have to replace that.
also the guy emailed me back about the cd changer and he has already sent me a tested and known working unit with an extra cd cartridge free of charge
got the passenger headlight finished and put back on.
if the weather wasnt crappy i would be installing the differential and all those good parts, but the weather iosnt good so ill have to do all that another day
-----------------------------------------------------------------------
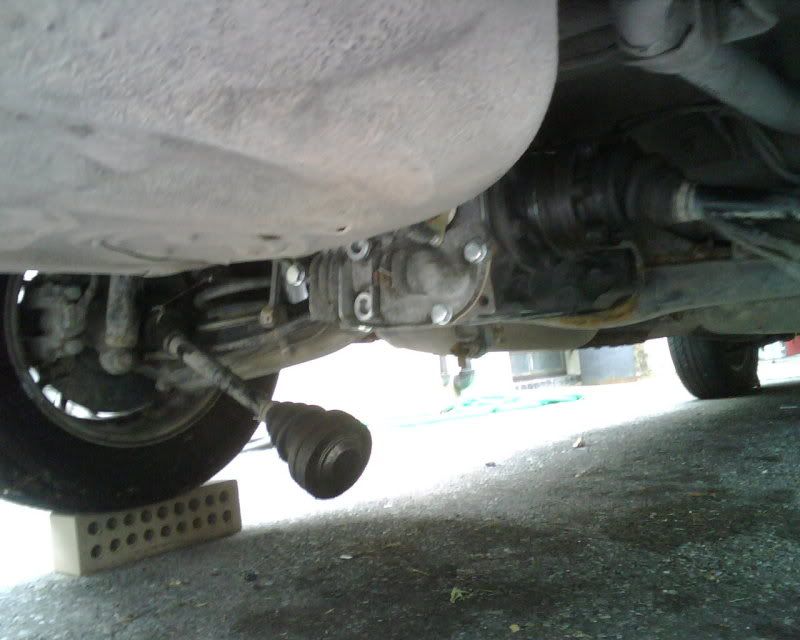
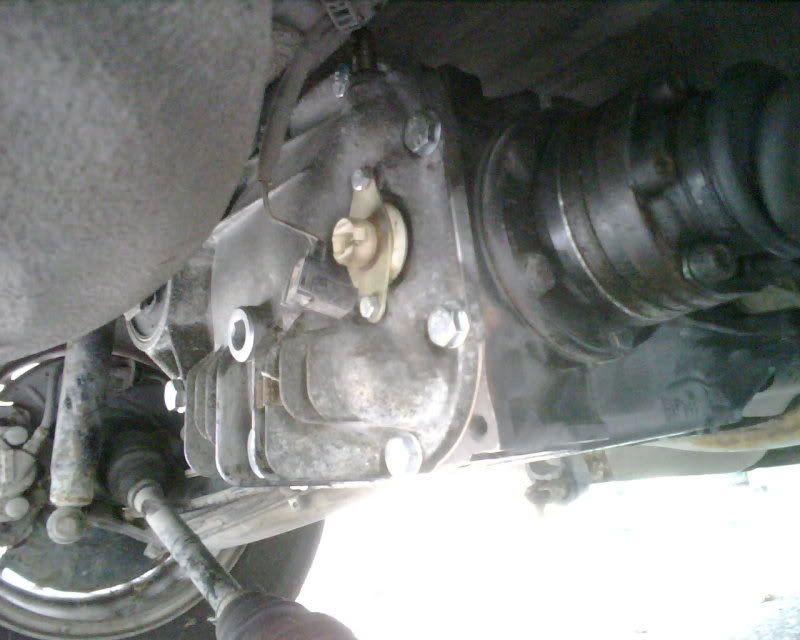
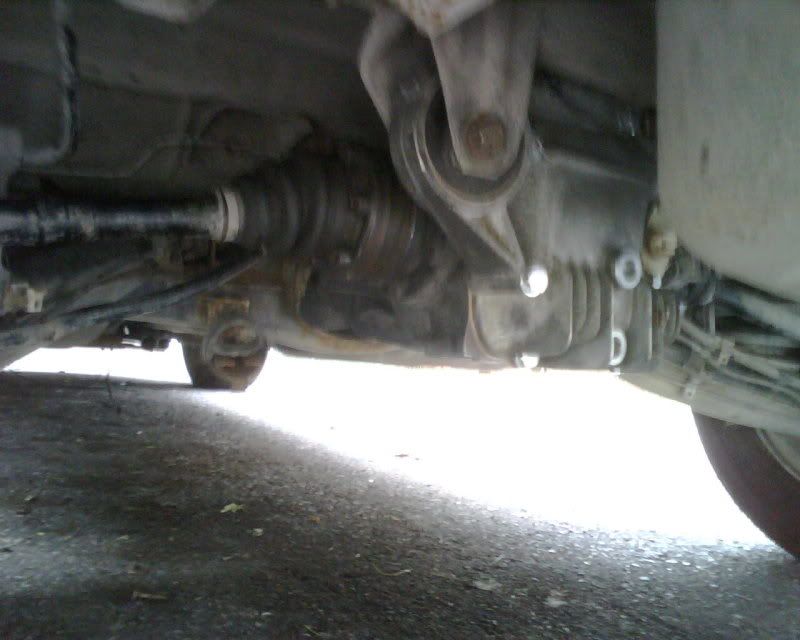
decided id throw in the diff today. took about 20 minutes from start to finish. has a new seal, all new bolts, new drain and fill plugs, new crush washers and new plug mounts/bolts. only thing left is i either have to put in a facelift diff sensor or wire up a new plug on the harness for it to function properly as the plugs dont match. both are quick and simple.
right
left
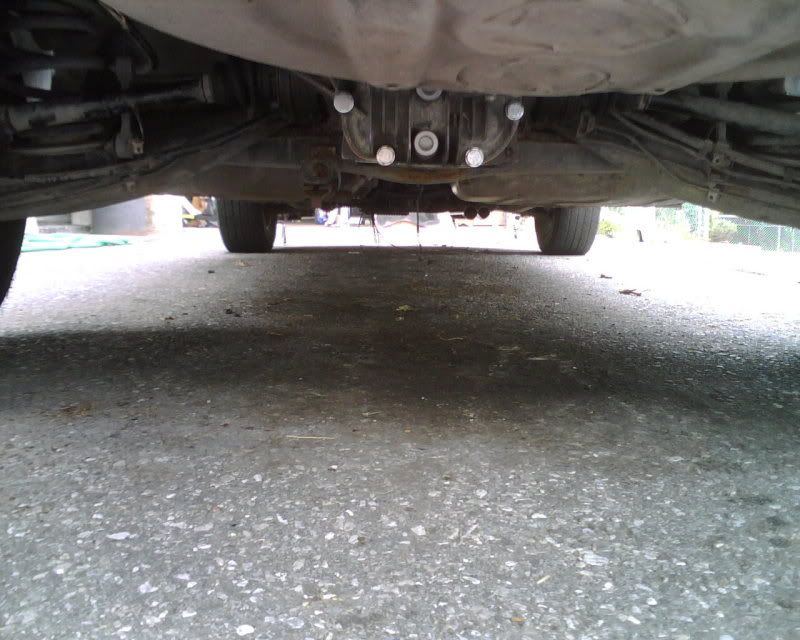
all done
random pics from the driveway today
pretty much the only real things left are driveshaft, exhaust and just throwing the suspension on. shouldnt be too much longer
-----------------------------------------------------------------------
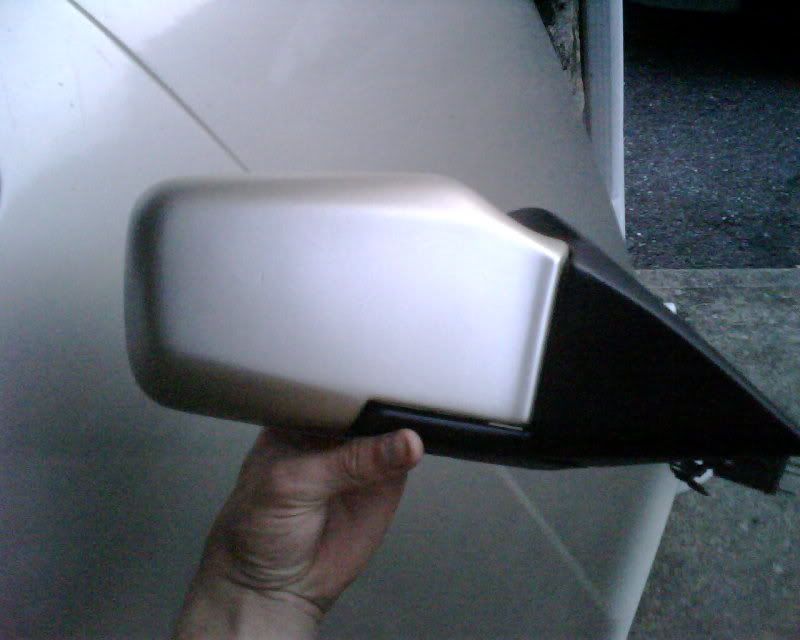
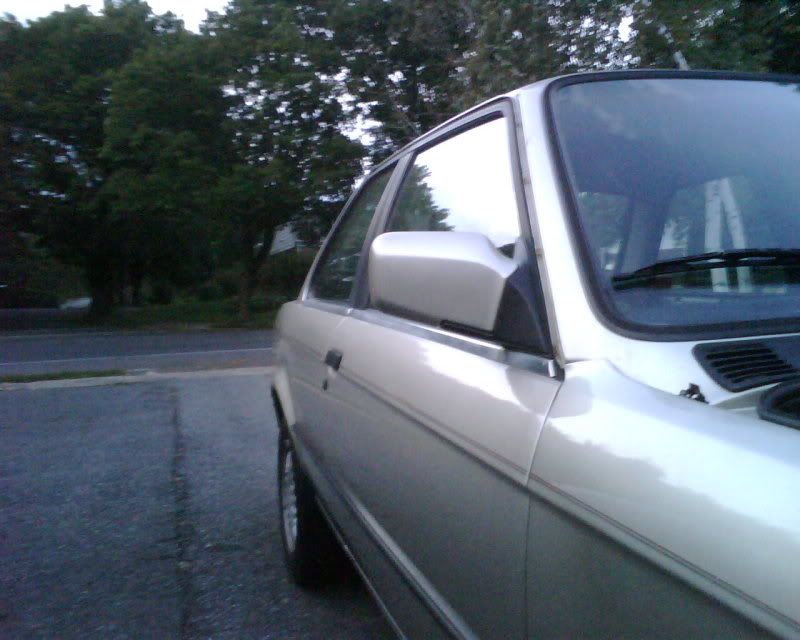
decided to do some more appearance touch-ups.
did the mirrors, i had put on a black pair weeks ago just to replace the very destroyed ones that were on the car. decided to try the 2 tone mirrors, still undecided on the look.
then i wanted to get some paint on the passenger side of my bay as i have always ated the primer destroying the flow.
full shots
it was actually very nice to watch the paint blend with the factory paint .. but it was also very aggrevating. once the first layer dried i started to not be able to see where i had painted and where was factory. i didnt paint all the way up to the headlight area and i didnt paint to the firewall, but not even i can tell; where i was respraying so i wasnt worried about it.
-----------------------------------------------------------------------
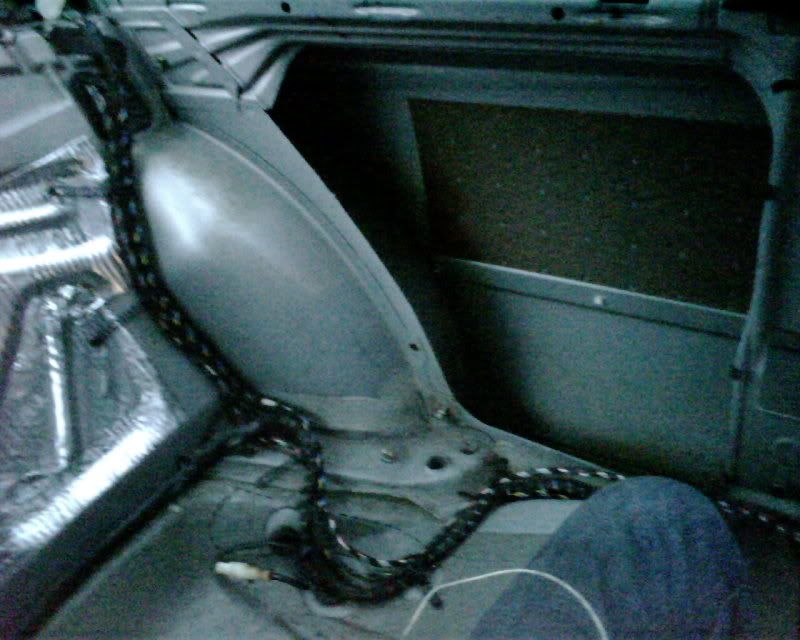
got a couple small things done today. spent most of the day messiong with the rear bumper shock, the shock itself and the mount to the bumper core were firmly rusted together
i cleaned up the rear left side where that corner was cut out of the bay.
also changed the coolant level sensor. and just as i figured it was bad. new one worked perfect and the check panel light went off as it should
washer fluid light is on because i havnt taken the time to fab a new container that mounts below the bay rather then on top next to the motor.
once thats done then it is confirmed my wiring harness fully supports all check panel functions
Member
-----------------------------------------------------------------------
figured out my exhaust setup for now.
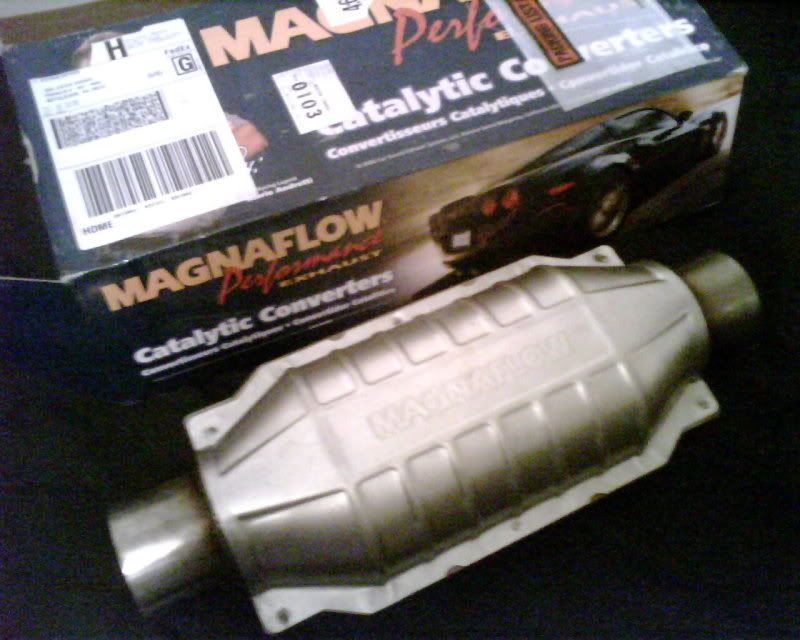
SS headers(wrapped) - Magnaflow Y pipe - Magnaflow cat - borla muffler - ebay muffler
all the 24v guys seem to have issies with rasp on the ss headers because of the thin walls. header wrap helps that some. other issue everyone was having was the exchaust bieng LOUD. which i can full understand considering how loud this thing is with open headers. couple people have run dual mufflers and got a nice sound, which is what im looking for. the loud "powerful" exhaust sound is great for a little bit but i want something that is low when regular driving and screams when you get on the gas. will be replacing the ebay muffler with a Magnaflow soon. but currently i just want the car driving.
this is all i have right now. Borla and the Magnaflow cat should be here any day now.
rest should be here soon.
im stil buying suspension/DD wheels and some last interior bits for the winter. so the car still hasnt been lowered or had any wheels put on it yet :thumbdwn: .. might have to daily this with stock suspension for the winter:
-----------------------------------------------------------------------
recieved the cat today.
magnaflow is very bad at using the correct 2.5" pipes. the Y pipe is 2 5/8 id and the cat is a little biger then that. its all gonna be wonderful to weld
-----------------------------------------------------------------------
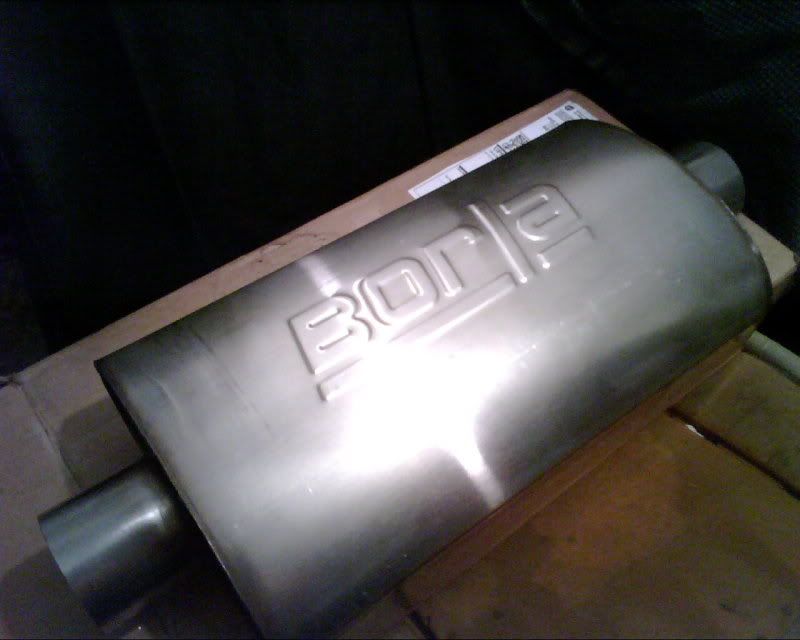
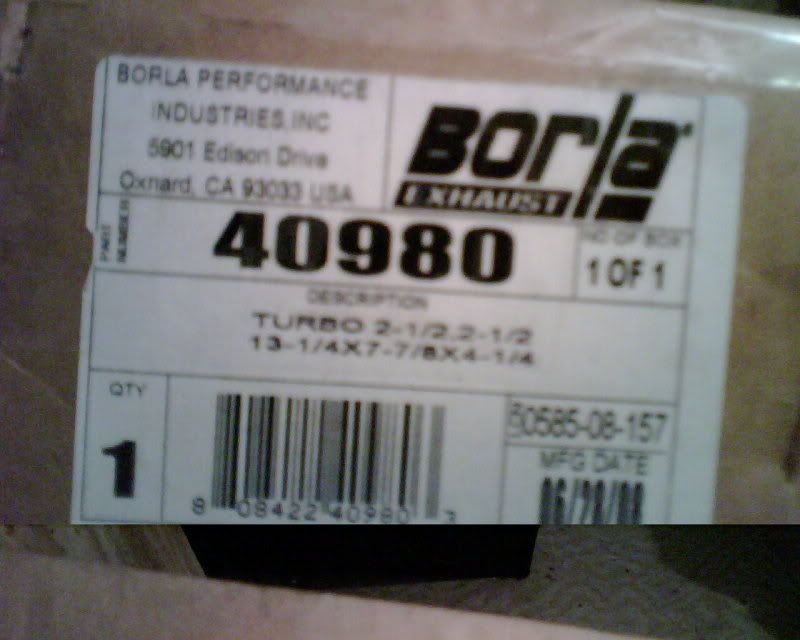
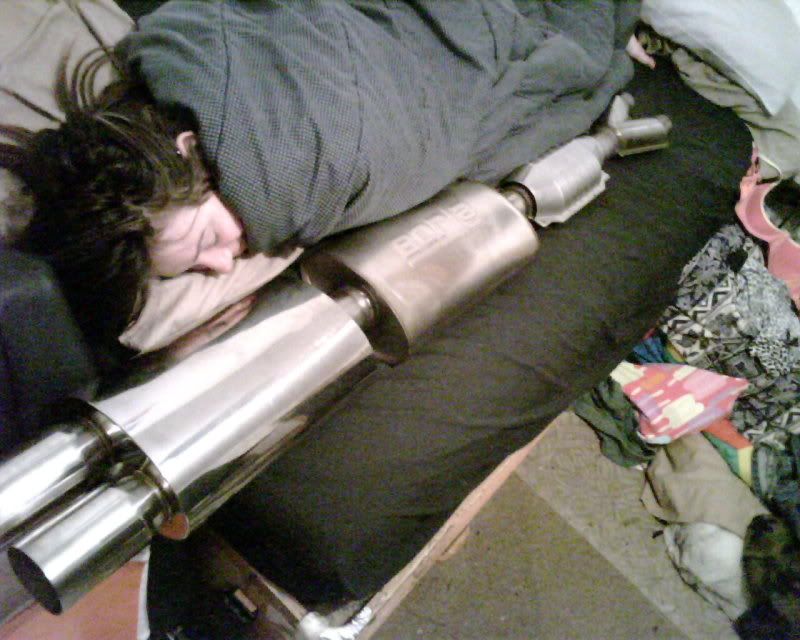
Borla came today.
my exhaust in a nutshell (gf wouldnt move):
should sound nice once i get it on
-----------------------------------------------------------------------
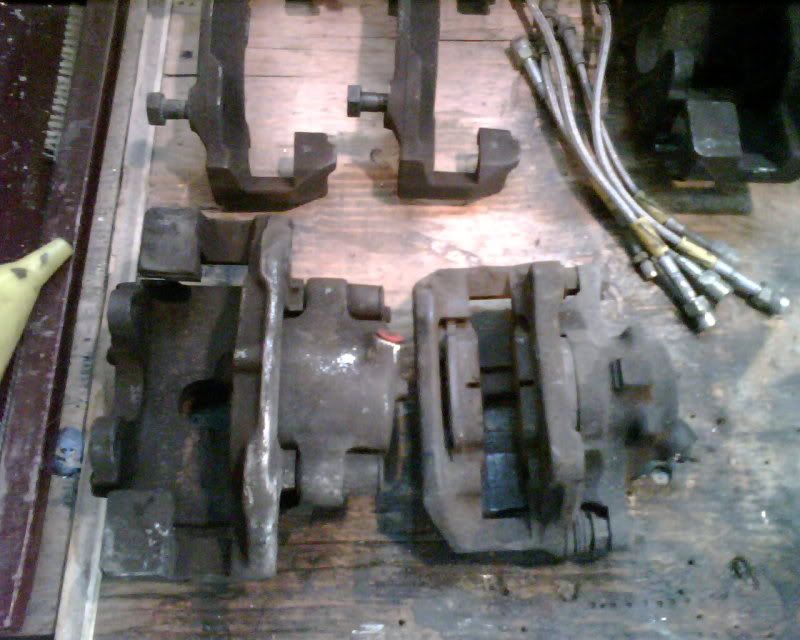
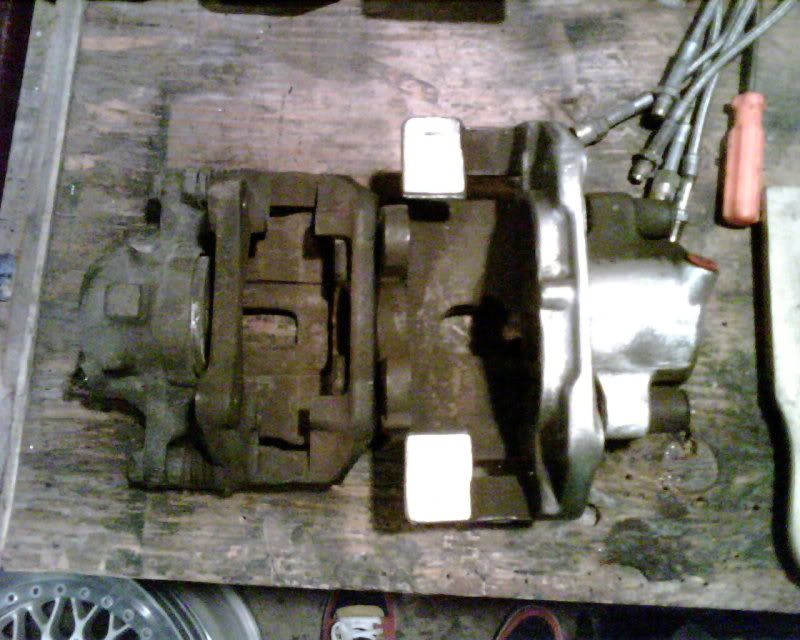
new rear brakes vs stock e30 front brake .. i didnt have a stock rear brake here to compare to
pic after some polishing.
need get a sand blaster to finish it and do the rest. it took me nearly an hour of trying different chemicals and i just ended up sanding it down. the dirt and grim is just too thick to even be removed with anything else. normally i wouldnt mind but my new suspension and brakes are all going to be brand new or rebuilt with the exception of a few small parts.
-----------------------------------------------------------------------
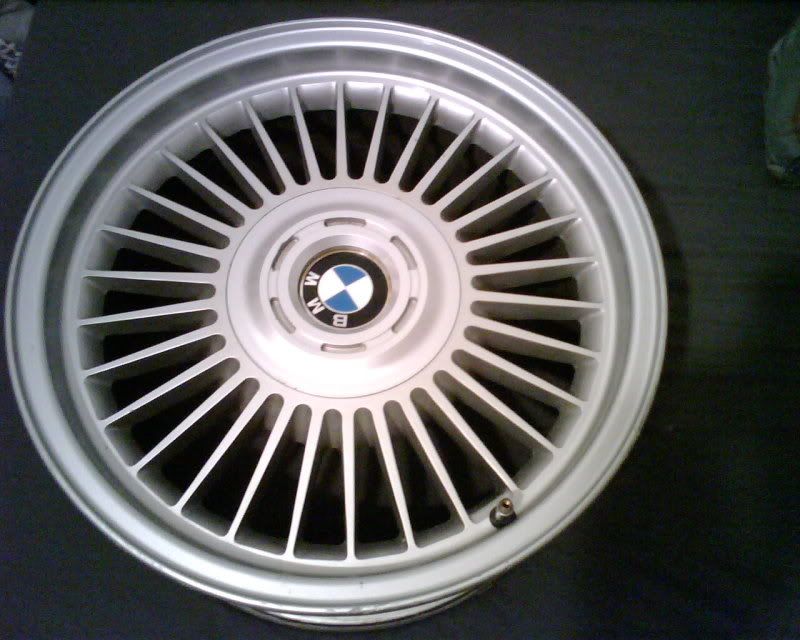
16x8 BBS style 4's
w/ cap
w/o cap
didnt clean it, but its still pretty nice. im still on the fence about whch i like better. with or without the caps
$100 picked up for all 4 in the same condition exceot for the one, which has about 2 inches of curb rash on the one lip. easily fixable. paint is very chipped on the lips, the guy must have been moving them around without putting padding down between them or on the floor. :thumbdwn:
-----------------------------------------------------------------------
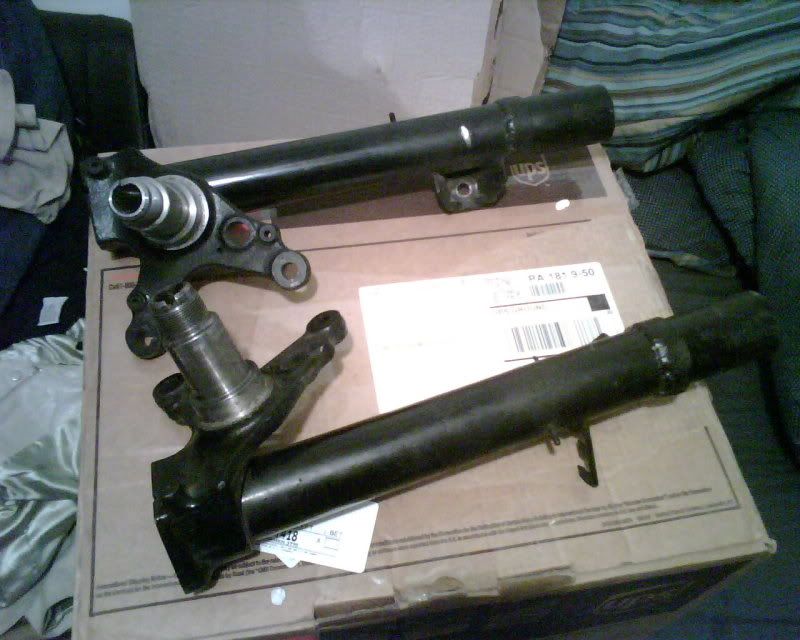
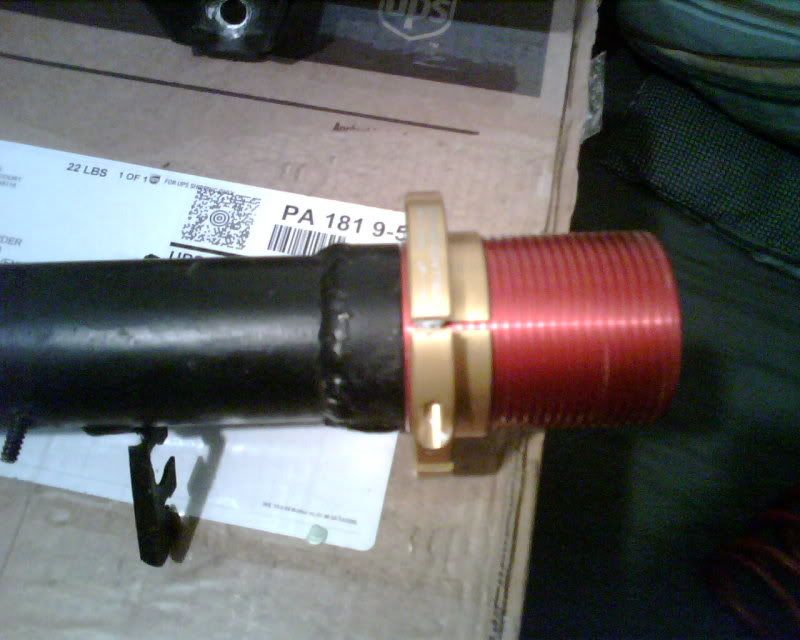
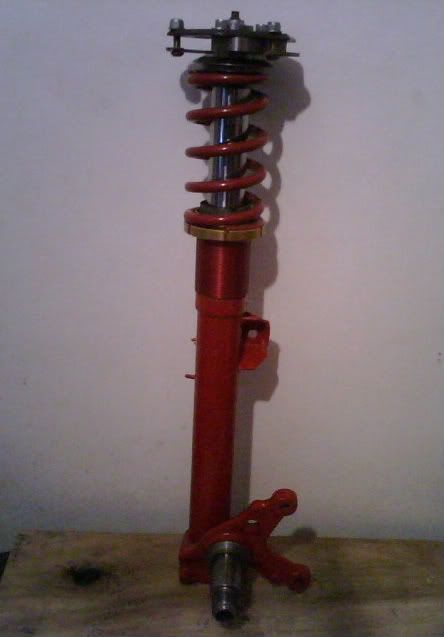
e30 M3 strut housings arrived from AST today. stock perches are cut off, new perches were welded on, re-inforced sway bar mount.
sleeves fit perfect
the new collar is the same size as the GC sleeves. the adjuster can go lower then the bottom of the sleeve, in case i feel the need to go a half inch lower then a stock location could.
cost a pretty penny but they are in very good condition and modified as i needed. 0 rust anywhere. gonna wet sand them and get them all painted up before putting them on the car. will poat more pics of them when im done with that.
-----------------------------------------------------------------------
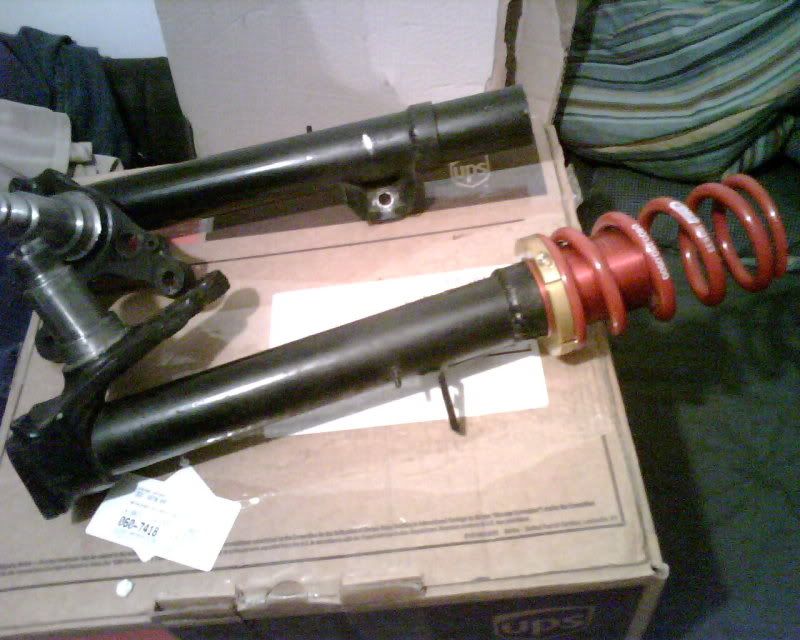
refinished one housing
[/QUOTE]
[QUOTE=fcsteve;4648149]
got the other housing done
Member
-----------------------------------------------------------------------
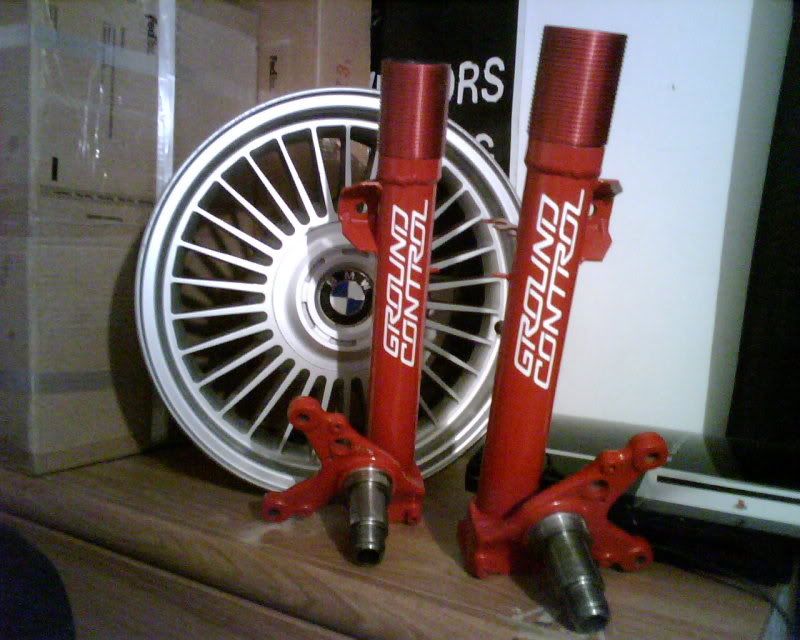
last touch on the strut housings
little sticker action coming soon
this is how you do stickers .. without them bieng rice.
-----------------------------------------------------------------------
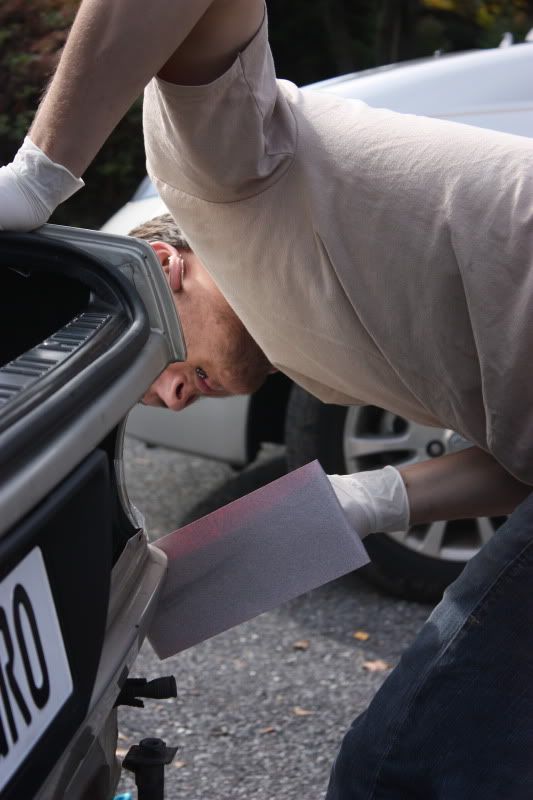
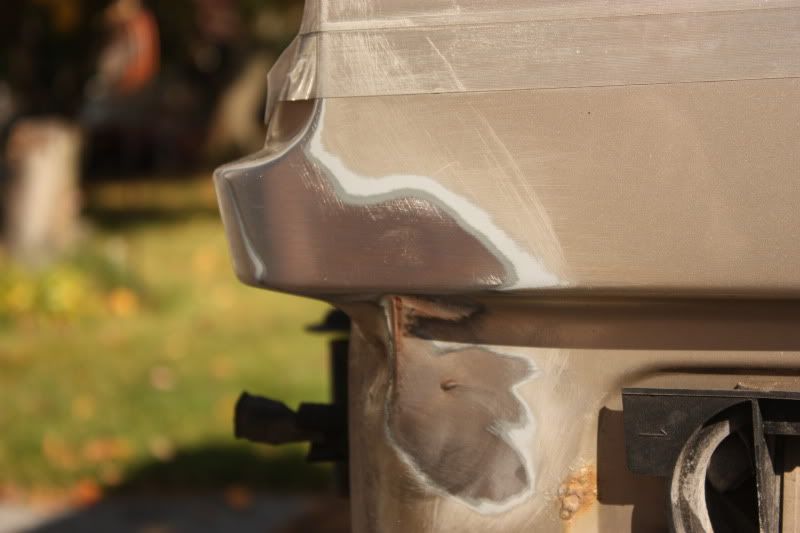
rust repair
all gone (dont mind the little rust bubbles next to the vent)
most of this will be replaced with rust free parts
some random photo's she took
and finally a non-cell phone pic of my car
my whole drivers side high beam housing seems to sit crooked, i will see if i can fix that eventually, never really noticed it THAT bad in person
-----------------------------------------------------------------------
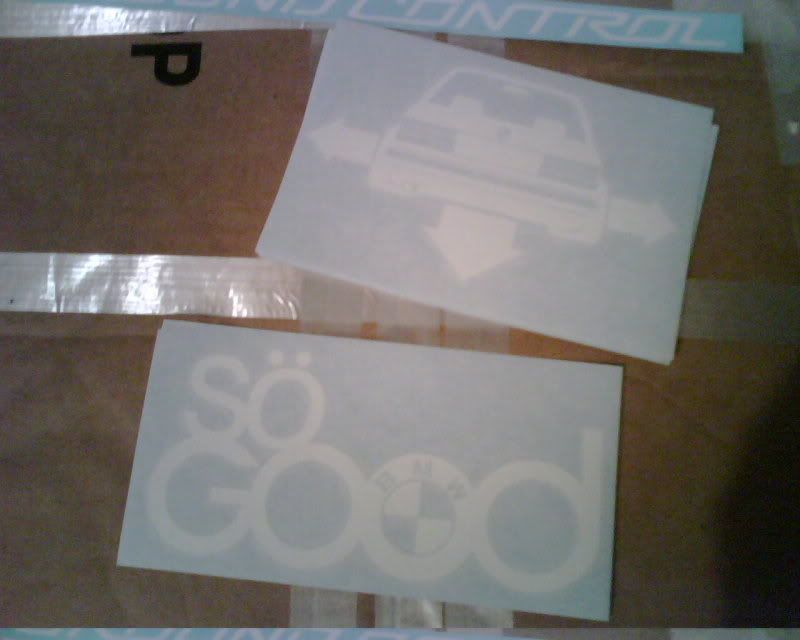
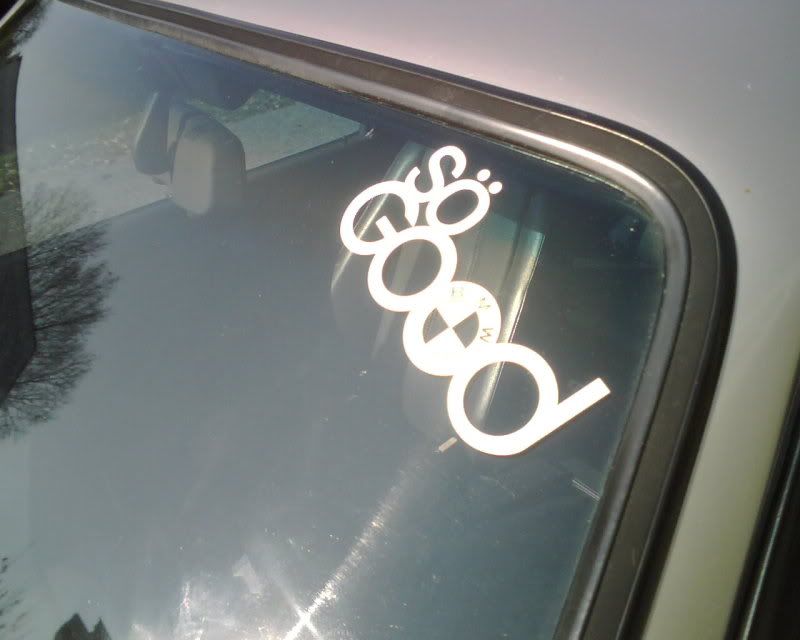
got the sticker on in the exact spot i wanted it
i got a couple more different ones but to keep anyone from getting the exact same stickers i will not share what they ar till thay arrive and are on my car.
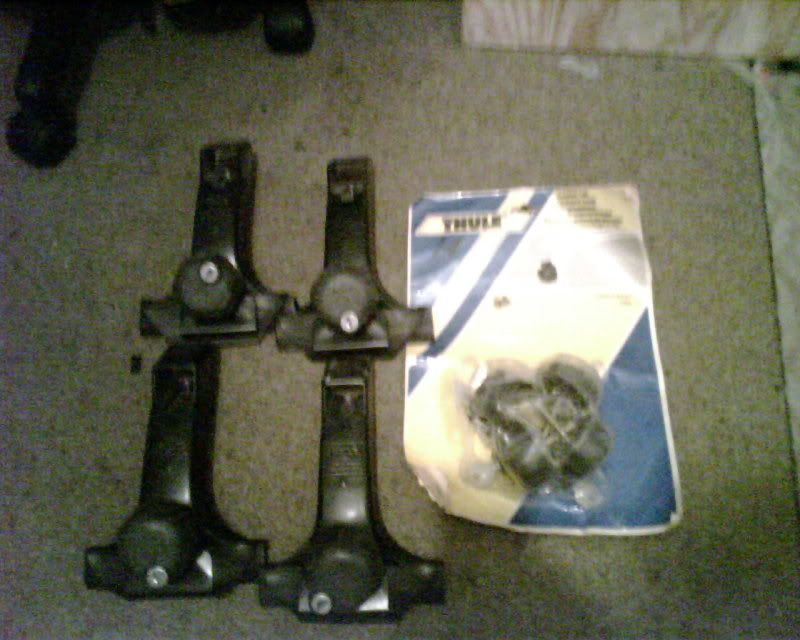
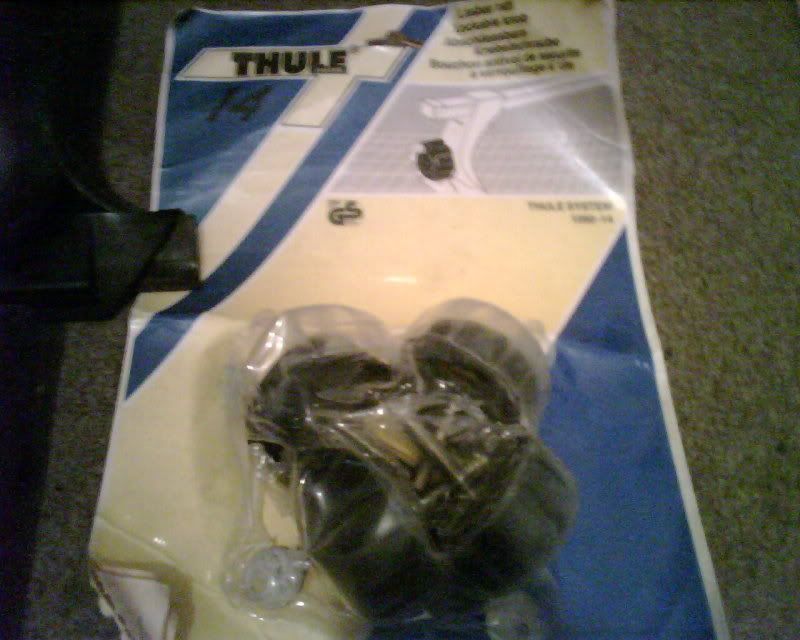
well i believe i said it before but in case i didnt. i had to return the old rack for a full refund. the bars were flexed, paint was terrible, 1 of the feet didnt match, no keys and was missing one knob. was just an all around bad rack. started recieving some of my parts for the new rack today.
4 matching 1050 feet and Brand New thule knobs with locks and keys(NLA)
-----------------------------------------------------------------------
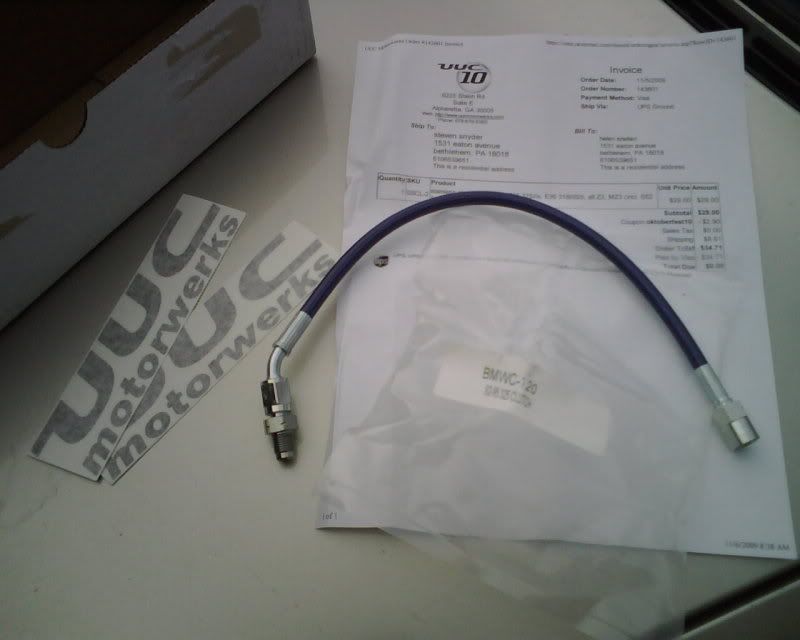
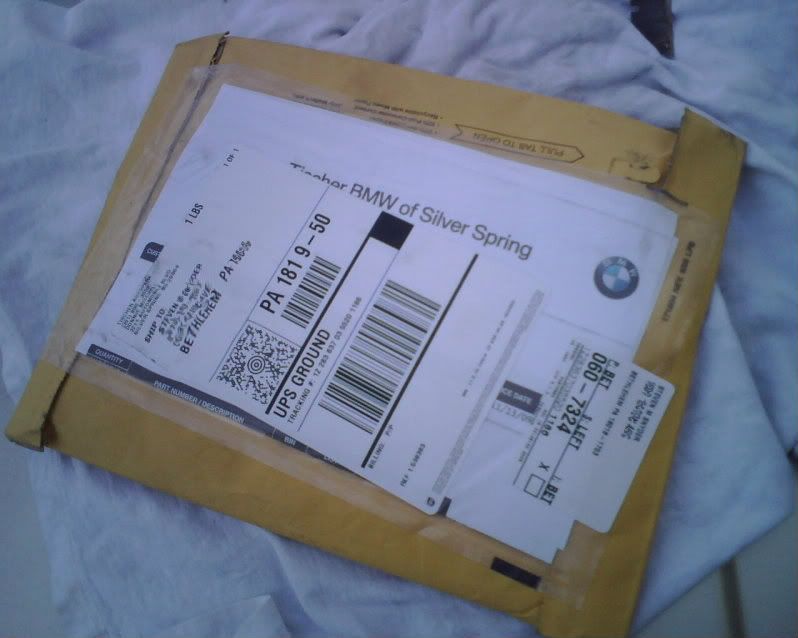
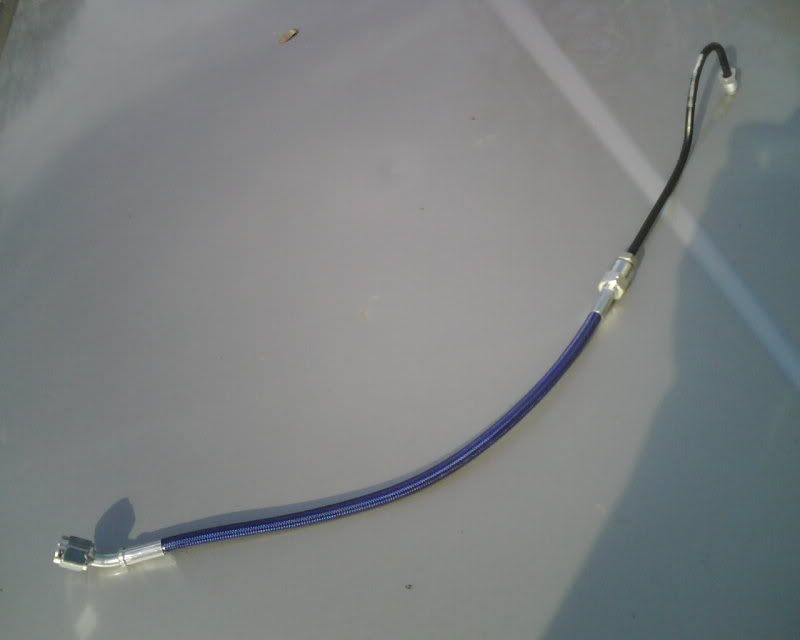
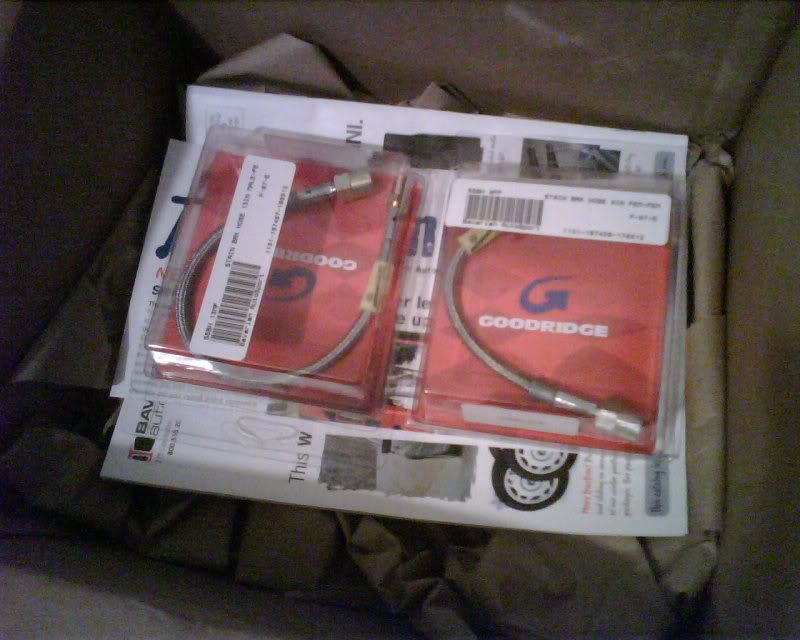
UUC ss line came today, still waiting on the hard line from Tischer
-----------------------------------------------------------------------
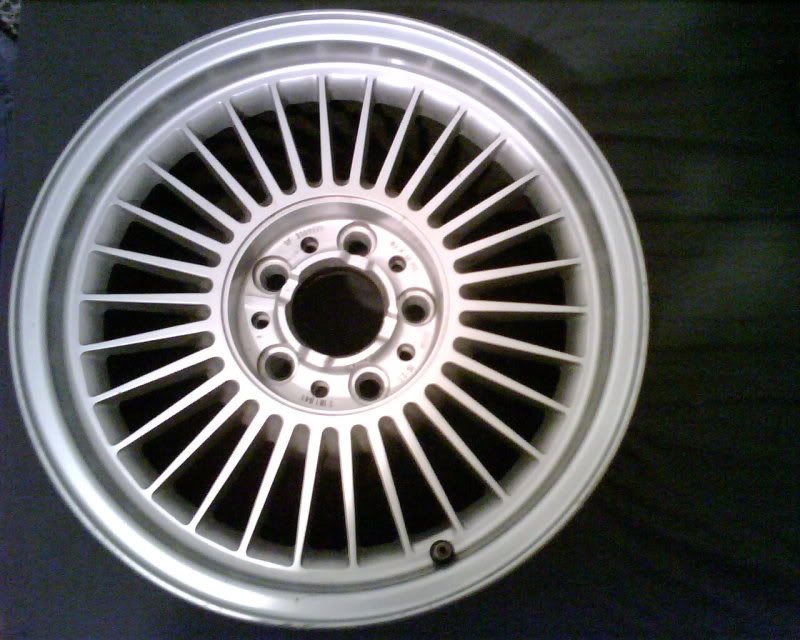
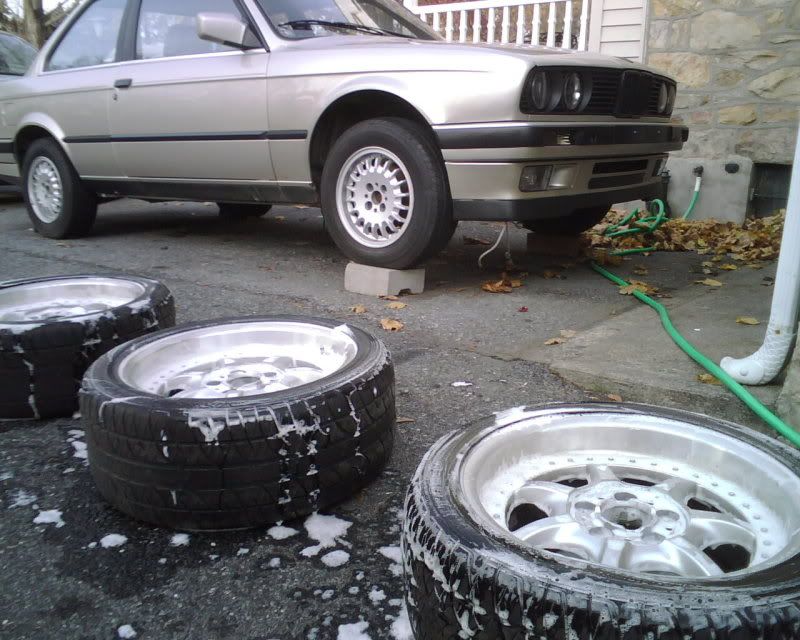
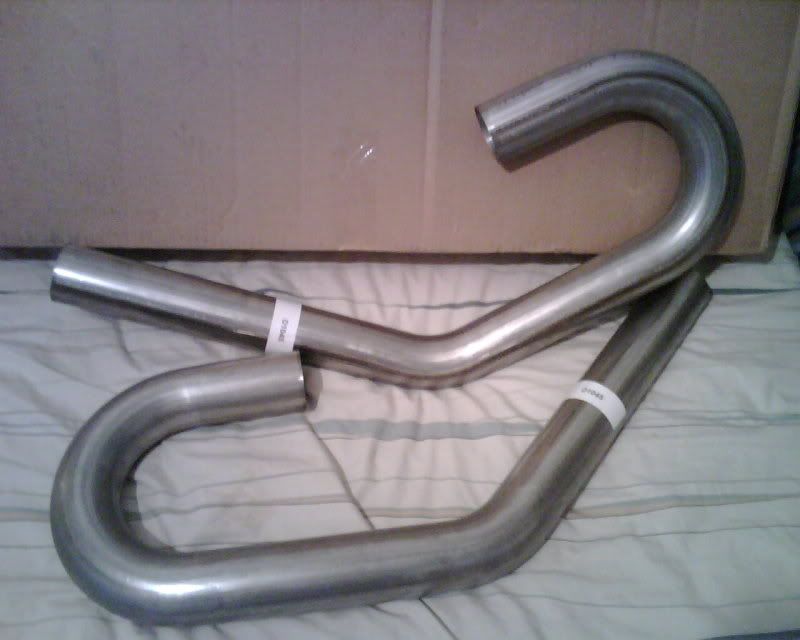
cleaned the other 3 style 19's.
UPS came
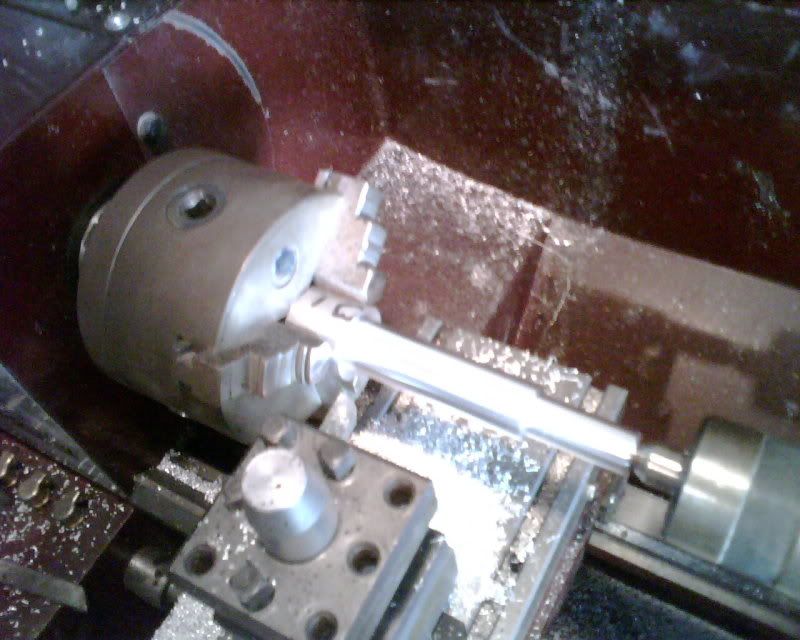
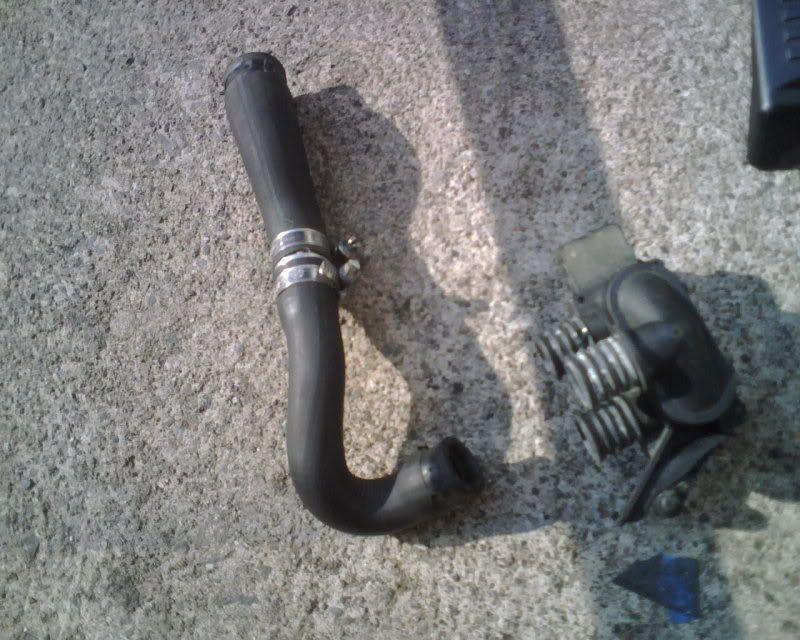
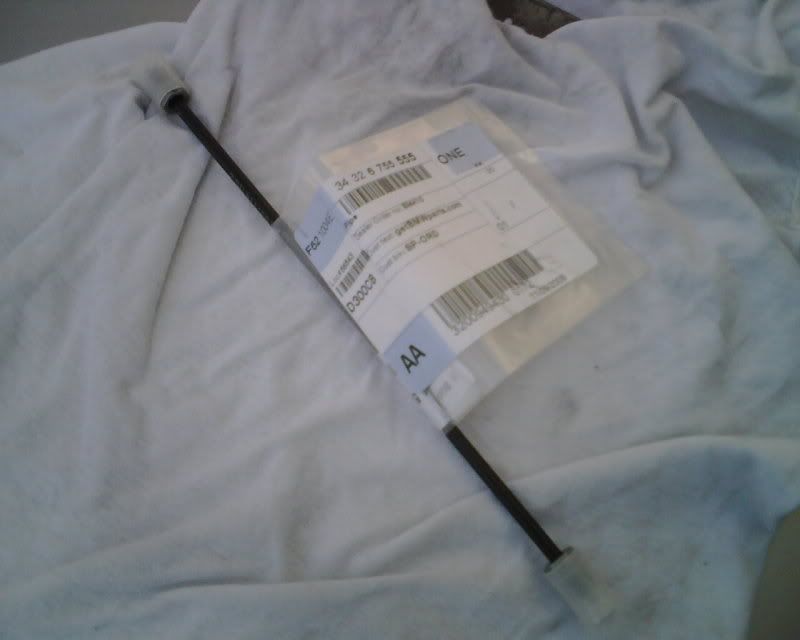
i guess it was too much to assume that the dealer sent pre-bent tubing. why have part numbers when they send you just te straight piece ??
i used the knobs on my lathe to bend it just how i needed it
so the clutch lines are all done and installed.
i was klooking at picturs of my car and finally it got on my nerves that the mirror wasnt painted. so i started that last night with sanding and primer. panted the semi black
will post pics when its done later today.
-----------------------------------------------------------------------
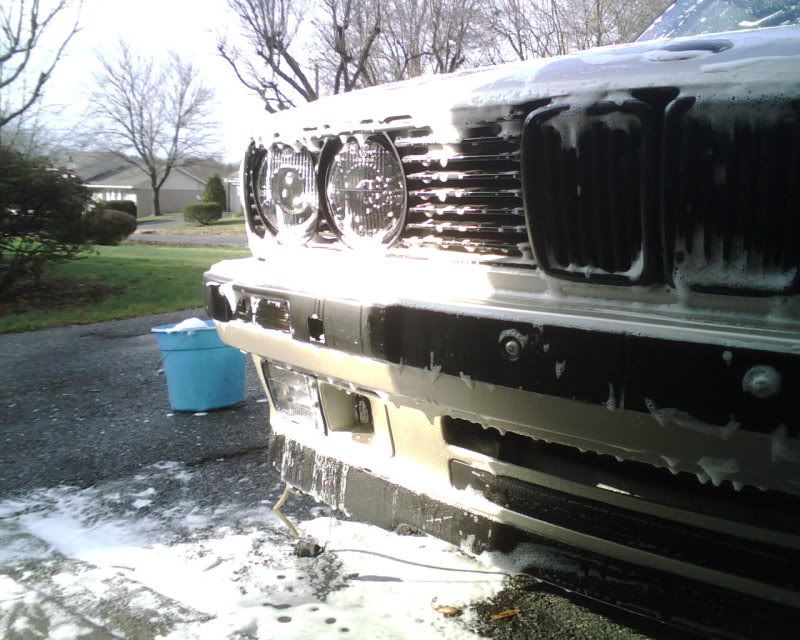
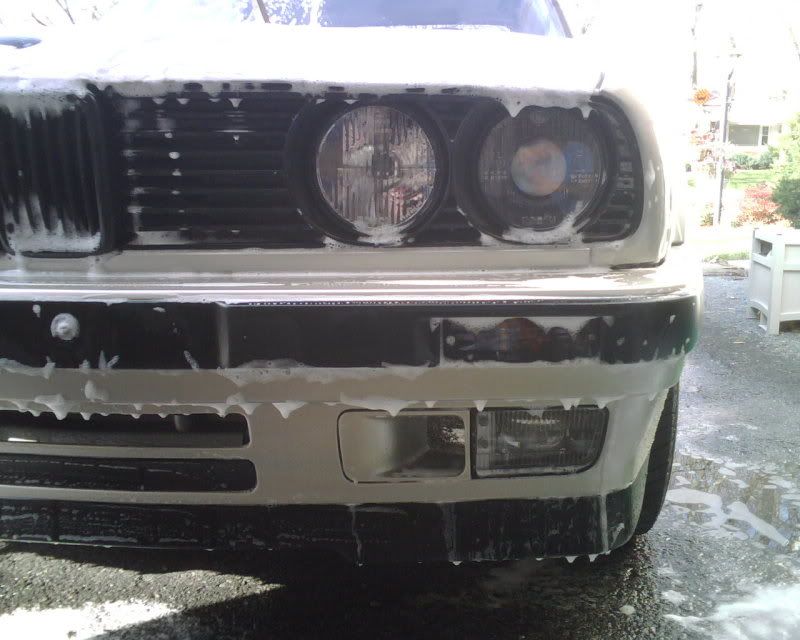
well no real updates other then me painting the drivers mirror. so here are some pics during a wash
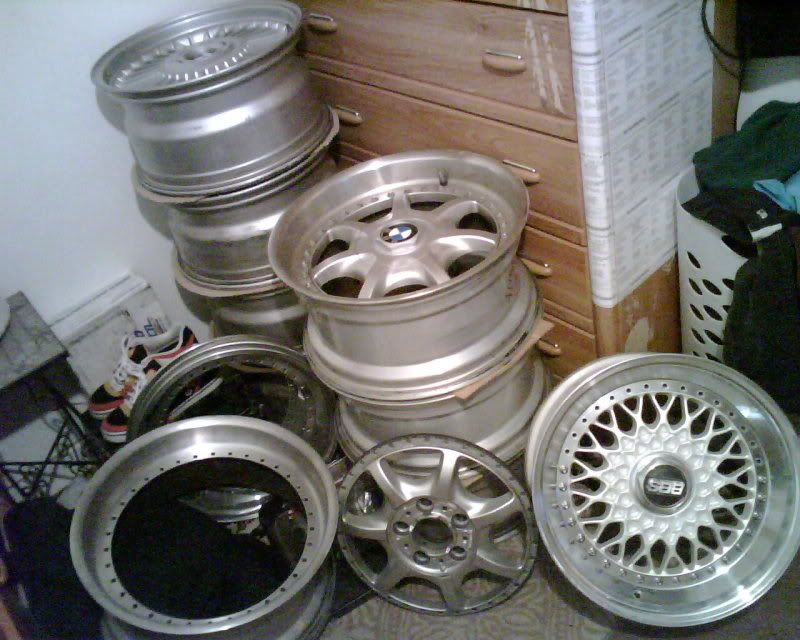
and the wheels cluttering up my room.
they are all such different style wheels. i like the variety platter
-----------------------------------------------------------------------
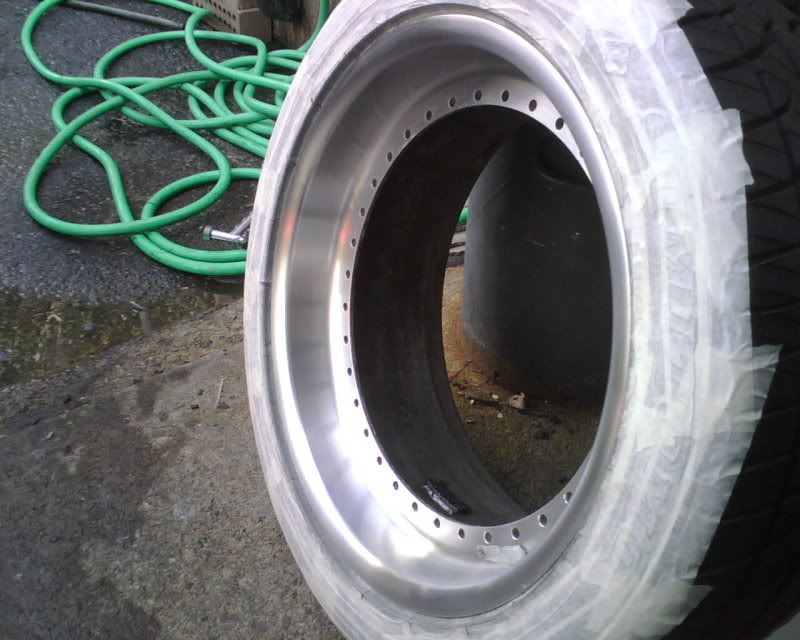
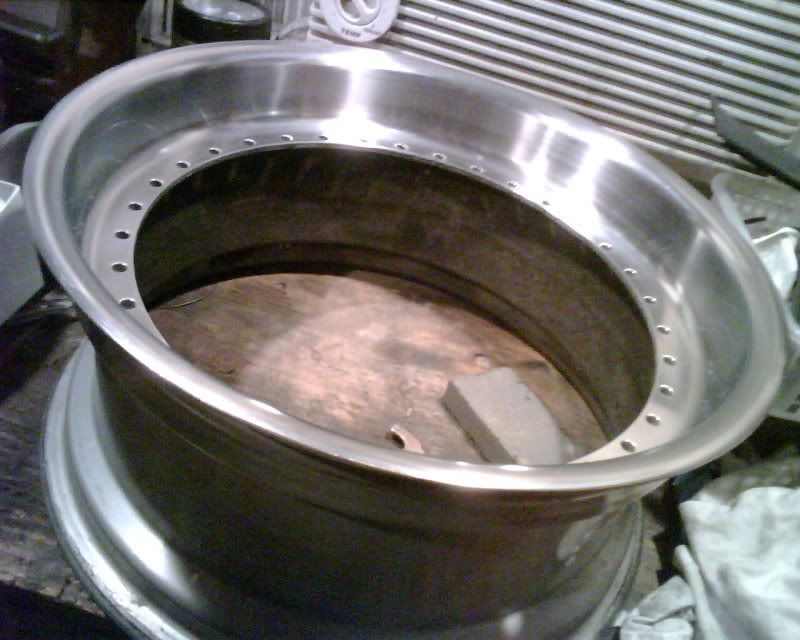
was out in the shop watching tv and figured id do some more sanding on the style 19 lip. was suprising how shiney it got so quickly. its all been by hand sanding so far. still havnt bought the buffer/polisher to get them to a mirror shine yet
good buffer and compound should have it show shine in no time. of course thats only 1 of 8 lips i have to do :thumbdwn:
Y U No Have e30?
Looks really nice. Excellent work.
Try BidSnipe for that eBay item next time.
Remember: Your life can be extinguished in ONE stupid moment. No one is invincible....
Member
-----------------------------------------------------------------------
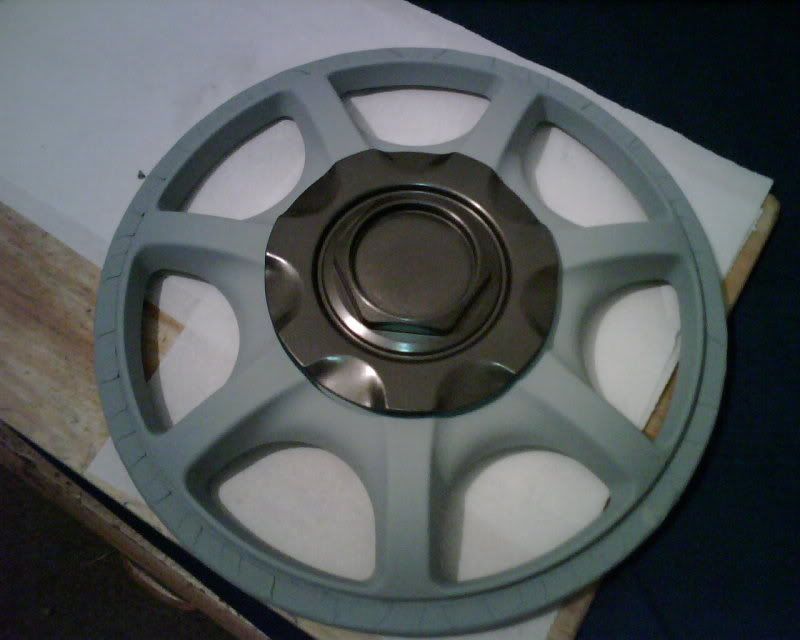
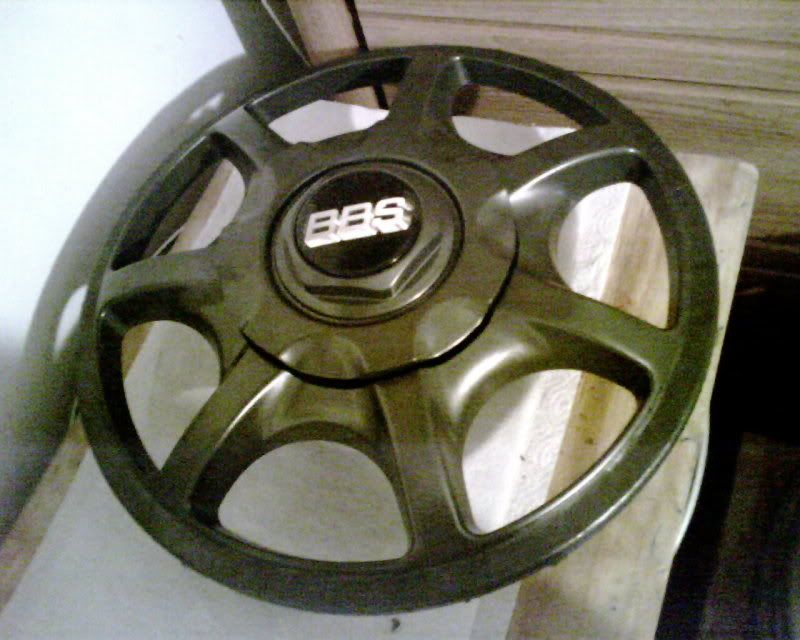
nothing good today. just some wheel painting
will be getting new chrome center caps. that black one is one that came with my RS's. the black looks too out of place IMO.
-----------------------------------------------------------------------
nothing good today. just some wheel painting
will be getting new chrome center caps. that black one is one that came with my RS's. the black looks too out of place IMO.
-----------------------------------------------------------------------
one almost done
still needs the chrome center caps. im done with most of the bolts but dont have assembly sealant to put the wheel back together yet.
got the replacement welder today. didnt get a chance to test it. ive been feeling pretty ****ty all day. will test it tomorrow if i feel better
-----------------------------------------------------------------------
well .. this welder also doesnt work. seems they sent me back the exact one i sent them.
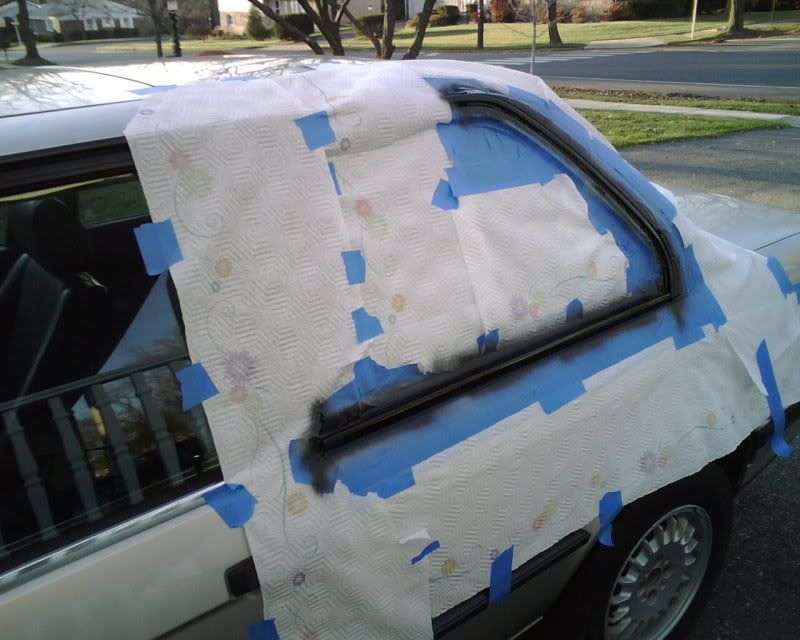
i shadowlined the rear window trim. only did that one section because i ran out of tape. flower paper towels anyone :gay:?
also finally clear coated the passenger mirror. plan to do the drivers tomorrow.
-----------------------------------------------------------------------
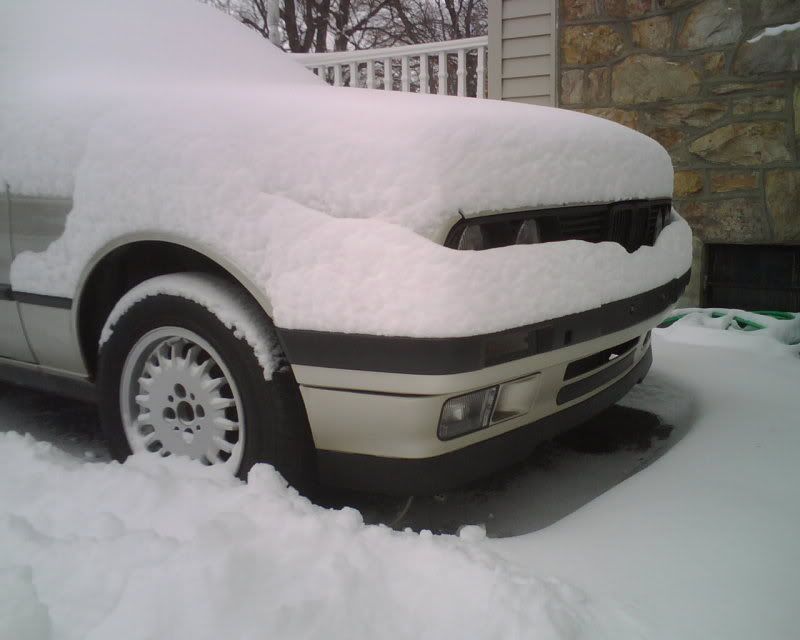
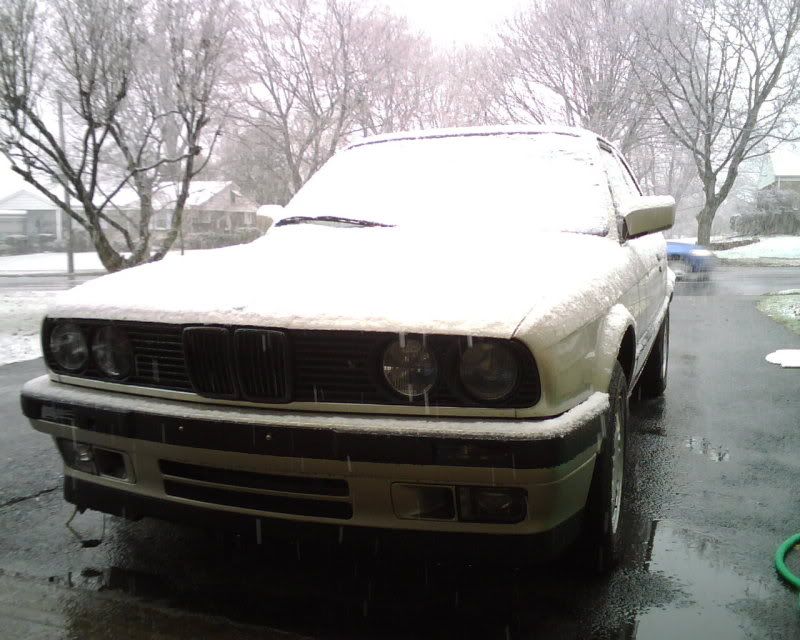
i had the flash on my BB on. little too bright but without it the front end was a black cave.
snow
-----------------------------------------------------------------------
i will
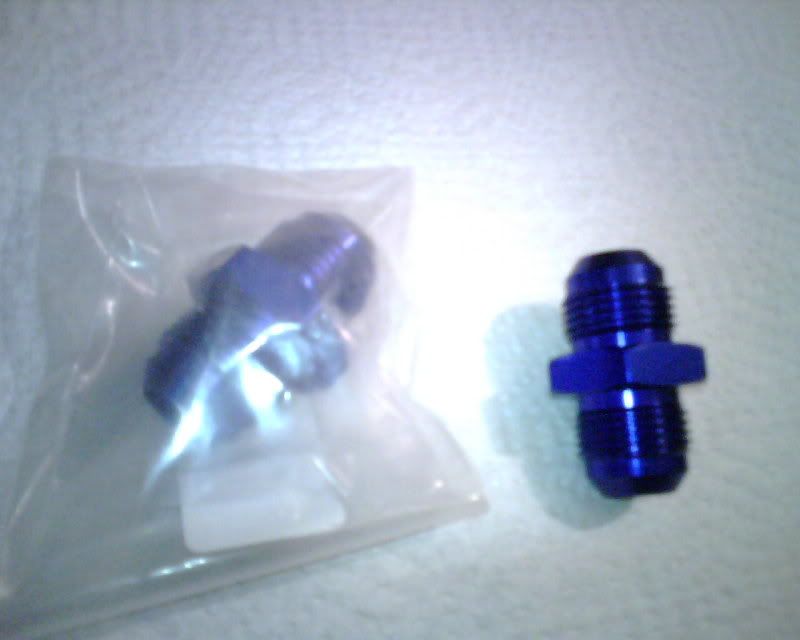
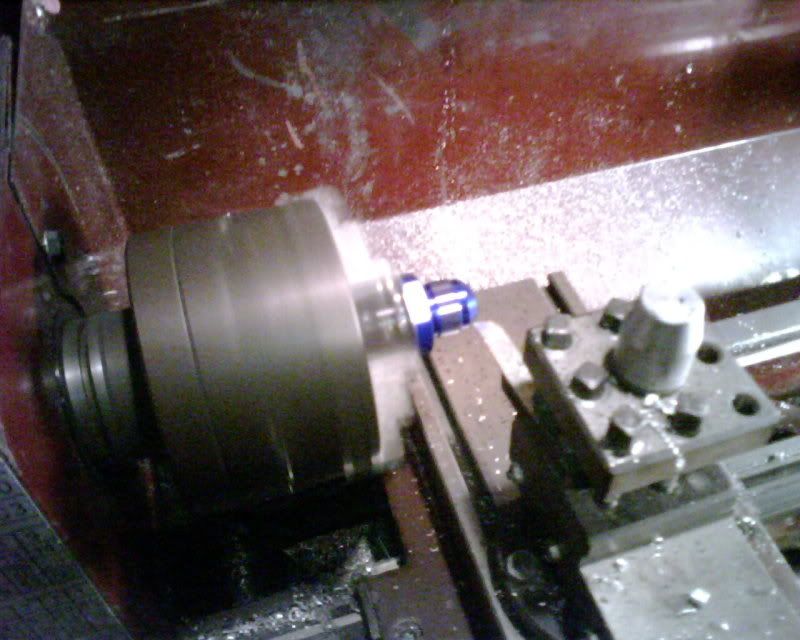
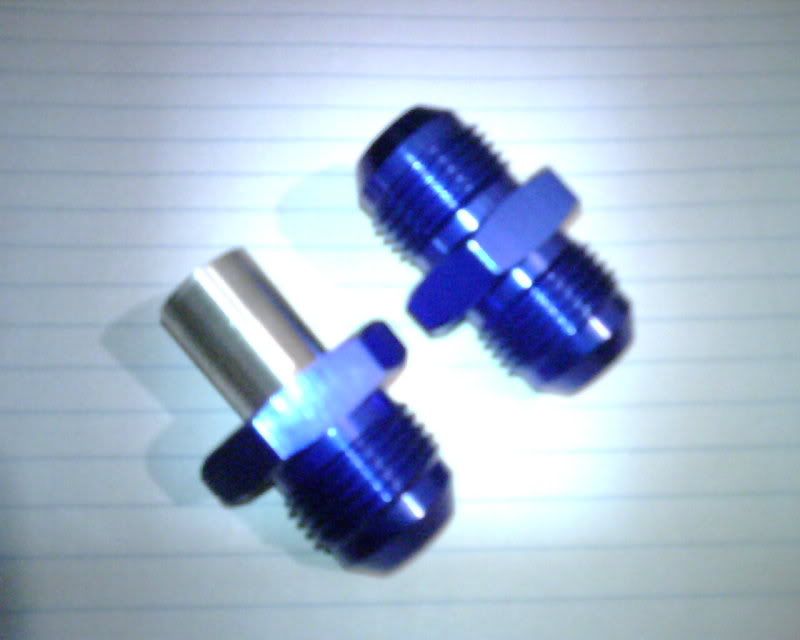
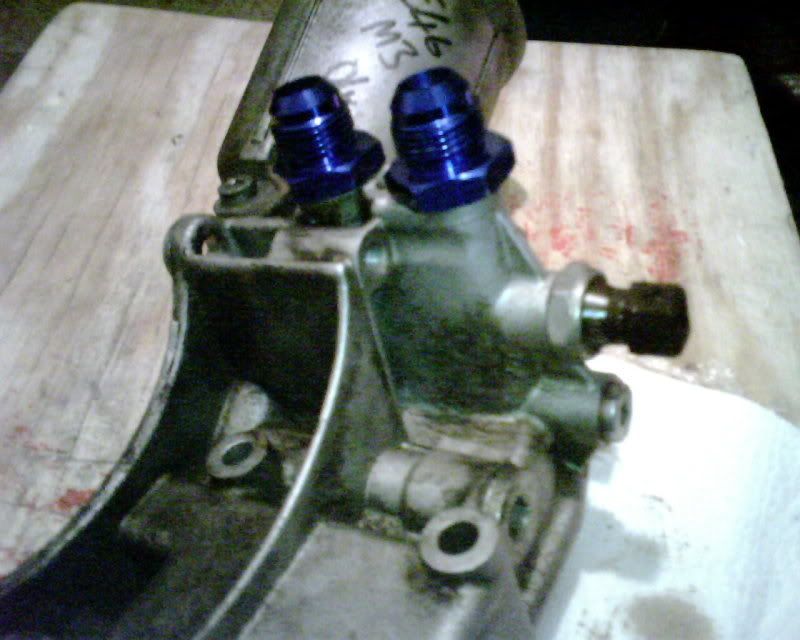
as i said in another thread. i didnt want to spend $70 for some euro oil filter housing conversion to -10 lines so i decided to machine them myself. here is what i have so far
bought these: $4.75 each from Summit
did a little bit of this
ended up with this (comparison)
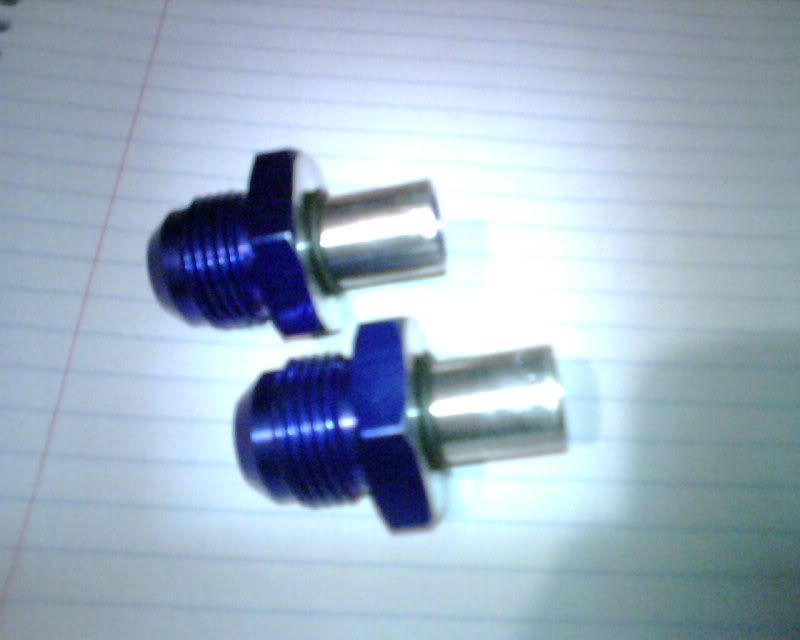
then finally these (uses the factory o-rings that the stock euro oil cooler uses (they came with the housing)
pretty perfect
still just need to machine the SS bracket and buy a bolt that will hold them firmly in place.
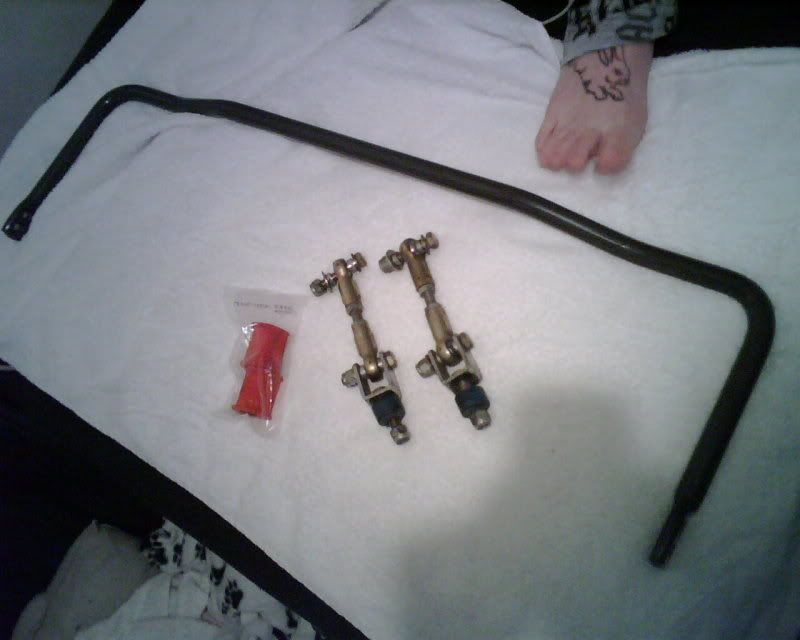
got this stuff in the mail today .. i just ordered it yesterday afternoon
ST 19mm rear sway bar, ST bushings and adjustable rear end links. and my girls foot
also got the Turner reinforced rear sway bar mounts but i forgot to put them in the picture.
since its been bitter cold i havnt been out at the car. i froze just trying to change the spark plugs on the e21 today. FTL :thumbdwn:
-----------------------------------------------------------------------
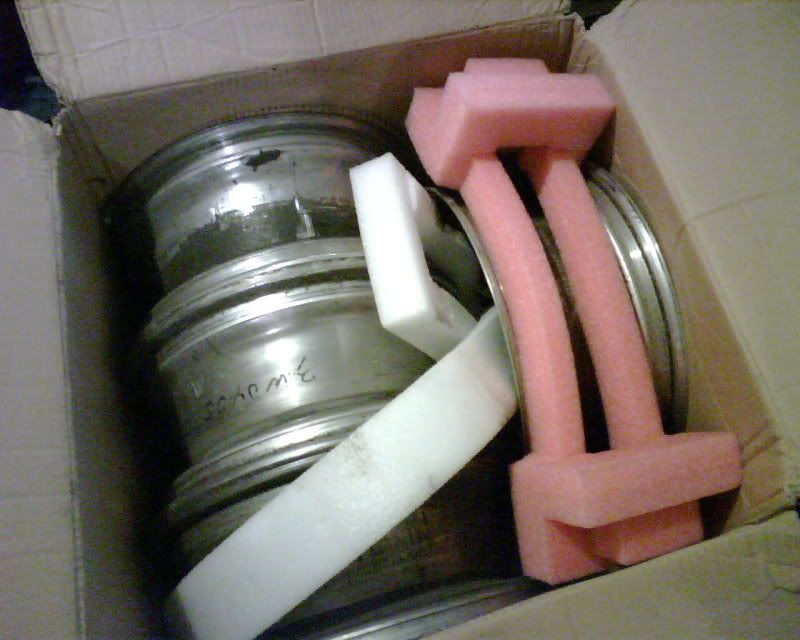
the WORST packaging i have ever seen. no protection anywhere other then on the side of the box marked TOP. why , of all places, would you put the padding on the top ?
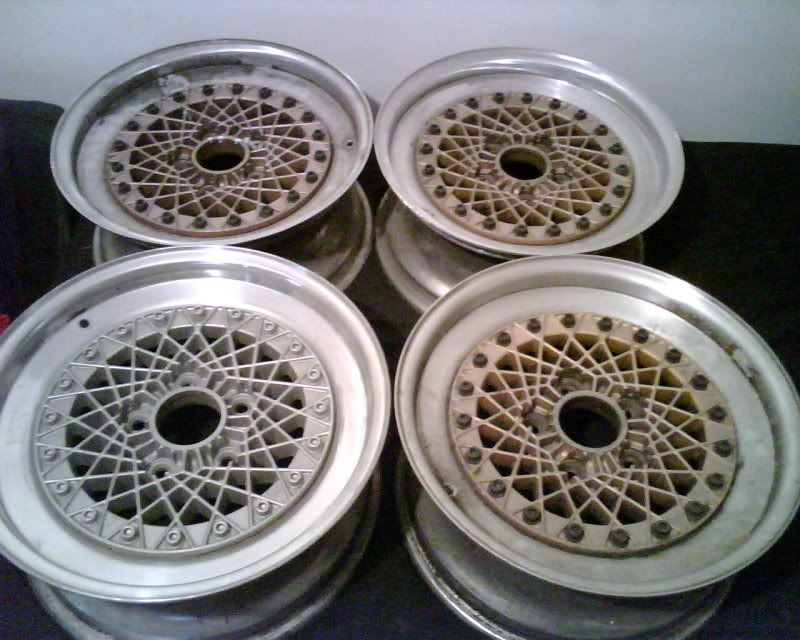
here they are :
the PO painted the one silver and refinished only that 1 lip :thumbdwn:
they are super rare 16" Epsilon mesh. genuine 3pc so i can get wider lips .. but nowhere makes lips or hs even heard of these so i have to have custom lips made for them. clause at felgen-garage said he can hook me up with lips for around $30 more then the lips for my RS's. not sure what colors im going with on these wheels
-----------------------------------------------------------------------
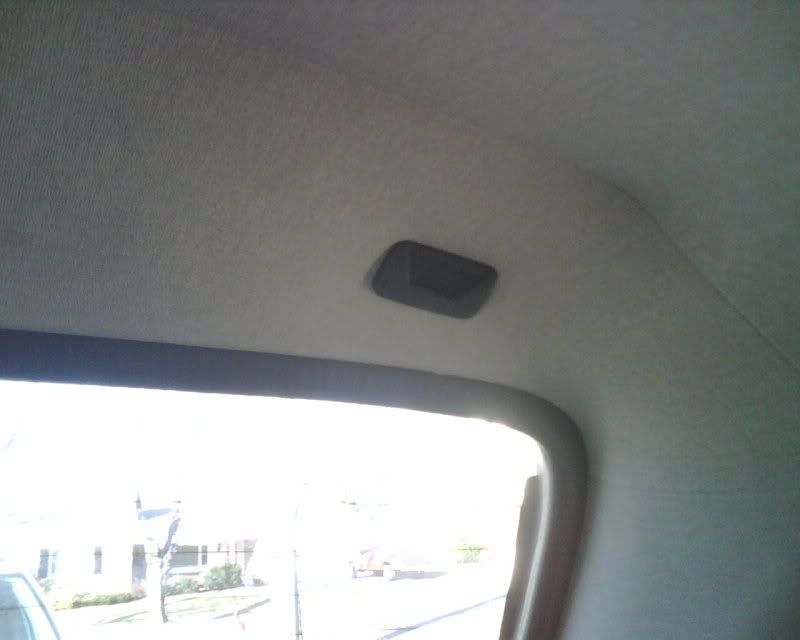
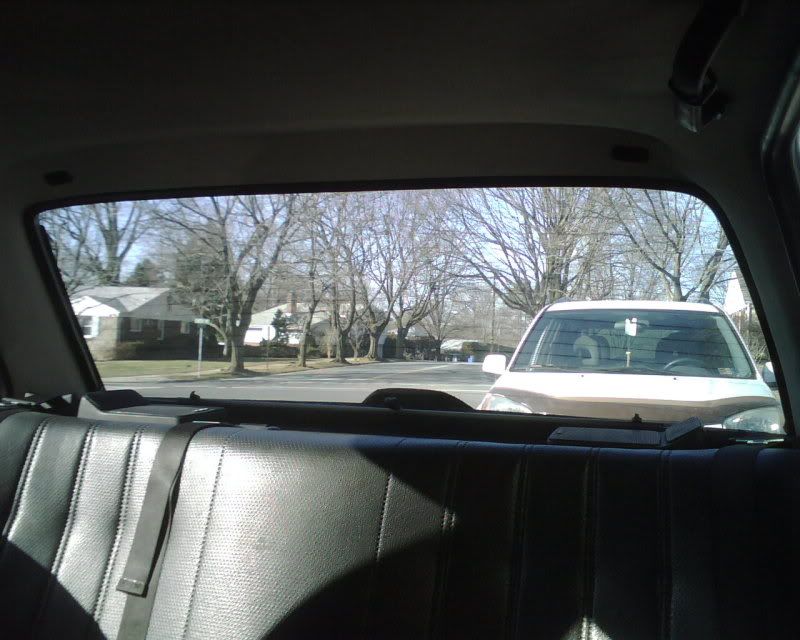
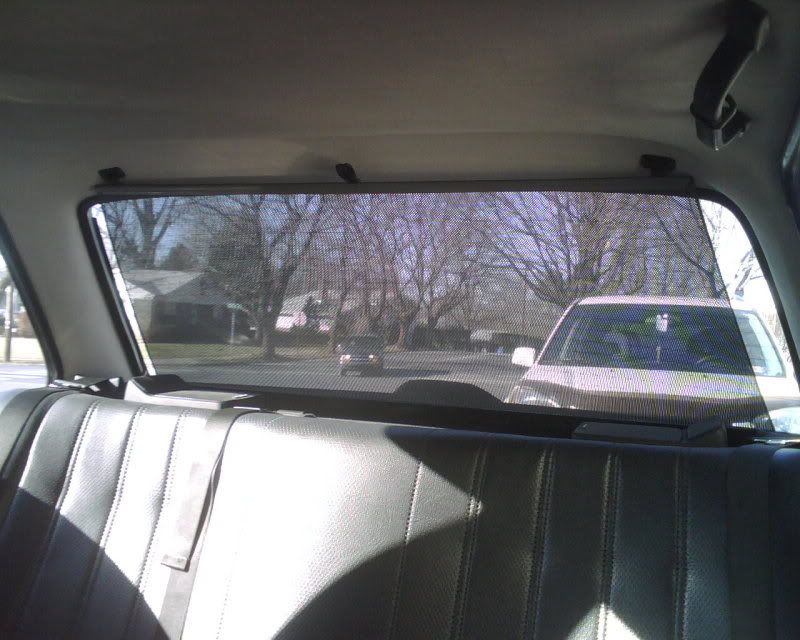
put the rear sunshade in today. only a one shot project so i was hoping nothing would go wrong. all went as planned, found the mounting points under the headliner, cut the slits and the clips went in perfect.
its alot harder to see in then it is to see out. mainly due to how darkl it is in the cabin compared to outside. all-in-all im pleased with it.
when more parts start arriving ill try to get more done
Member
-----------------------------------------------------------------------
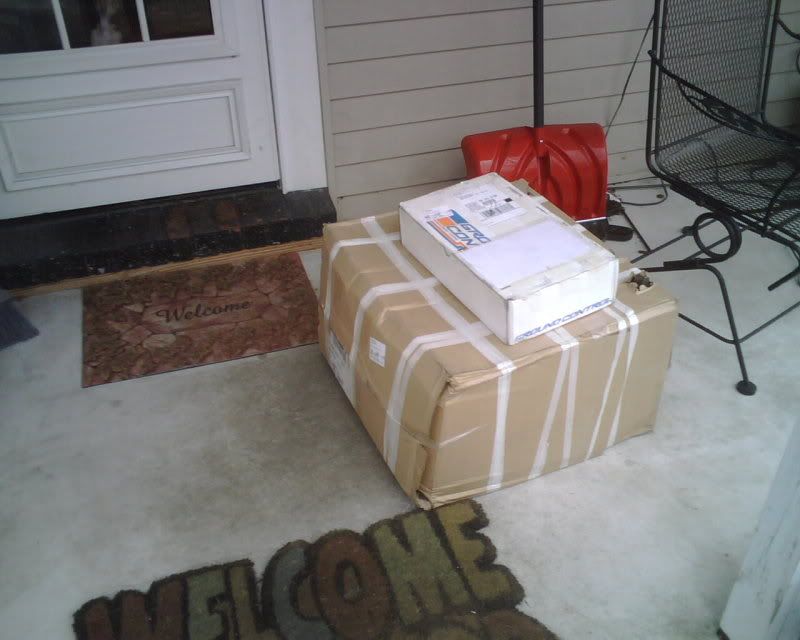
was at the yard today, no luck on a driveshaft. :thumbdwn: but when i got home there was 2 packages at my door.
smaller one was my new GC coilovers
bigger box was my new drivers seat bottom
new wheels and some parts from Turner are supposed to come tomorrow. hopefully my AKG and BAV orders will arrive too. new tires wont come till thursday.
-----------------------------------------------------------------------
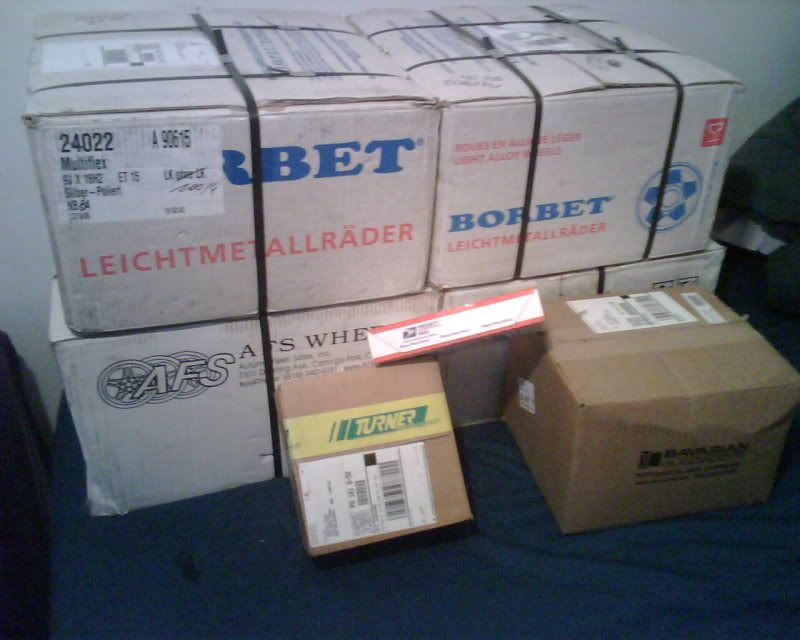
well some stuff arrived today.
Turner, AKG, BAVauto orders as well as my wheels came today. tires still dont come till tomorrow.
from Turner:
new exhaust stud kit and new exhaust gaskets.
from BAV:
the 2 brake lines i needed as one of mine was lost and the other was stripped.
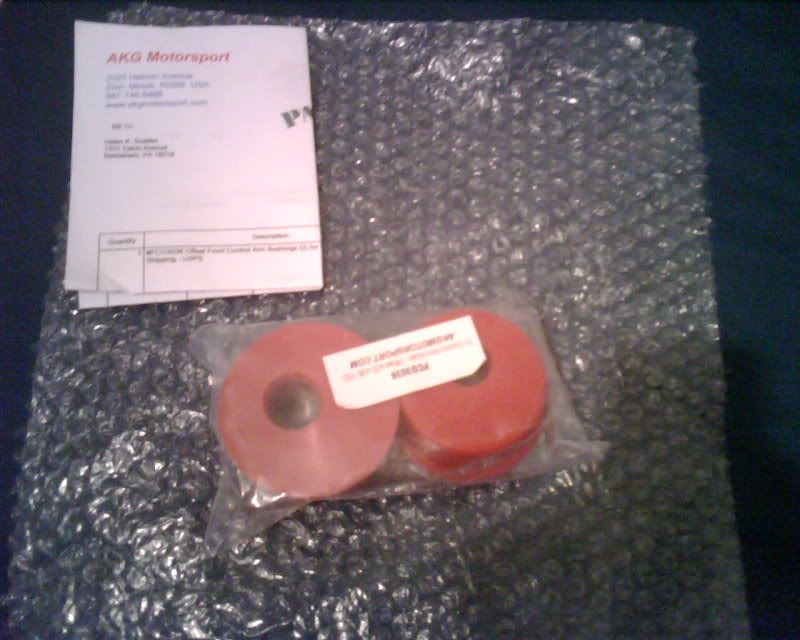
from AKG:
75D offset CABs, i was happy with the bushings
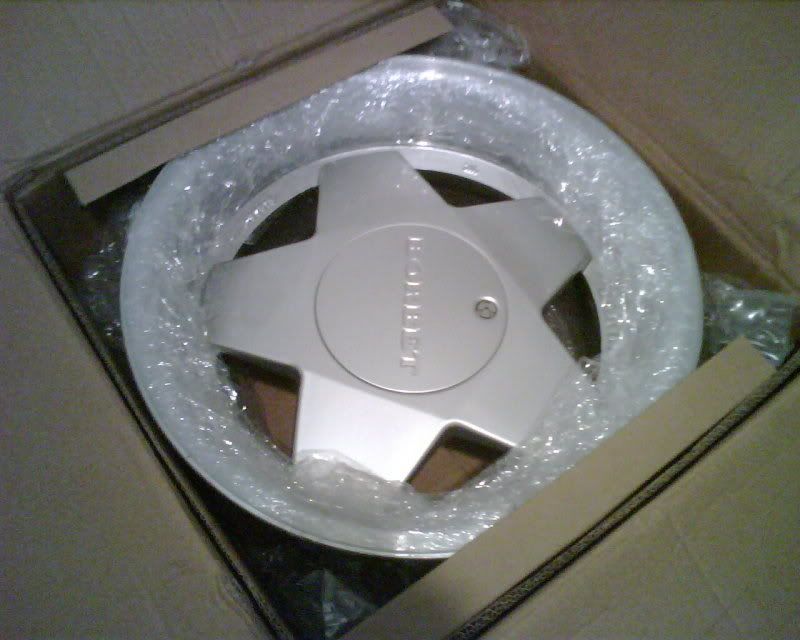
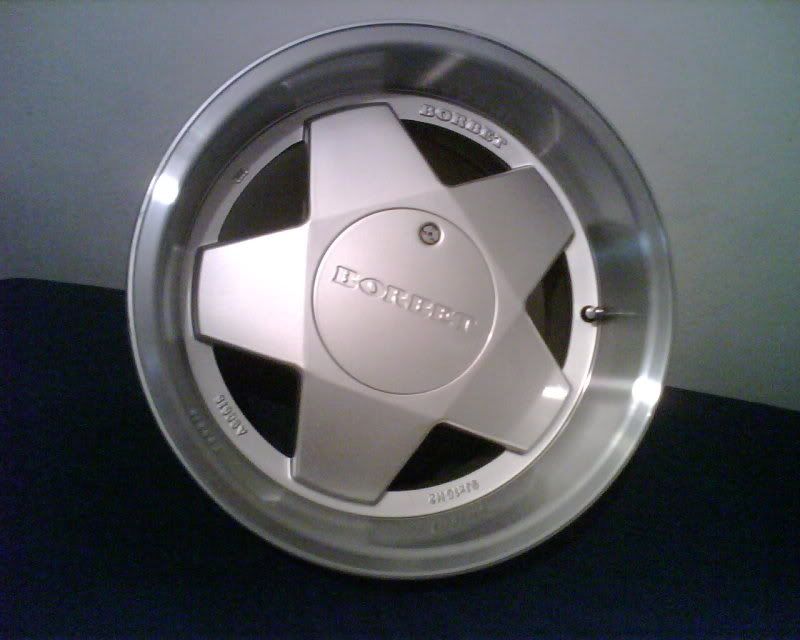
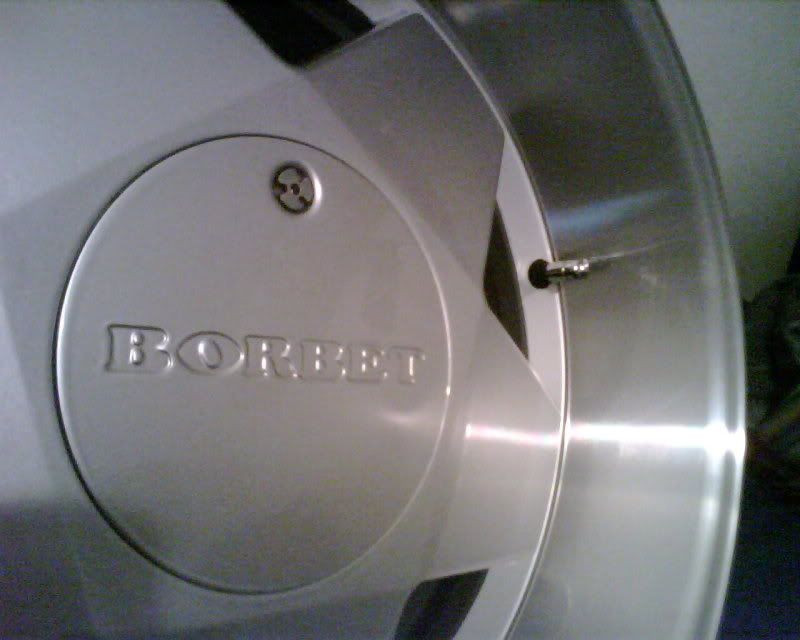
borbet type A, 16x9 et15 . none of that 16x7.5 girlyness. flat caps FTW
wheels came with the flat caps, original borbet hex caps, borbet cap tool, 3mm spacers for the fronts to clear, extended hex lugs, security lugs and hub rings.
day is pretty nice as far as it not bieng dead cold below freezing. but of course there is snow all around my car. FTL
-----------------------------------------------------------------------
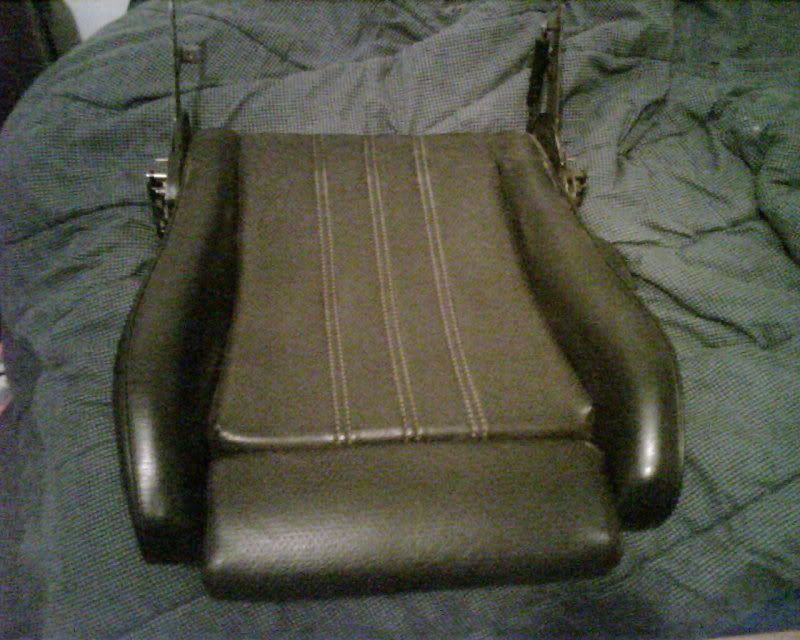
well i was going to put my drivers seat in after a quick rebuild using the new seat bottom amnd the old rails. after about an hour of diagnosing that the PO of the seat removed bits and pieces of the mechanisms i found out its a seat from a 91 318. my rails are from an early model. early model and late model rails dont interchange. so i will have to go to my shop and pick up a set of rails from the seats that were in my 325i and hopefully the rails will match.
in any event, i swapped the bottoms.
OLD:
NEW:
-----------------------------------------------------------------------
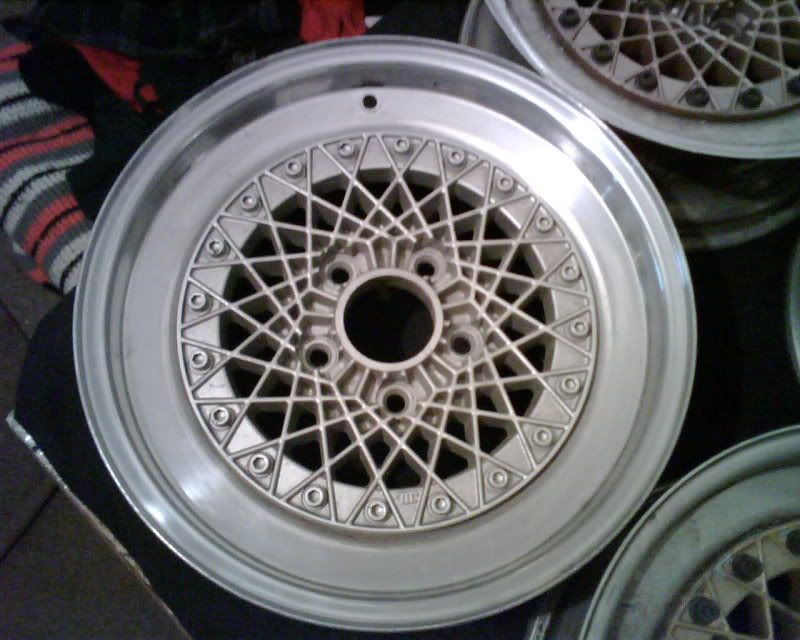
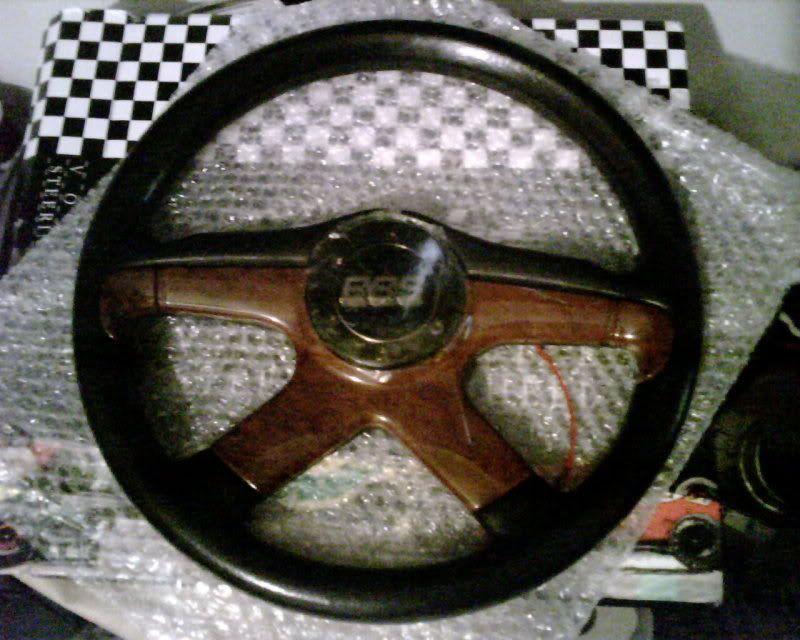
Hersteller
BBS HallaS.p.a.
Made in Italy
Typ: 4/1/90
Typzeichens
KBA 70149
it was originally this woodgrain
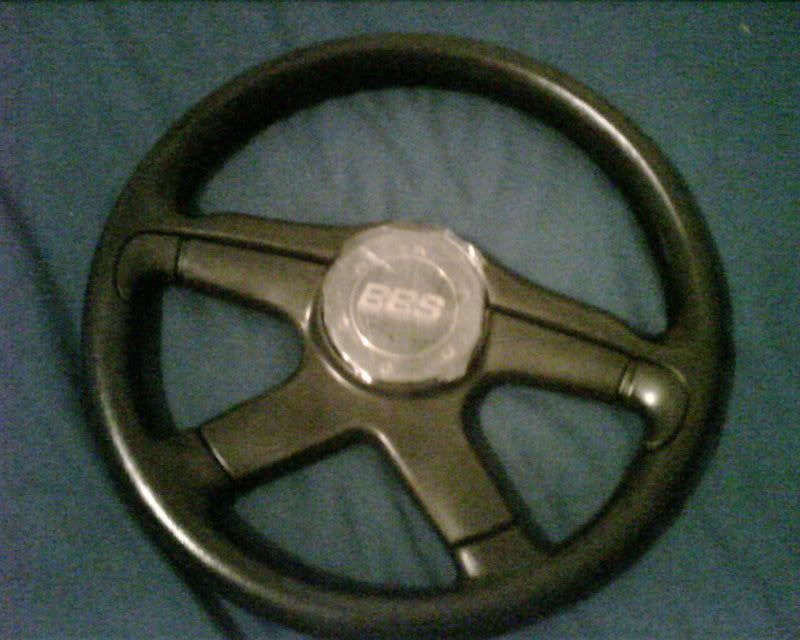
but i hate wood grain and it goes with nothing on or inside my car. so i figured id try black:
didnt like black. i decided im going to paint it bronzit. it will pull the interior and exterior together. no pics as i ran out of nbronzit paint. i will have to order more soon. tires are supposed to come later today.
-----------------------------------------------------------------------
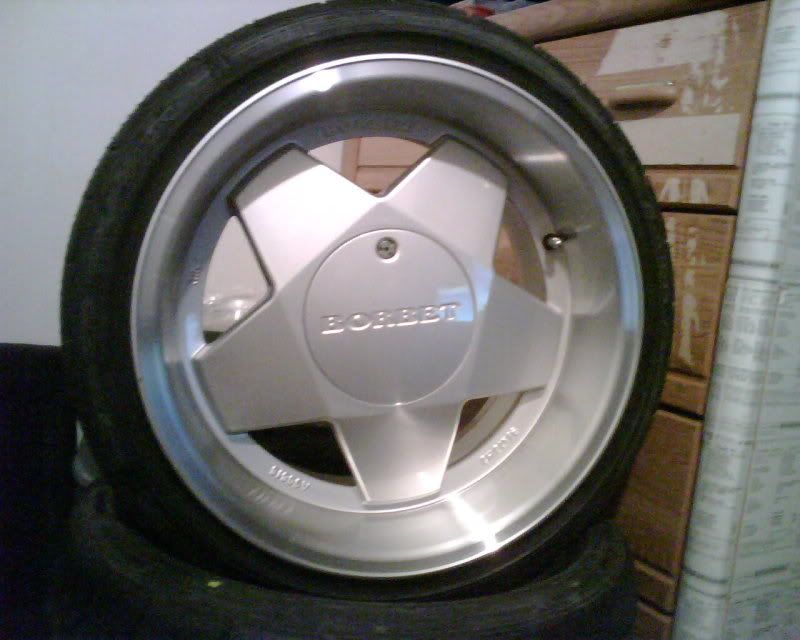
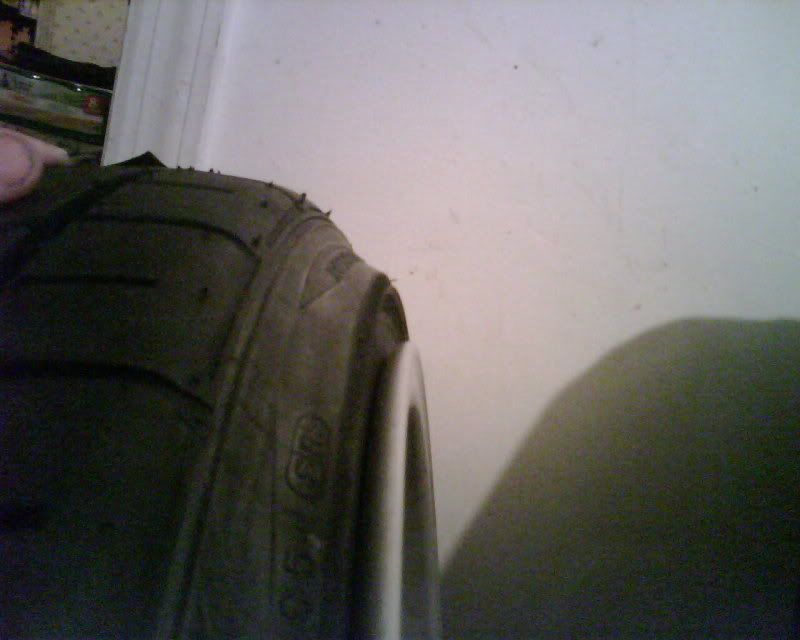
well i unpacked one to see how the tires fit.
on to the tires
thats a 205/40 .. on a 9" wide wheel :yikes:
so euro it hurts
i plan to lower my car right into that curve of the tire. should be low enough for me. stretch isnt for everyone. i dont expect any of you to approve or like it. but i do
-----------------------------------------------------------------------
bronzit on ice.
Last edited by 610EURO; 03-05-2010 at 03:44 PM.
Member
-----------------------------------------------------------------------
well due to the snow the guy hasnt been able to get the driveshaft off the car for pickup yet. we got 19 inches 2 days ago.
im going to try some all-reds on the bronzit to see if i like it
if not ill stick with stock for now.
-----------------------------------------------------------------------
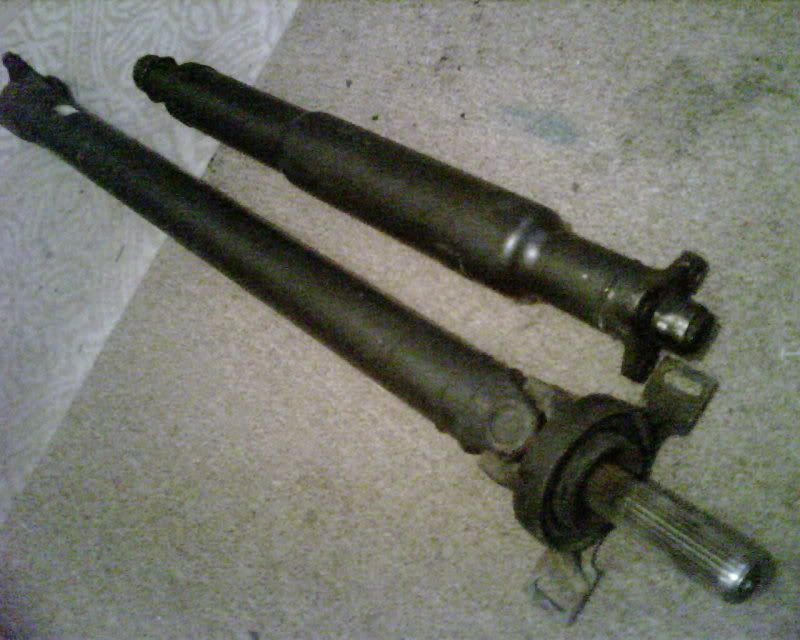
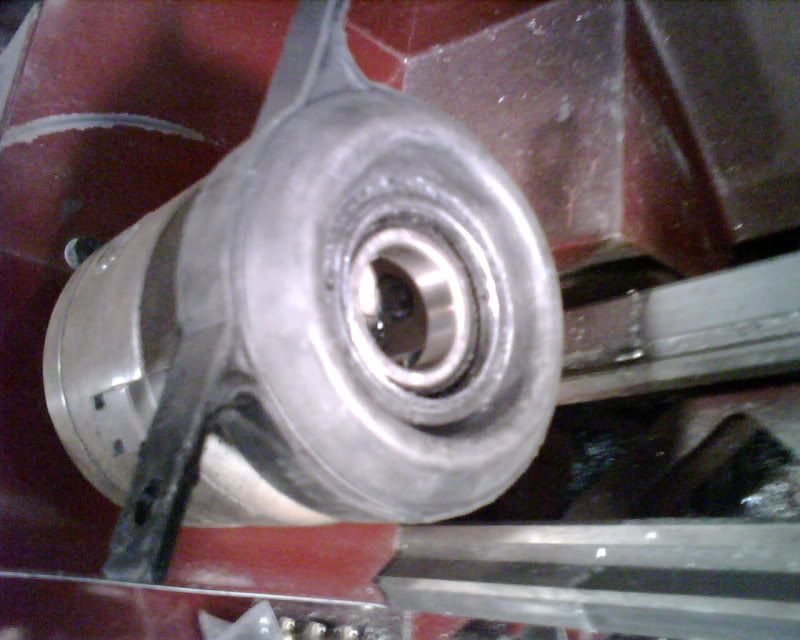
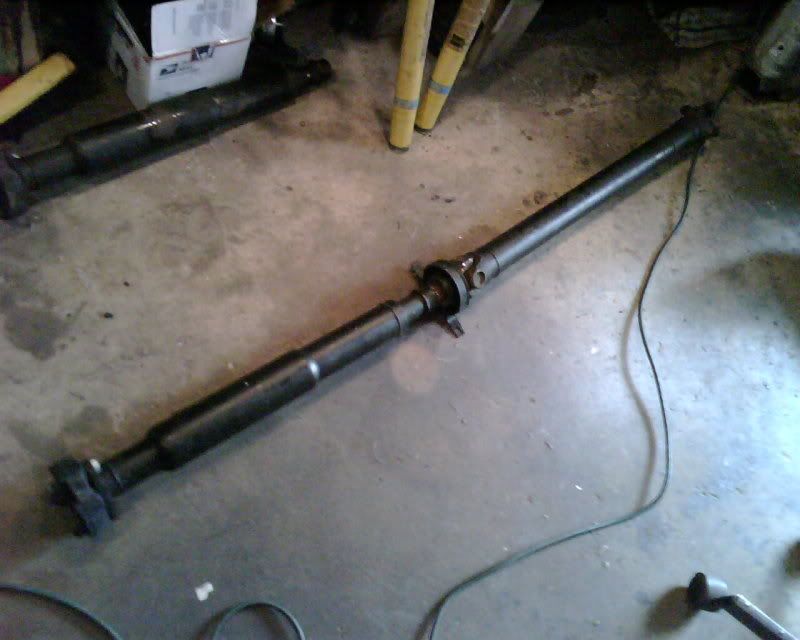
well .. finally picked up the DS . it is actually in much better condition then i had expected. the guy included a second front half free as well as the flex disc. paid $40 for the good complete shaft.
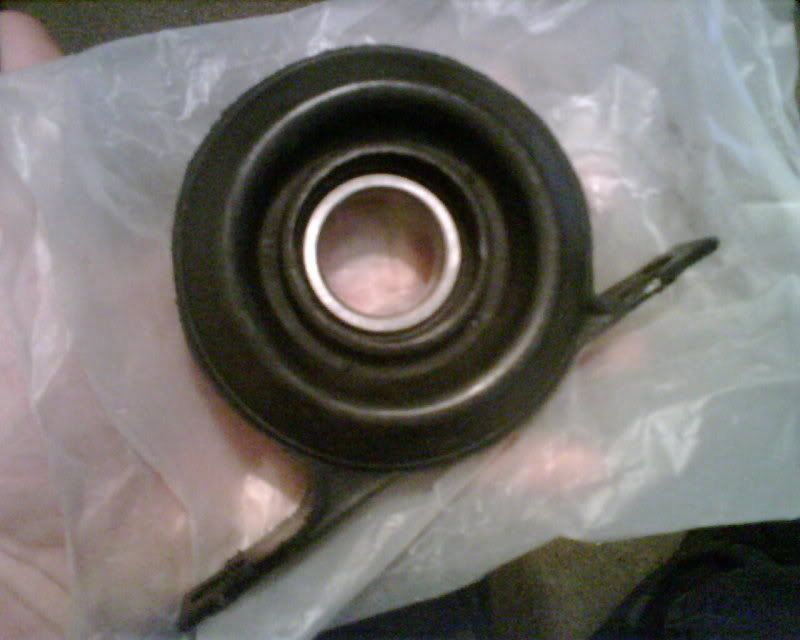
i already have the brand new e30 csb
since the flex disc he said was "mint" was actually not, i will be ordering a new flex disc tomorrow hopefully. i will be ordering a new flex disc, bolts and a few extra bits. i was going to use the free flex disc, but id rather run a brand new one and not have to worry about it breaking more. i should be able to install it as soon as the parts get here, assuming the weather doesnt get worse.
-----------------------------------------------------------------------
well its past 2AM, but i decided rather then spending a ton of time trying to find the completely out of the ordinary rails for the lower drivers seat i recieved from CT. that i would just swap out the frames so i can have the drivers seat in the car in a day rather then waiting weeks to try and research to find the rails that fit this. the rails from the 84, 86, and my 90 e30's all use the same rails. the seat bottom i recieved uses a completely different rail setup that i have never seen before. so onto the project.
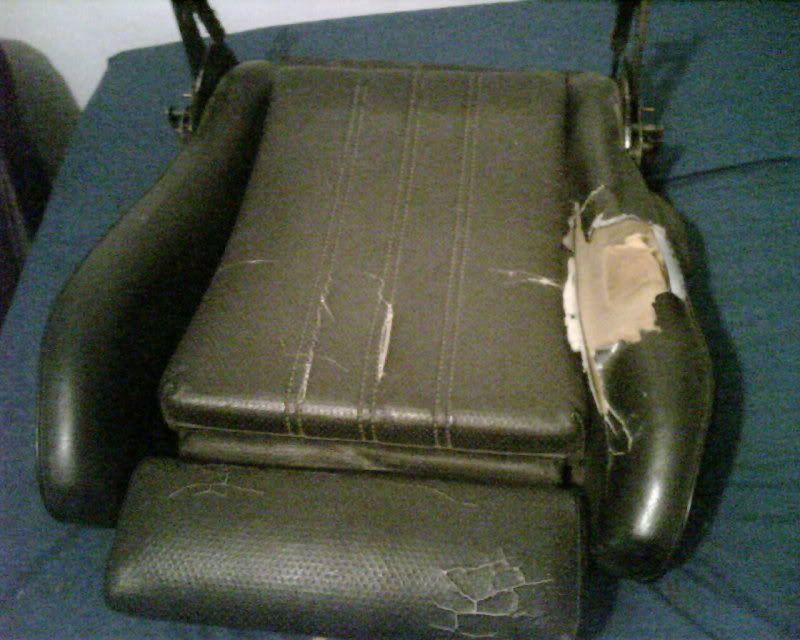
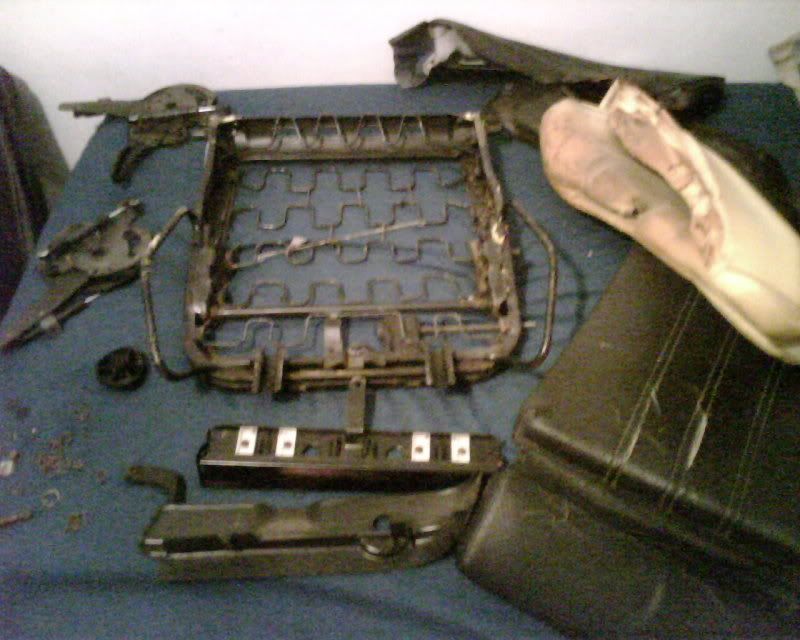
im sure you remember this:
well after about half an hour of trying to figure out the little hidden clips and ways to fully take the seat apart it was all done:
was a good learning experience considered i have neve done this to a sport seat. learned how to do it so i have that knowledge for later
tomorrow i am going to swap the vinyl off the mint seat bottom to this one and the seat will be ready to put in the car .. if all goes as planned
-----------------------------------------------------------------------
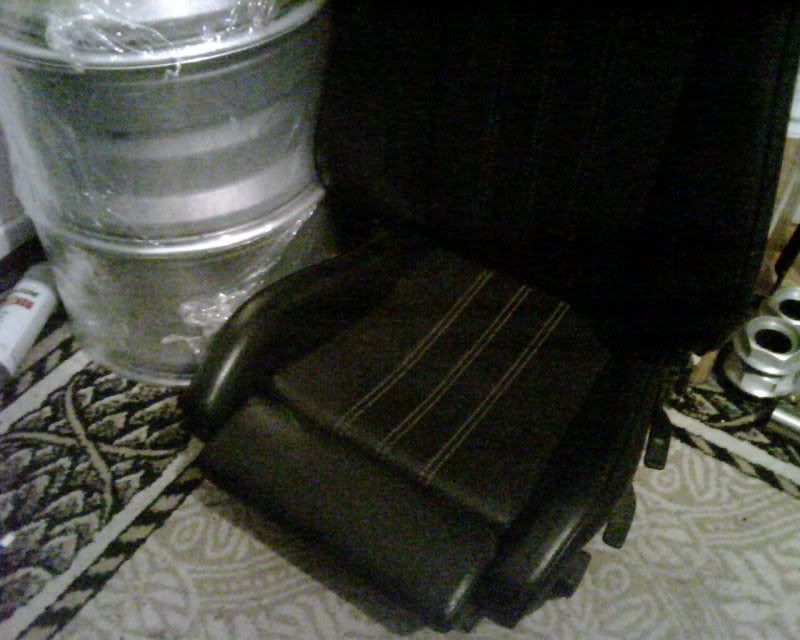
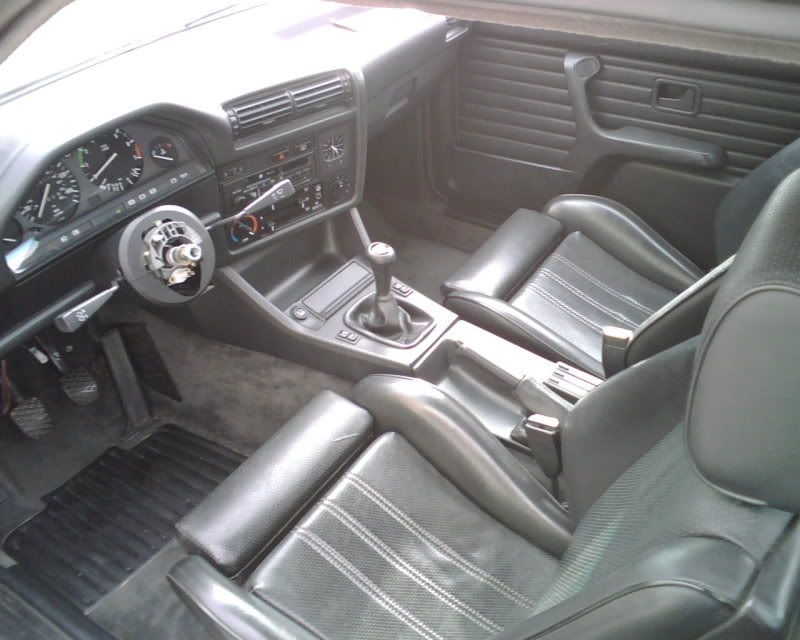
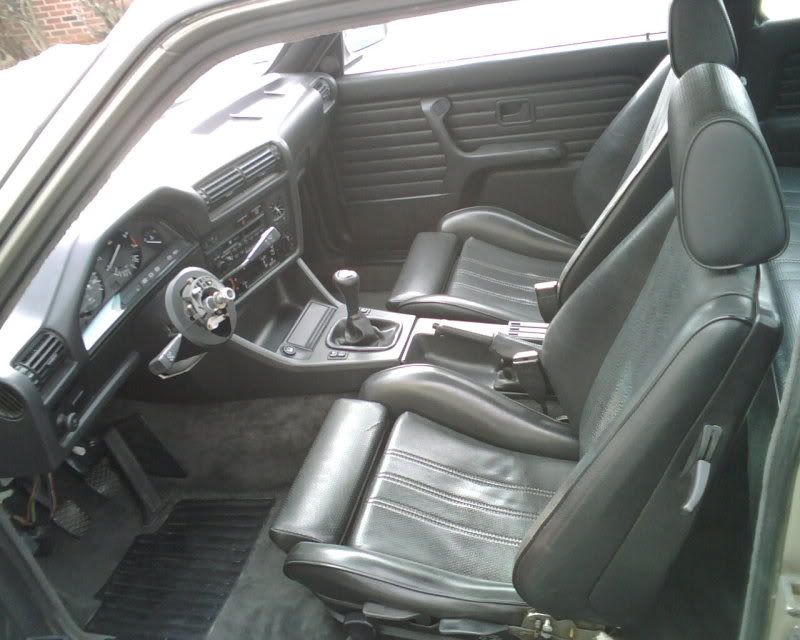
finished the seat bottom swap. re-upholstering was alot easier after learning from the first seat. rails went on perfect, and it fit in the car as it should. had to put in a new cord to get the recline function to work.
also wired in the analog clock. so that is fully functional now.
(drivers seat is all lumpy from my ass sitting there while i was wiring in the clock)
also got the taillights done. i think they look pretty OEM
they look alot better then the ambers. didnt clear, wet sand, polish or do anything other then 2 coats of candy on the tails. i was going to clear everything and wet sand then polish. but they looked perfect without any extra work. so i wasnt going to screw it up.
whenever my Momo adapter gets here i can install the steering wheel. it felt good to actually sit in the car, in the drivers seat.
-----------------------------------------------------------------------
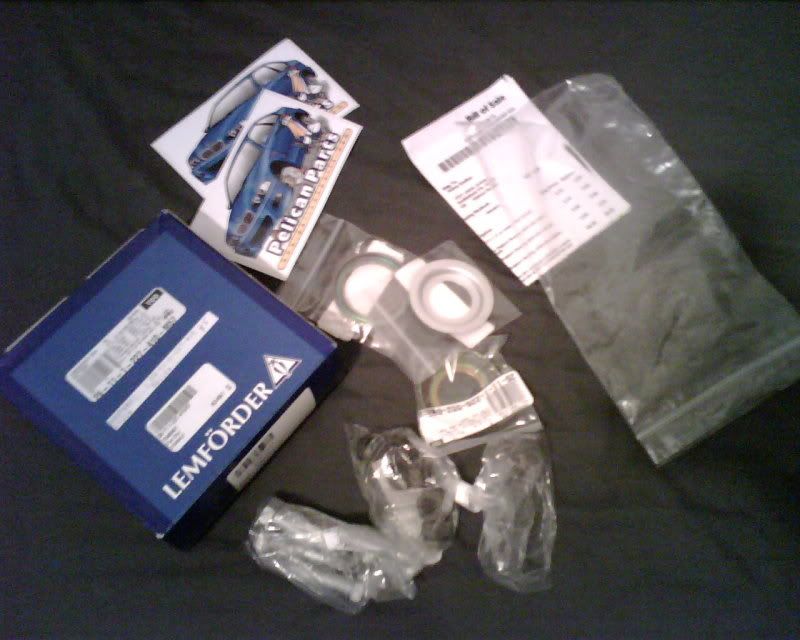
PelicanParts order came as it was supposed to.
brand new DS front nuts and bolts, new flex disc and the csb flanges.
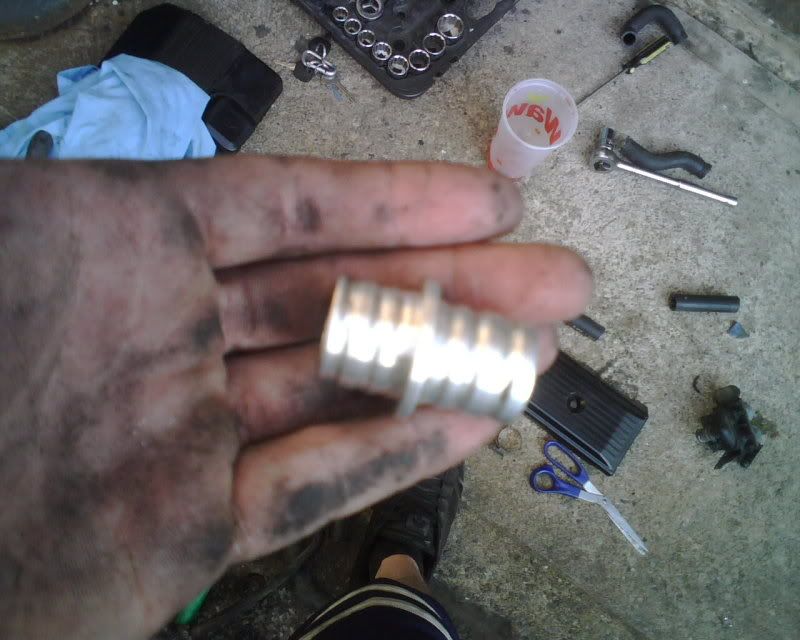
removed the old csb, measured up the new one and checked the flanges i ordered. well the front flange was correct, none of the rear flanges i ordered fit. i ordered 3 different ones from different years as i wasnt sure which one would be right, and not even 1 came close to fitting.
so i was left with 3 options .. order more and hope for the correct one, order another csb so i know exactly what year its from or try to make this one fit without the proper oem parts.
option 3 was free and the shaft could be put on today if it worked. if it didnt work it didnt matter cuz id have to order a new csb anyway.
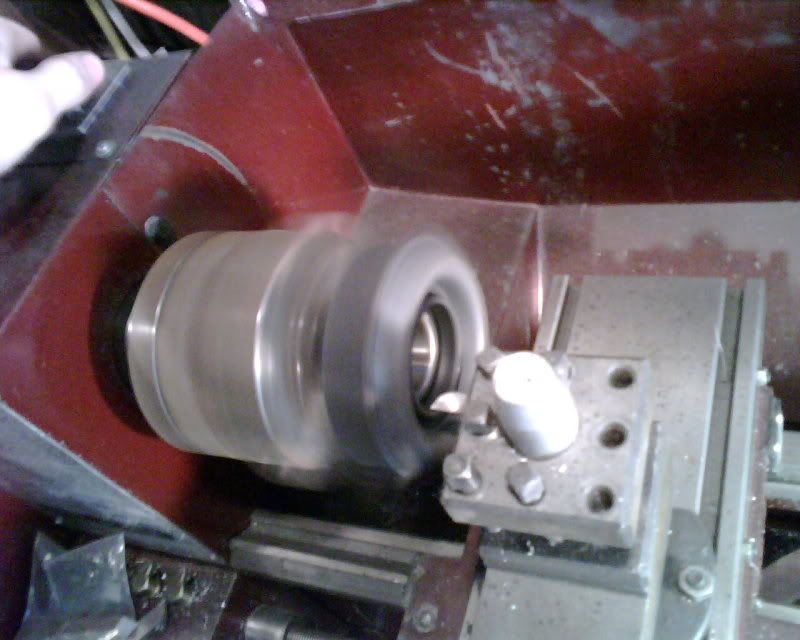
so i went for it:
(its just small shavings on the csb making it look cut up, was still in perfect condition)
after shaving off a full 1/4 inch off the csb rear flange and stopping every few turns to remove rubber it was done. fit flawlessly
i also put on the front driveshaft aluminum cover, couldnt put on the rear as none of the oem bolts i have fit .. go figure. so i will try a few more parts boxes and check for proper bolts.
im still waiting for the exhaust tubing, spacers/lugs/rings, momo hub, and a bunch of other parts to get here. but its getting close to bieng driveable
-----------------------------------------------------------------------
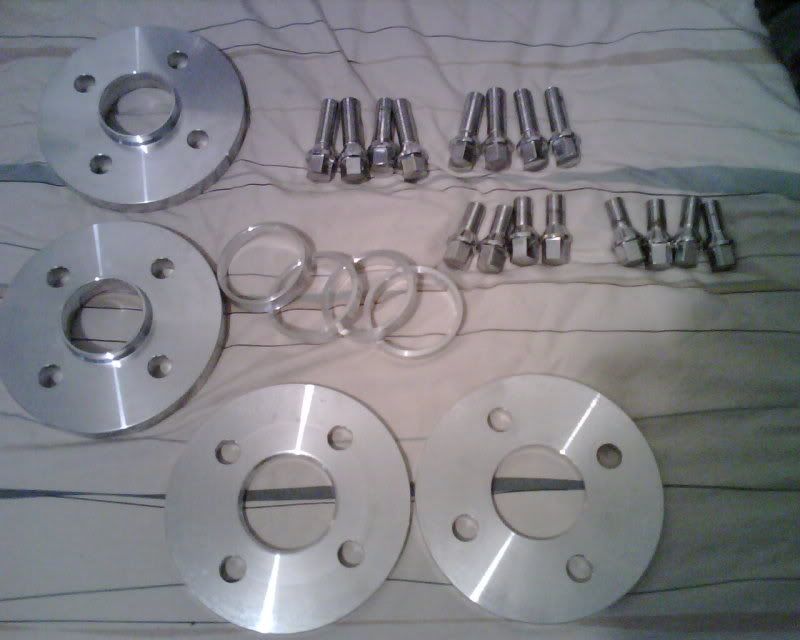
well .. nothing but negative things to say about the shop i ordered my spacers/lugs/rings from.
looks good right ?
except :
i ordered/paid for 18 lugs .. not 16
ALL 16 lugs are the wrong size for an e30
the hubcentric rings DONT FIT the 15mm spacers
the free t-shirt i was promised after waiting 3 weeks JUST for my order to ship, not there
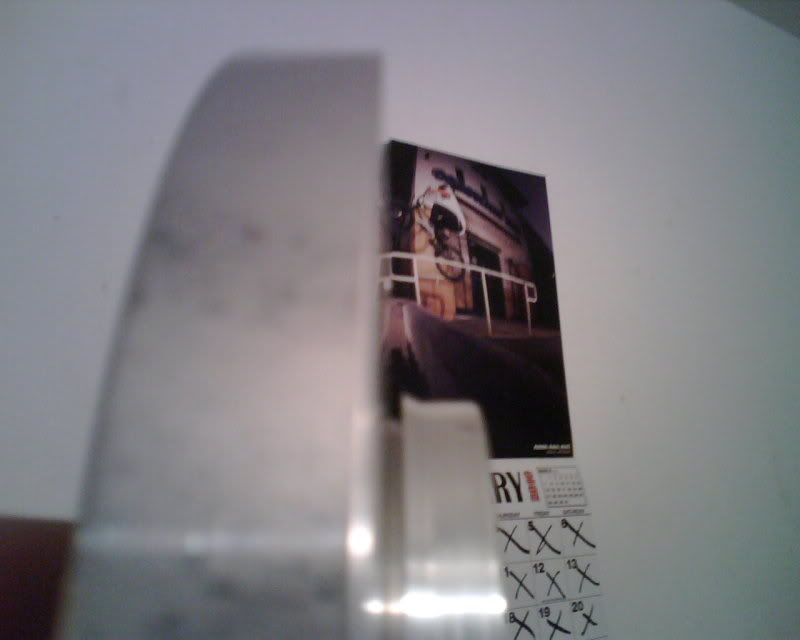
picture of the gap on the rings:
and no .. its not that i just dont have them pushed on far enough, i thought that too. so i placed the spacer on the floor and pushed down so i was putting equal pressure on it. and it made a mark in the 15mm spacer but didnt push that ring on anymore.
-----------------------------------------------------------------------
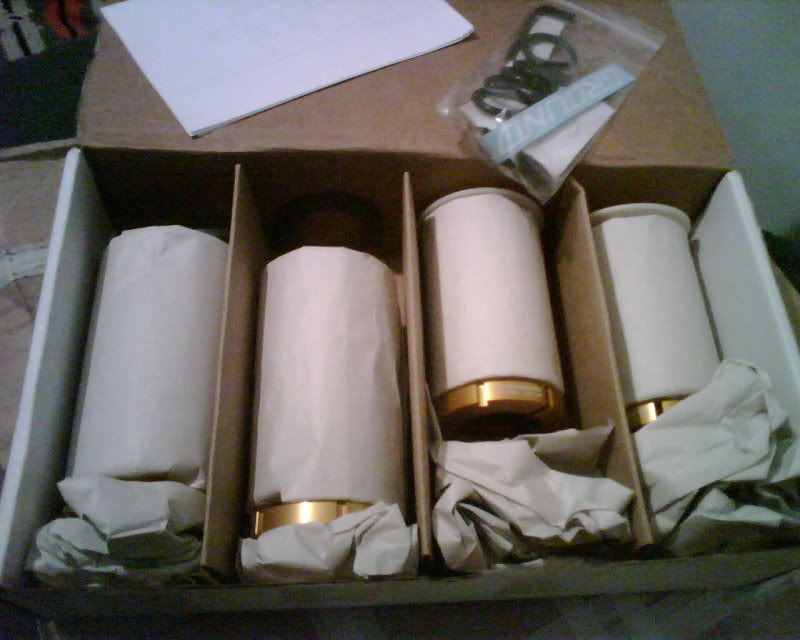
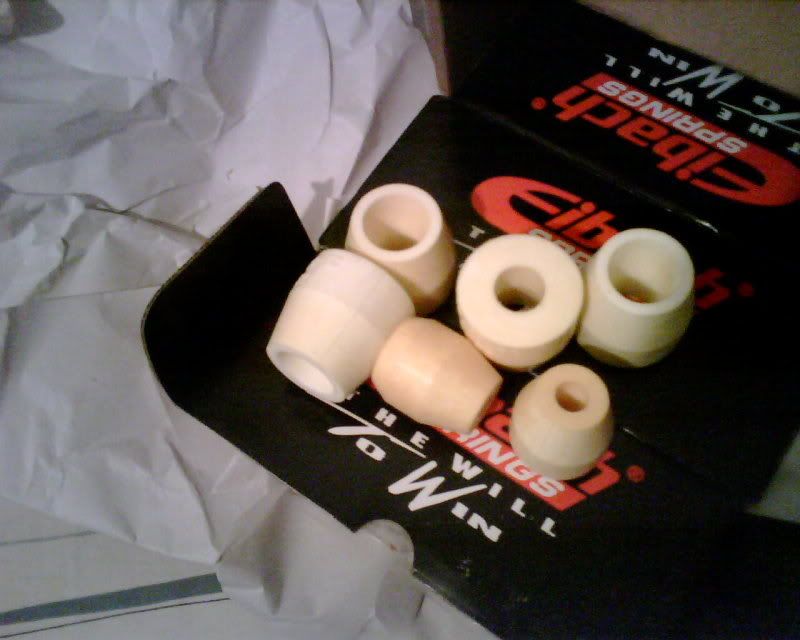
some stuff came today.
new bumpstops from GC
new SS tubing for my exhaust
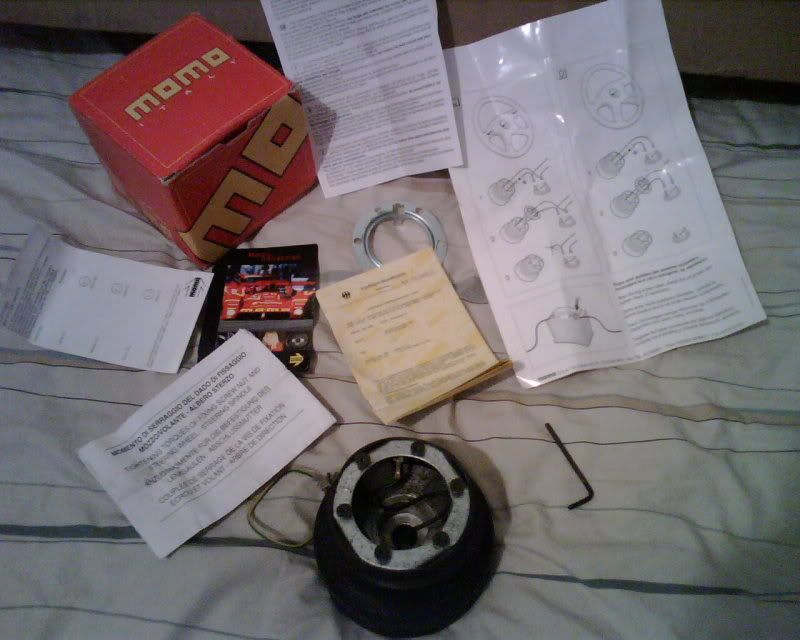
MOMO hub also came
great to see only 1 of the papers has english writing
i installed the hub and saw it looks almost brown at the base,
so i will probably be repainting that before the real install with the steering wheel.
well those are all the updates/pics i have from my full build thread. keep in mind that its all out of context . i will update this regularly as i update the original thread
thanks. which item ?Originally Posted by UKFan4Sure!

i used Grease Lightening, its a very acidic cleaner. i just rubbed it on with a toothbrush and wiped it off with a paper towel
Last edited by 610EURO; 03-05-2010 at 12:56 AM. Reason: Automerged Doublepost
Member
you have an extra red valence it looks? id be happy to take that off your hands if you like =]
Member
im sure you would. ive had a bunch of people interested in it but i am keeping it as a spare in case i ever need it.
Member
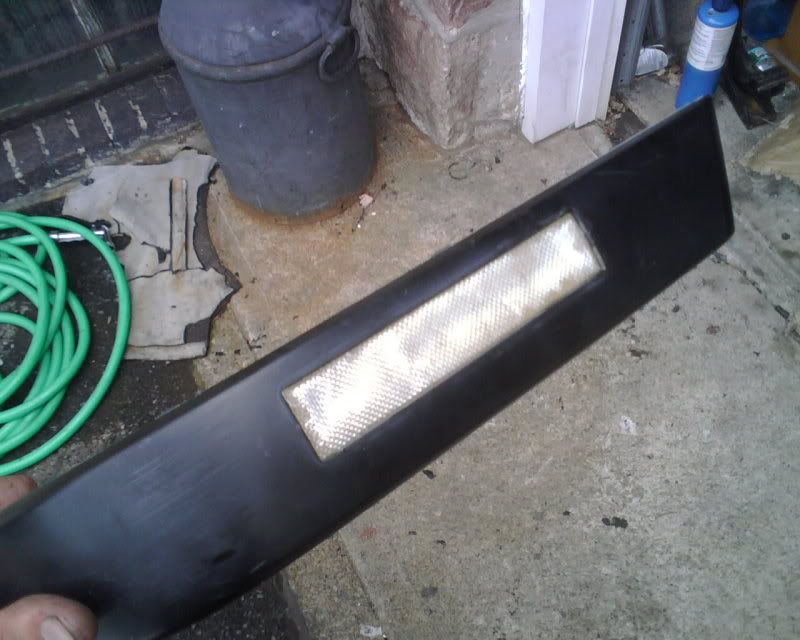
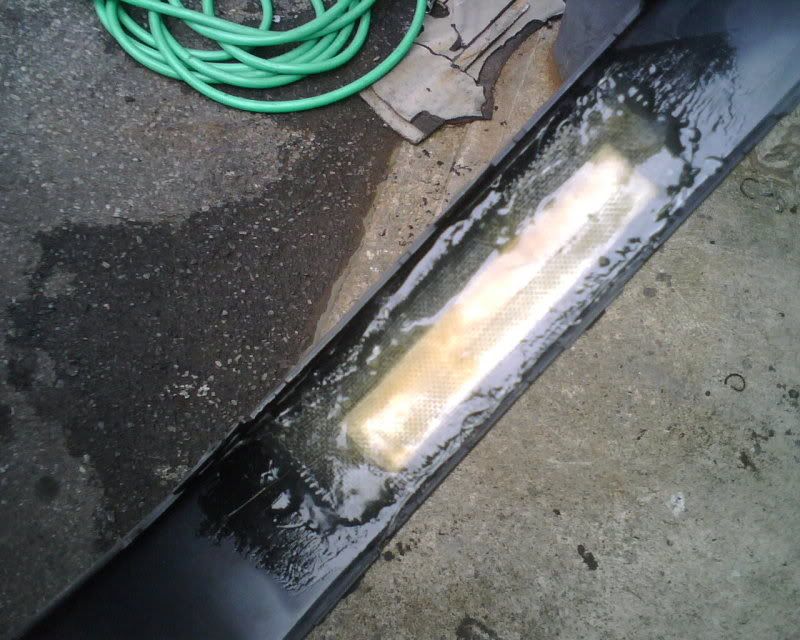
haha i kinda thought youd say that. cant blame a guy for trying, guess its back to junkyards for me lol. trying to get rid of this diving board, i cant swim
Member
junkyards are your friendi have 3 spare plastic rear bumpers but im still unsure what im going to do with them.
Not My Problem
just awesome.
Member
thanks. its coming along
Member
looks great man... what is the time frame for all of this?
E30 Touring Build: and E30 Touring Complete (sold)
E30 iX Build: and E30 iX Complte (sold)
E46 325ci (sold)
E36 328is Mtech (sold)
E90 daily driving beast (77k and counting)
E30 "Mtech" Build (in progress)
Member
thanks
i picked up the car back on 7/12/09. the project was running strong till we started getting weather that was unsuitable to work in. its been very cold here and sitting outside holding frozen metal tools while laying on a frozen driveway just isnt something im willing to do. on top of that the huge parts delays from nearly every parts dealer and the fact that every part of this project has had snags and issues has been slowing me down as well.
once it gets warmer i expect to get back on this project quickly. but until then its slow winter progress
Member
wow... that's great progress though... I can imagine the weather you guys are getting... wish we were getting it up here...
working in the driveway is a PITA for sure but the progress you are making is ridiculous... it looks great man... bronzit may be the bottom of the color totem pole but you (and kish) have made your cars look good... look forward to seeing the finished product!
E30 Touring Build: and E30 Touring Complete (sold)
E30 iX Build: and E30 iX Complte (sold)
E46 325ci (sold)
E36 328is Mtech (sold)
E90 daily driving beast (77k and counting)
E30 "Mtech" Build (in progress)
 Posting Permissions


 Reply With Quote
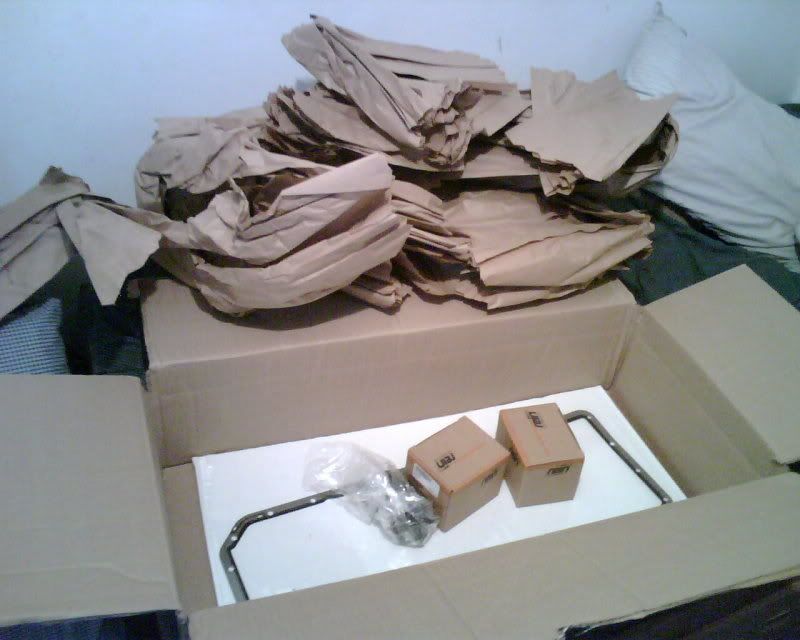


Bookmarks