
 Member
I was thinking of doing the bumper tuck this xmas break but I can't seem to find the walk through's that i thought were here a few weeks ago. Anyone know what happened to them?
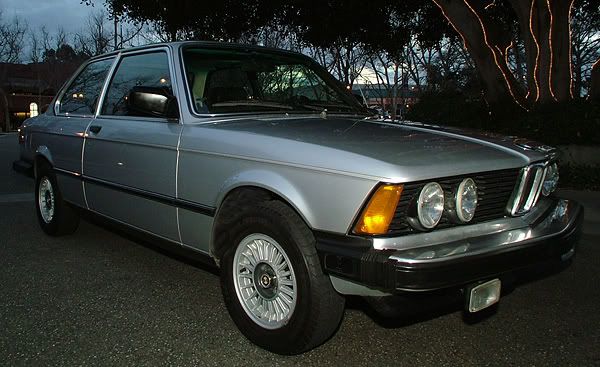
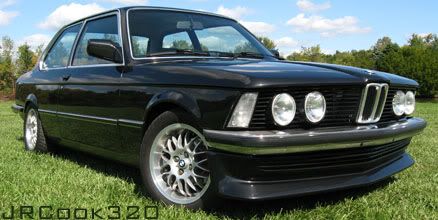
New Daily Driver and Project
Member
In the FAQ parked thread at top of page. Mentions about drilling bumper shocks. If you have Ken's brackets, you just remove the shock and replace with brackets. Use common sense and don't get in a hurry, you'll be fine. I've heard to glue the side accordian rubber back together after trimming, use scuba wet suit repair cement. I'm going to do this "one day" myself. David
Member
Thanks, i read through all of them a while ago, and remember some good pictorial walk throughs. Do you have to remove the bumper to do the tuck? It would seem to me if drilling and tucking can be done while it's together I wouldn't have to worry about aligning it whenever its done.
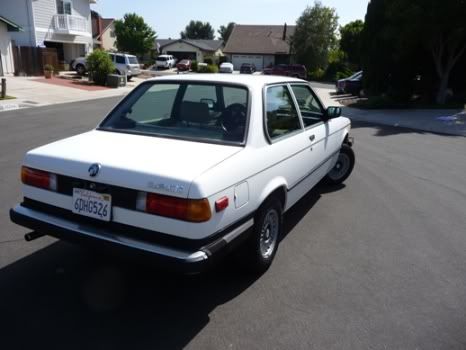
New Daily Driver and Project
Member
Btw, I have Ken's bumper mounts and it seems like i'm not going to use them because the bumper is just unnecessary weight... for a track car anyway. So PM me if you're interested.
Member
There's also a good bumper-tuck article (for '02's, but the procedure is basically the same for E21's) at: www.my02.com/pages/2002.htm
Ian
Member
Get the bumper mounts from Ken Danielson. He has a step by step process and it is really quite simple. I put these on my car, and it looks GREAT! It took a couple hours to replace the mounts.
My son drilled his out, and got a shower in the process. It works equally as well, but is a LOT more messy! Seeing his process made me buy the mounts from Ken.
Hope this helps!
Tim
Member
Or... if you're on a shoestring budget like me, you can just tuck it, yourself. I wrote the following post on this site last Feb. Don't know why it got deleted (moderators?).
I found it on my computer, thankfully. This was right after I bought the car. Right after I tucked the bumper, I installed my N.O.S. 1980 Hella headlights and did a few other things to bring the car back to factory looking. Got new wheel cap metal Roundel logos, and removed some lame aftermarket crap.
~~~~~~~~~~~~~~~~~~~~~~~~~~~~~~~~~~~~~~~~~~~~~
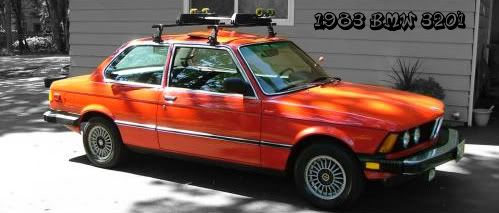
If you're like me and can't afford to buy European bumpers and the related valance bodywork, here's a cheap (free) option to rid of your E21 car of that unsightly front bumper.
Said bench/diving board that enters the street five minutes before the rest of car. HAHA!!
First, get a decent powered drill and a sharp drill bit. Can't remember what size bit I used... probably something in the 1/4" range. Also, put down some plastic, get some rubber gloves, safety goggles and/or clear plastic facemask. Lastly, a bucket. For mine, I used a friend's driveway and pulled my car onto some ramps.
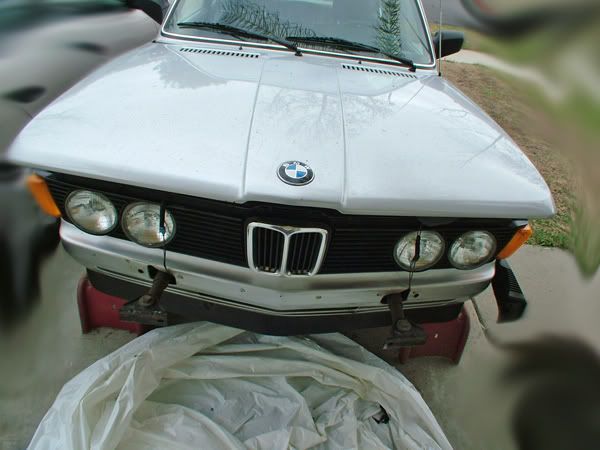
When you're ready to work, remove the front bumper, like this.
I opened my hood and placed my Hella driving lights on top of the grills to keep them out of the way.
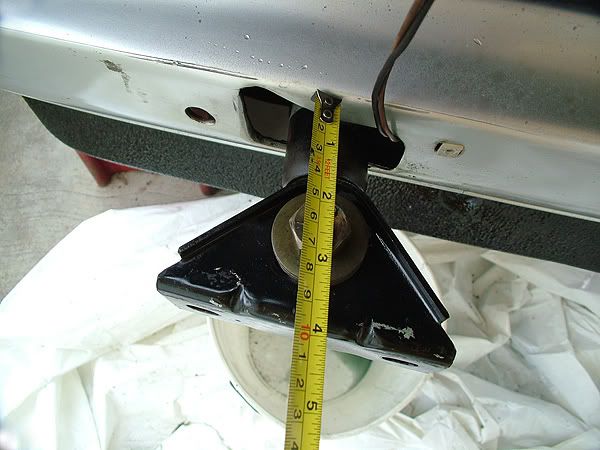
Next, a simple example of how far the 5mph. bumper shocks stick out past the car, before drilling.
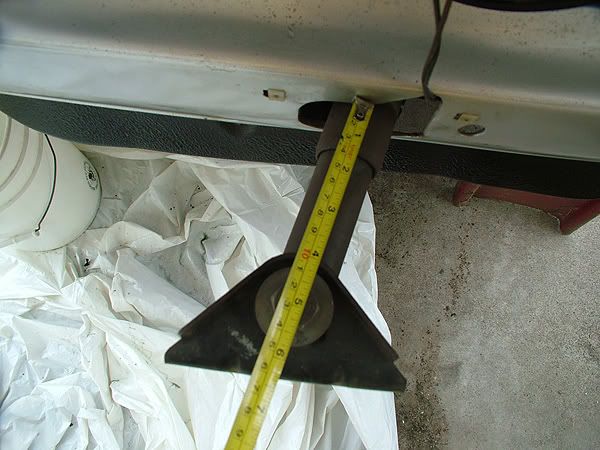
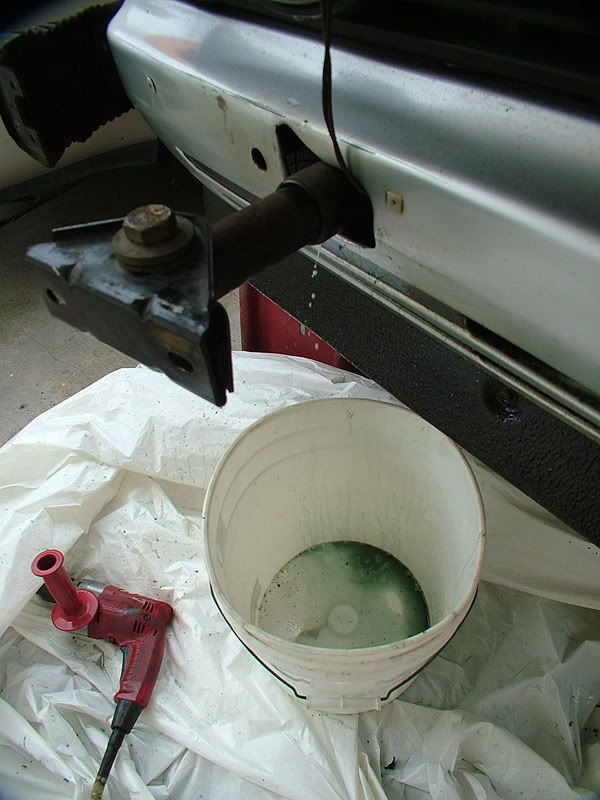
Now, you're ready to drill underneath the bumper shock. Keep in mind that these shocks contain pressurized oil! Protect yourself with the above mentioned safety stuff. Place the bucket below the shock and start drilling.
Note the oil dripping into the bucket from the shock.
After drilling and working the piston in and out to remove any pressure and oil, you can see how much the shock has compressed when pushed in, fully.
Amazingly, I was able to accomplish this without using a mallet or wall, like I had previously read about on the 'Net.
At this point, I tried putting the bumper back on the car for a test fit. I wasn't happy that the black filler piece (between the valance and bumper) wasn't allowing the bumper to tuck closer. So while I already had those two halves removed, I decided to get my jigsaw out and trim an inch off.
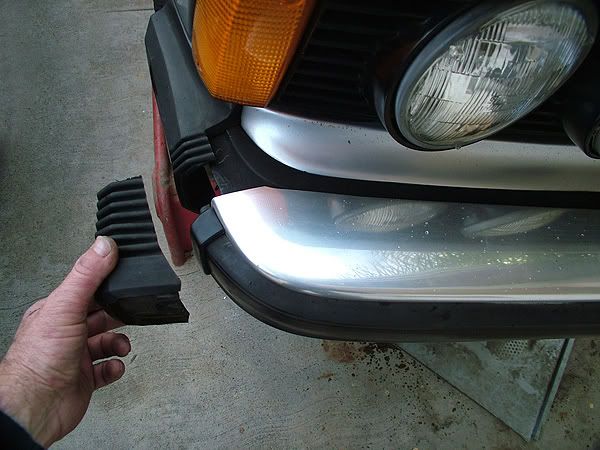
As you can see, there is still the issue of the side bellows needing to be cut down.
Which was way easier that I had previously thought. I grabbed an old mini hand woodsaw and removed a 2" section of bellows from the center of where the ridges start on either end. That way, the finished job appears to be factory. I've never seen a front bumper tuck where I was satisfied with the bellows.
Here's what it looked like after the initial cut.
The next cut involved removing the 2" section from the part in my hand.
Then, I bolted the part of the bellows that attaches to the bumper. Made sure that the bumper was pushed all the way in. Reinstalled the driving lights. I also never cared for the side reflectors on the front bumpers (U.S. cars). So I carefully removed those. Painted them with primer, then with semi-gloss black. When dry, popped them back in.
Done!
Another view.
You might want to install a screw or bolt in each drilled hole on the bumper shocks. I was amazed at how easy and effortless this 2hr. project was. Perhaps, one day, I'll be able to afford Euro bumpers. But in the meantime, I'm happy with this and it looks like the car came this way.
I've seen other methods of doing this which included removing the shocks to drill or replacing them with welded bars. To each their own... I just wanted to share how I chose to do mine. Your results may vary. After these pictures were taken, I found some N.O.S. Hella H4 & H1 headlights at my friend's Volkswagen shop for only $25 ea. Installed 'em and LOVIN' it. Can't believe that I drove this car for three weeks with sealed beams. YUCK! Since my first car in '79, I've always had either Hella or Euro spec lighting.
Last edited by Rennsurfer; 12-16-2008 at 08:07 PM.
Cheers,
Mark
1982 320i 5spd.
1987 Volvo 245DL Estate 5spd.
1967 Volkswagen Beetle 4spd.
Too many skateboards & surfboards to count.
Member
That's exactly what I was looking for, thanks alot. Can't wait to work on the car this winter break
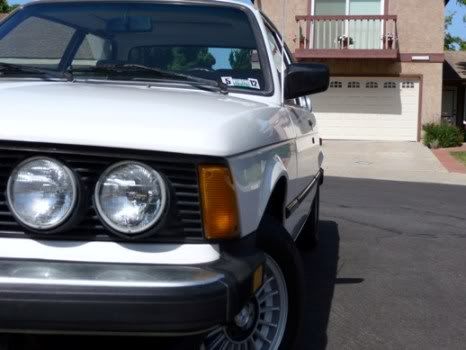
New Daily Driver and Project
Member
This will be FAQ'd. thanks for the writeup.
Member
Great write up.
Member
Thanks for the kind words, everyone.
Cheers,
Mark
1982 320i 5spd.
1987 Volvo 245DL Estate 5spd.
1967 Volkswagen Beetle 4spd.
Too many skateboards & surfboards to count.
Member
does anyone have contact info for Ken Danielson to order his brackets? cost?
thanks
Member
Member
thanks
Member
Just did this to mine, It took me about an hour or so and that was mostly just getting the tools out. Very easy to do even for a beginner and it makes the car look more proportioned. Just be weary that when you drill into the shocks, the fluid comes out very fast and almost explodes due to the pressure. On mine it seemed like there were two pressure chambers. I drilled for a while and it released the pressure and spewed oil (you'll know then that happens). Then i keep drilling a little more to make sure all the pressure was released and then it happened again but even more. Thanks for the writeup.
250,000 Miles
A/C Delete
Headers, High Flow Cat
Mild Sound System
Original Paint and Interior
Member
This write up worked perfect for me! Thanks. The trickiest part is making the accordion sides look okay.
Member
Check out the bellows done by czp on page 172 of "post a random pix" thread. Removed the bellows and reflector, very clean.
Member
I drilled mine out a couple weeks after I bought it. Like the above posters mentioned just be careful of the spray. I got completely douched, much to the delight of my pops who was laughing his ass off about ten feet away.
Definitely worth it though.
Member
Thanks Rennsurfer. Gonna be my first summer project. It'll keep me till I can get the Euros
Member
How much do you want for Ken's mounts- how do I get in touch with him if you've sold yours.
thanks, Jerry
704-506-9074
Member
Ken is no longer on the forum and Bruce passed away this year so currently best thing is to make your own/drill out the stock shock mounts.
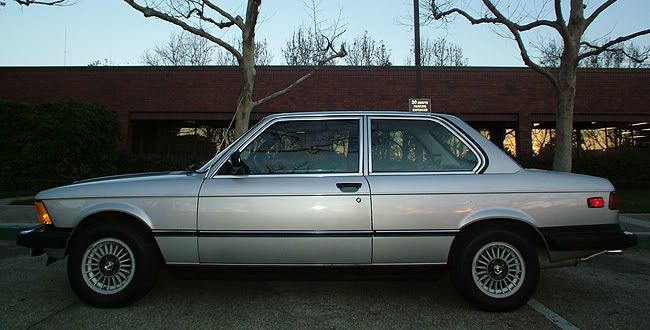
Here is a link to my bumper tuck from 2003 or so.
Last edited by OLD MAN; 12-15-2014 at 09:52 PM.

Always FUN TO DRIVE - Build Thread & Tech info - 79 320/6 track car build thread -- Videos of track car -Adam in car Auto-x video - Start-up video - 4/2011 Adam's TOP BMW time San Diego BMWCCA - 4-5-15 Dyno break-in run new M20B25 - Exhaust Thread - Link
Member
Do you know how to get in touch with Ken?
thanks, Jerry
Member
Thanks so much for this write up!! Really needed his simple info for a new project as my current e21 came with the bumper already tucked...
- - - Updated - - -
image.jpg
Member
Thanks for the write up Rtopher, worked great
Last edited by emptynoid; 09-20-2021 at 12:23 PM.
 Posting Permissions


 Reply With Quote


Bookmarks