
 Member
This is Dimitri, I'm manager over at http://www.bmwmbenz.com/index.asp
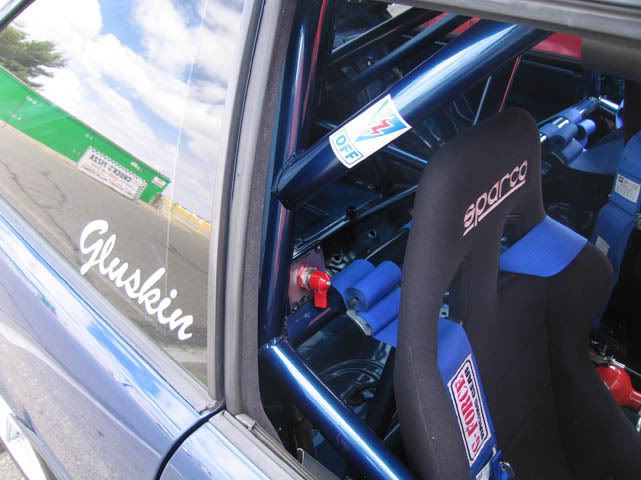
Like many my '95 M3 began as my street car.... then my friend Denis and Pedro started going to track days and I started to join them more and more.....
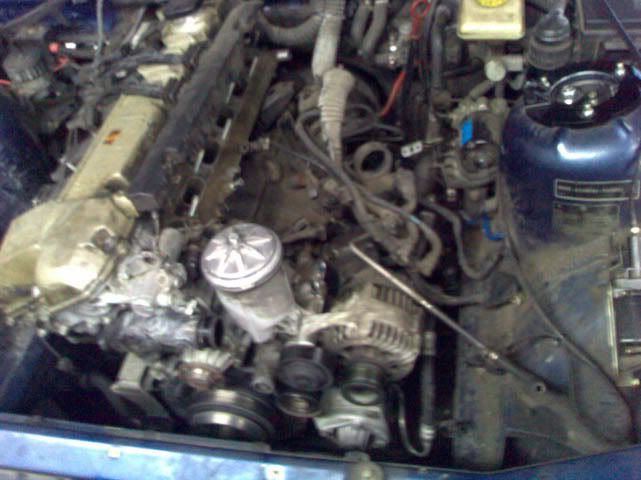
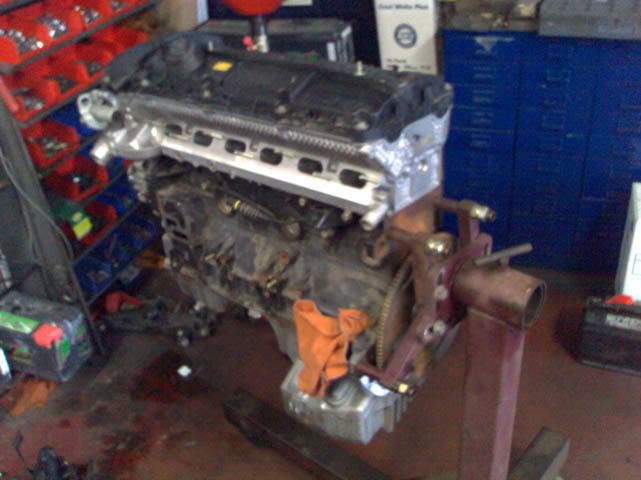
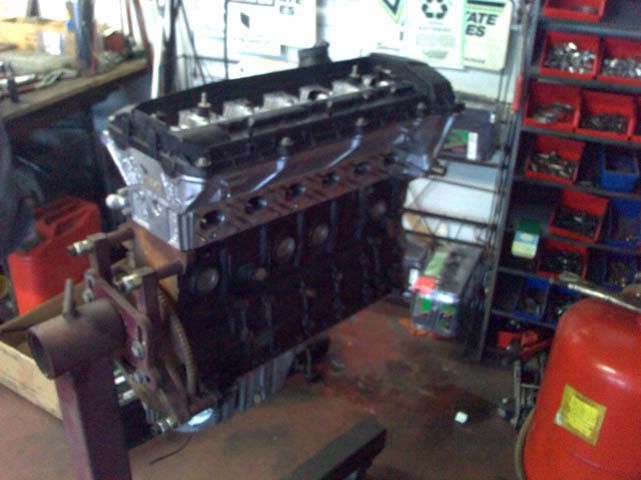
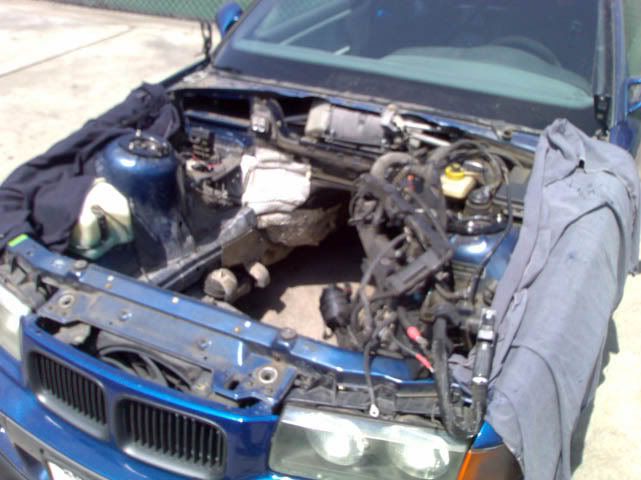
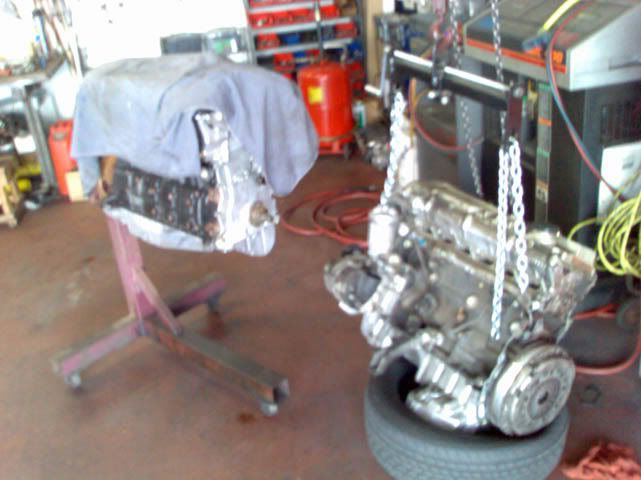
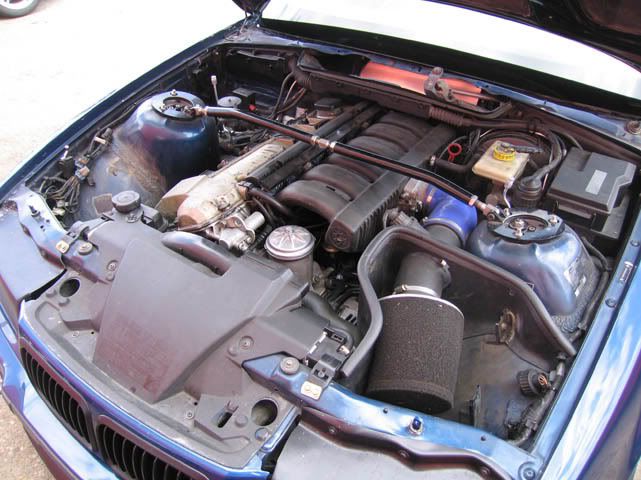
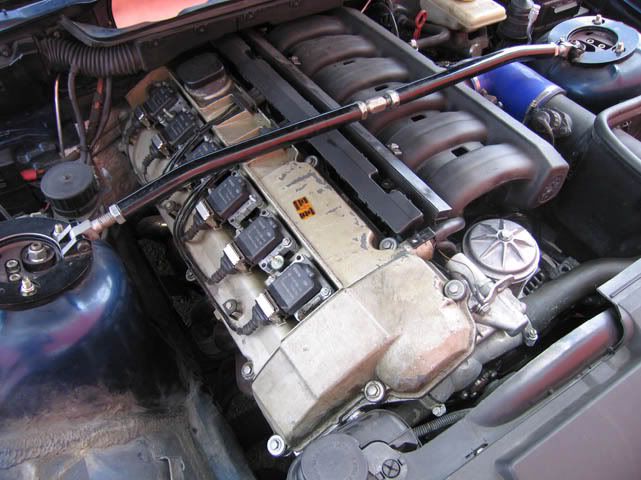
The car got PSS9 coil overs and some other usual mods, eventually I ran into a good deal and swapped my 3.0 for a 3.2 OBD1. I ported the head while it was out but other than that the motor is stock....HFM, intake, CHIP ....sorry for the cell phone pics.....
DONE.........easy. 1-2-3.
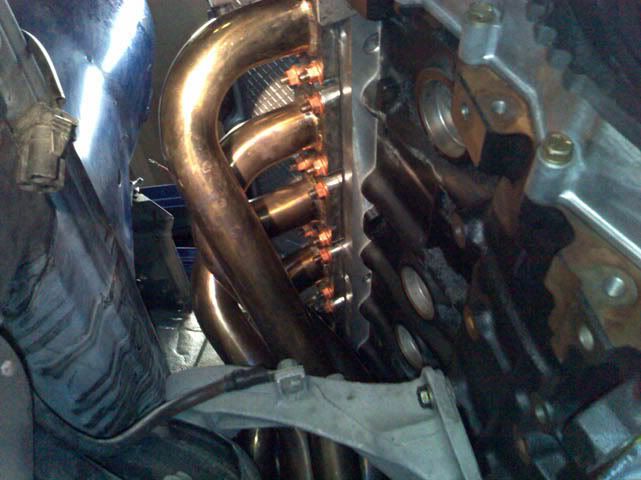
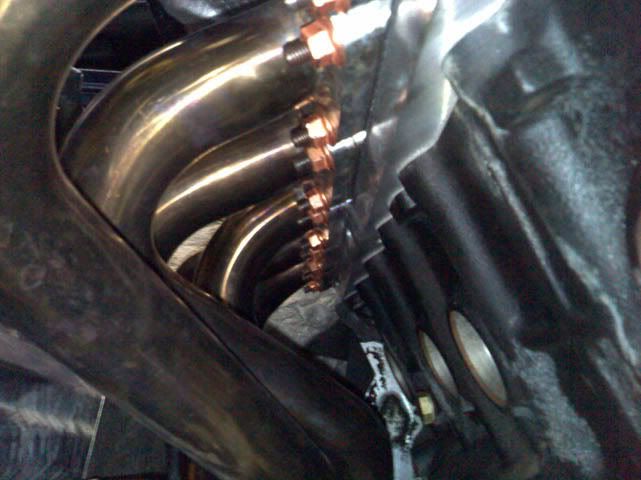
Threw on some ebay headers
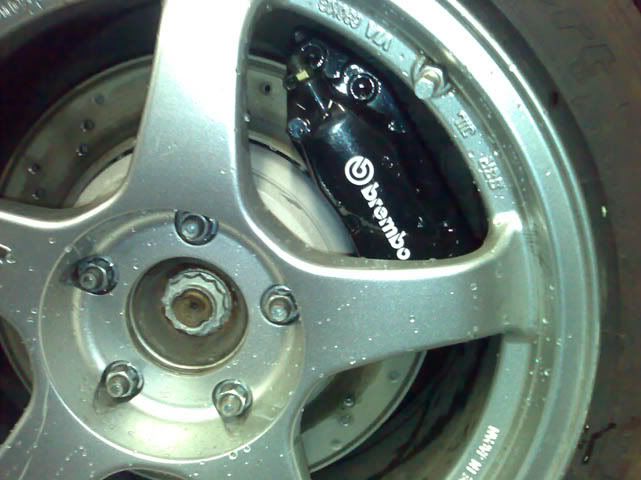
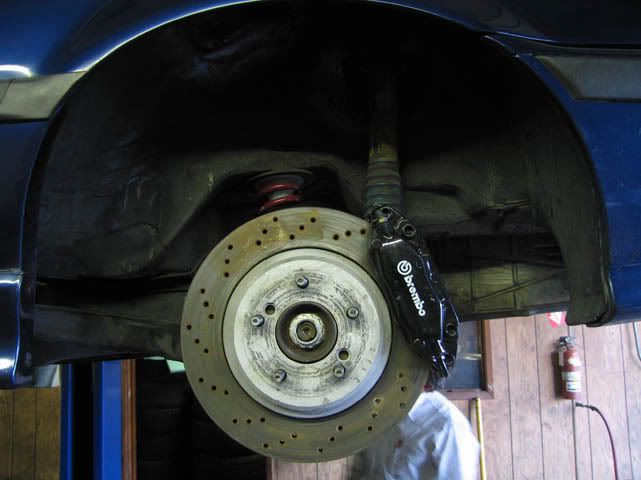
Then came some brembos......
Member
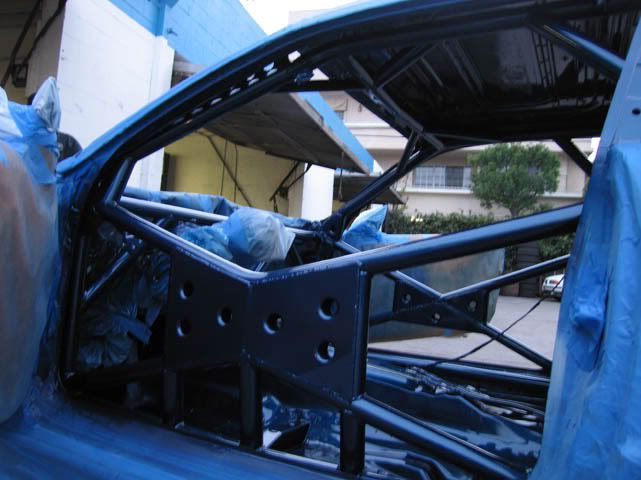
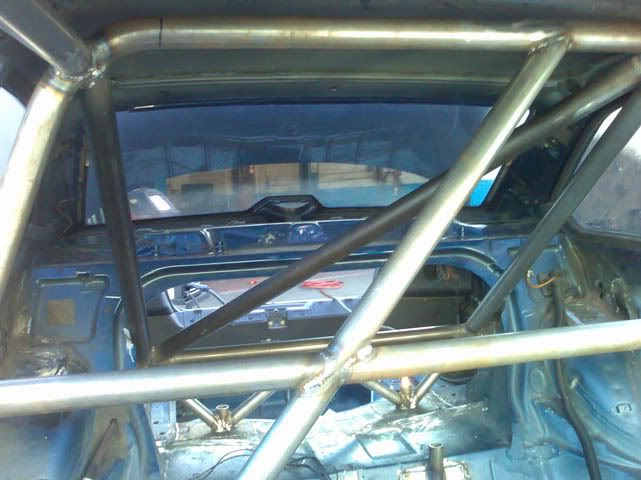
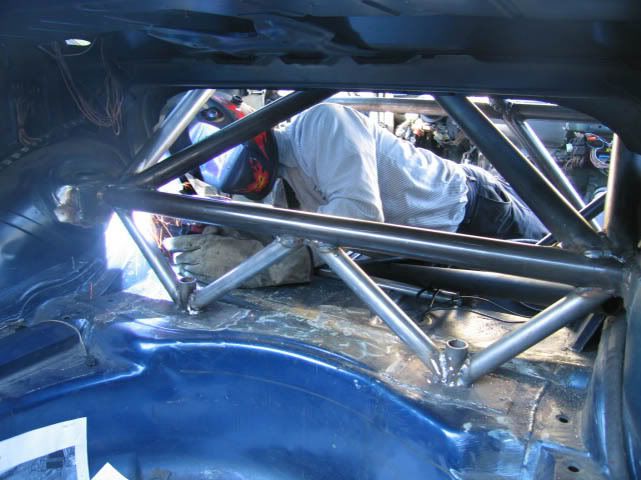
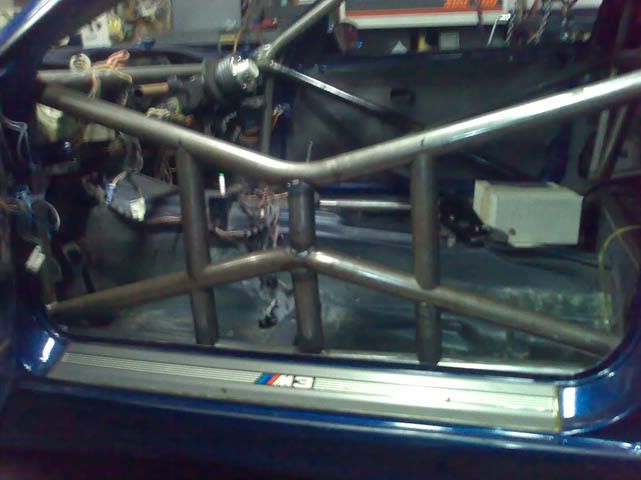
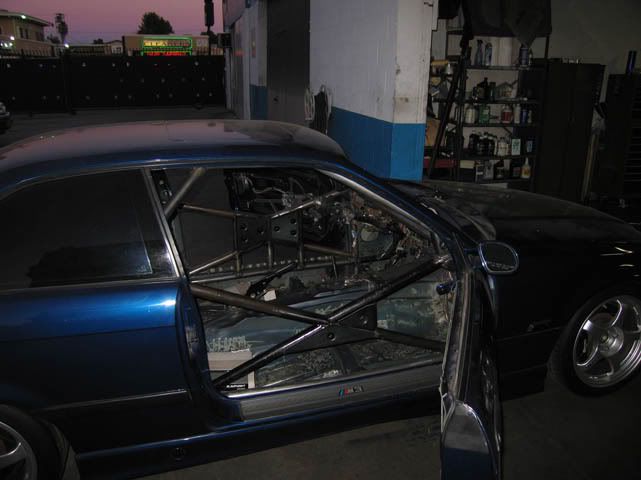
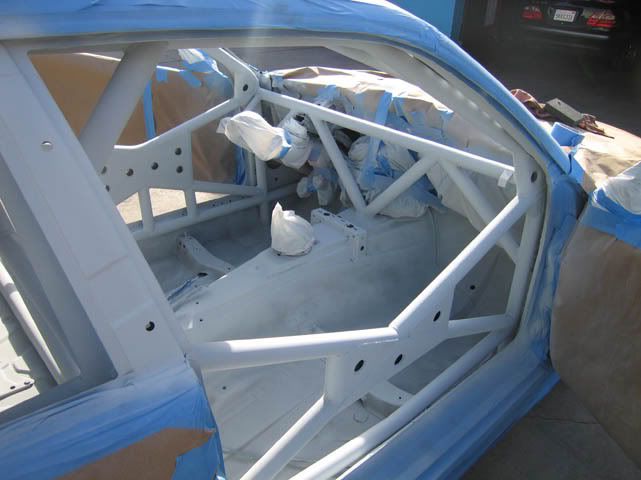
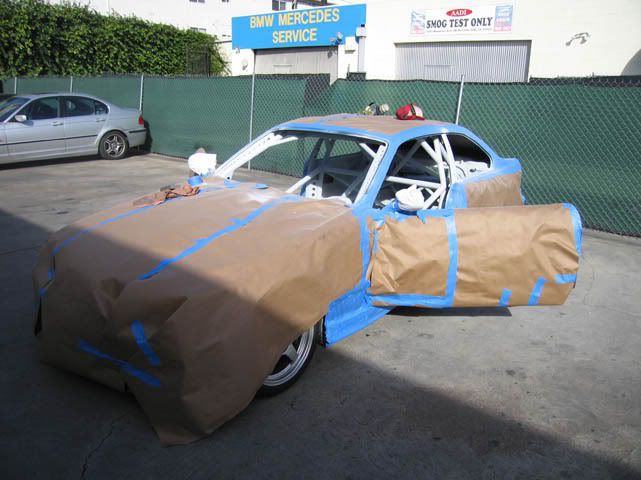
Then after a code brown moment at buttonwillow decided to install a auto power cage.....
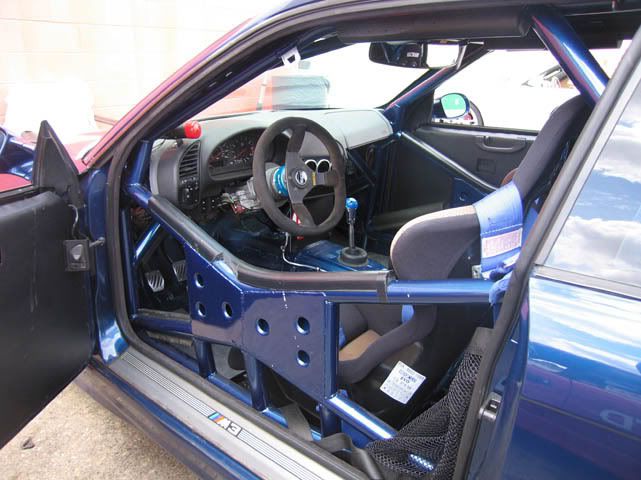
well, that last 1 track day since I hated the fitment and after the event due in part to my friend Pedro's insistence and persuasion. Decided to make the car a dedicated track car. Maybe do some NASA TT So out came the crappy autopower cage. Out came all the interior, headliner, took the tar panels out with dry ice.....etc.........etc.....
Decided not to race with BMWCCA......since I really enjoyed the atmosphere of NASA..... so I figured I build the car for TT and maybe in the future GTS class......
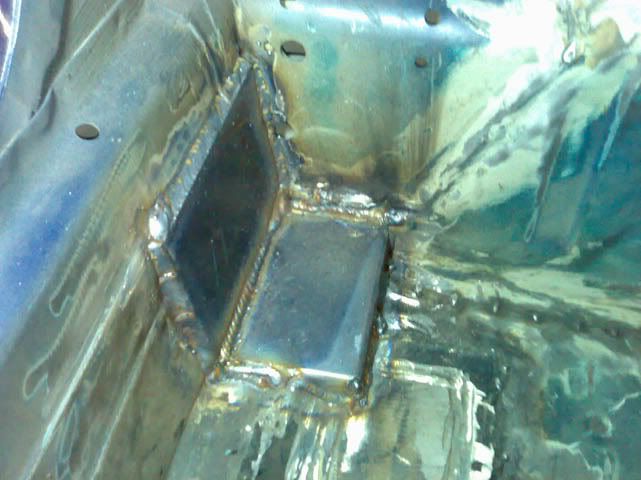
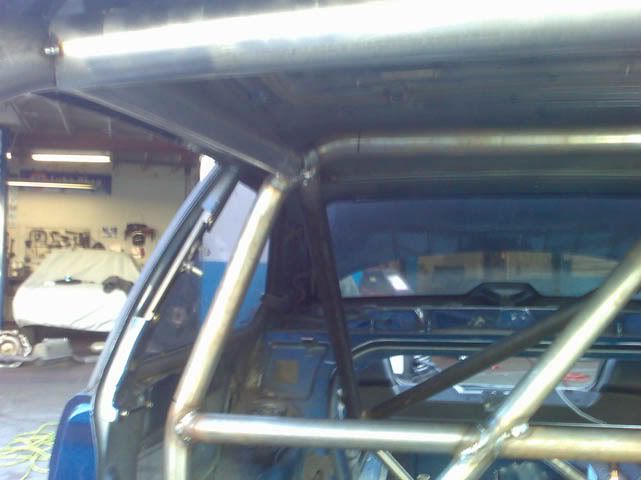
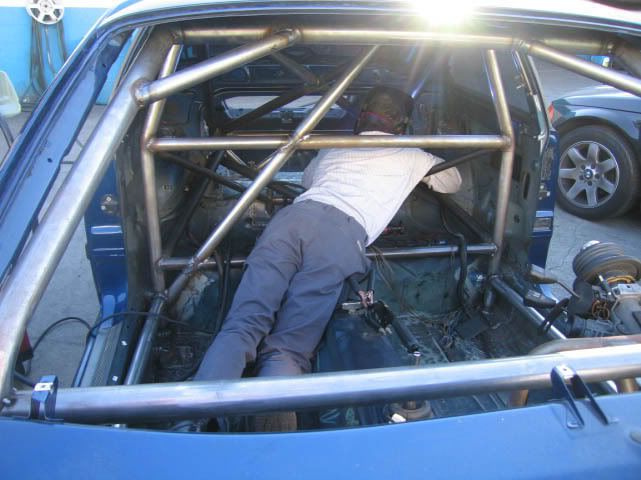
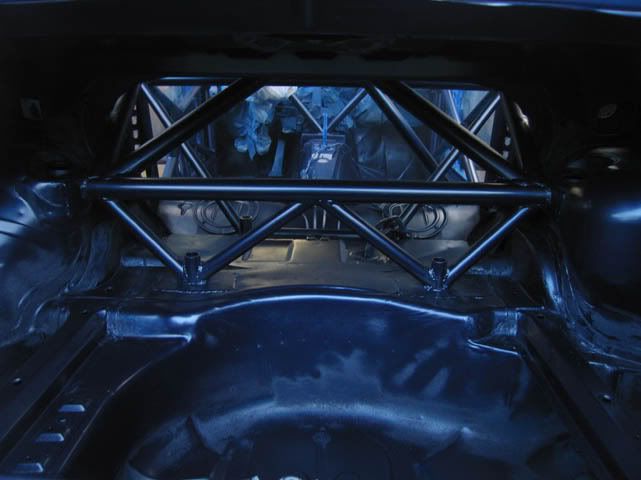
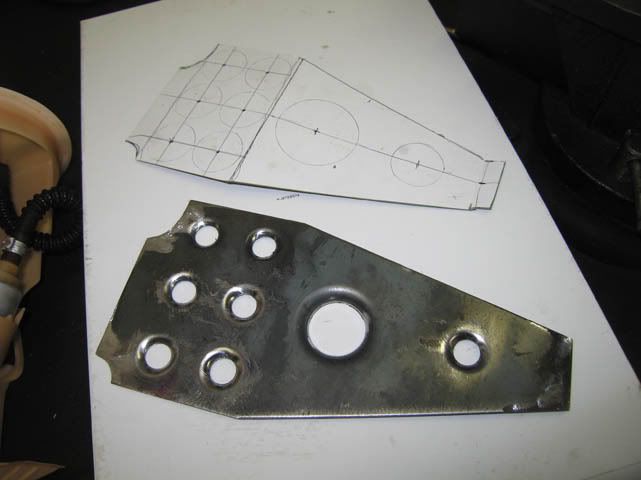
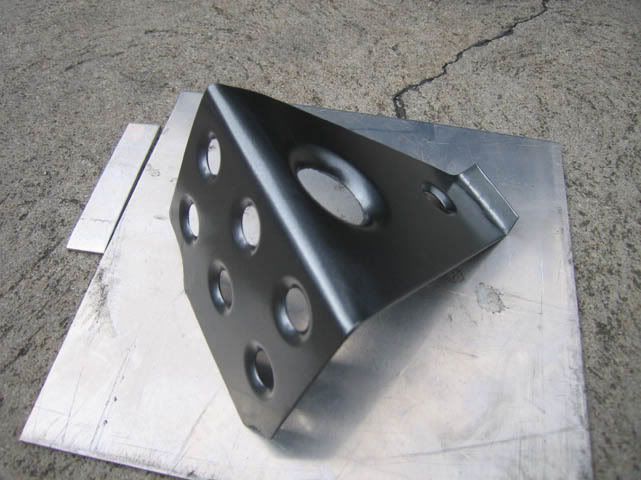
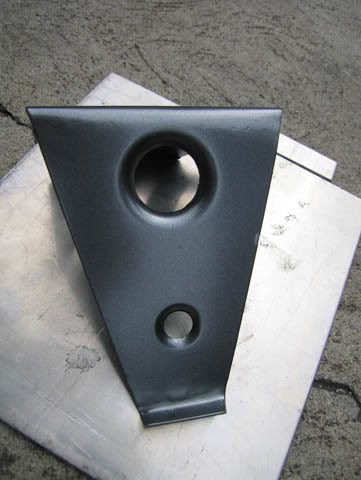
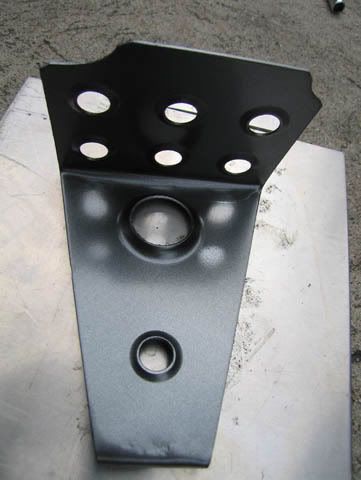
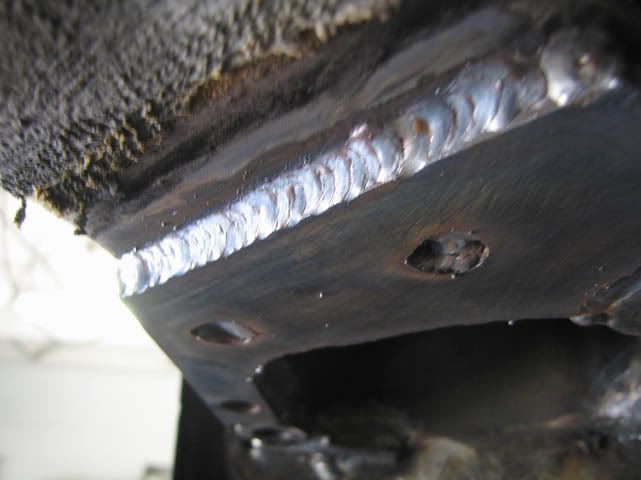
First the main hoop base plates
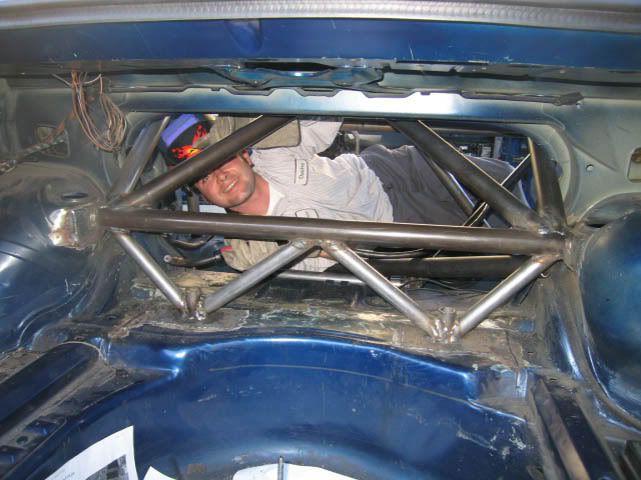
Main hoop in
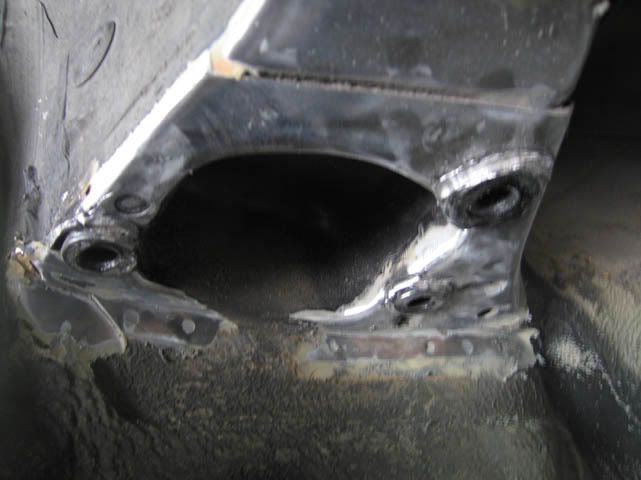
after taking a look at many build thread and websites finalized my cage design and ran subframe connector tubes to be tied in to the cage later
tacked in the front
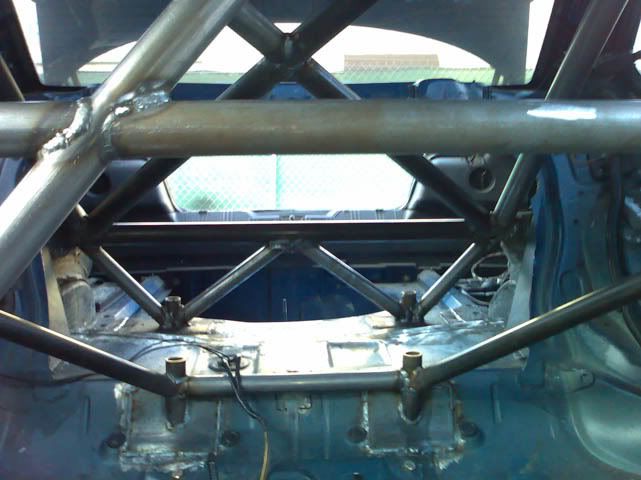
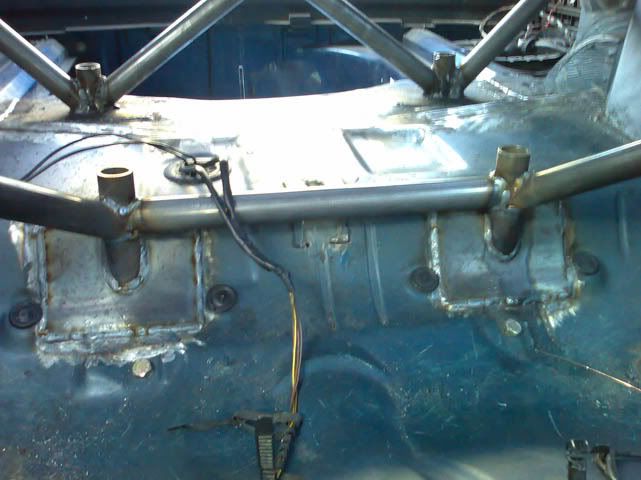
connected the subframe tubes
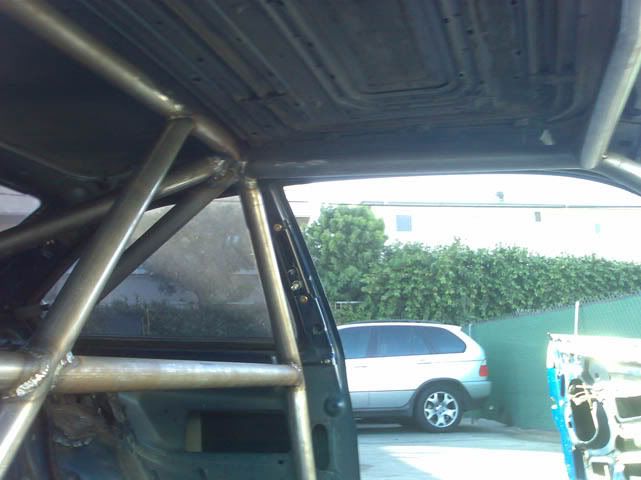
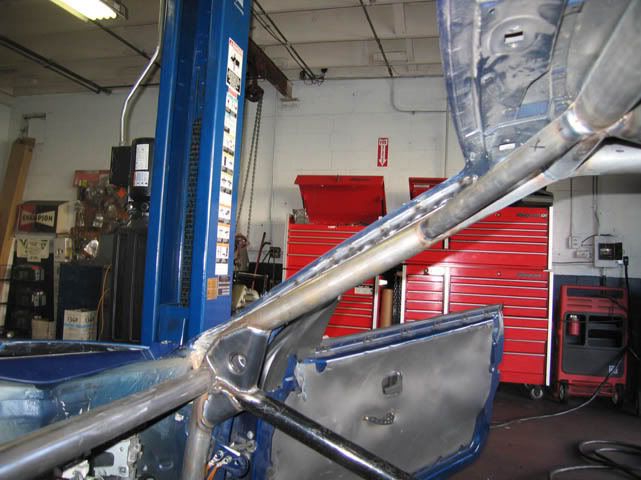
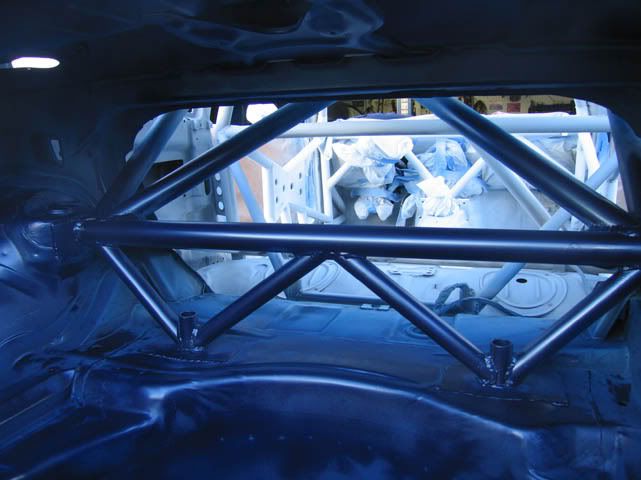
finished basic structure
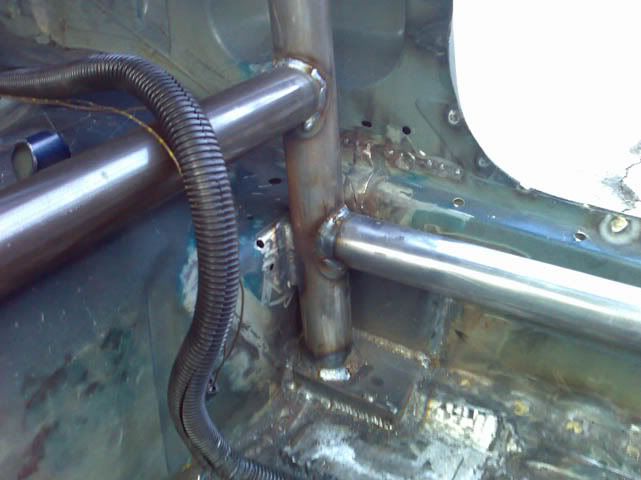
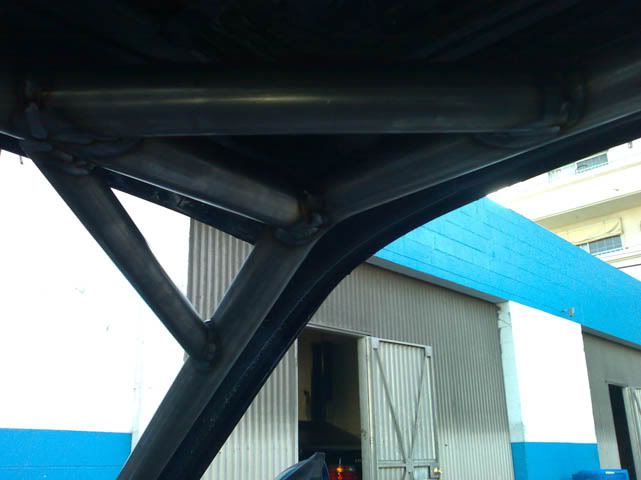
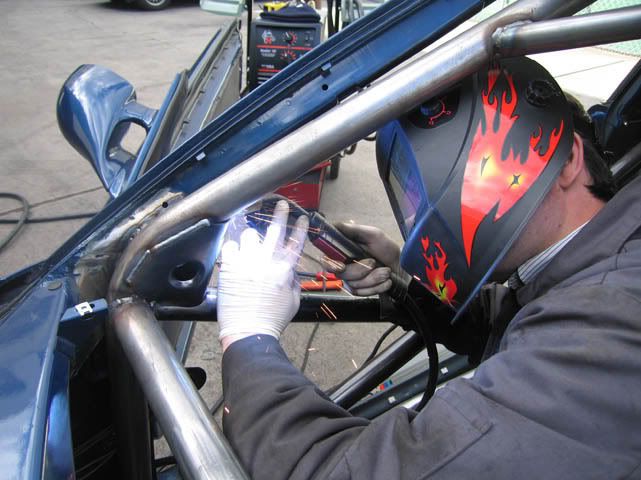
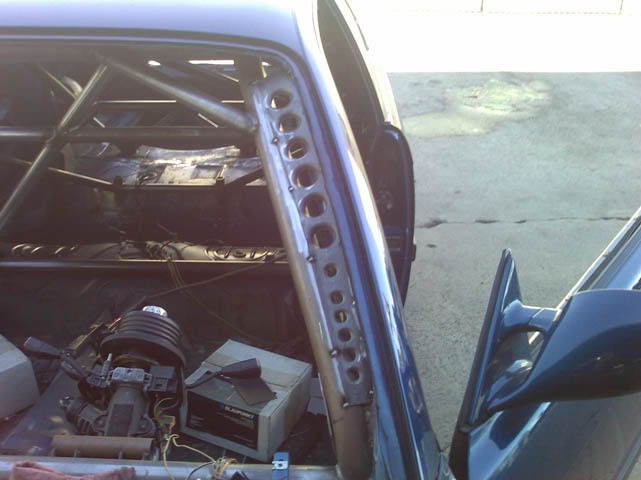
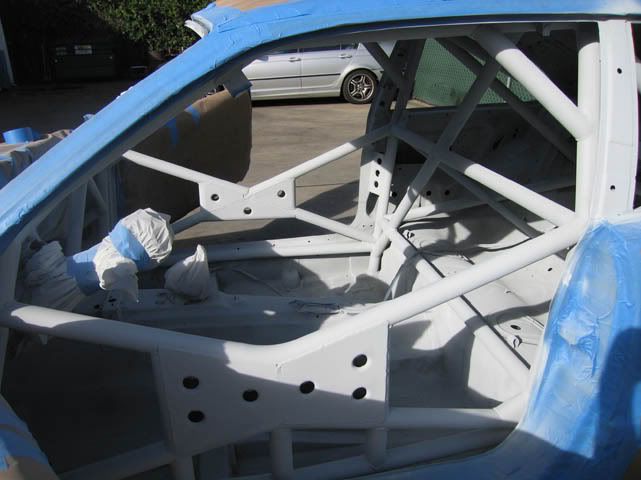
as you can see I gusseted the A-pilar tubes
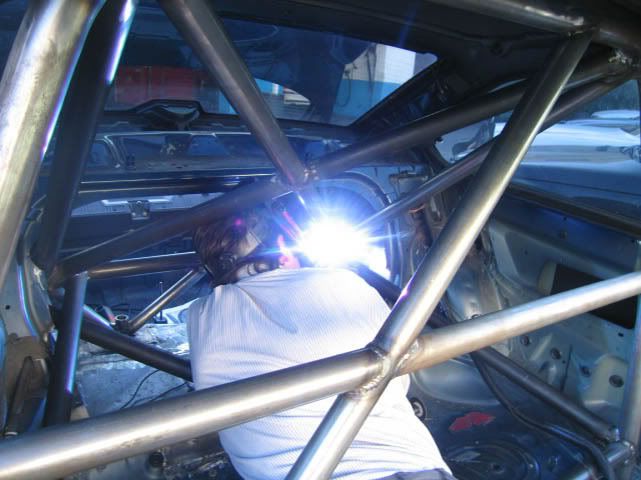
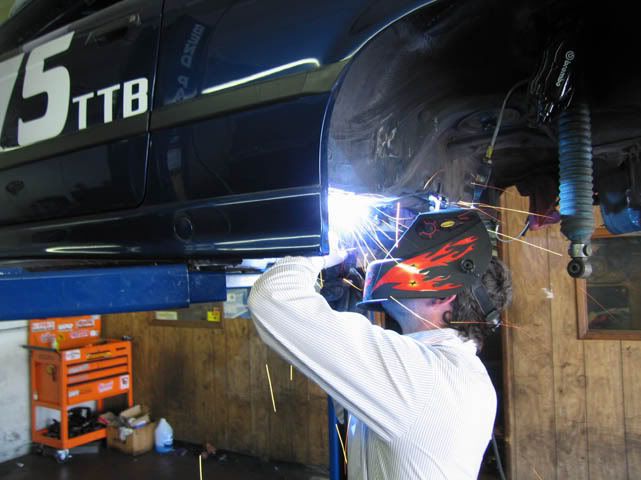
there me doing the final welding on the rear strut tower tubes
Member
Looks like fun crawling around among those bars!
Member
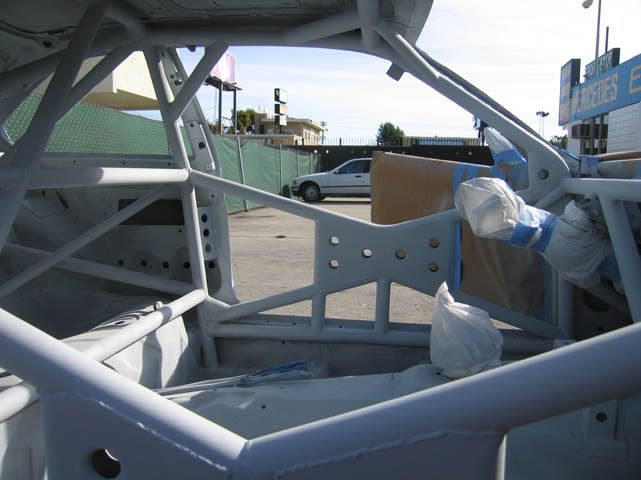
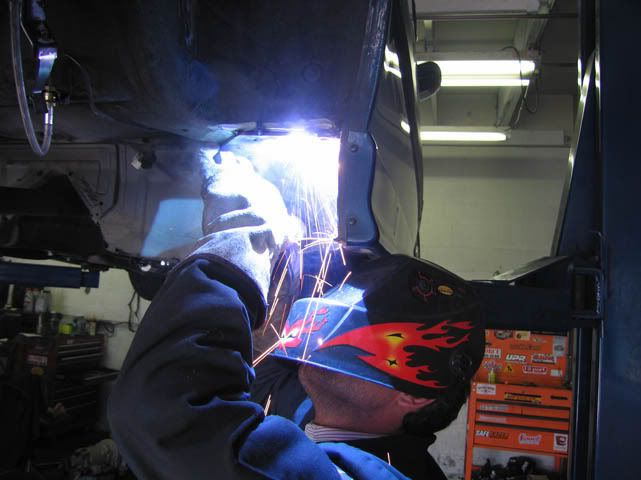
contorting myself while welding more of the rear cage tubes
got creative with some of the dash bar tubes.......I had extra tubing so why not!
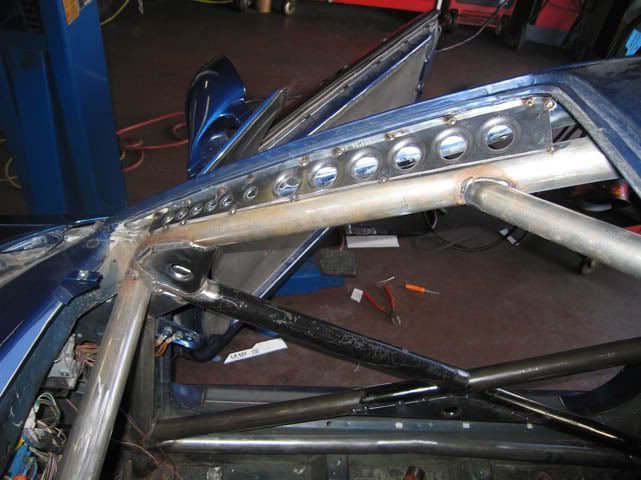
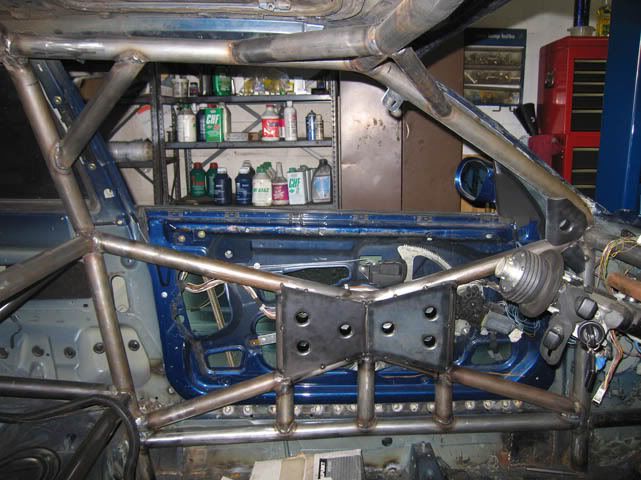
Now me and Pedro both looked at ALOT of door bar designs and we came up with this hybrid design..........I think it's pretty good.......I know I feel safe!
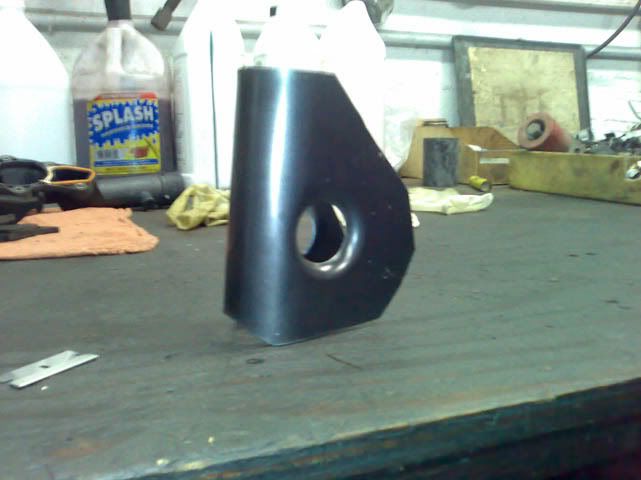
Then after some "arts and crafts" with some cardboard templates.....started going nuts with the new Dimple die's we bought! Started adding some dimpled gussets......
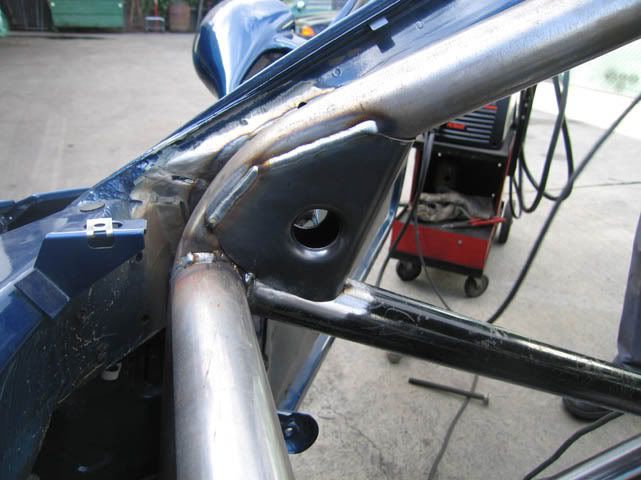
Here is one of the A-pillar to door X gussets
me welding it in...
A-Pillar gussets tacked in...
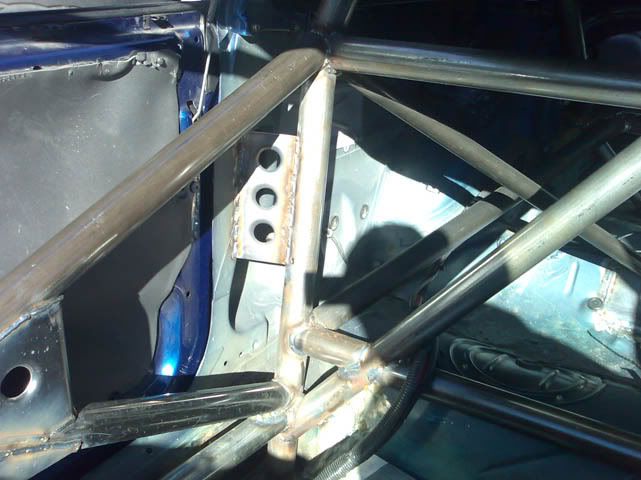
here you can see the X to A pilar gussets
B-Pillar Gussets
Member
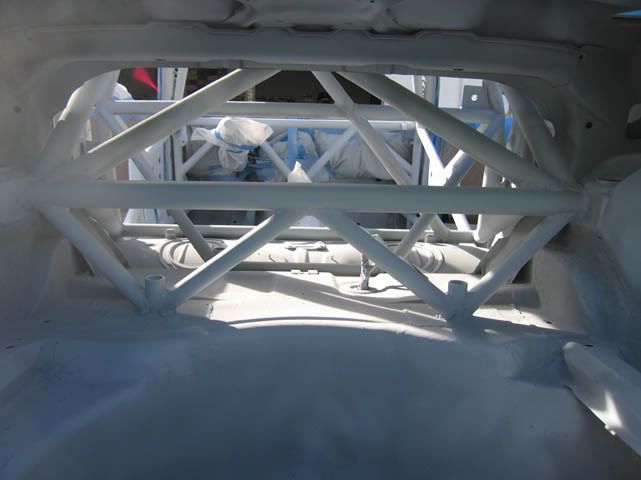
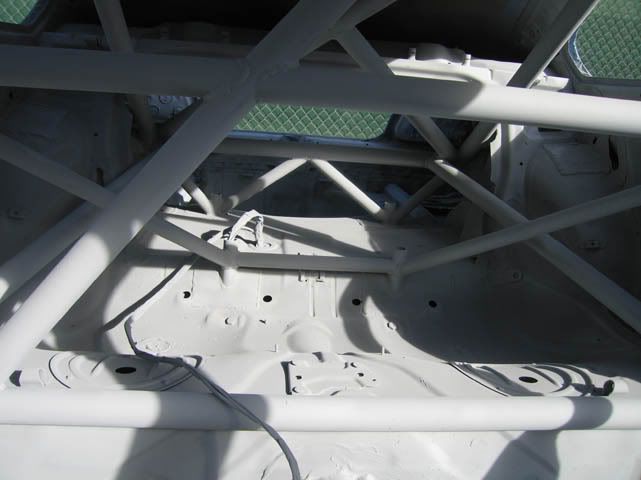
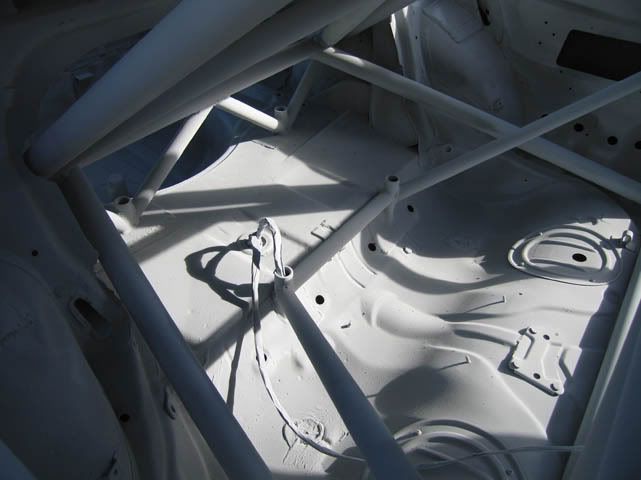
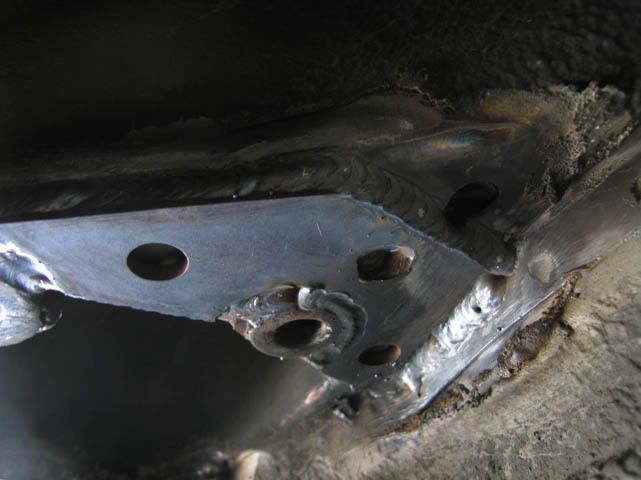
Then started working on the passenger X gussets..... here you can see some of the cardboard we used to make the templates...
also we did the driver side gussets on the door bars.....here is the finished driver side door....actually later we added mroe taco style gussets on the X bars where they meet the B-pillar tubes
here you can also see the B-pilar to roof bar tube gusset.
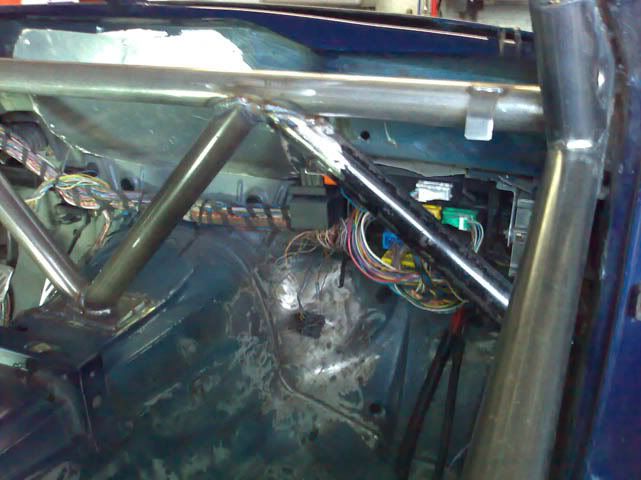
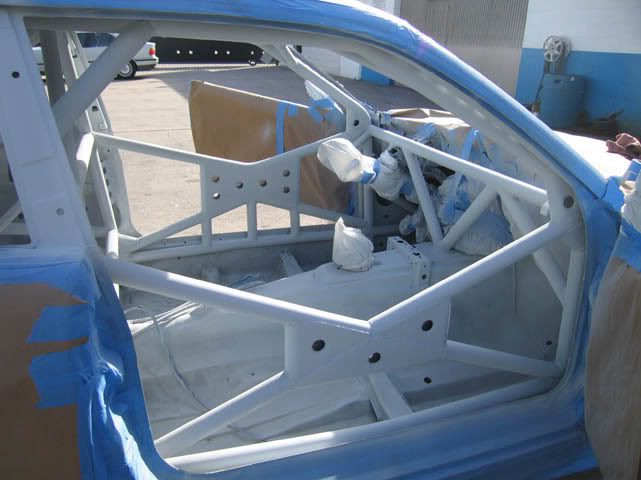
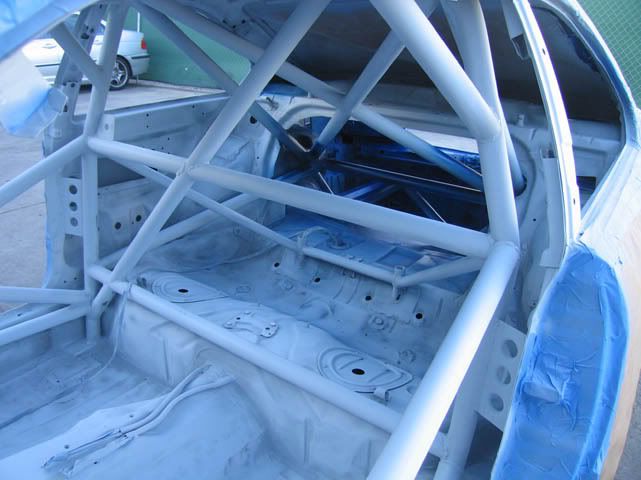
now.......I really wanted to extend the cage to the front shock towers at this point but I didn't feel like extending the project another month or so and really just wanted to drive the car already!!
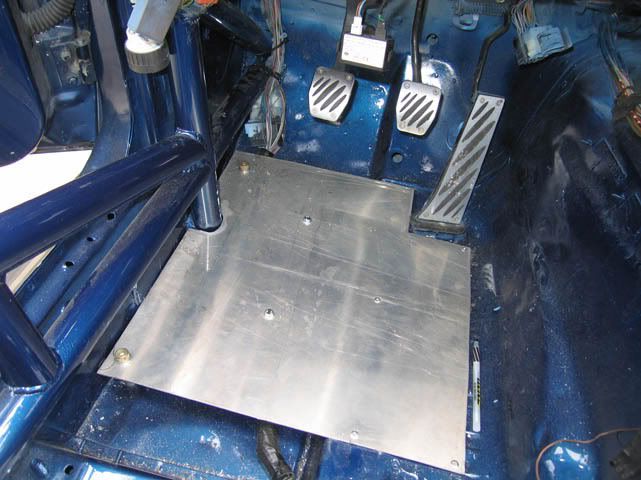
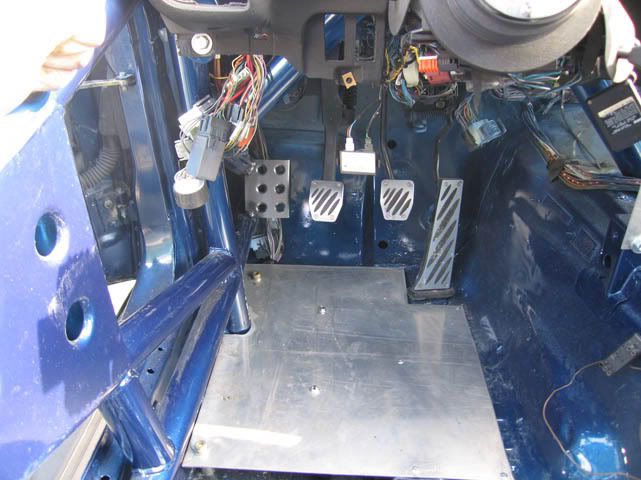
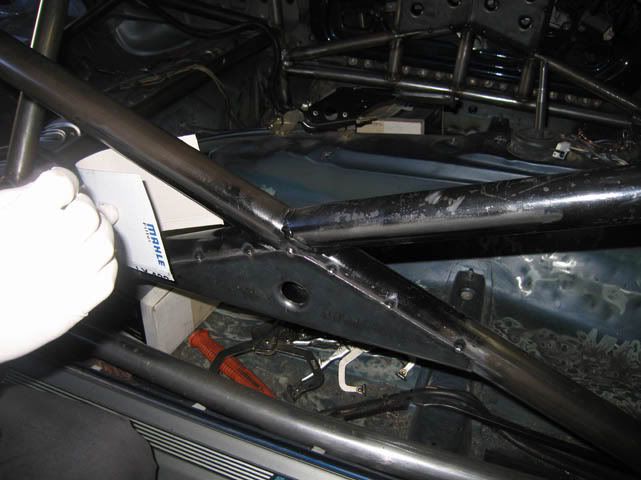
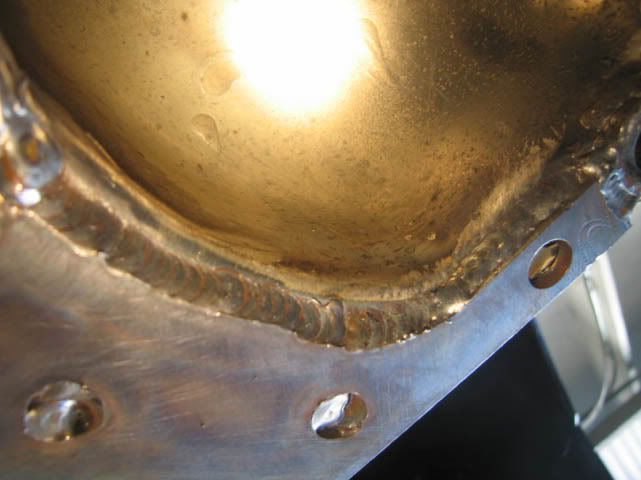
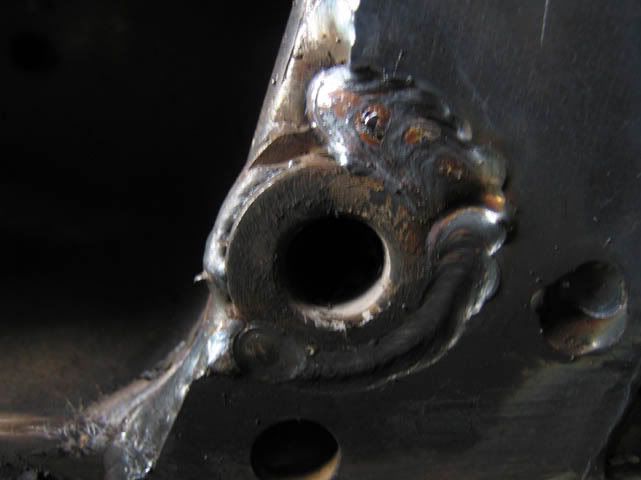
So maybe at a later date I'll extend the cage to the engine bay for now I just added some footwell protection tubes......
Member
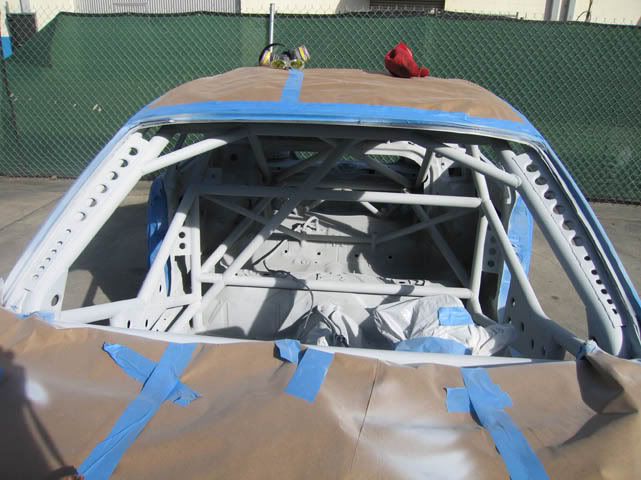
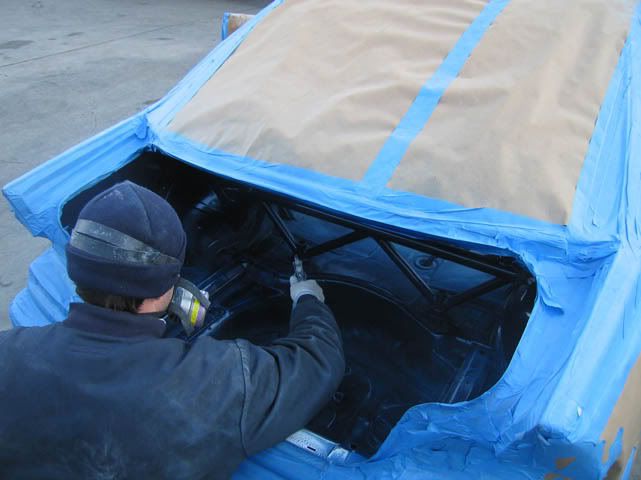
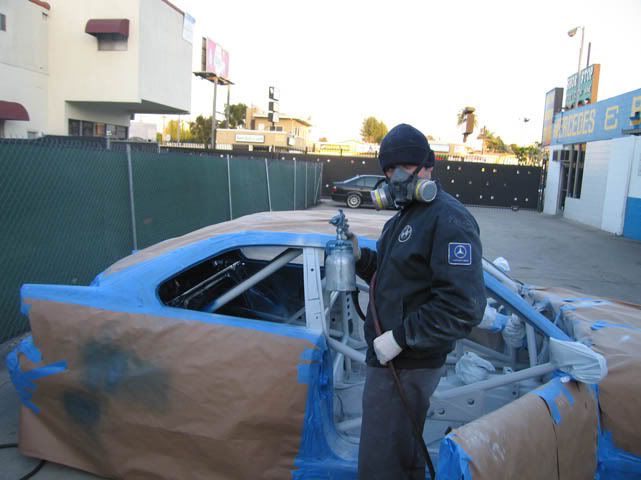
**Looking back.....I wish I would of just brushed on some POR-15.....would of been easier and more durable. If you about to paint your cage look into it! **
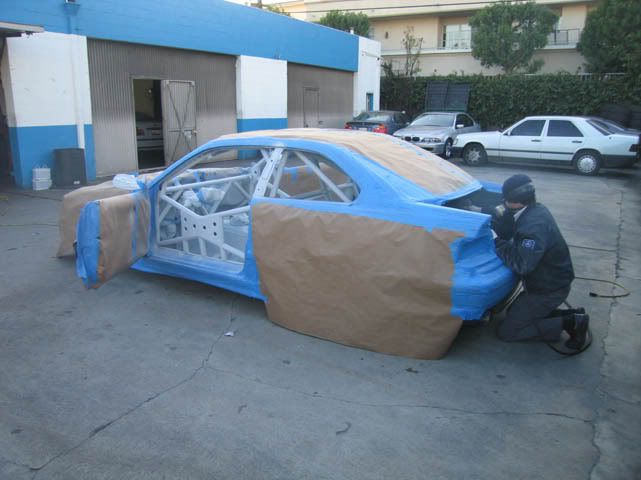
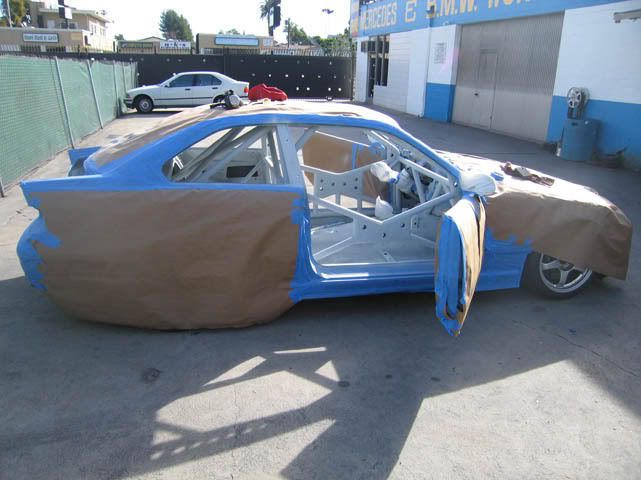
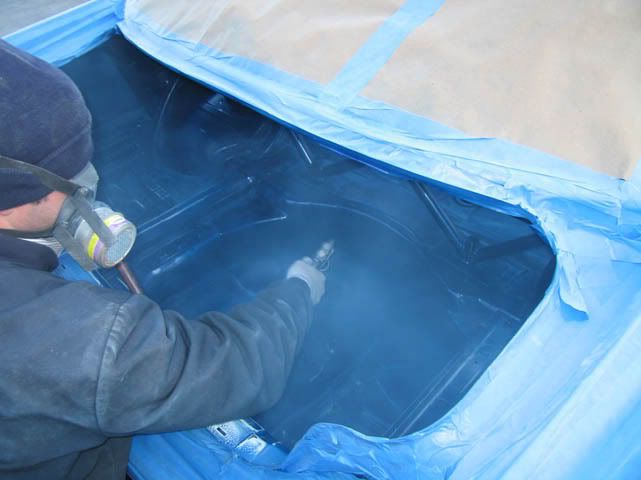
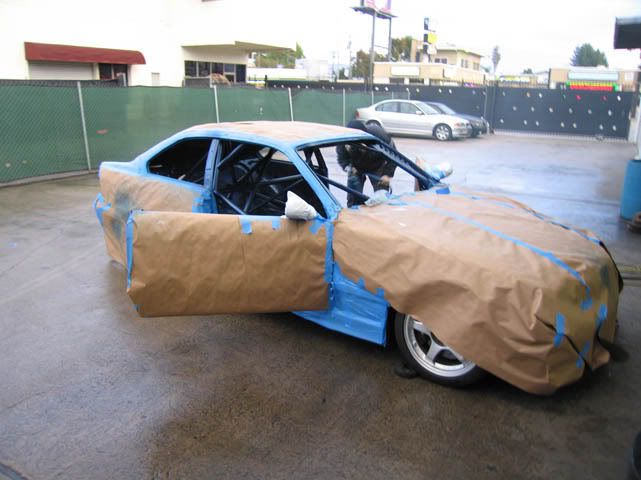
So we bought some supplies masked the car as much as we could and started by spraying on some primer....
There me lost in the spray...
Member
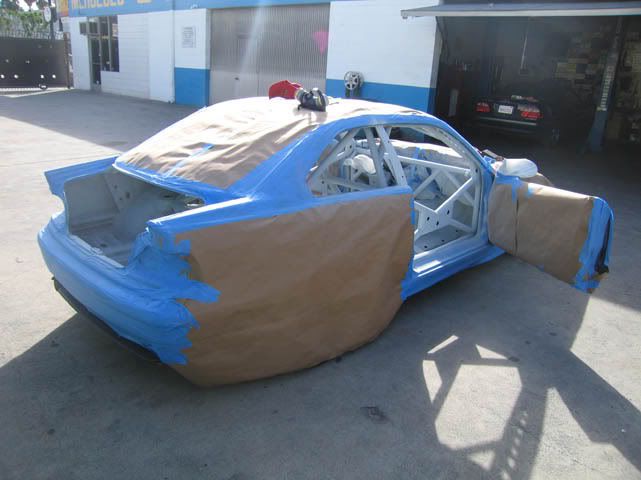
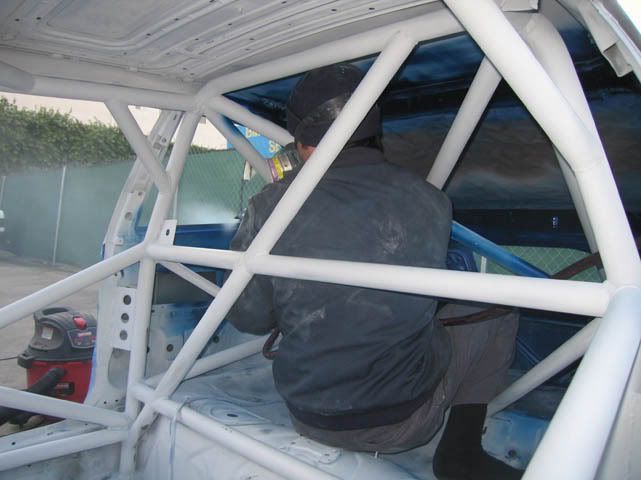
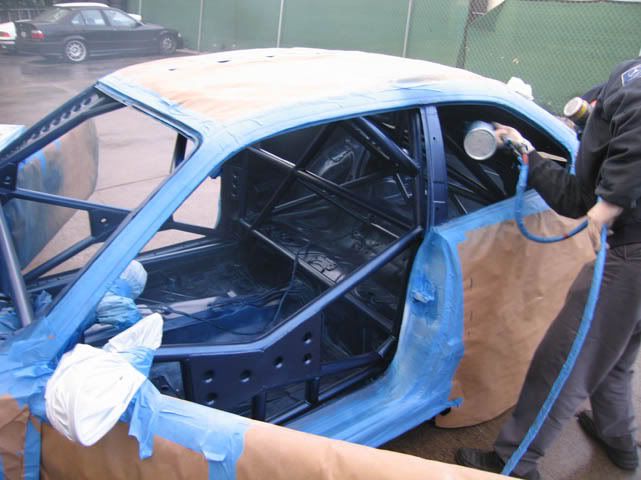
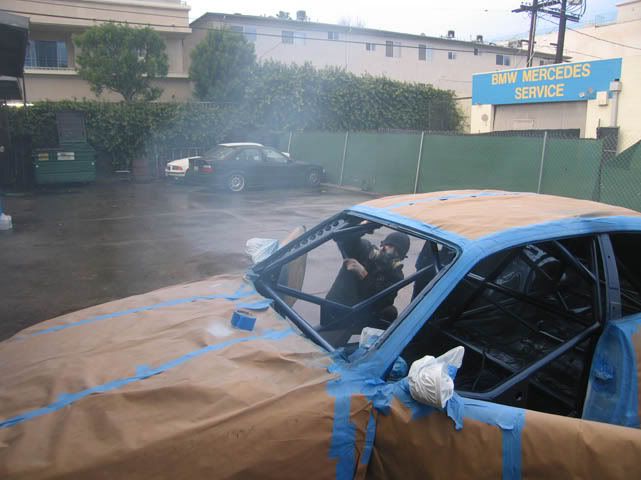
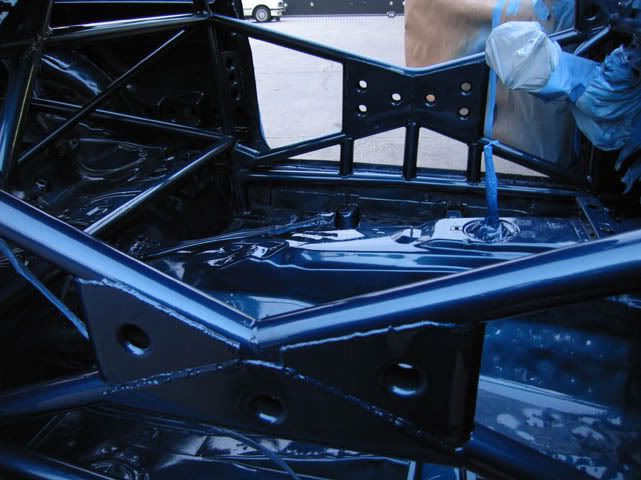
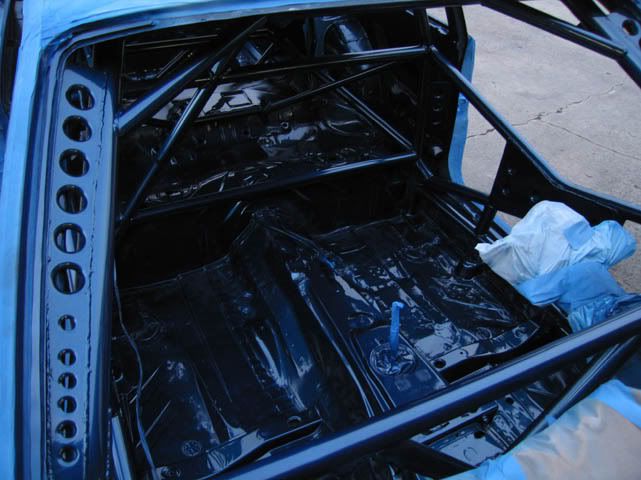
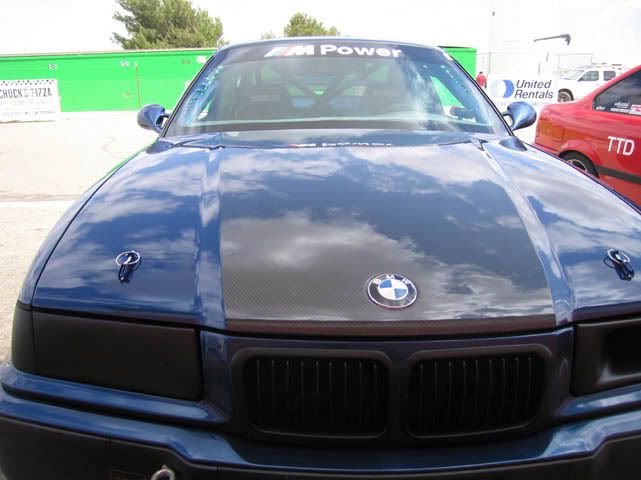
Avus Blue I love you......
well why not color match with the exterior?
Here we go! 1st coat....
the spray mist was nutz.....
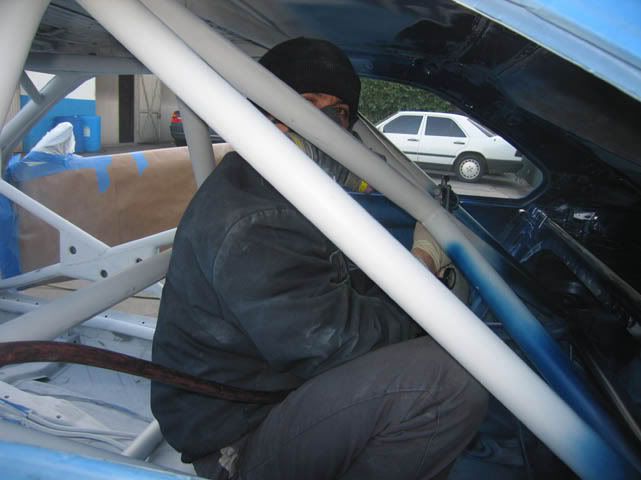
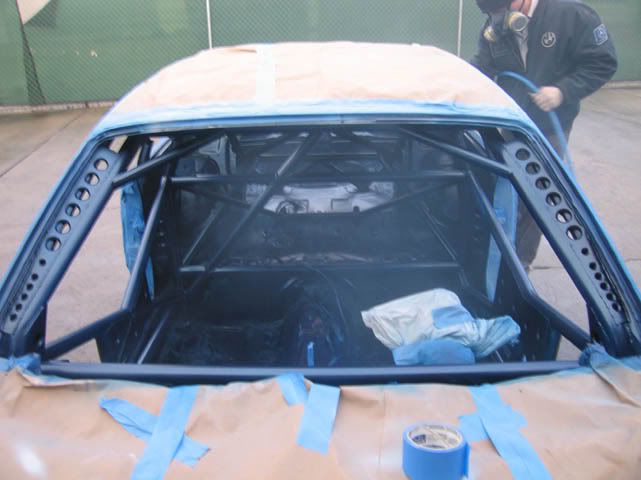
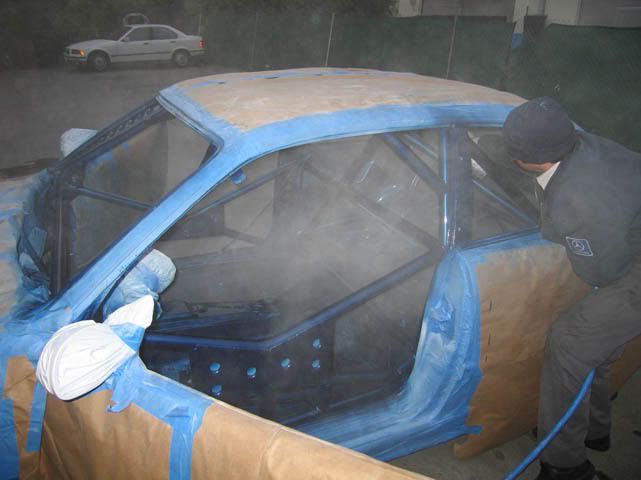
OH YEAH PAINTING A ROLL CAGE SUCKS!!!!!! ARGH!!!!
Why? look at this picture....
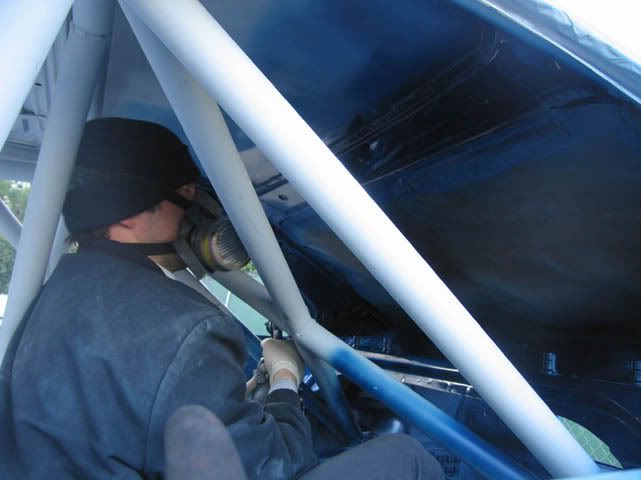
In this end tough, it's a sweet victory.....and you get to wear a sweet mask...
2nd coat....

Member
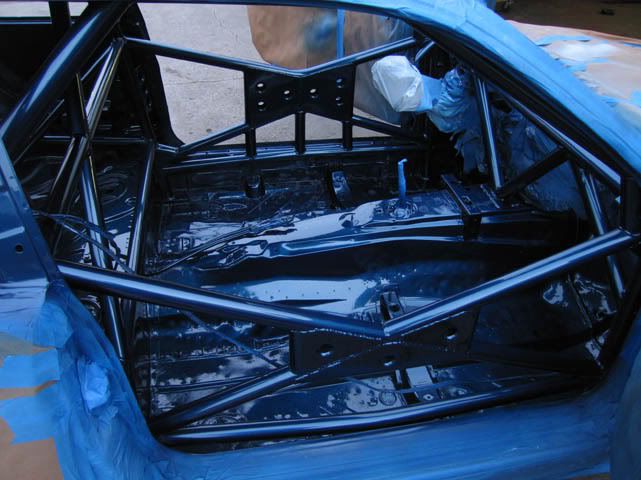
TIme for the clear coat!
Definately the best stage of painting, since the avus blue just comes alive!
Clear coat MIST.....
SEXY.......at least I think!
Member
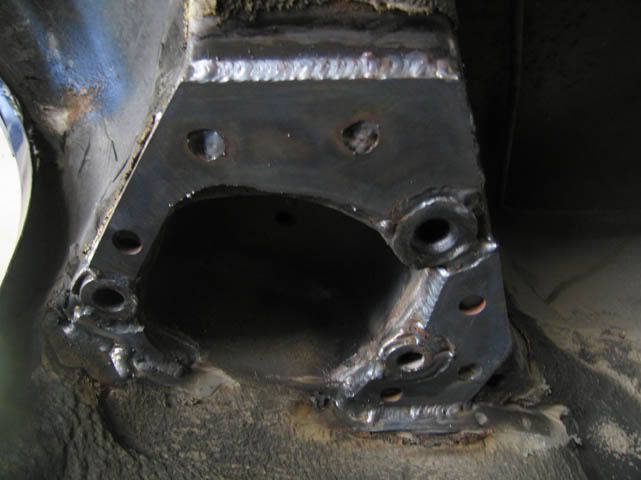
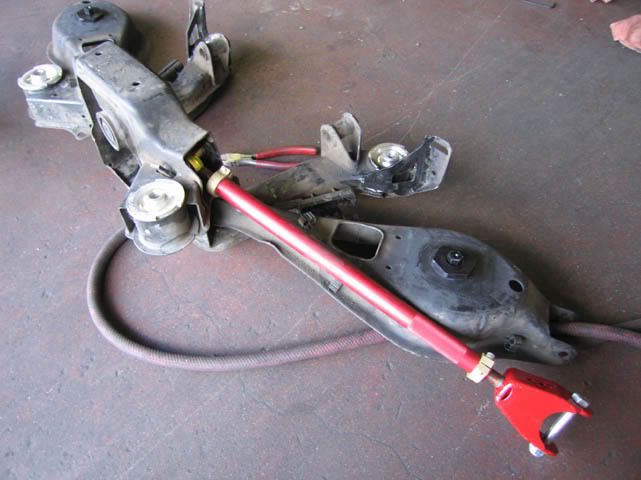
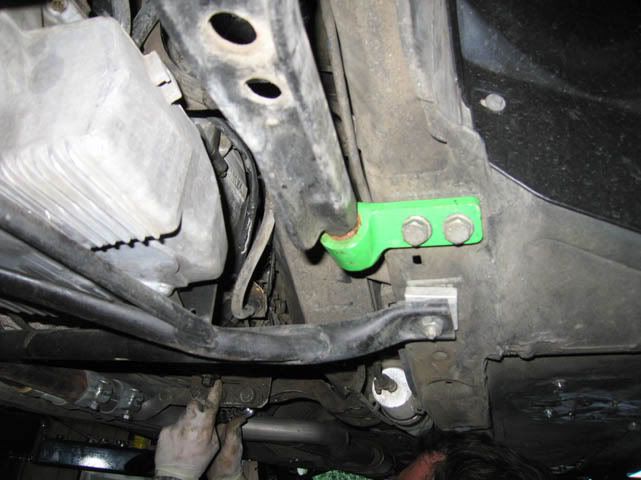
Now that the car is going back together I installed some VAC solid alum. subframe mounts.....
My Girlfriend Olga stopped by to help......(she thinks she going to drive my car.....not!)
finnally.....later that night............the car lives!!!
[ame]http://www.youtube.com/watch?v=vey-RcRPa5Q[/ame]
Last edited by ddragon76; 08-30-2008 at 03:27 AM.
Member
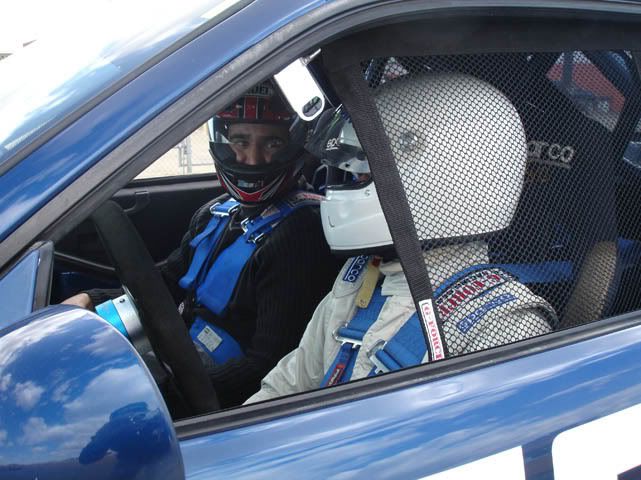
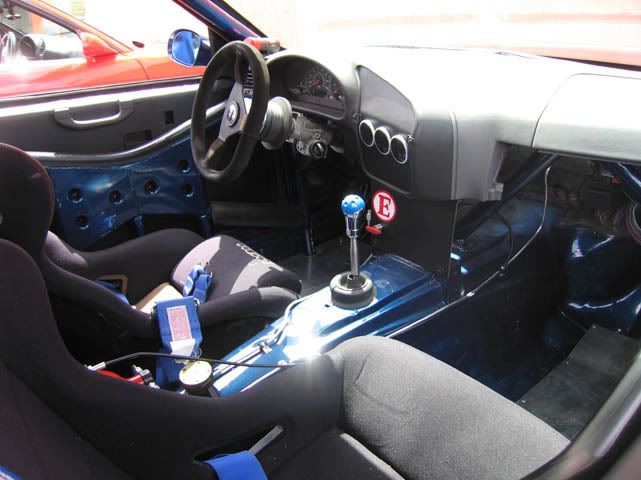
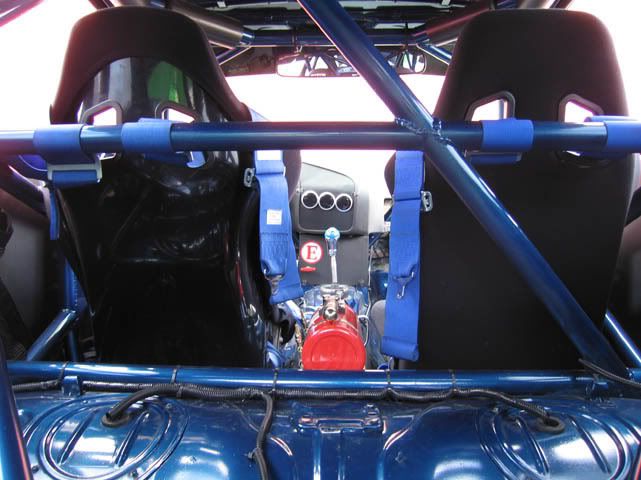
After reinstalling my dash, seats, gauges, belts, fire system, battery cut off, window net, cage pads, battery etc....
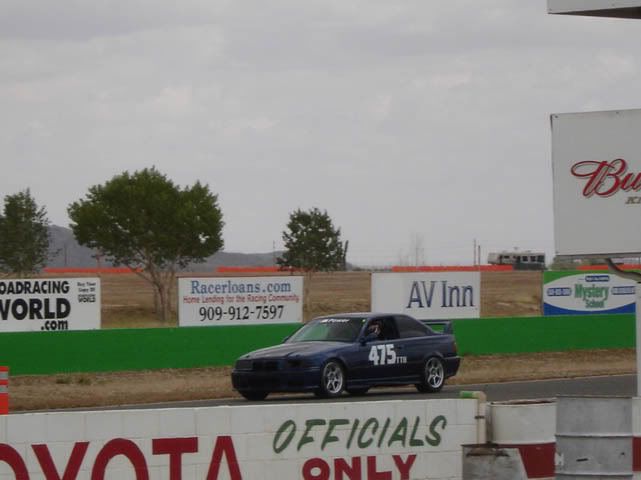
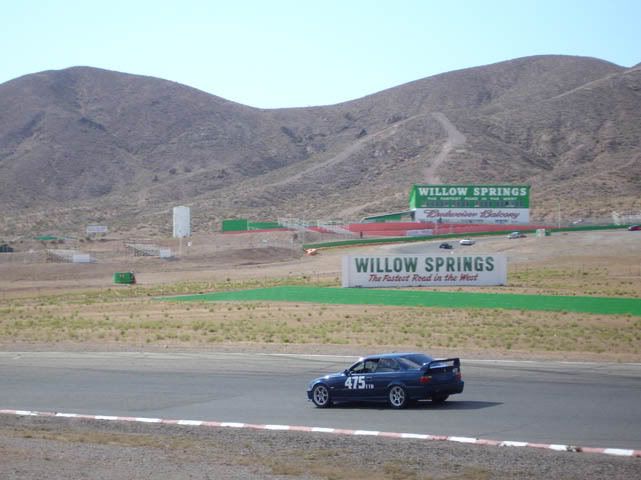
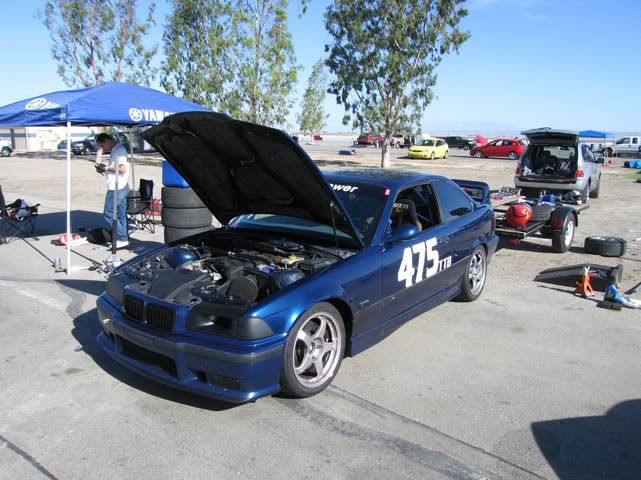
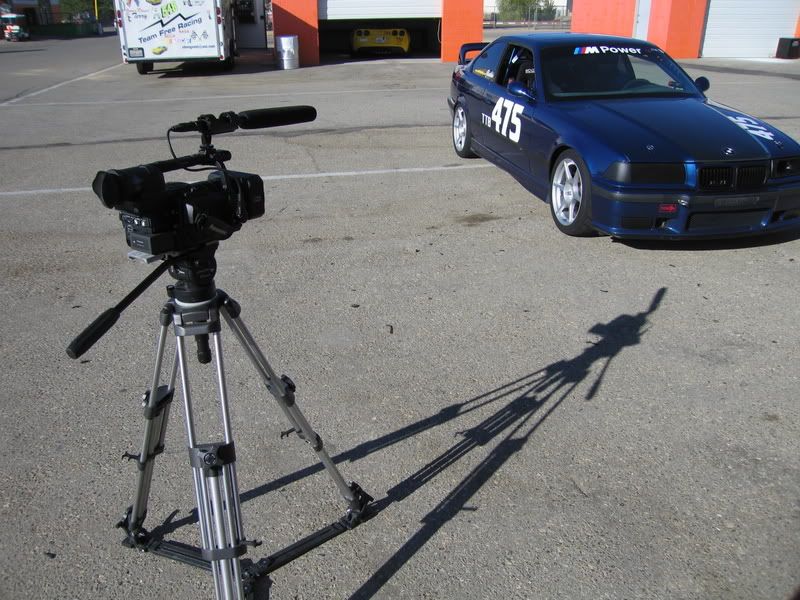
It was off to my first event! A NASA weekend I entered in my usual spot in HPDE 3 group.
Today I just wanted to shake my cobwebbs of my brain and shake the car down.....
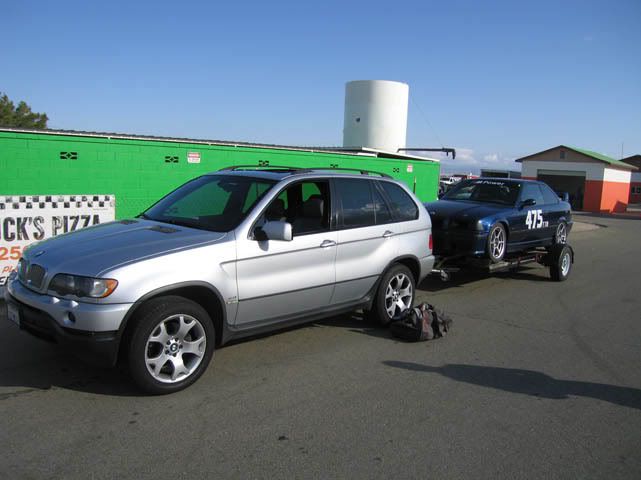
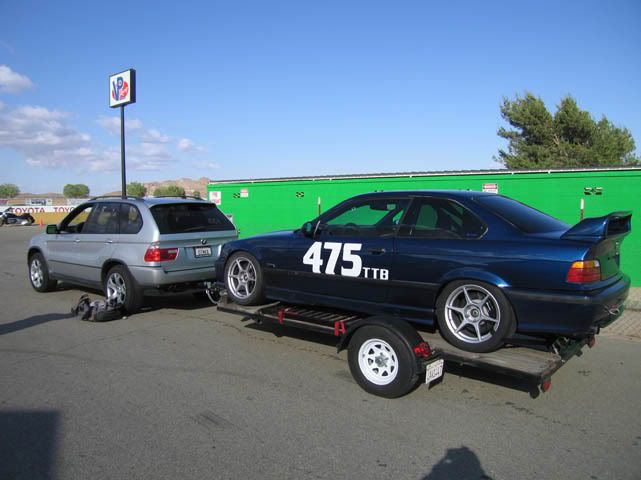
We used Pedro's single axel trailer that he uses for his 2000lbs 2002. I was a bit worried but it towed just fine..... altough we were pushing the weight limits on the trailer tires. SO we kept it at 55 mph at all times(on cruise control). The X5 passed with flying colors and is truely (for me) the ultimate towing machine! I think we got 15mpg that weekend. The brakes were fine and the engine was more than powerfull.....
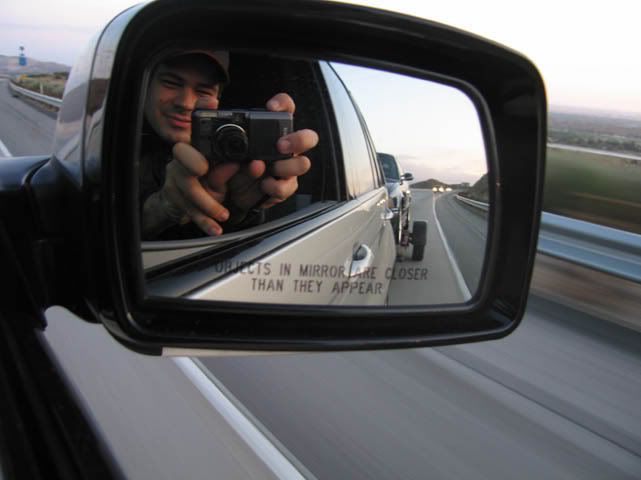
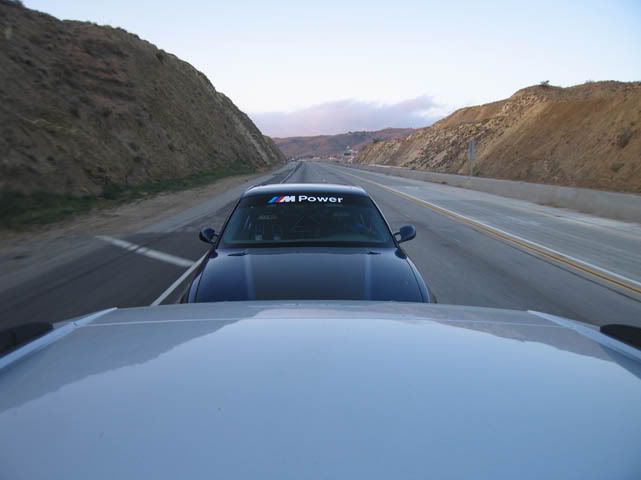
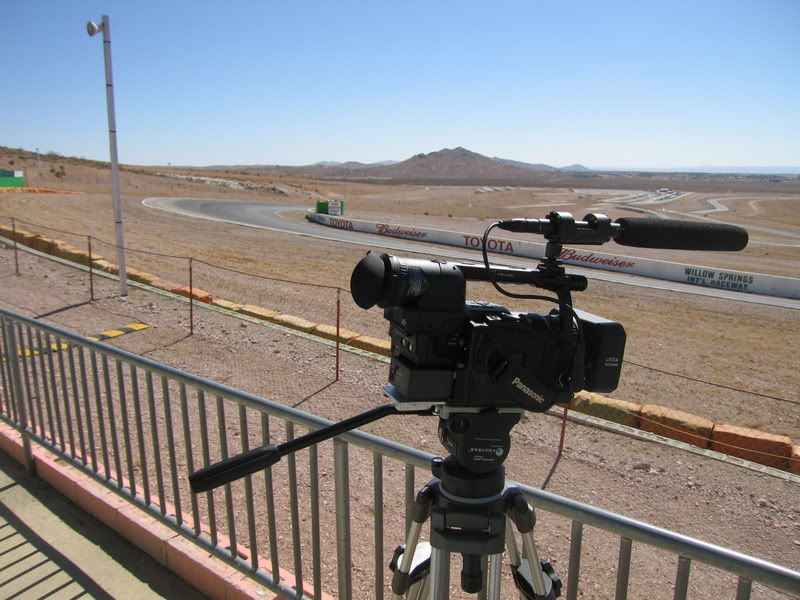
view out the sunroof en route to Willow springs......
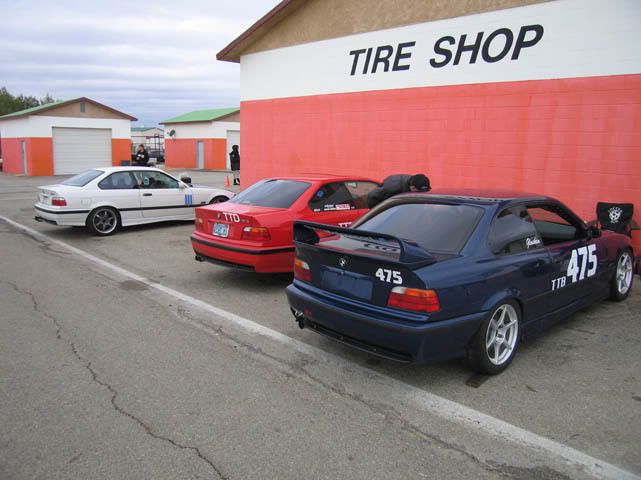
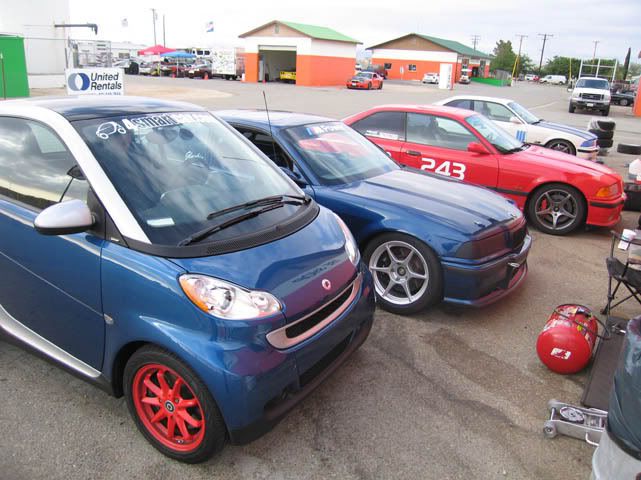
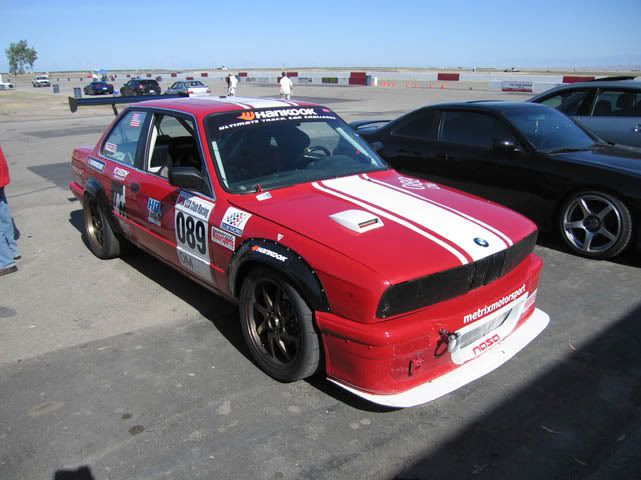
Set up next to my friend John (also head instructor with NASA) and his red M3.....
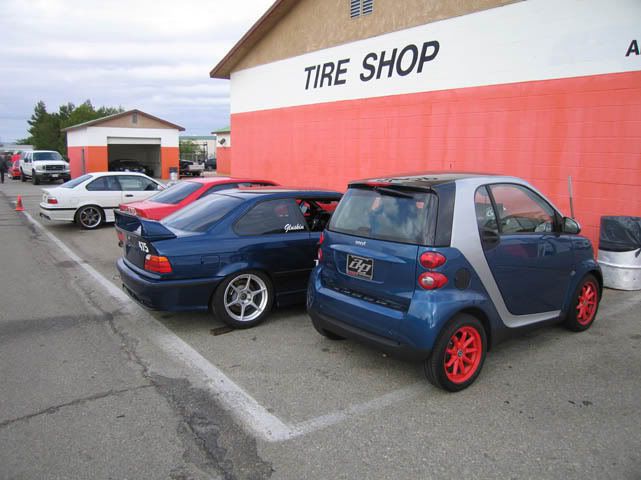
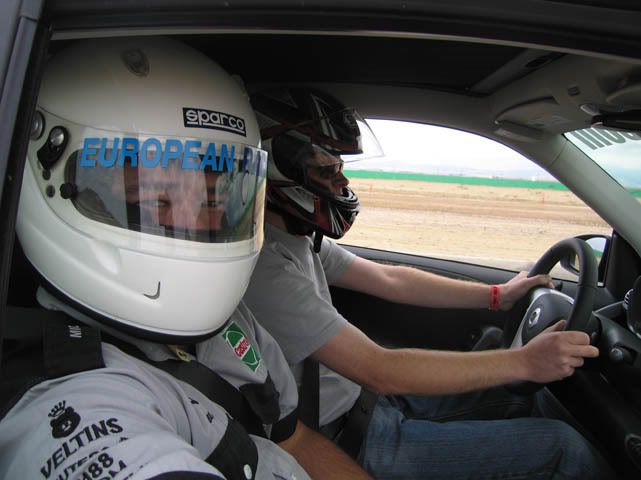
My friend also came in his SMART car........nice bunch we make huh?
Pedro actually went out with my friend in the smart car.....I think he we were the first to track a smart car in the US......

Member
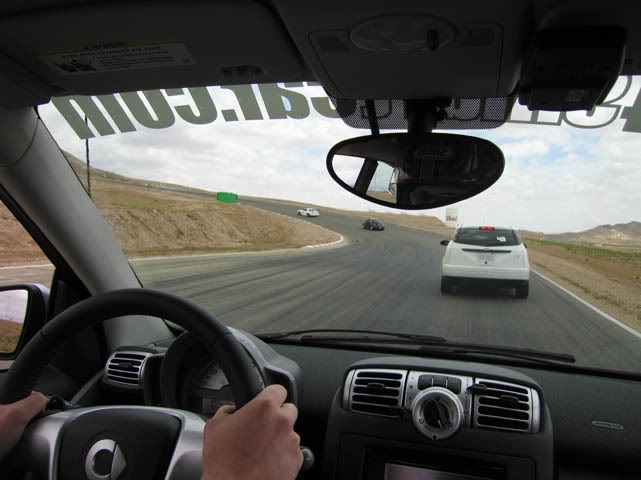
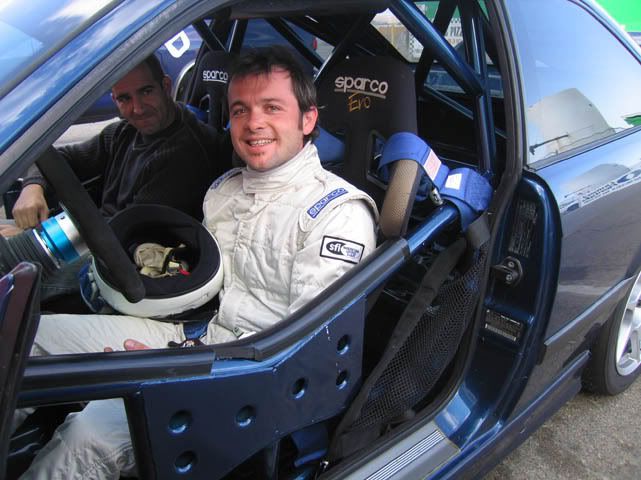
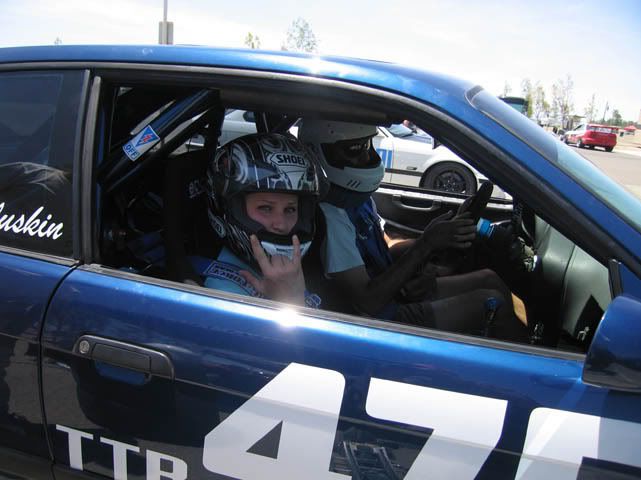
Next up was me......
Time to head out......got my pass...
I'm a happy ***......
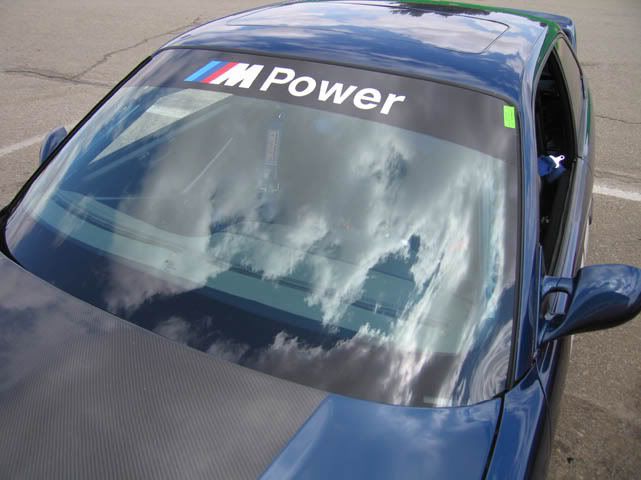
Thanks MPower!!!!!!!
Last edited by jayhudson; 09-23-2008 at 10:28 AM. Reason: language
Member
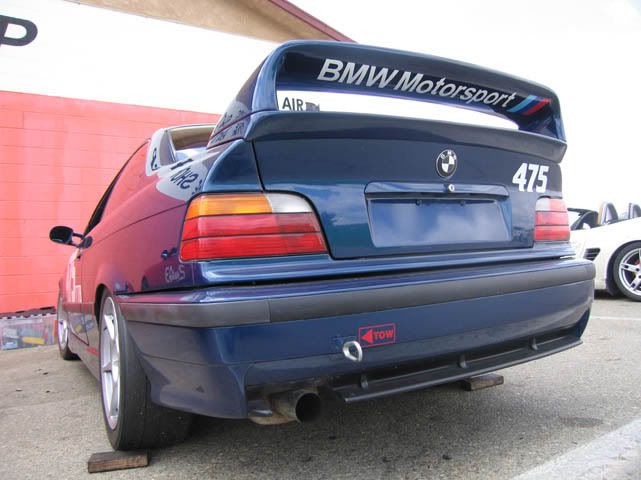
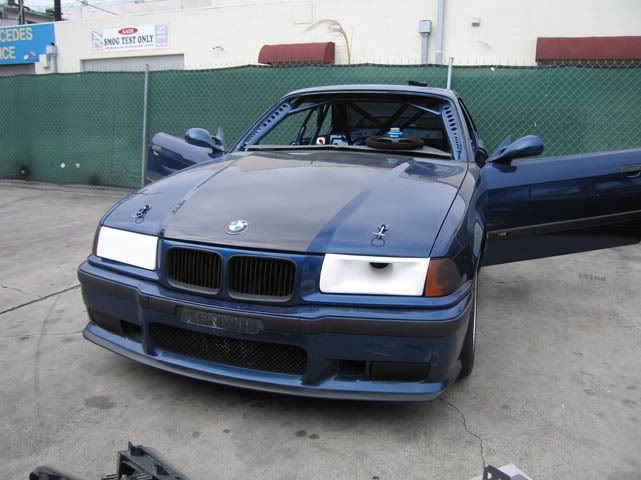
Here are the complete glamour shots from that day....
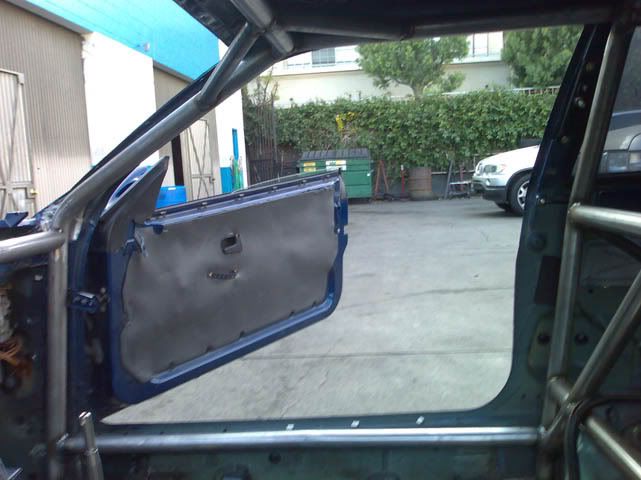
Finished interiror
battery disconnect,
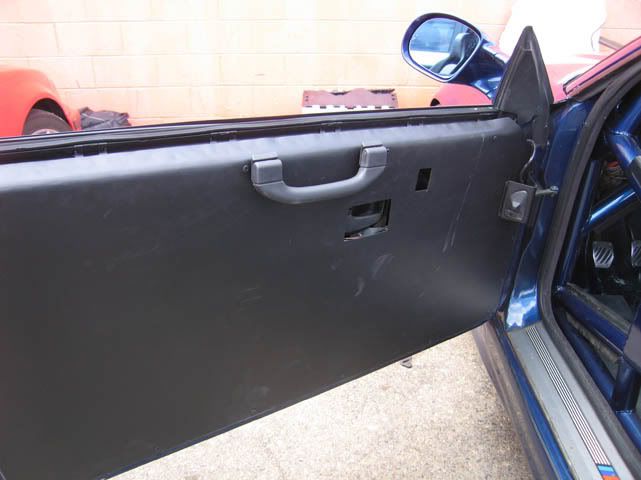
Our fabricated alum. door panels (spray painted flat black)
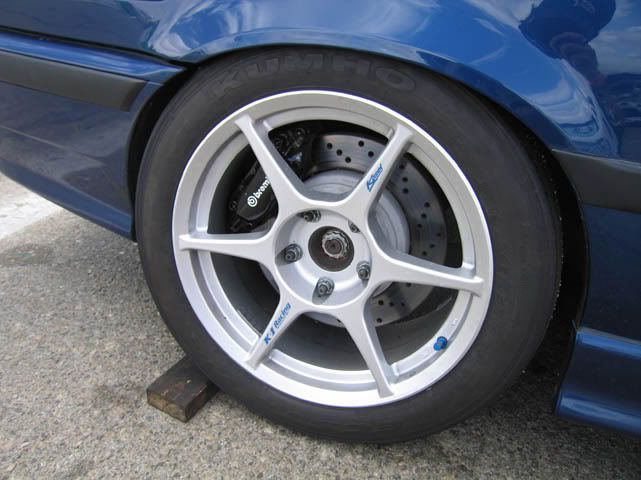
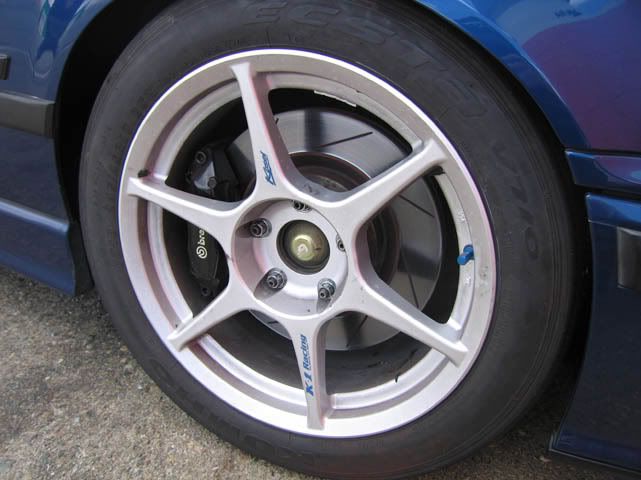
Front and now (new) rear brembos
Time to go home...
Member
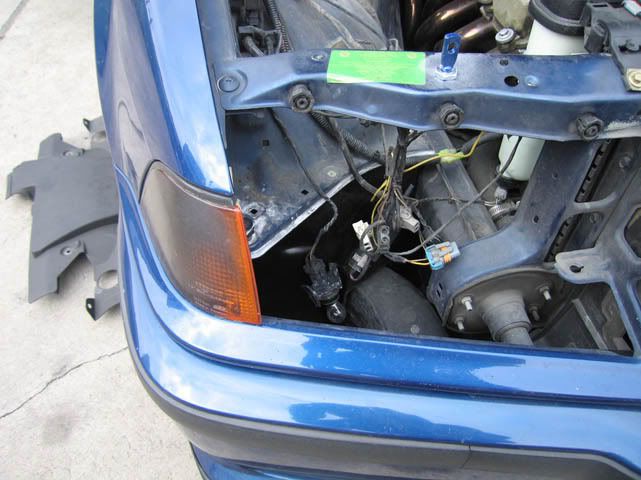
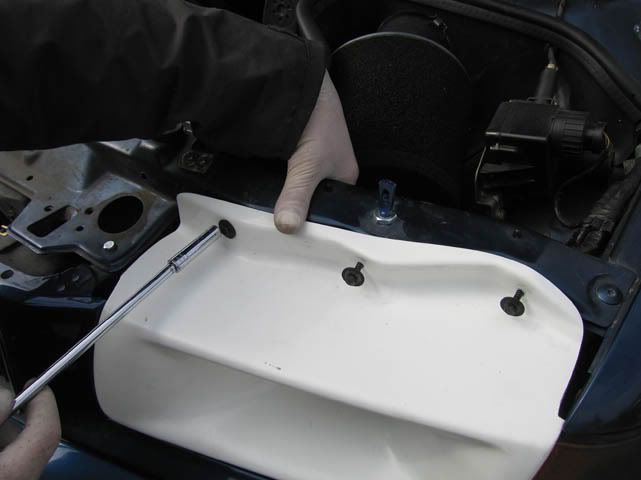
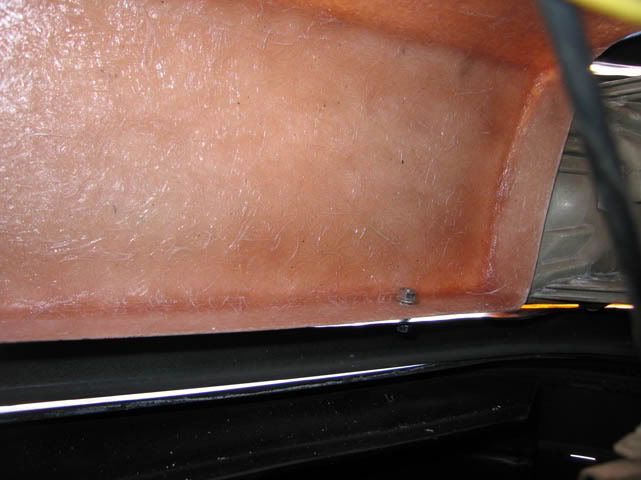
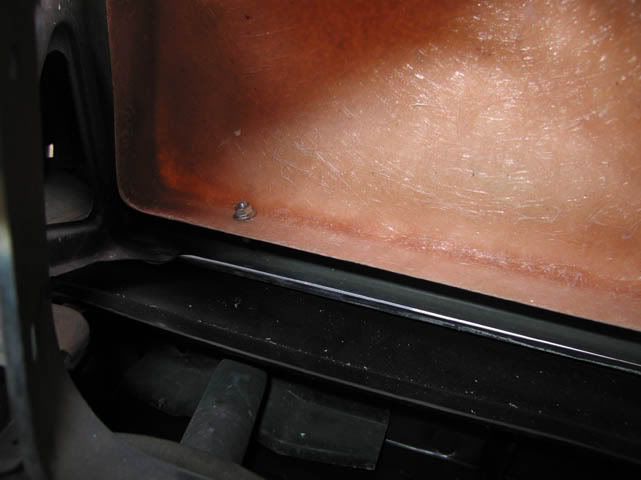
Opps.......here are the pictures from installing the fiberglass Turner motorsports air ducts...
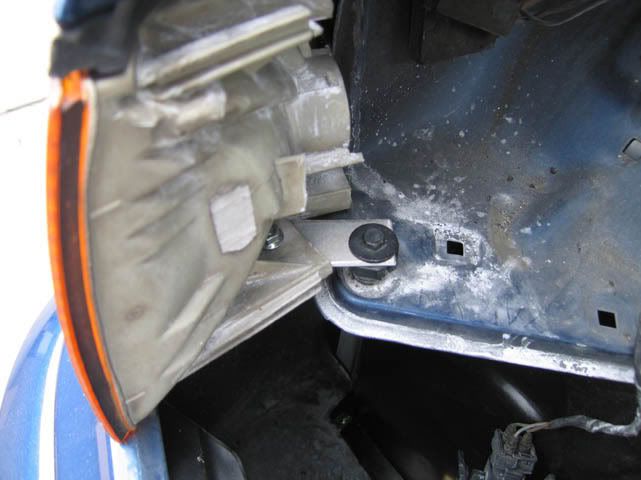
First we started by making a small alum. brackets to hole the corner lamps in place....
mark and drill the holes on the top part
then we drilled the sheet metal along the bottom lip and but small nut and bolts to hold the bottom in place.
done... then I sprayed everything flat black
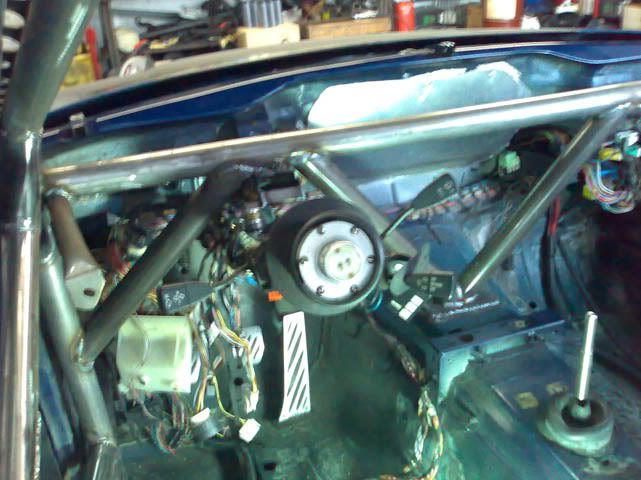
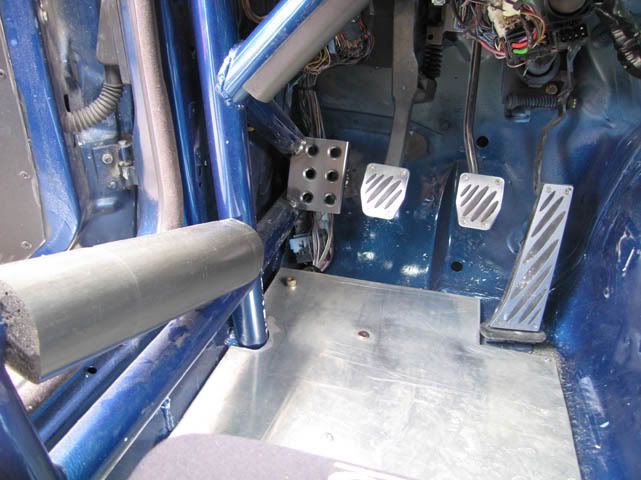
Also........made an alum. floor board. ( here you can see my foot protection tubes I talked about earlier)
Member
I decided to make myself a nice dead pedal....started by making a cardboard template....then replicating it in sheet metal, then a making the dimples and bending it and finally spraying it grey.
welded in place......
Member
Next up was A NASA event at buttonwillow, same weeked of the 6-hour enduro and the Ultimate track car challenge so there was a ton of fast cars to watch and compare my times with!
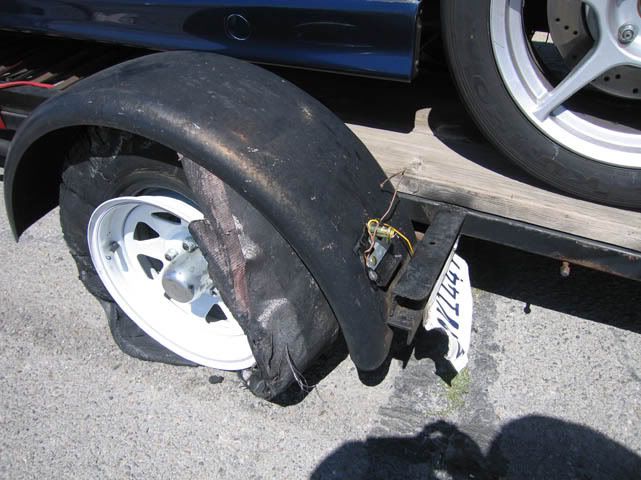
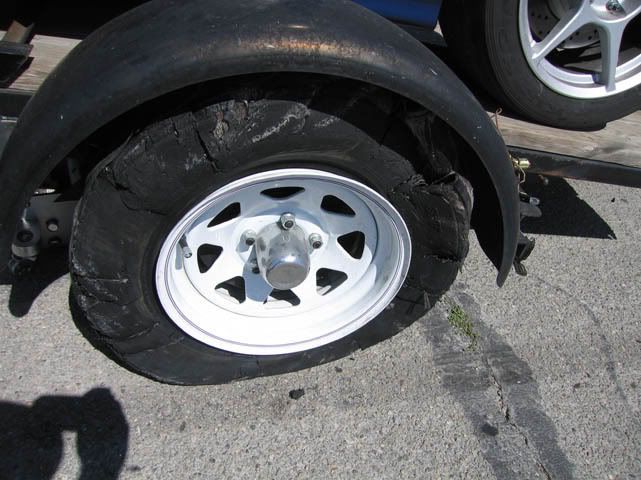
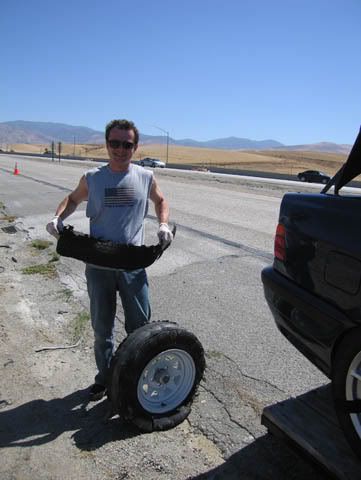
We were always worried about pushing my old trailer tires. Naturally on the way there while at 55 mph.....BOOM....blowout! Scared the crap out of me and Pedro but maintained control the whole time and slowed down and pulled over.... whew!!!
Me holding my trophy!
Check your tires folks!!! the thread was good but they were 2 years old. They reccomend change your tires every 2 years.....We will replace with better ones.....
Car ran great once again......I managed a 2:08.....John drove my car and squeaked out a 2:03!! ....and he was complaining about a understeer....
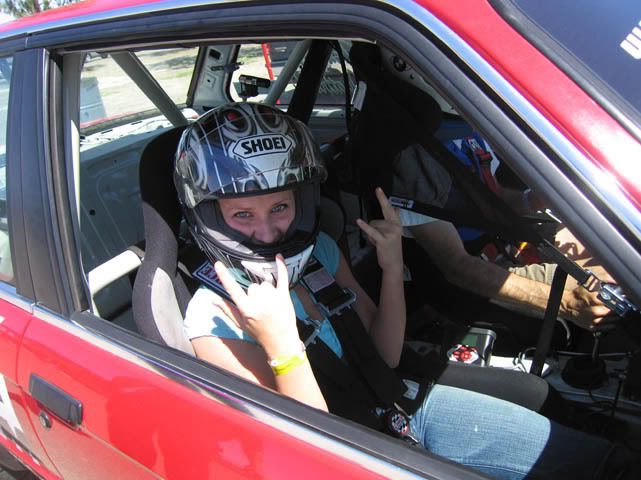
John took my girlfriend for a ride in the blue monster....
Next up he took her for a few fast laps in the M42 Turbo powered E30......
She had lots of fun and I think john only managed a 2:04 in that session in the e30 (later I think they got the car to run a 2.00 flat or somethign like that)
Wetter is better.....
Very nice build....keep the pics coming
Nitin G. Shanbhag
BMWCCA #101510
87 951, 88 M3 2.5, 88 M3 Racecar Project, 90 M3, 95 M3/2 Slicktop, 96 E36 "TrackBeater", 97 M3/4 Slicktop, 97 TJ, 06 F250, 17 M440i
E36 TrackBeater Project Thread: http://forums.bimmerforums.com/forum...d.php?t=884145
Member
Well........I just couldn't stop myself....even tough John proved the car had plenty of speed already.....
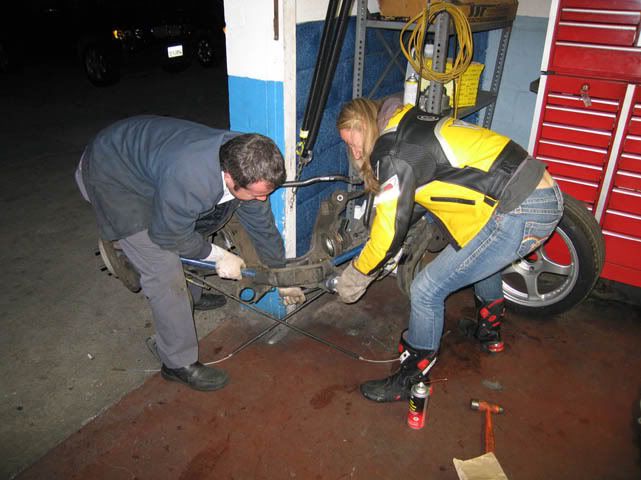
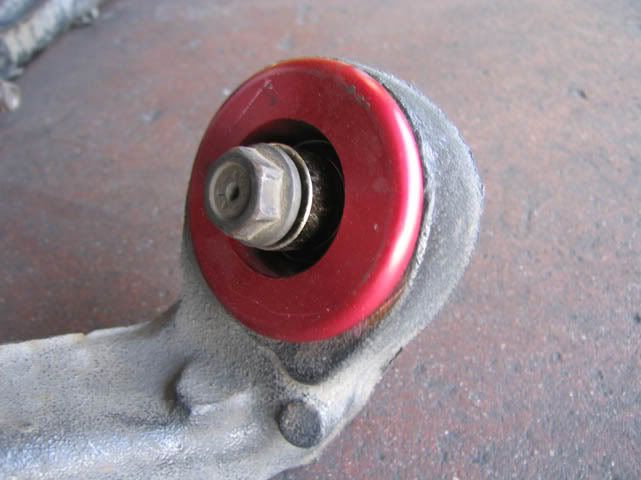
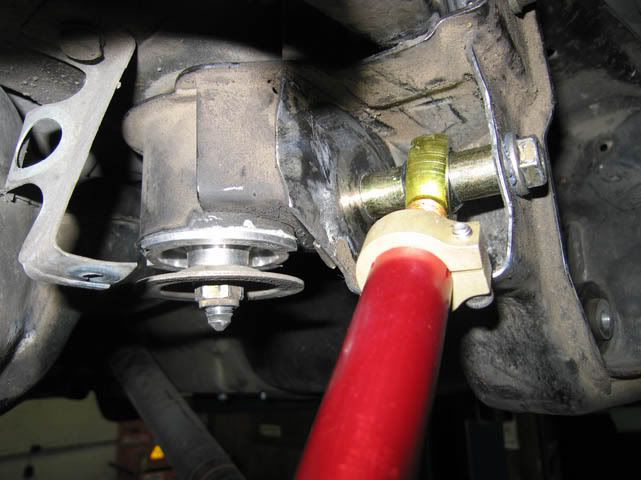
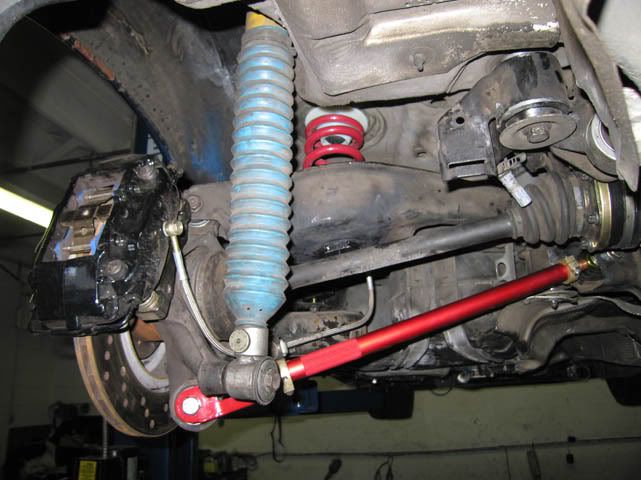
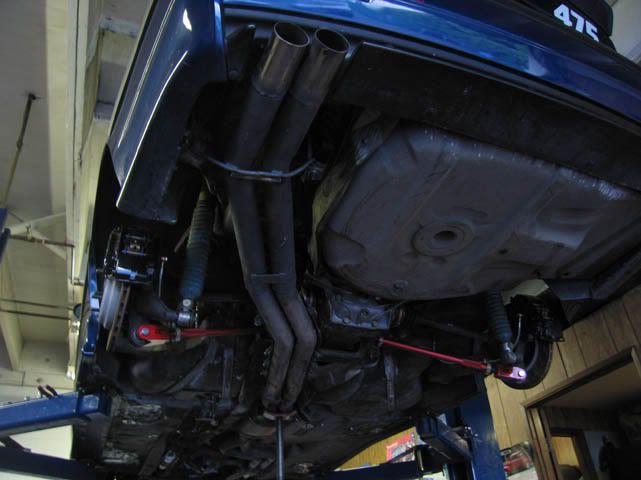
I decided to increase my spring rate, add GC camber arms, monoball bushings etc....
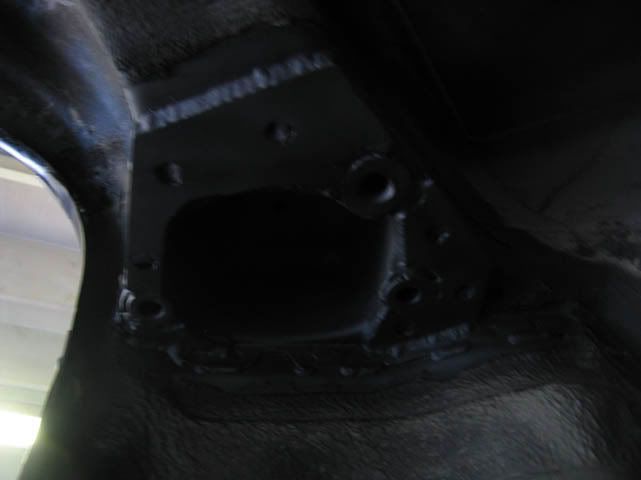
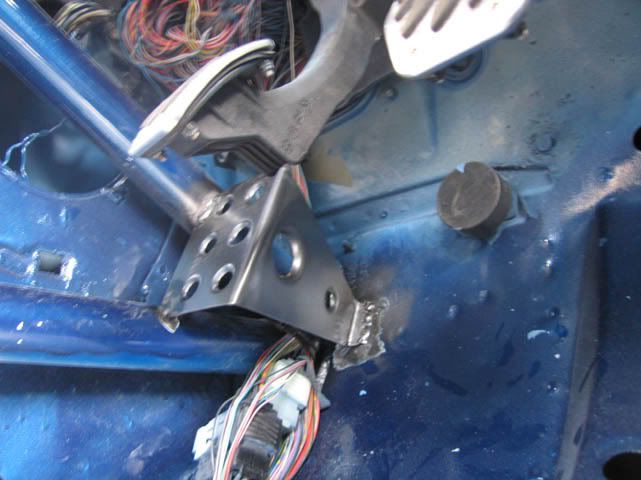
more importantly also reinforced my chassis.....as you can see it was already cracking !!!!!!!!! ( I had already reinforced the rear sway bar, front subrame etc...)
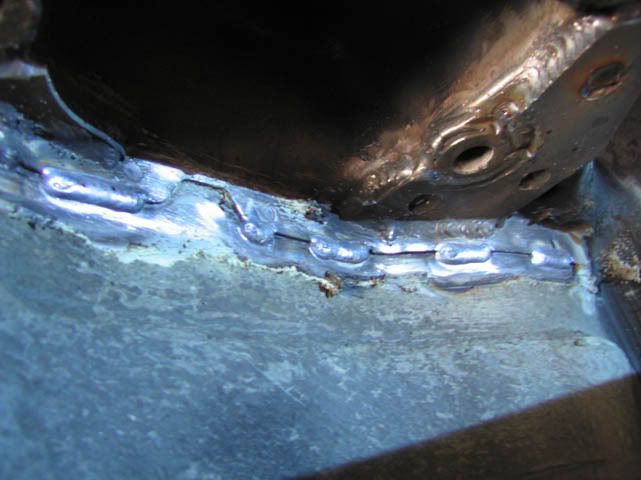
a bit of seam welding....
painted
Member
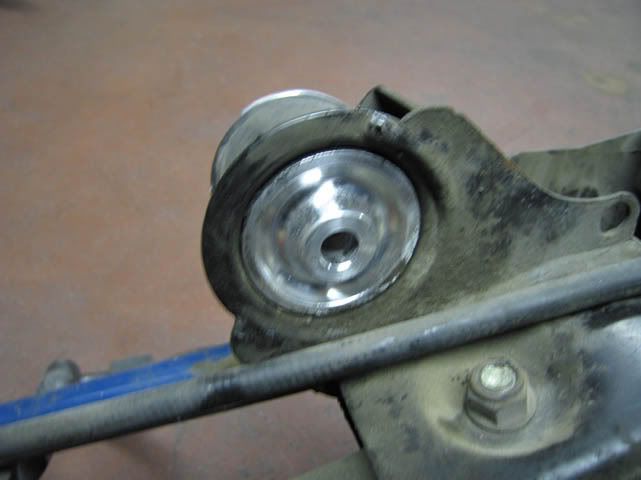
GC goodies......
adjuster.....sweet design.
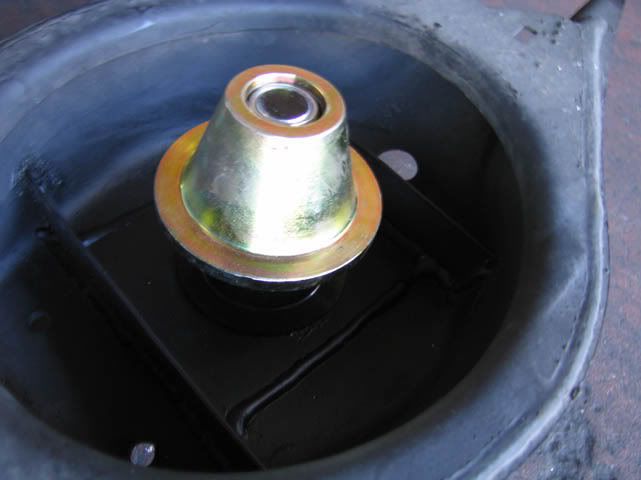
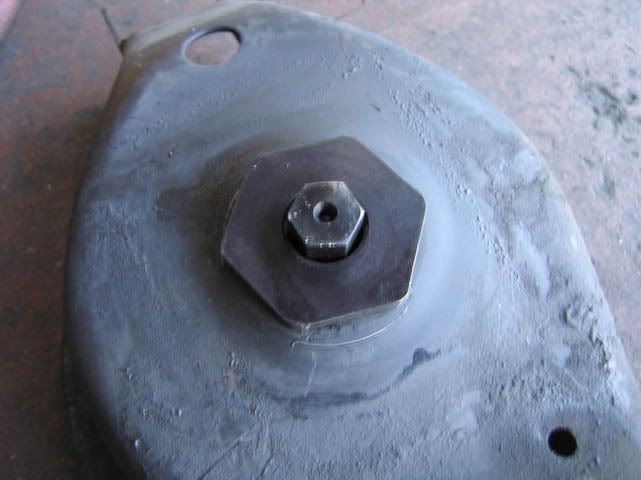
complete subframe assembly with new arms etc...
Nice factory tool for installing the half shafts.....makes it easy.......easy...
front control arm bushing
New......exhaust....yeah no muffler, I like my race cars loud and fast. Much lighter this way too.....
In fact here is how the exhaust sounds after we finished with the suspension that day...
I think it pretty sweet......
[ame]http://www.youtube.com/watch?v=jkgCvDH8_Bw[/ame]
Last edited by ddragon76; 08-30-2008 at 03:39 AM.
Member
Well first time out with the stiffer springs, Toyo's and new alignment setting...
Back at the familiar surroundings of willow springs....this time also joined by our new team member Adam is his AVUS blue sister car!
Sorry not too many pics of this event but Pedro since his car is in peices right now at the shop came out with his sweet panasonic HD camera.
So I should soon have a cool short video of the day in HD !! Coming soon! (Pedro is working on it)
here the only stills Pedro took of this weekend...
The car once again was a champ! No issues. Unfortunately some guy flipped his GMG porsche coming out of turn 6.......ouch$$$$$
another AMAZING day at the track.....
Member
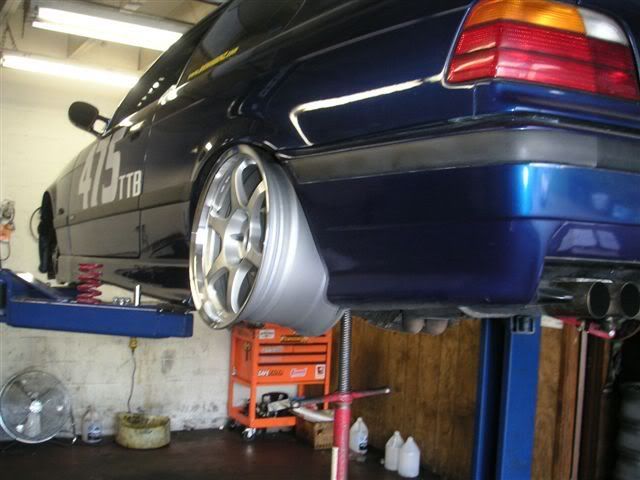
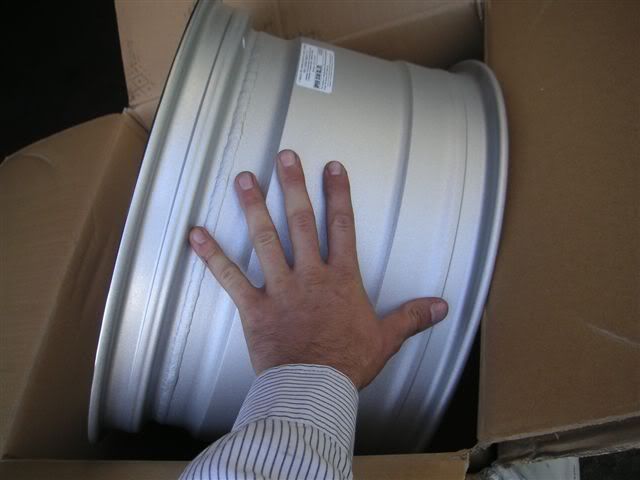
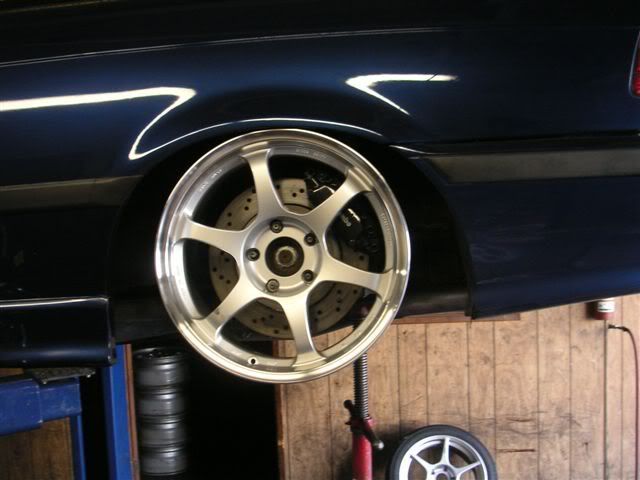
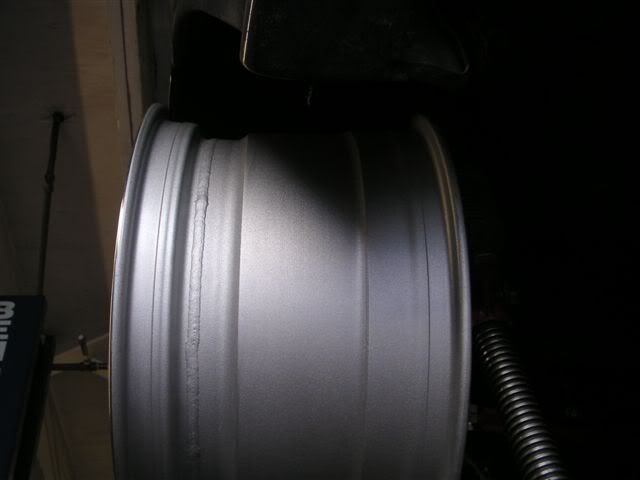
Well.....once again just couldn't help myself!
Tirerack had a good deal on them what can I say....
SSR type CH - 17x10's - +35 offset around 17lbs.
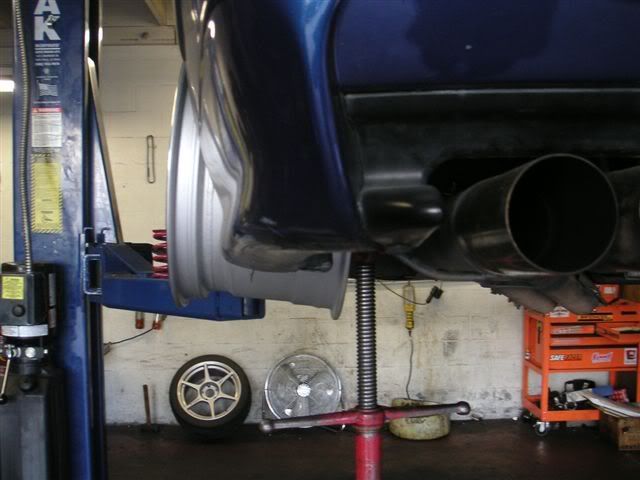
Plan on using grand-am take offs with these rims..... okay, okay so it will take some "massaging" of the fenders to make these work but it is doable.....I think....... we'll find out !!
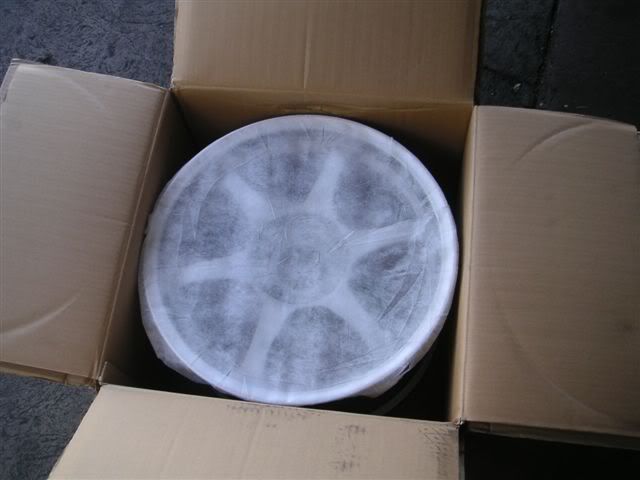
Here some teaser pics.....
full compression.....
License Revoked
Very very nice man.
Member
Funny how months and months of me and Dimitri working on this car can be summed up in a few posts....it really is alot more work that it looks, those of you who have been there know...
I'm so happy for him to be finally driving the car and that it came out so good.
Most of all thank you for letting me drive it at the track a few times! In just a few laps at buttonwillow driving at 8/10th's I was able to knock off a few 2:08's. The car is really a blast to drive! It's just a dream. Almost makes me want to build one......
As my car gets closer....it's almost time for you to find your own trailer! Just kidding, your welcome to use mine whenever.
Good luck on your upcoming NASA racing school ! My official congrats now that you have a build thread!
69' BMW 1602 Vintage Racecar BS-L Racing w/ VARA in Cali (@1602racer on IG)
10' Toyota FJ Pre-Runner (LS3 big suspension - @trophyFJ on IG)
17' F250 6.7l Tow Rig and shop truck
'12 X5d Wifeymobile
89' M3 *Sold / 88' M3 *Sold / 98' M3 Sedan Sold / 06' M3 Comp.Pkg.SMG *Sold
My 1602 race car build thread.
I want to ride my bicycle
damn nice car, i understand the build process, it's a lot of fun.
are the SSRs 17x10 or 18x10? I don't think any of the take offs you're looking for are in 17" diameter. also, what spacers are you using? are you getting tire rub with the 10" wheels on the fenders? I had to add flares to prevent rubbing on my rear quarters at full compression
one more question.....the RTAB supports you welded in....are those custom or did you buy those somewhere?
Member
WOW! That is a great build! Almost exactly where I want my car to be!
Member
It's 17x10, waiting for 245/40/17 Grand Am Hoosiers scrubs and they run really wide, but if they wont fit i'll try NT-01 275/40/17. They are on the tall side, will see how it fits...
I ordered RTAB pocket reinforcement kit from BW, and it's pretty straight forward job, make sure you clean everything reall good before welding, and cleaning there is a pain!
Last edited by ddragon76; 08-30-2008 at 11:54 AM.
 Posting Permissions


 Reply With Quote


Bookmarks