
 Member
So after reading this thread
http://www.bimmerforums.com/forum/sh...ovebox-Summary
and this one
http://www.bimmerforums.com/forum/sh...ging-glove-box
I finally realized how I could fix my sagging glove box. However, the method I chose is a little different than any other that I have seen before. It totally makes sense that the clips can break, and the vent assembly & glovebox should be removed as one. This will prevent the clips from breaking or becoming bent, and prevent the saggy glovebox altogether.
My problem was, I removed my glovebox like 8 years ago without this knowledge. I had 2 out of 4 clips present, and the other two were bent I could have bought a new vent assembly (around 100 bucks) but I tried to be resourceful.
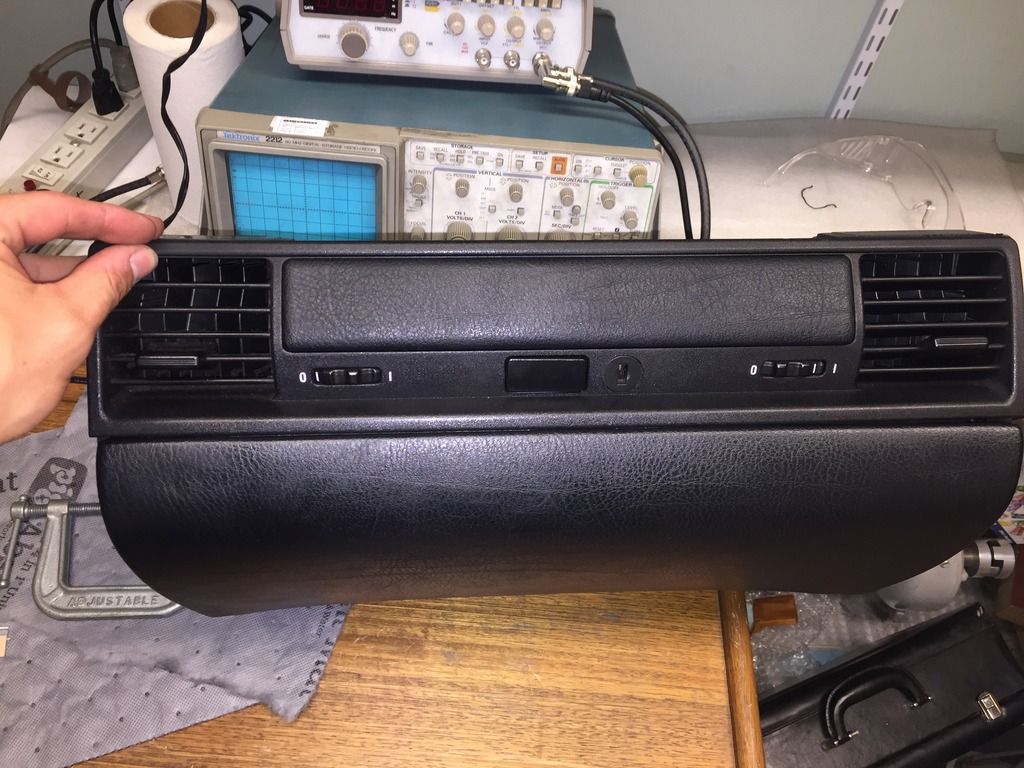
I removed both the vent assembly, and the glovebox. Assembled them outside of the car, ensuring that the gap was tight. I actually used zip ties in strategic locations to pull them together very tight without a gap.
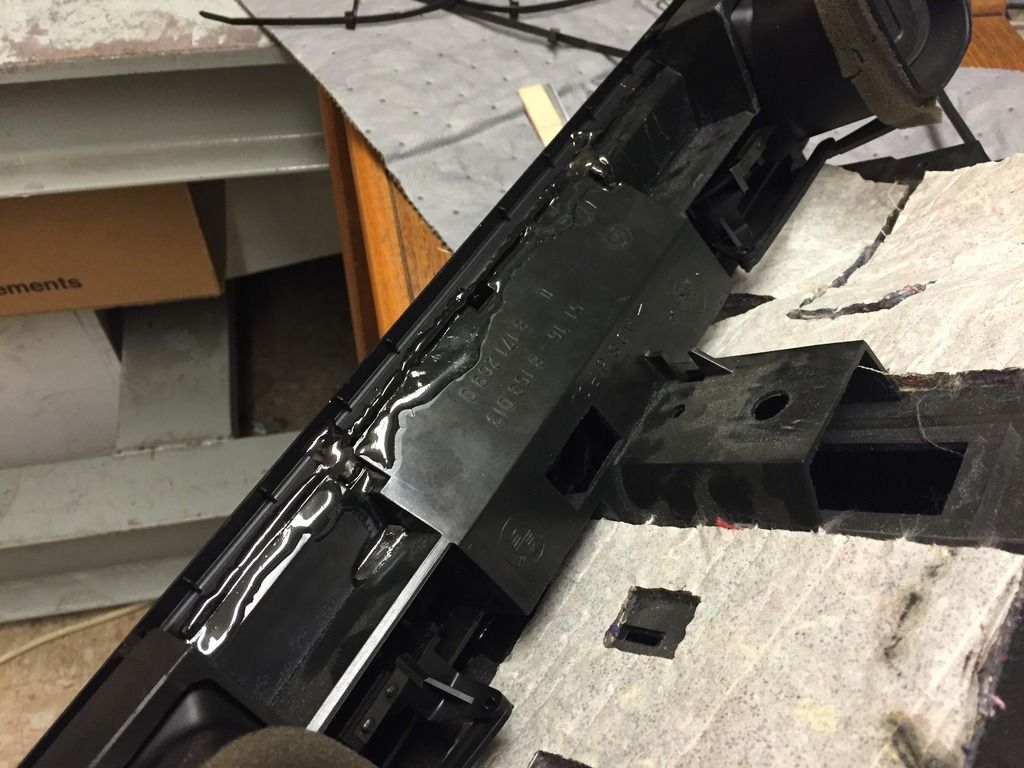
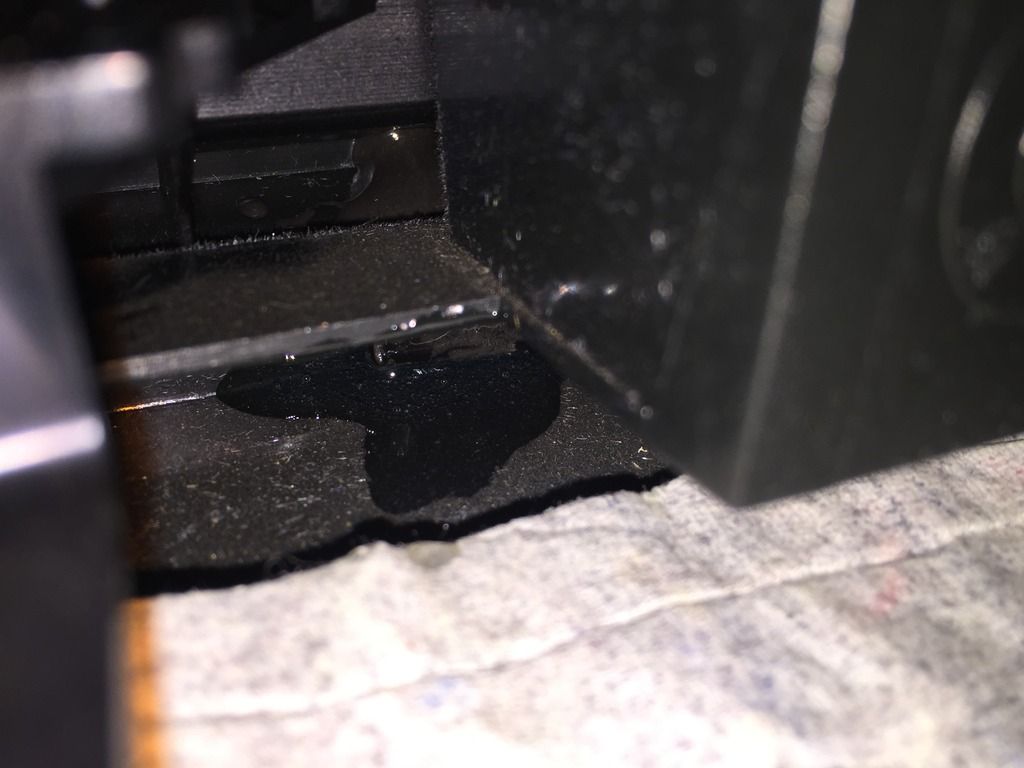
Next I used a complete tube of 5 minute epoxy around the top, and where the bottom two tabs should go. The pictures around the tabs at the bottom suck, it is pretty deep down, and hard to get a good photo.
End result is a assembly that is just as easy to install, and best of all, no saggy glovebox. I think this is a great alternative for people who have a saggy glovebox and the tabs are either gone, or bent too far to where they cant be used as intended. I am so happy right now. Its literally been about 8 years and 200K of having a stupid saggy glovebox.
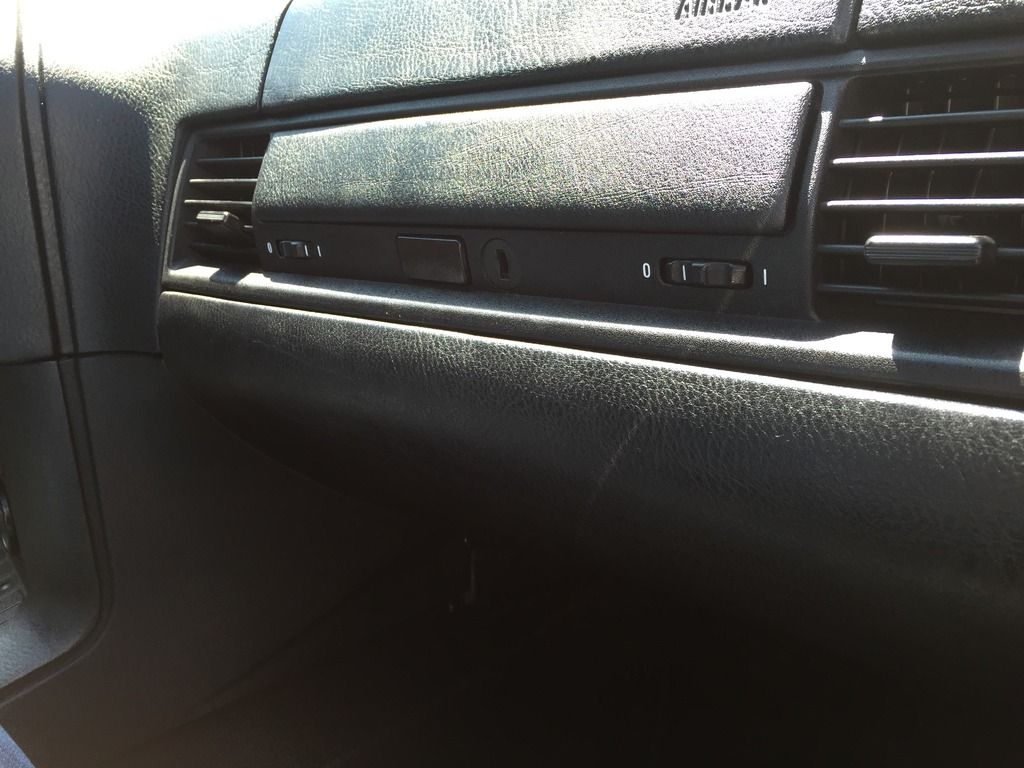
Here is a before pic.
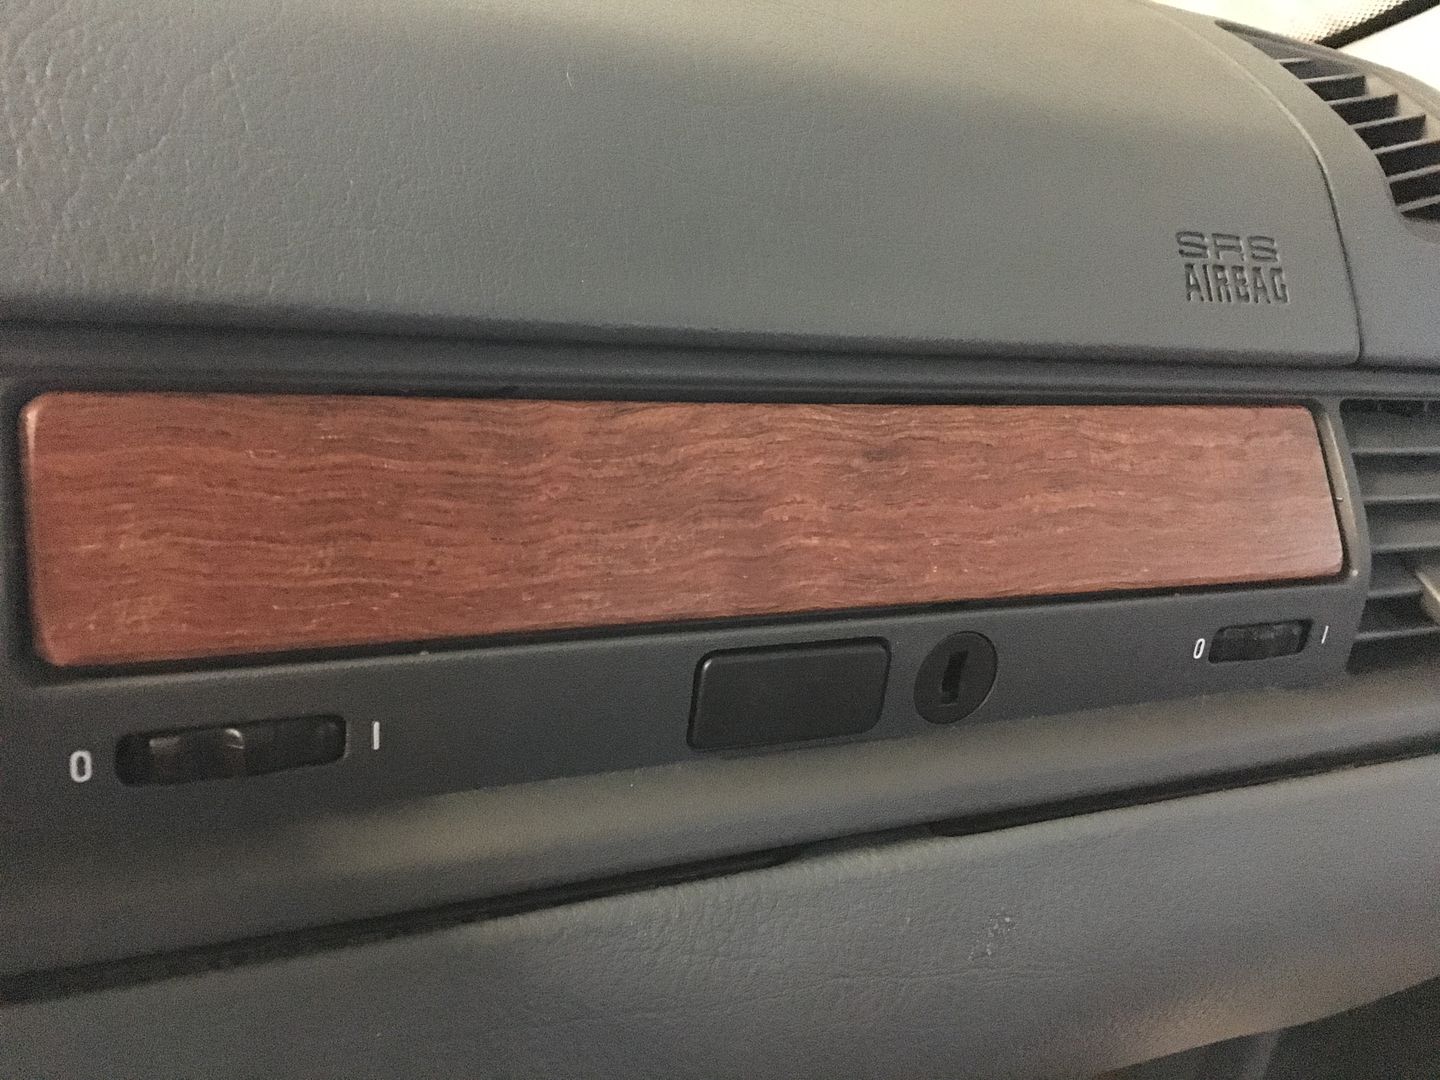
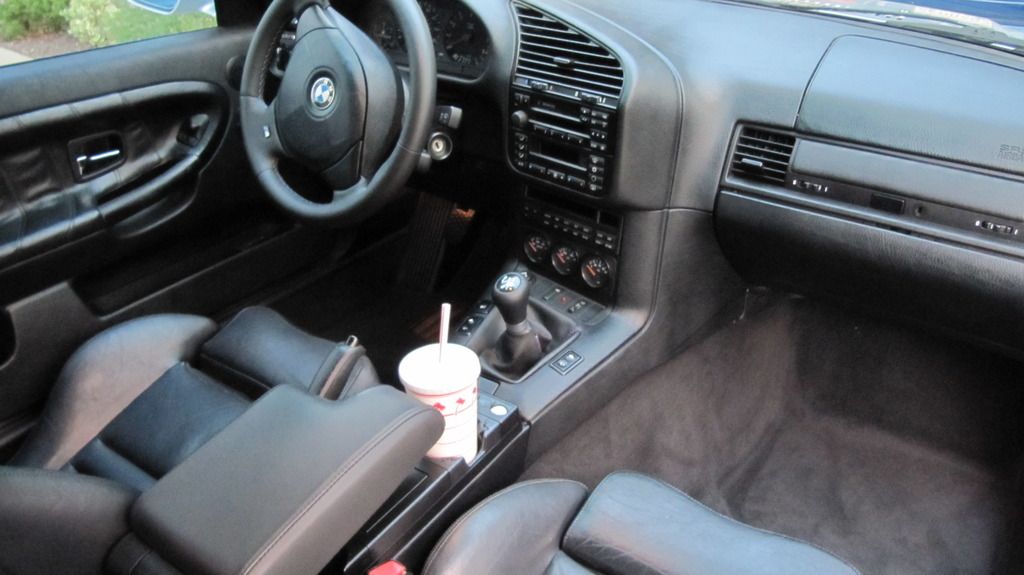
And here is the after
Member
nice!!!!
we're gonna die out here
For anyone doing this DIY, while you are at it I highly recommend replacing the oversized, bulky and hideous decorative insert. I made mine out of a piece of 1/8" Bubinga I ordered from an online woodworking shop, and attached it with thin double-sided foam tape. Purists may cringe, but I think it really sets off the interior.
Member
Nice job OP. I did something similar and included a fix to the latch that is somewhat described in your first link above. The plastic lever is NLA as a separate piece and can only be replaced by replacing the entire upper vent assembly. I took it out and fixed the worn end that works the metal cam assembly with JB weld. I then filed it slightly to fit the notch between the metal cam assembly and the latch frame. This significantly tightened the latch when the the door is closed.
Similar to the OP, I added epoxy but targeted the lower vent corners where my sag was most pronounced. I also took a dremel to the plastic first to make more of a 90 degree joint between the vent and glove box frame before applying the epoxy.
End result is pretty decent considering the plastic lid has likely warped over years in the sun.
BMW E36 Expert
Sorry, but this is reinventing the wheel. And using epoxy, how do you take the two parts apart afterwards?
There is a very good, working solution, that has worked since forever: get a new vent trim piece with fresh tabs.
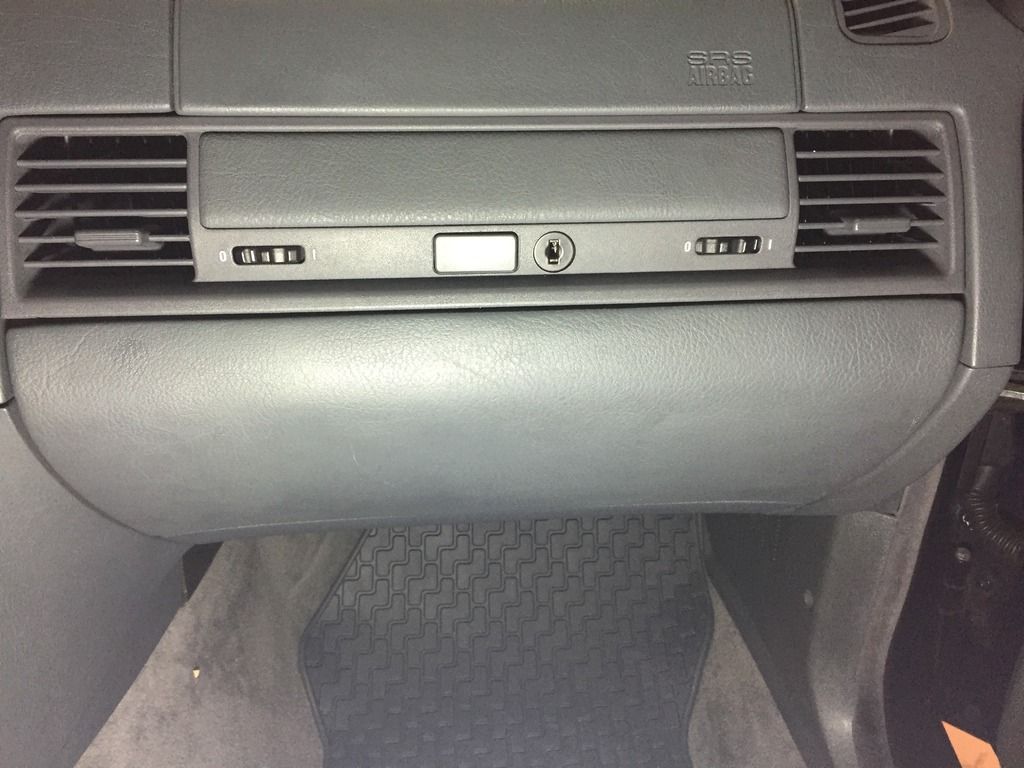
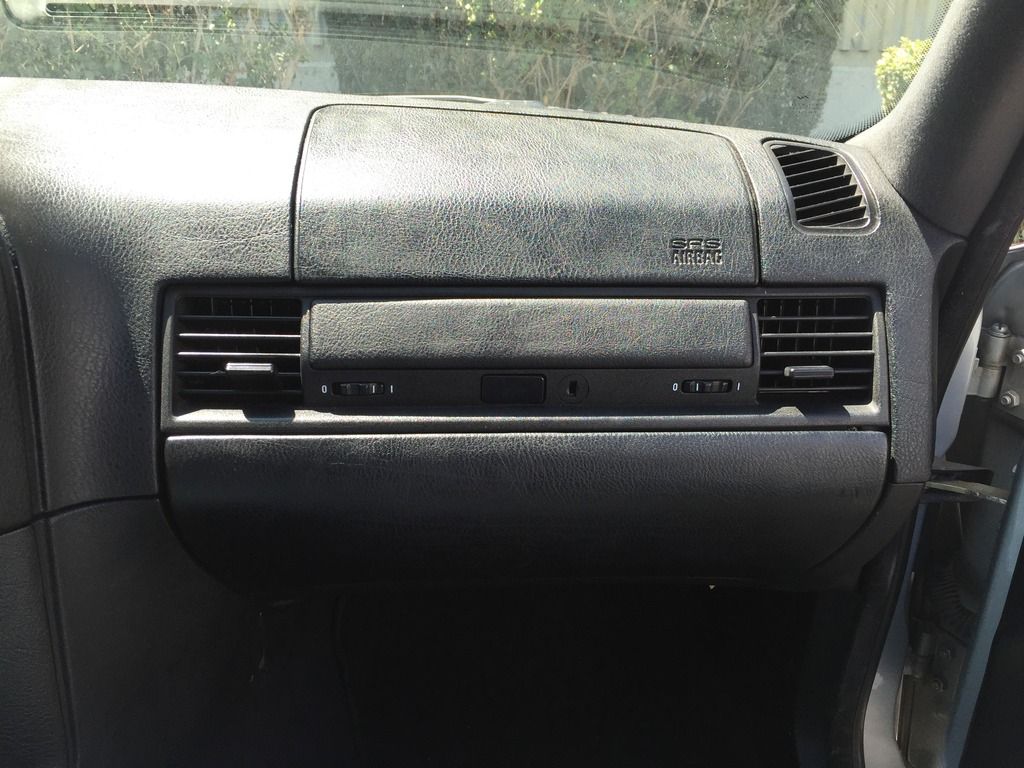
This is what I tight cover should look like
1998 BMW M3 3.2 Cabrio Alpinweiß III on Schwarz German spec 1 of 12
SMG SRA PDC AUC OBC GSM HK UURS IHKA FGR MFL
IG: https://www.instagram.com/iflok/
Member
That piece is ~$100 or more new. I'd also wager the sun damage/warping of the actual door is partly responsible and not just the clips on the vent section. Maybe not as big a concern in Western Europe, but clearly an issue in the southern U.S. Epoxy on those corners can be easily separated with a utility knife if you every needed to in the future.
Member
Nice mystreba!!!
Member
How come i cant see the photos? who pays 300$ to photobucket to upgrade. can you guys use Flickr or something other than photobucket? thanks
Estoril
Member
A half inch piece of soft velcro on the backside of the door and a half inch piece of scratchy velcro on the outer edge of the glove box compartment. Done.
 Posting Permissions


 Reply With Quote


Bookmarks