
 BMW Student
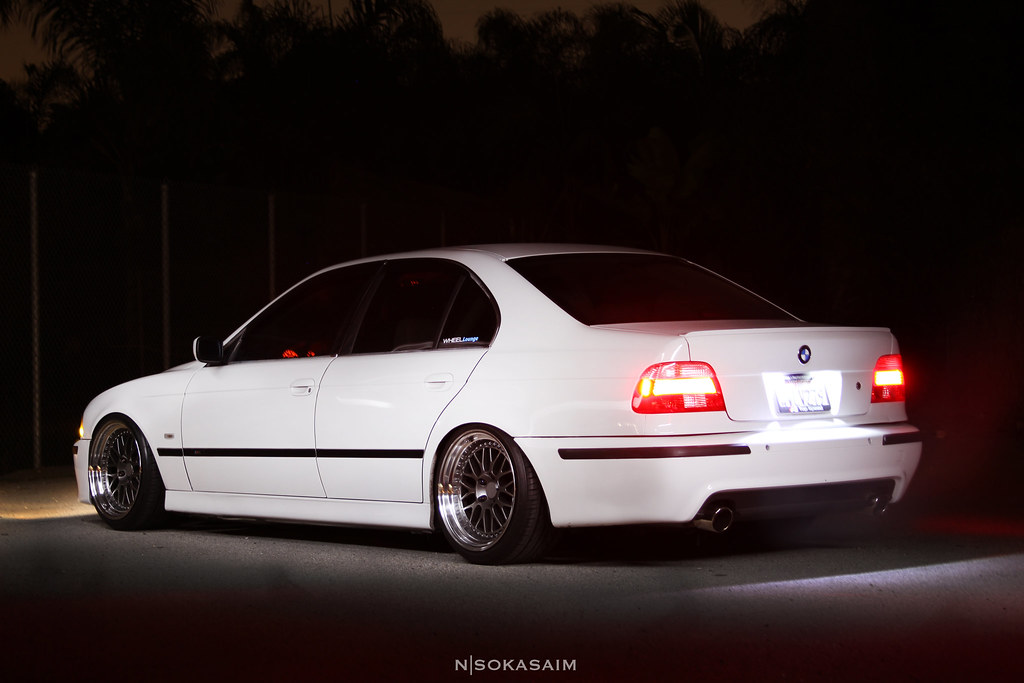
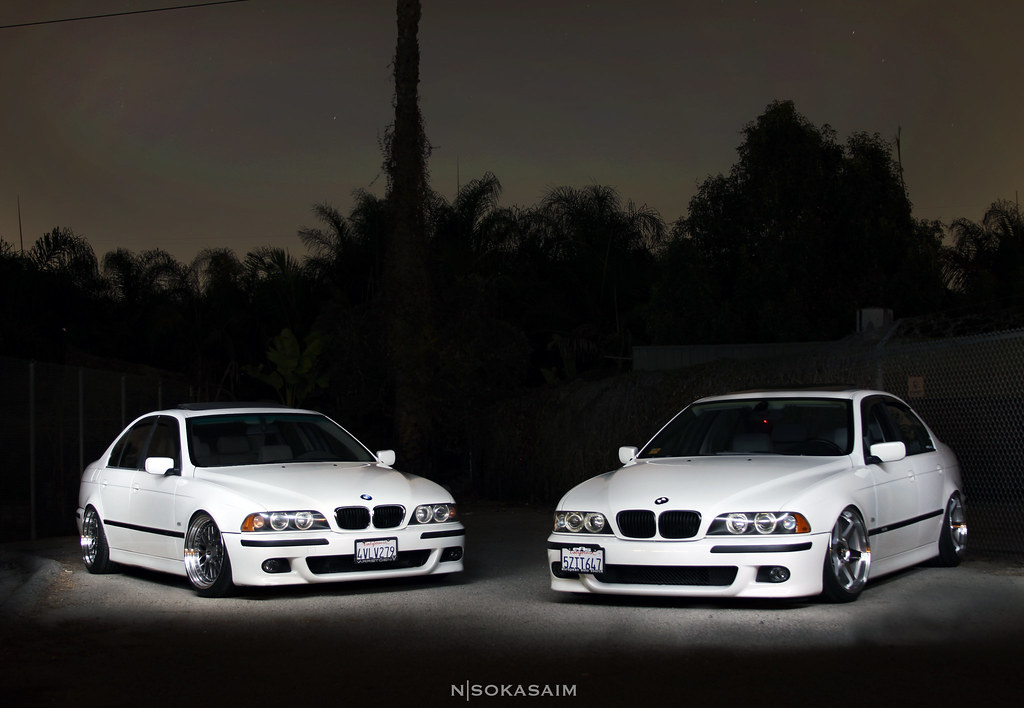
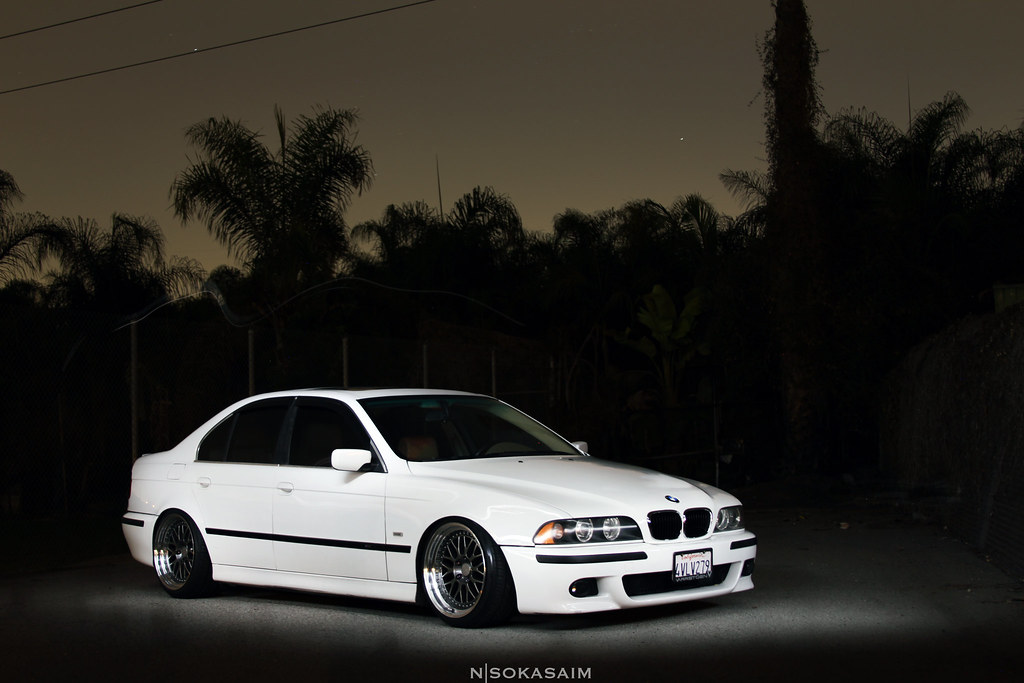
Hey guys, just did a light painting shoot, maybe you guys can give me some tips? I'm trying to get the background darker while allowing me to have a lot of time to paint the cars.. (need like 15 seconds). what settings should I use? Thanks! all these photos were through 1 run of painting, I was very tired LOL. I even did the double car one in one run... no image layers here! (mostly because I don't know how to do it..)
I do notice that some of the images come out blurry as well.. is it because the light was too bright?
i am using a 160-led shoe box, usually on the lowest output setting, thanks!
Last edited by Narvin; 10-19-2014 at 11:28 AM.
instagram: @narvinbeans
Stretch Haters Club #1
BMW CCA Member
Can't see the images at work, so I'm commenting blind here.
When introducing a new light source to an image - whether it's flashes or light painting or whatever - think of it as essentially two photos in one.
First set up the ambient exposure: Turn off your LED box and get your camera all set up to take the shot that's underexposed by a stop or two. I can't give you exact settings here. Probably first select your shutter speed that will give you time to do the painting (15 sec), then select your aperture for your appropriate DOF, then select the ISO for the proper exposure (in this case, proper meaning 1-2 stops under). If you need to go lower than ISO100 to get the right exposure, then you'll instead need to close down the aperture a bit or put on a neutral-density filter.
Get that shot right (underexposed) take as many test shots as you need, verify the exposure with the histogram (the camera LCD is a dang liar), THEN add the light painting. You can adjust the power of your LED box, and change the distance from the light to the car. This will take some trial-and-error.
Blurry shots means the camera moved or vibrated during the exposure. Make sure your tripod is locked down and on a sturdy surface, or the camera is sitting on something that won't move or shift. Some people get little beanbags to sit the camera on; they often work in places that tripods won't - but a decent tripod is a good investment if you're pursuing long exposures.
[edit] looked at them on the iPhone app; they look pretty good to me. The cars look to be exposed about right; you're not losing detail in the curves of the white body panels, which is very important. If you need more ambient to light up the skies and trees, put on a longer exposure time (try 30sec instead of 15sec), and just don't take your LED box out there for the other half of the time. Changing the ISO and aperture will affect all light; changing the shutter speed will only affect the ambient, not any flashes nor the effect of your moving LED box.
Last edited by nathancarter; 10-20-2014 at 01:01 PM.
 Posting Permissions


 Reply With Quote
Bookmarks