
 Member
So my wife's '99 540it had some issues with her driver's seat. The seam came apart and the foam was collapsing. I also had some aftermarket seat heaters that I was going to install. For some reason her car was fully loaded, except for cold weather. This is a comfort seat, sport seats are the same with the exception of the thigh bolster. It takes a little bit more work, but if you can do this you can figure it out.
I'm not going to tell you how to remove the seat, that should be covered in other places. If you can't get the seat out, this is beyond you.
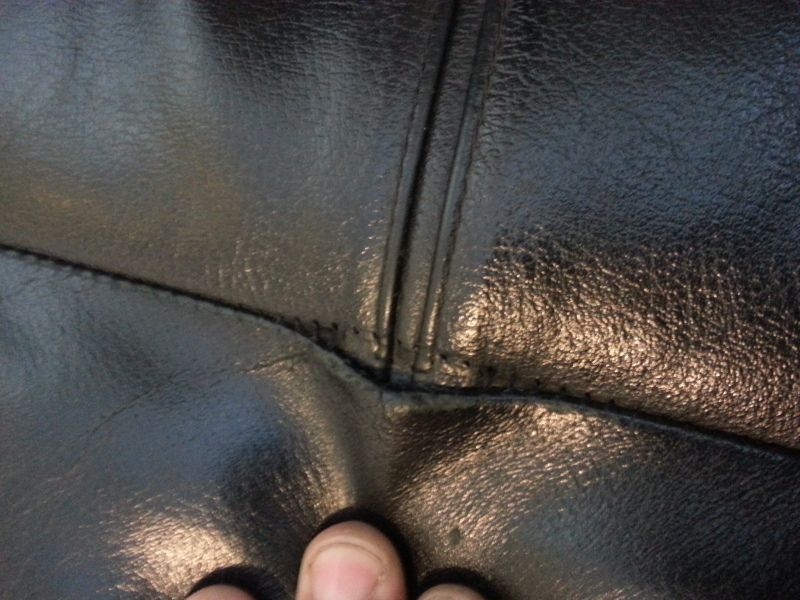
So the worst part of this, is the first part. You need to take off the seatback.
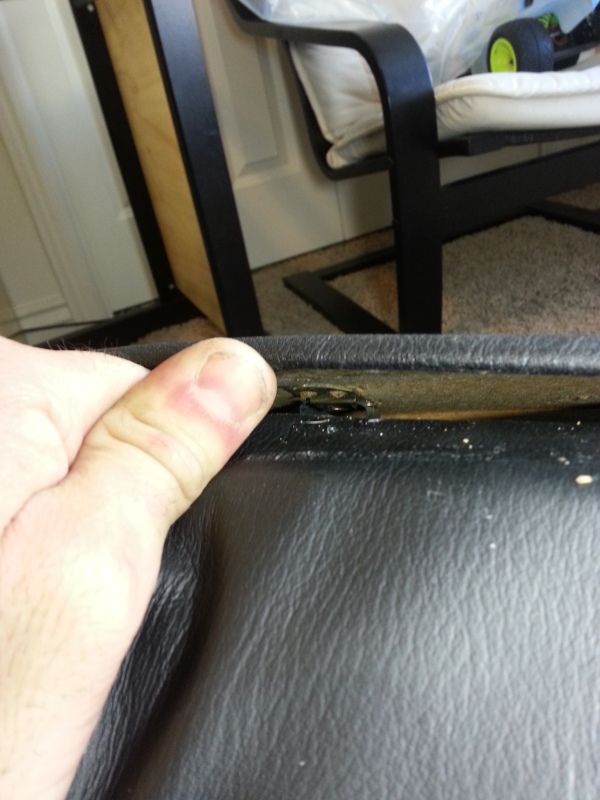
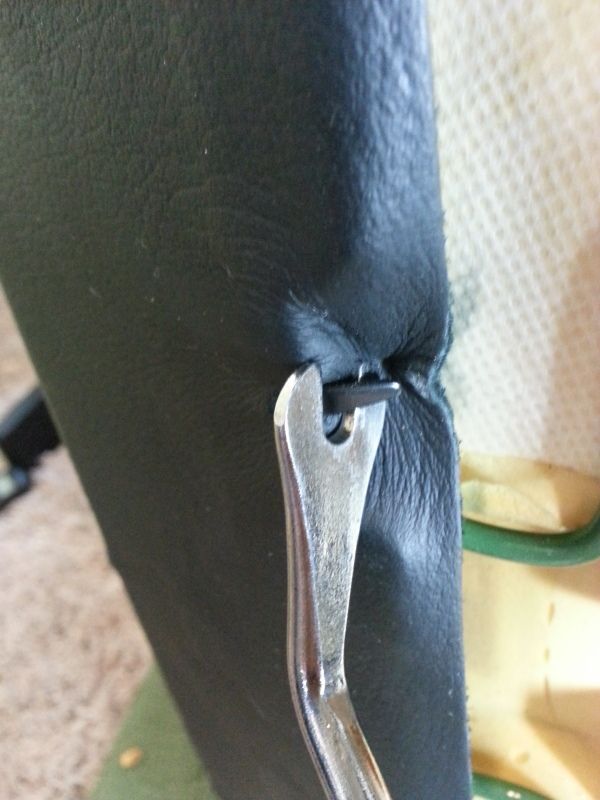
There are clips on the back that snap in to the rail at the bottom. You pull the bottom clips out and it slides down.
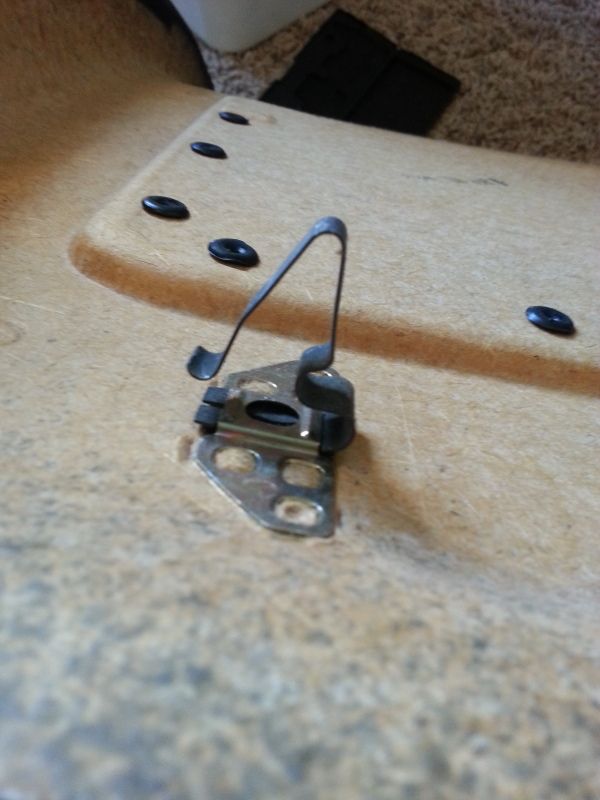
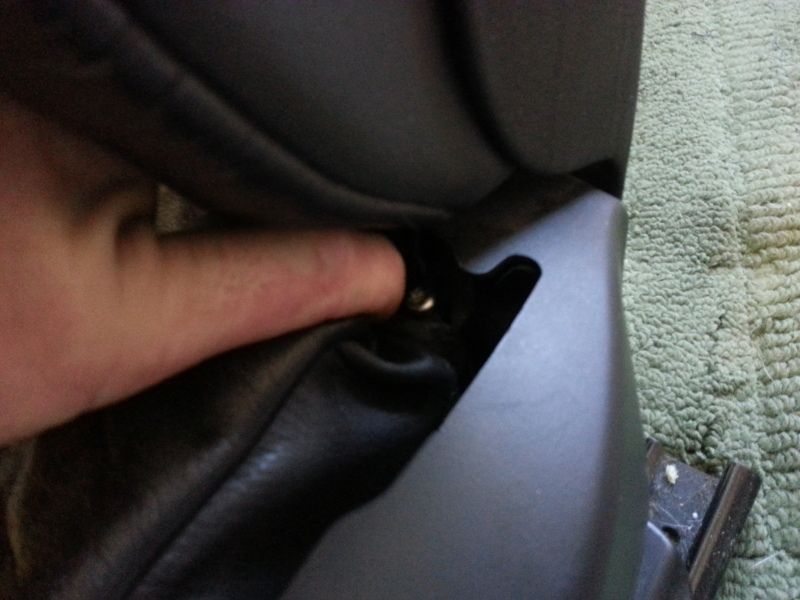
The clips are down here:
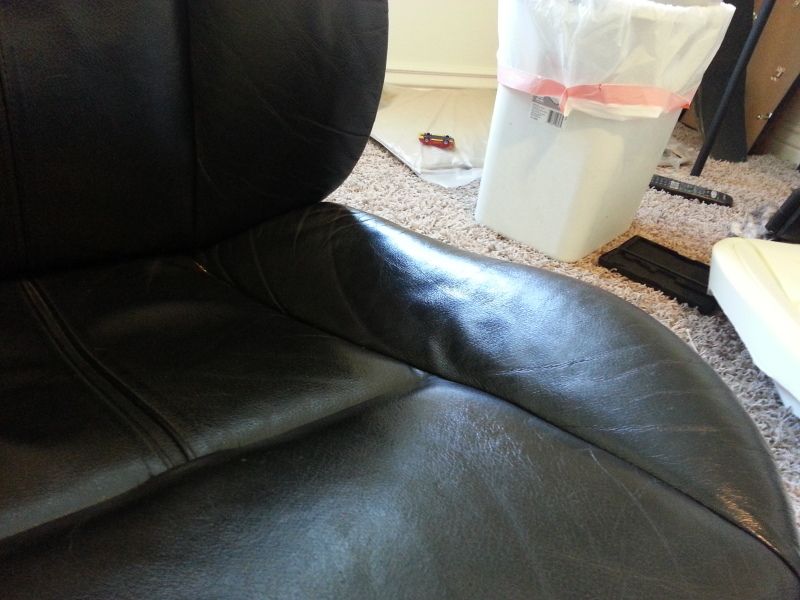
They look like this (seatback removed)
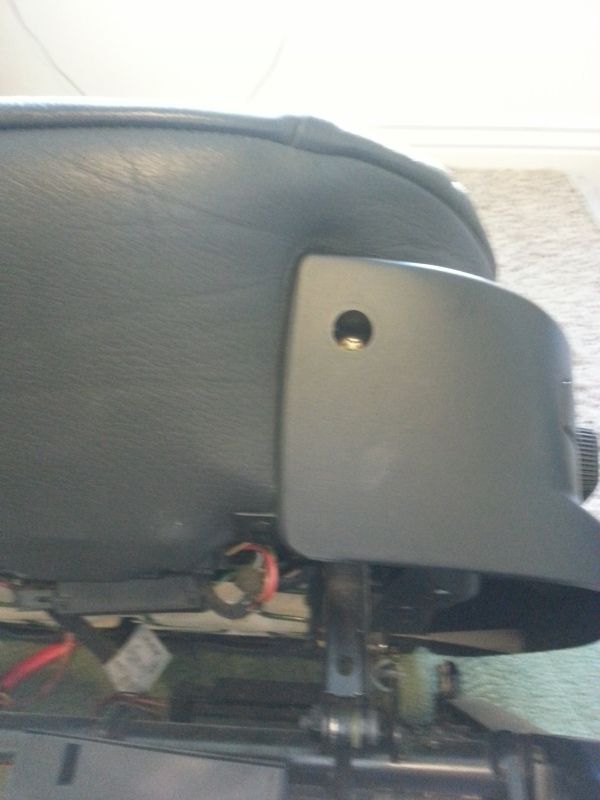
Next you need to remove the side panels, if yours is broken this is a fine time to replace it.
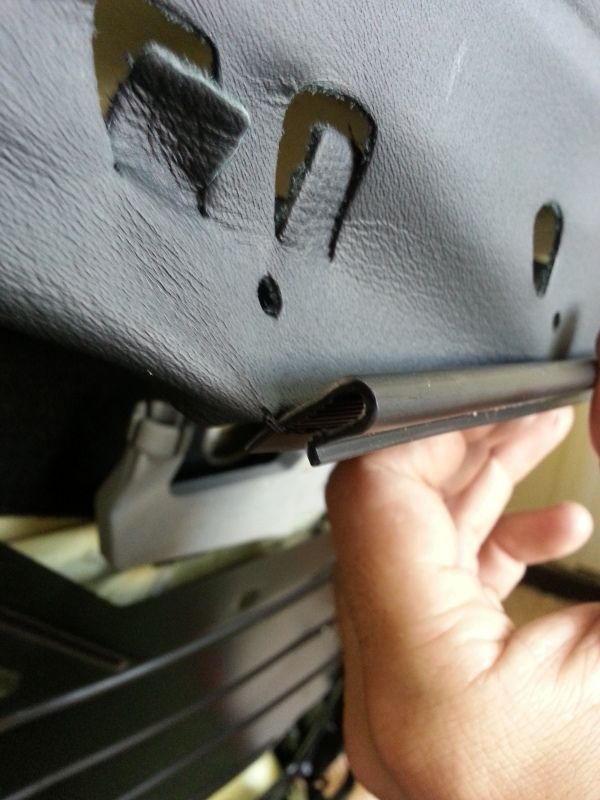
There is 1 t30 in the front and one t30 hidden up by the seatback. there are also 3 rivets on the bottom of the trim holding the panel to the seatframe. Use a trim tool to pop them out and then remove the t30s.
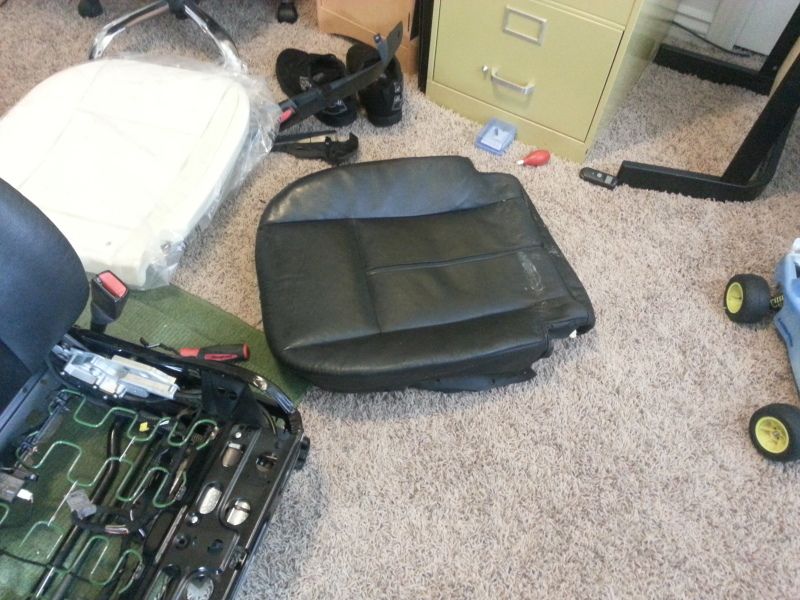
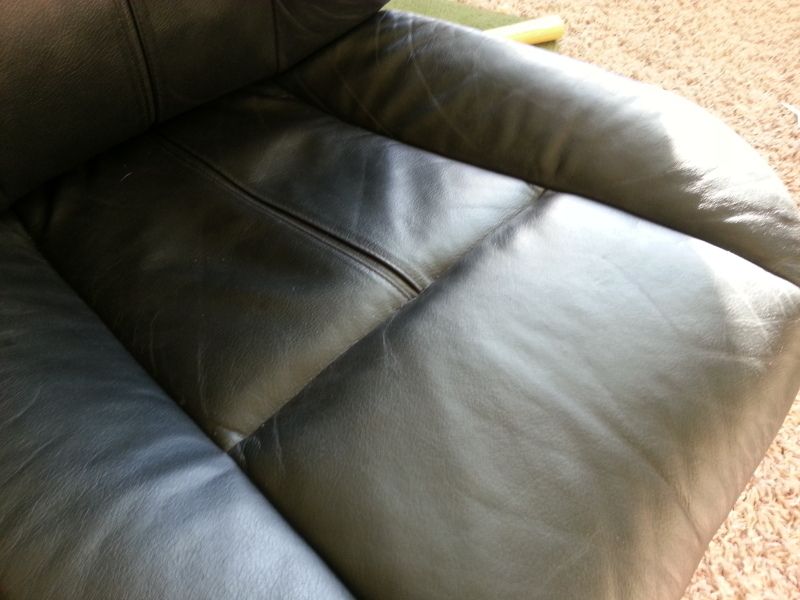
Next you remove the seat bottom. You have to bend back a bunch of these little tabs to remove the leather from the frame. If you don't have enough room to get them off, compress the foam with your knee (kneel on the seat) or press on it some other way. (I like the kneel method)
before:
Tool and how-to bend
They're all around the bottom and around the sides of the seat. A longer section goes rearward (under the seatback) and goes to the bottom of the seat.
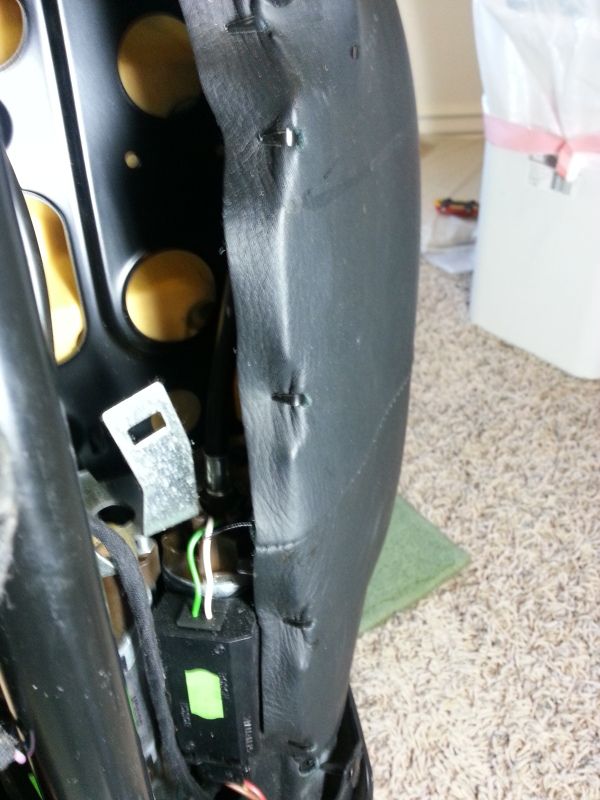
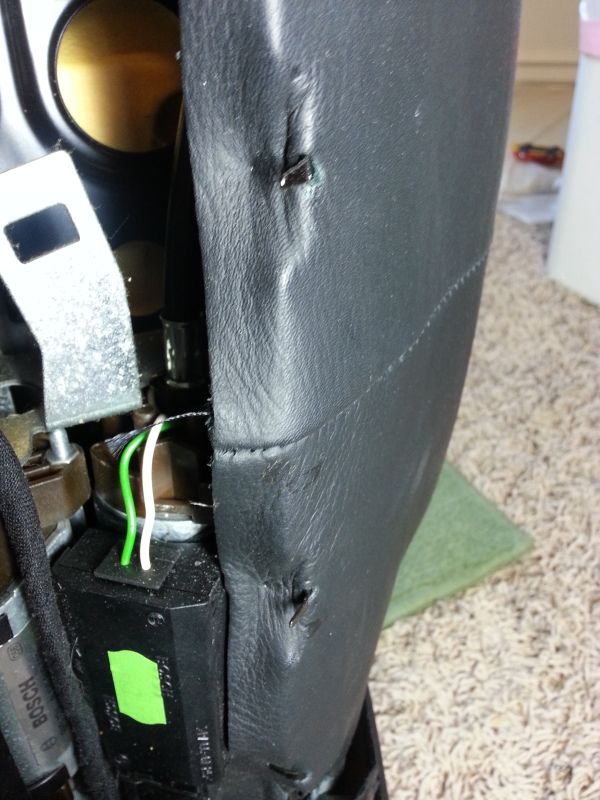
Once the leather is disconnected from the frame there are electrical connectors. Passenger has a seat mat detector and heater (if equipped), driver just has the possibility of the heater.
Pull the foam towards the front (if seat was sitting in car). Might have to work the foam over the rear bracket. You then have the seat leather/foam assembly.
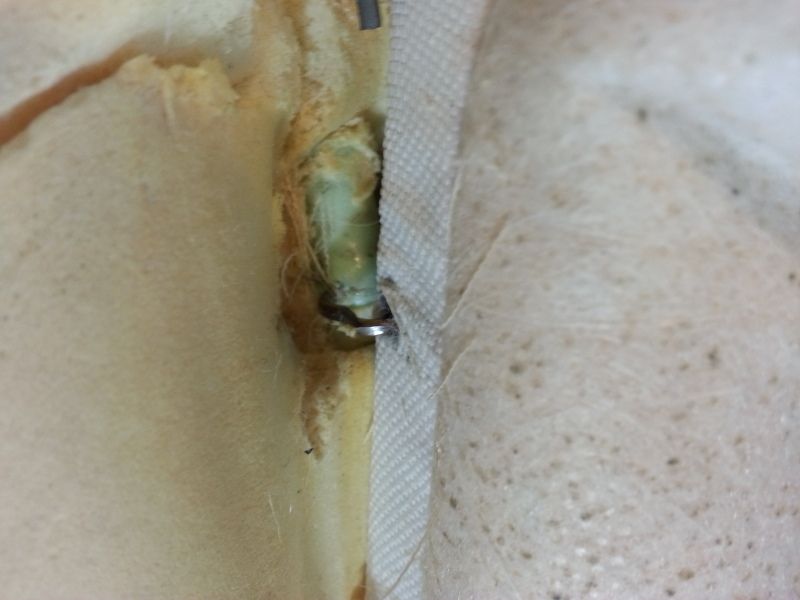
Now, on BMWs the leather is held to the seat with "Hog rings" they require a special plier to install them and require a nice set of cutters to cut them out. My pliers were purchased through matco and came with a straight set and an angled set for about $40.
This is one installed
This is one cut out
the seat leather has rods in it that the rings go around, and the seat foam has molded in areas for the rings to go around.
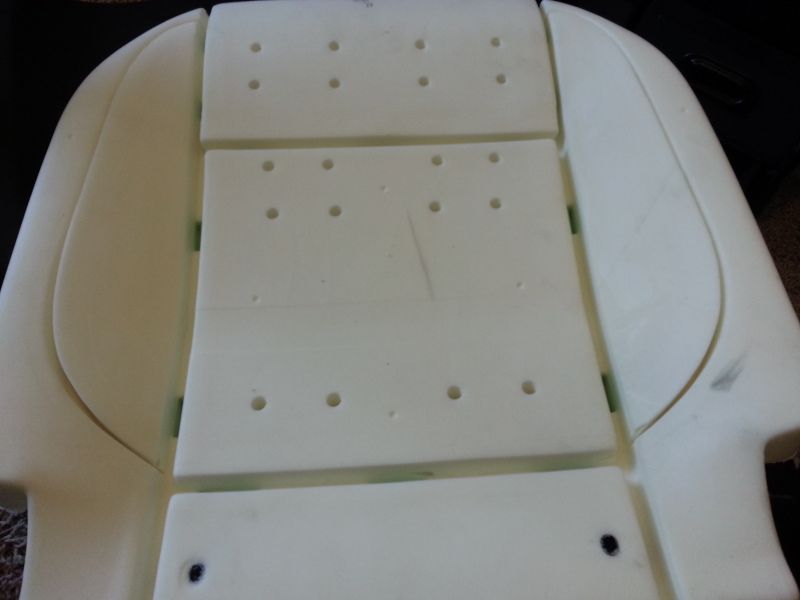
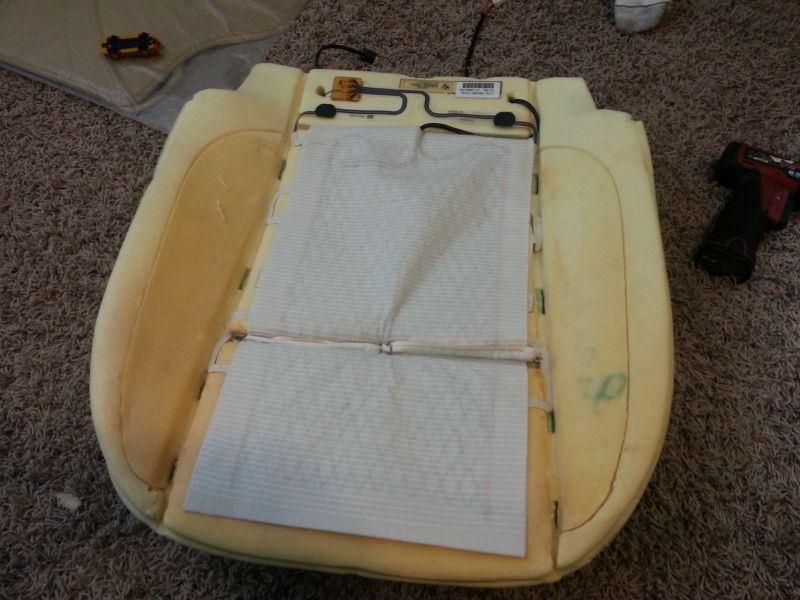
This is the new foam pad ($170) and you can see the areas where the rings go
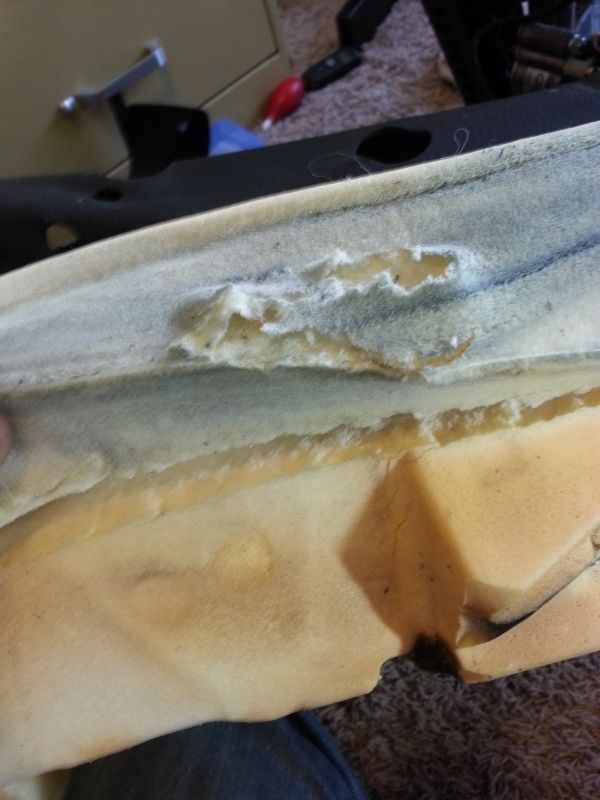
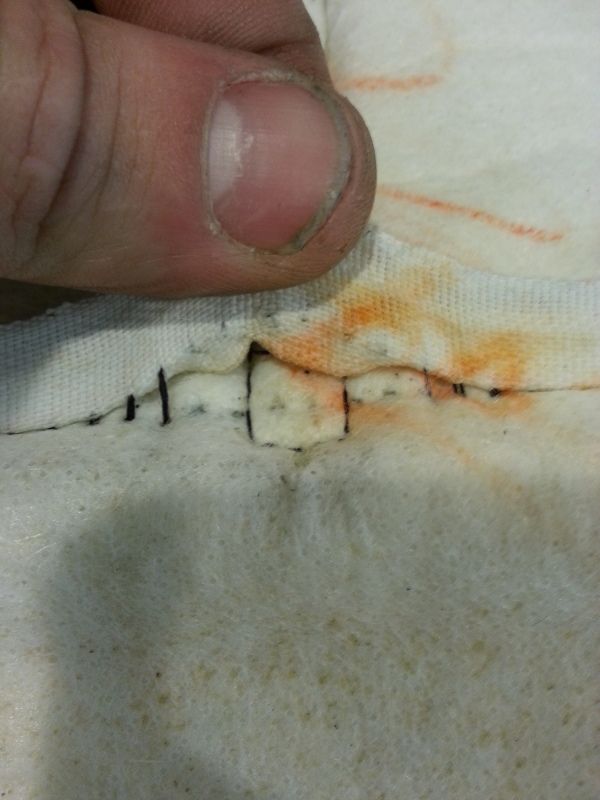
Here you can see the damaged foam and the stitches that came out. I re-stitched the seat here in preperation for re-install.
Here is a set heater installed on the passenger side. You're not suppose to install the heaters over the seatmat sensor and do so at your own risk.
The pleat in the middle was from hog ringing the heater to the seat foam .
Now you hog ring the seat leather back to the seat foam and re-assemble the seat. I bend the posts to hold the leather back to the seat with a small hammer.
At this point, if you were doing just a seat bottom you can re-assemble the seat and install it back into the car.
If you're doing heaters you need to pull the seat back. It's more of the same with the exception of you needing to remove the backrest from the lower seat frame. You pull out two t40s, they don't come out completely.
There is also this guy along the back of the seat that's horizontal. You compress the foam and unclip it.
Cut the hog rings, do what you need to and re-hog ring the seat. Put it back together and voala
These are the after pictures:
Always remember to bend the foam to the leather, not the opposite. The leather can tear relatively easy. The hardest part is going to be hog ringing. It takes a bit of practice and can be very frustrating but once you figure it out it's not bad. I think all and all the seat heaters cost $150 (both seats), foam bottom for the drivers seat was $170, pliers $40 and the rings weren't expensive. e39s use the "copper" rings if you get them from a dealer.
Dealers labor rate is 8 hours per seat to move/install both seat leathers.
I've done a lot of these seats and it takes me 1-2 hours. Your first one will take a LOT longer than that. (I'm guessing it's possible to take the full 8 hr)
Last edited by Aradaiel; 11-11-2012 at 10:58 AM.
e46 m3, some 740 sport shorts, F30h, LR3 and a 540it
Member
Great post!
I need to get my butt moving and chase down some E38/39 lumbar supports and retrofit them to my car, or maybe an entire articulating seat back. Tearing these seats down is a LOT of work from my junkyard experience, but not too bad as long as you pay attention. I've stripped 4 sets of seats in my family to wash the cloth covers in the washing machine, so its fairly easy for me haha.
I guess they made different seat back mountings, I know that on some E38s to remove the seat back its just a spring clip and you pull the seat back up and off the bottom frame, and we share seats with them.
Last edited by ElleShooTiger; 11-11-2012 at 11:20 AM.
Member
Nice DIY with lots of pictures.
I've seen a couple of seat restoration DIYs recommend using small zip ties in place of hog rings. Those DIYs pointed out that it is easier to position the foam & pads, zip tie into location, position the leather over the foam, put all the zip ties in place & then pull the zip ties tight. Using hog rings it is apparently easy to wind up with leather stretched or foam pulled and bunched. Also easy for the inexperienced to cut or pinch stuff while trying to crimp the hog ring closed.
They also described having seen professional upholsterers use zip ties and assure that they do not release over time. But, of course ... YMMV. Also be aware that like everything else, there are high quality ties and low quality tie for sale.
Those DIYs always clipped the tail end of the zip tie flush or very close to the lock once pulled tight.
Regards
RDL
Member
Great DIY!
Member
tagged nice diy
Member
Thanks guys, any questions just lemme know.
e46 m3, some 740 sport shorts, F30h, LR3 and a 540it
Member
Originally Posted by Aradaiel

My headrest isnt going down on driver side...whats the easiest way to remove the backing on the seat?
Member
I'm sure that seat feels much better & more firm with that new pad underneath the leather...
Member
Long screwdriver, push the tab to the side and pull. It's a lot harder with the seat in the car.
e46 m3, some 740 sport shorts, F30h, LR3 and a 540it
Member
For the seat back, its going to depend on which seat you have. For sport seats there are 2 screws at the bottom you have to remove, then just pull the backing down and out.
Member
Very old (but useful) thread.
My MY2001 530i driver´s seat leather is a bit worn on the outer bolster, and a friend gives me for free a 1997 528i seat in very good condition. Instead of simply swapping the seats I would swap leather + cushions, because my car has electric seats and the free seat is manual. Are a MY2001 and a MY1997 seat cushions compatible?
 Member
After this thread left me a little confused, I struggled through swaping seat backs on my e39. In the end I found what I believe is the easiest method.
To get the bottom clips off you have to push the inside edge of the clip towards the outside of the seat. Your putting the tip of a Flat head under the metal over the plastic.
20220129_010852.jpg
20220129_013021.jpg
Once its in place , hold it with one hand , and you need to strike the rear of the handle with the bottom of your palm. (A.k.a. palm strike like your the karate kid. ) In this photo Im not holding the screw driver in place with my other hand because Im taking the pic. Dont worry about pulling up hard. The clip will push its self up with the force from the handle as it slips behind the seat back. Just a quick light jab and it should release.
20220129_010756.jpg
20220129_010904.jpg
Once the clips are undone you pull the seat back down. (If it was in the car you would pull towards the floor/carpet, it will slide right off.
Only other tips... When you FIRST START, you can bend the corner slightly ( just enough so it flexes concave) to see the clip, it did not seem to damage anything altho I thought so at first. (Talking like a 1/2" or 1" of movement, not much)
20220129_012215.jpg
Reasembly is a snap. Actually its 2 snaps. A light palm strike also works great to instsll the clip once you have it located in the hole.
Last edited by Sio2crew; 01-29-2022 at 01:39 AM.
 Posting Permissions


 Reply With Quote
Bookmarks